NRA4LIFE
WKR
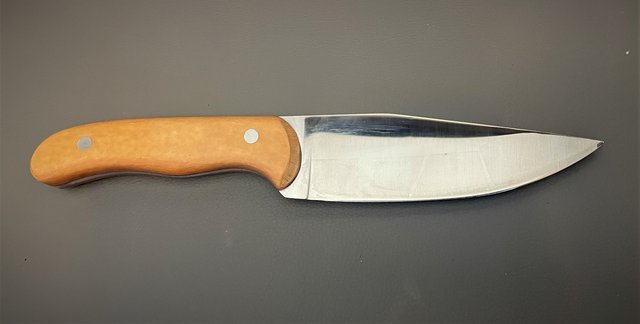
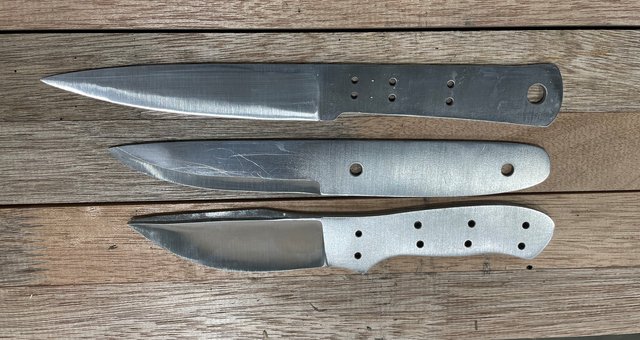
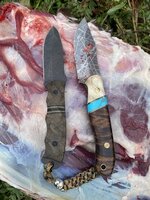
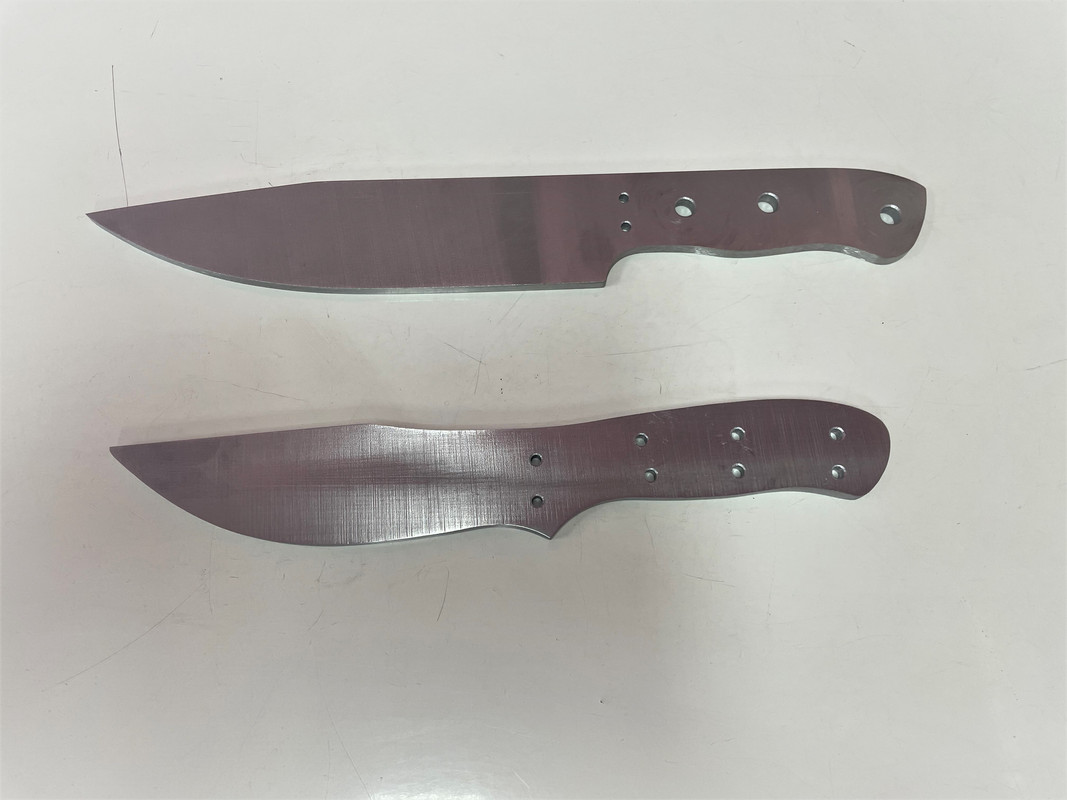
Very nice. That second one with the camo handle would be the hot-damned skinner of skinners.
Follow along with the video below to see how to install our site as a web app on your home screen.
Note: This feature may not be available in some browsers.
Thanks mateVery nice. That second one with the camo handle would be the hot-damned skinner of skinners.
")
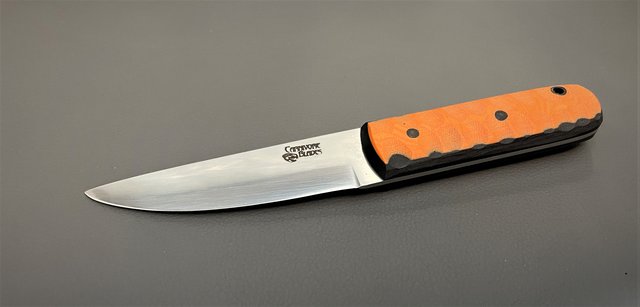
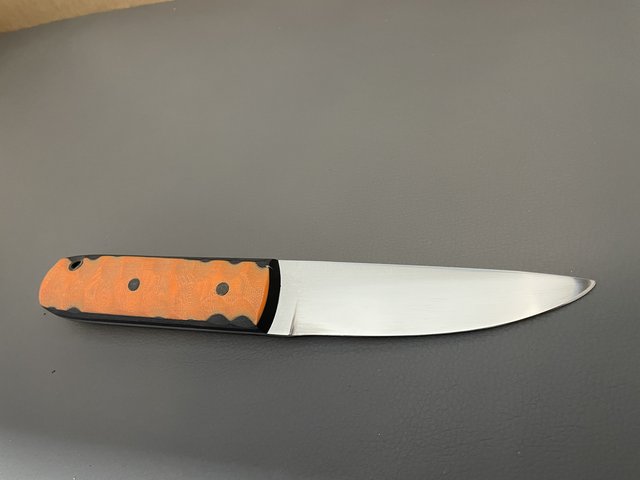
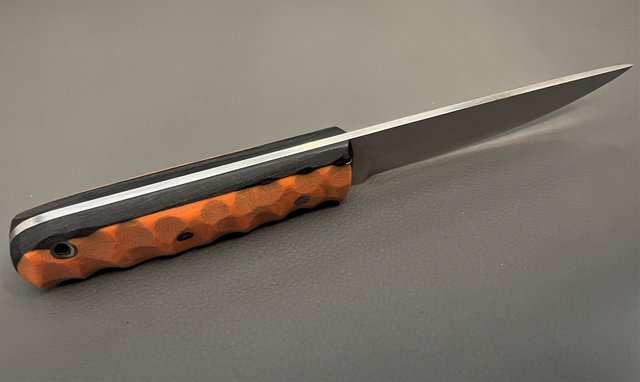
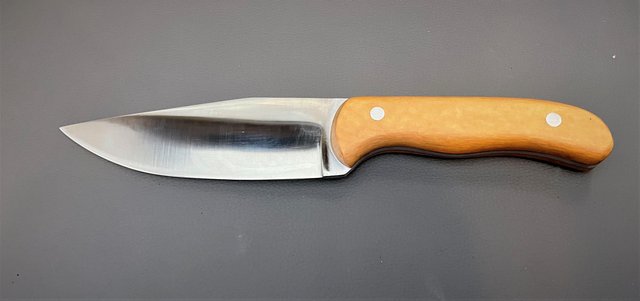
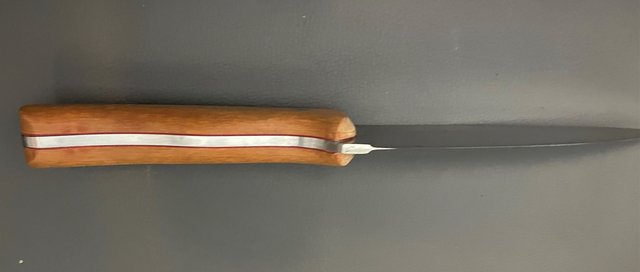
Thanks mate. Appreciate the comments. Those G10 pins have worked well for me so far. They seem pretty strong, and the size and colour choices definitely give some additional variation to the handles.I've never seen the G10 pins before. I like how it adds another layer of contrast! Great looking work. The red pins on the black handle looks really sharp on that boning knife. I've got a friend that lives in Arkansas that is a custom knife maker. I think he would agree that your putting out some nice work.
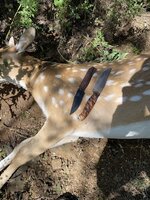
That second one you made is a great profile… I like how you put your own spin on it and did not try to do an exact copy of hfb.. my HFBs get put to work a lot on axis deer .. I bet yours is killer as well …cheers
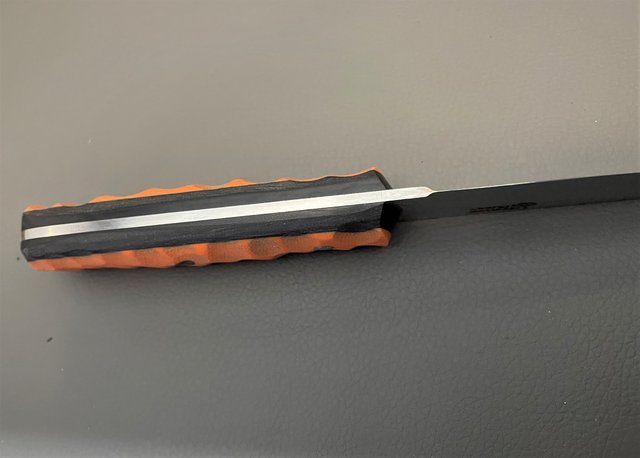
I'm a fan of Andy's work, and definitely not trying to rip him off. That knife probably has more positive feedback than anything else I have made.Also on the topic of G10 pins, Have you noticed they hold up as well as metal pins? I understand that the scales are also glued to the blade and In theory should hold on their own so what is the main reason you chose to use them over say brass? Is it more for cosmetic reasons or is there an actual structural reason?
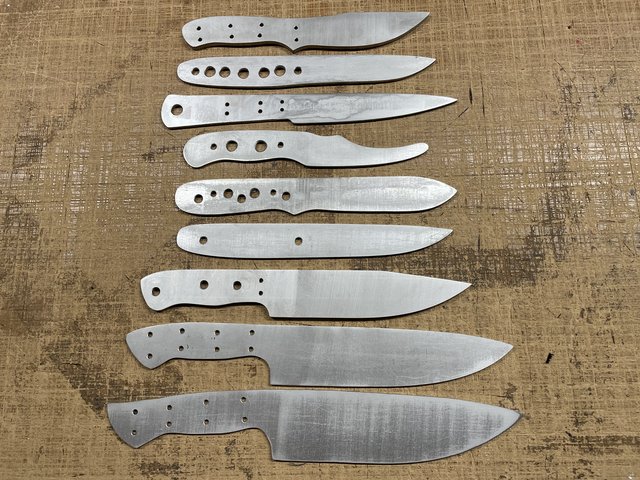
I really like the build along threads and would be interested in seeing the step by step as you go. I have been wanting to make it down to my buddies place to see how its done but haven't been able to make it happen yet. He apprenticed under Jimmy Lile when the Rambo movies were being made and actually got to be a part of helping build the Rambo knives used in the movies. I thought thought was sweet to be part of. He also has one of his own that's a tribute to the original Rambo knife. Its a hobby I would like to get into some day but have way too many irons in the fire already right now. Would you mind posting some pics of the different models you make and a little bit about them? I would be especially interested in seeing your bushcraft knife.
Thanks, Matt

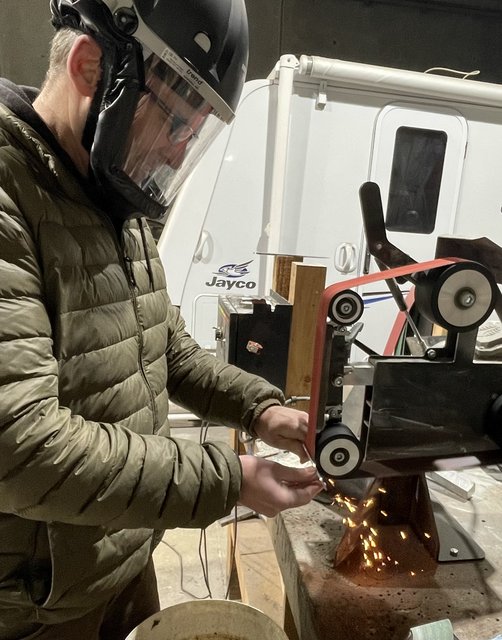
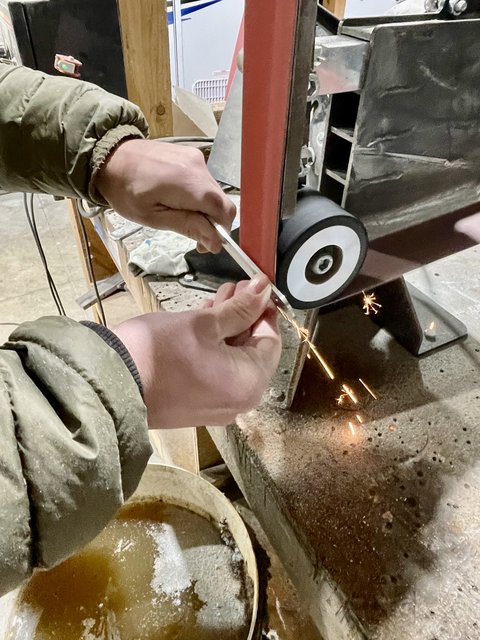
No worries. Its a bit of time to write it up. Hard to know how much detail to leave in. I will cover all the steps, its just a matter of not having too may photos. I did some of the next step yesterday, but was rushed so forgot to take pictures. I will update the post with next steps soon.Thanks for diving into the documenting of the process. I would guess this adds a lot of extra work on your part but I find it interesting as hell. I would guess a lot of guys that work with their hands for a living would. I would think you get into the zone and have to mentally make a note to stop, clean up a little and take pics so I really appreciate you taking the time to do so! Do you do your own heat treat or do you send it out? My father-in-law does flint knapping so another form of knife making albeit an older form but I pick his brain all the time too. Again, thanks for taking the time to document the process. I will be following along as well many others in sure. I plan to eventually dive into this art some day.
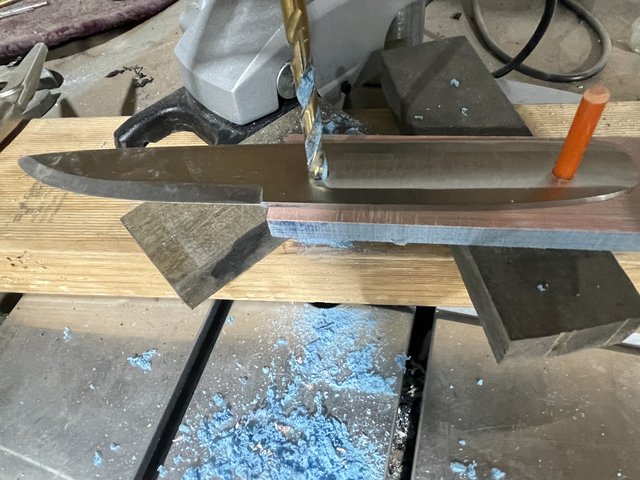
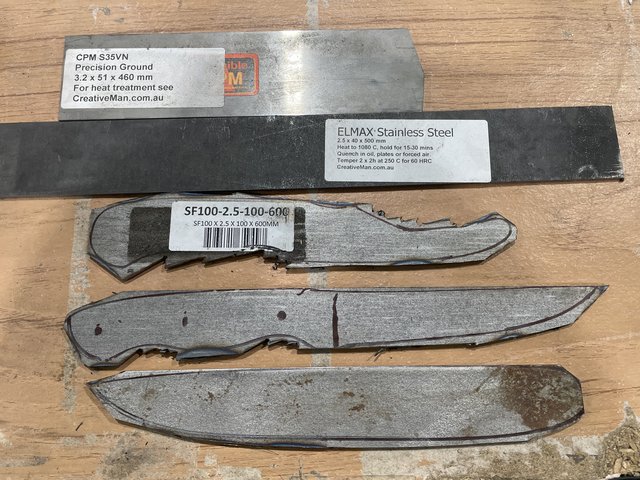
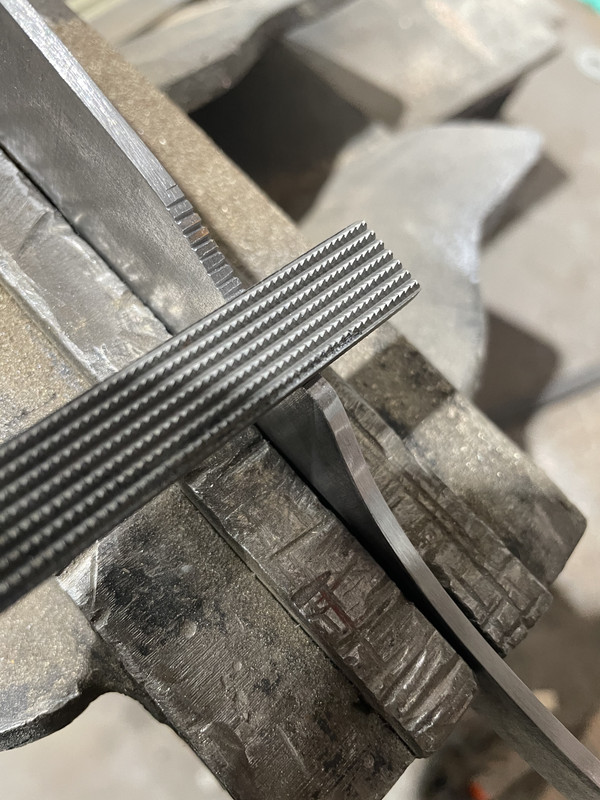
Hi mate. Only a couple at this stage, but something I will be working on more. The most recent bowie style knife is a modern bowie in post 5 of this thread. I have just started working on another modern bowie last week. Right now its just a profiled bit of steel waiting for heat treatment. There is a photo of that in post 34.Have you made any bowies?