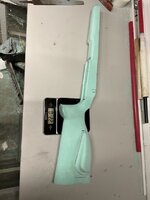
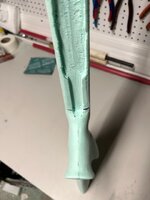
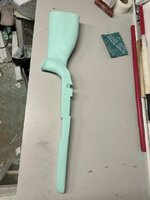
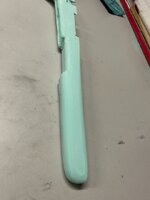
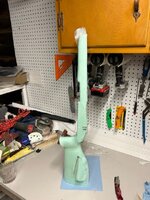
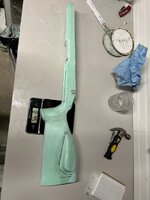
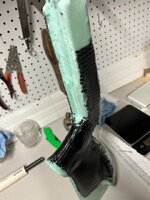
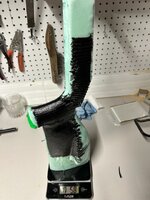
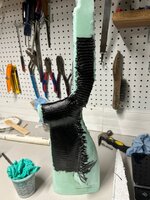
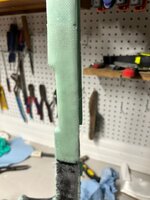
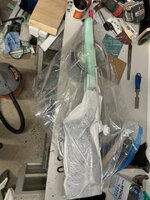
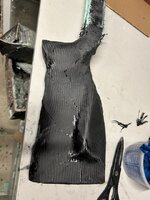
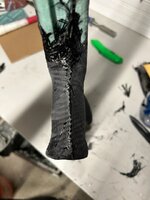
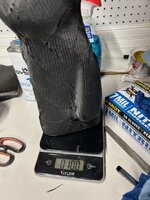
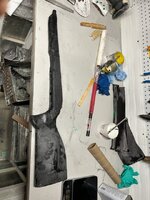
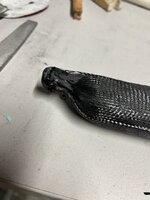
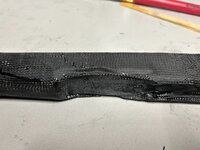
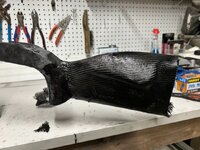
Edit: I noticed that this thread got stickied - I am by no means a pro, and essentially have no idea what I’m doing. This is my first stock, and am chasing something functional and built to my measurements, rather than to optimize weight and surface finish. The finished product will probably be a bit rough.
This is the Way.
The hardest part of making a prototype personalized stock is laying down the first layer or making the first cut. After that, the journey begins. R-Pete - you have my respect!
The first version
should be rough with mistakes (aka lessons learned) that allows exploration of ideas that
you want to try. Some of the best ideas out there came from a creative state of mind where you
essentially have no idea what I’m doing
This is where you "Make it happen, Capt'n" and end up with something that fits specifically what you are after. BTDT.
There are many ways to make a highly personalized stock and R-Pete's method is how I would recommend going about it. After looking online at numerous 'how to' videos on various CF stock builds, so many involve making a mold from an adapted plug and working from the outside skin of the stock inwards. This is a good method if you have the form of the stock
exactly how you want it and are looking to make multiple copies. Personally, I have never reached that stage of fabrication because I go about my next stock project from a list of requirements and those requirements are always changing. I also realize that a gun stock is a group of trade offs. Functionality, toughness, weight - they are all at odds. What fabrication tooling do I have at hand, what budget of $$ & time can I afford? All that equates to me, simpler methods with a more unrefined outcome, but they scratch my itch, so I'm happy. Anyway....
I go for more of the Rapid Prototyping methodology that builds the structure of the stock from the inside out. In other words, I work from an internal form or plug that gets layers added that typically uses simple vacuum bagging or often times (like R-Pete is doing) basic wet layups. This means I can refine/modify aspects of the build as I build it out.
R-Pete is taking care of the important part first - stiffen up the plug and reinforce the load bearing areas. Mixing fiberglass and CF is really smart and done all the time. I have salvaged CF hockey stick shafts that are blends of both glass and carbon to capitalize on the advantage of each component. More important - glass is cheaper and easier to work with. Good call.
Once cured, you can sand down what you have to get to where you want to be next. You will inevitably 'burn through' a new layer, and that's ok. Another layer will go over it. For filling in low spots and building areas up, I highly recommend this Epoxy
Dough over the use of polyester Bondo. It has a slower work time (good thing), can be shaped easily by smoothing with water and does not use solvents that will eat up your foam. It dries very rigid, is quite light and sands down very nicely. I love it as a thin filler over imperfections and minor build up for areas because it doesn't add significant weight.
As mentioned earlier, here is a listing of items needed to begin work on a CF project:
Vac Bagging Supplies
Stretchlon Vac Bagging Plastic
Peel Ply
Breather/Absorbant Cloth 60in, 4oz (400 deg)
Sealing Tape
Quick Lock Seal for Vac Bags
Mold release paste or liquid
Sources:
www.fibreglast.com
https://store.acpsales.com
www.cstsales.com/
Carbon Fiber & Resin
12K 2x2 50" twill (19.7oz/sq yd) - Very good for structural areas
6K 2x2 50" Twill (11 oz/sq yd) - Great for overall outer skin layer
820 Resin Gal, 824 SLOW Hard 0.2 Gal, Pump KIT (this or West System Resin)
Source:
www.sollercomposites.com - Really like this site. Limited selection, good price, very helpful
Tools
CF Shears - Claus - You will need a set of CF specific shears as it dulls regular scissors really fast!
Dremel type tool with various diamond cut off wheels & diamond burrs
Note - Carbon fiber needs to be cut and shaped abrasively. Drill bits just make a mess.
Vacuum Pump
As mentioned before, for vacuum bagging, an improvised rig using a salvaged refrigerator pump works very well. The low flow rate is ideal to allow time to work the vacuum bag.
Vacuum tubing is available at HomeDepot
Vacuum gauge
Needle valve to introduce a precise leak to control the vacuum level
PPE
Disposable Gloves, respirator, glasses


