rifletuner
WKR
- Joined
- Dec 23, 2020
- Messages
- 505
Thanks mateNice work!
")
Follow along with the video below to see how to install our site as a web app on your home screen.
Note: This feature may not be available in some browsers.
Thanks mateNice work!


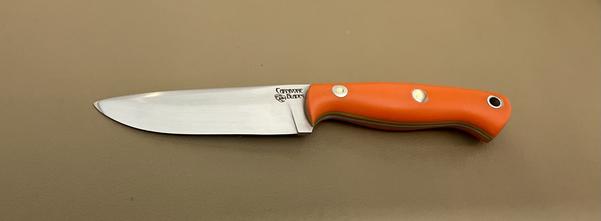


It’s about time you got back to workThis is the first knife made entirely in the new workshop since I moved out of the old building last November.
")
Hey, Ive been working. I just dont have much to show for itIt’s about time you got back to work

Thanks mateThat's an absolutely gorgeous knife bud! You are getting it down to an art these days
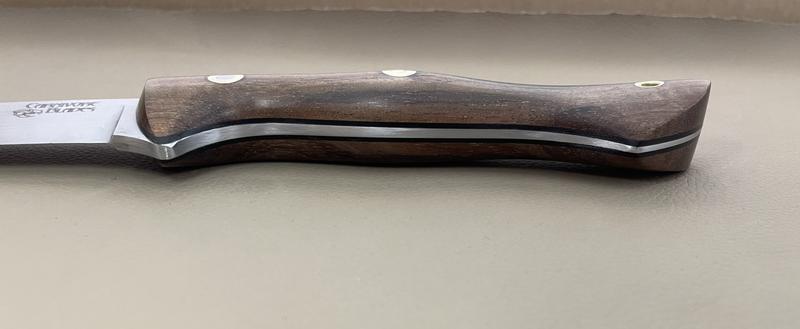
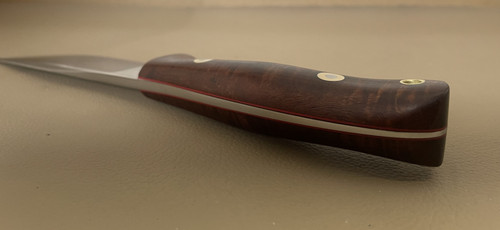
Ive been working to get the handle shape nailed down for a while. Im pretty happy with how it came up.Yeah, I reckon it would be. I think it will do a lot of things well. The edge is pretty thin, so very slicey.Looks like it would be at home in a kitchen too
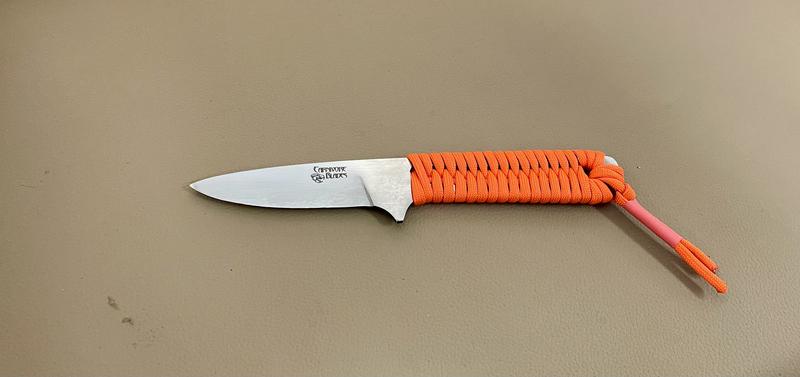
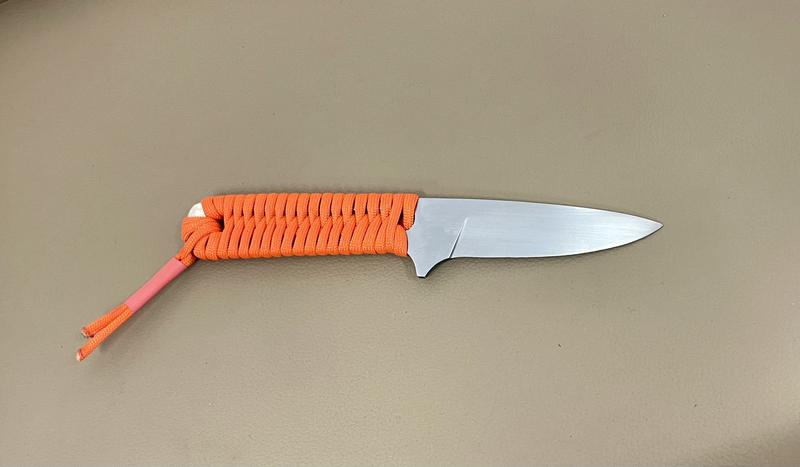
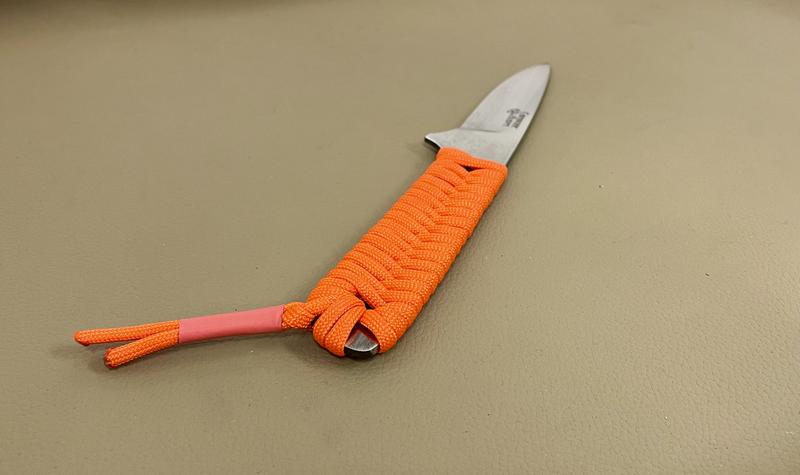
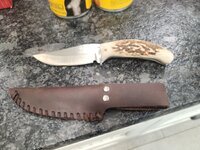
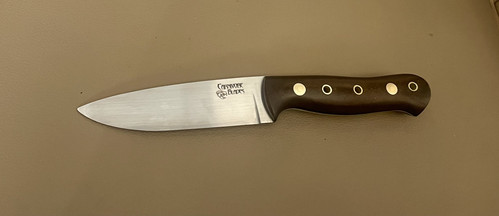
Beautiful and quality builds for sure. I played around with dolling up a couple cheap blades to practice on to give away to friends certainly not high caliber like yours.I have posted a few of my knives in the past, but thought I would start a thread to keep all my builds together.
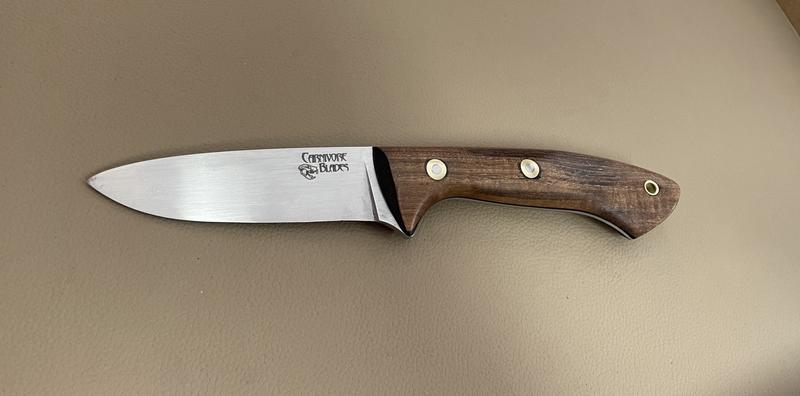
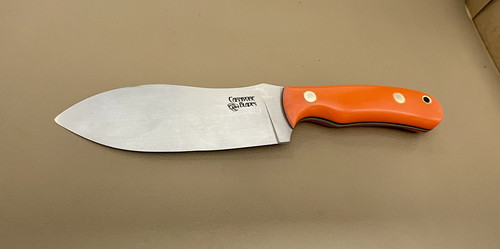
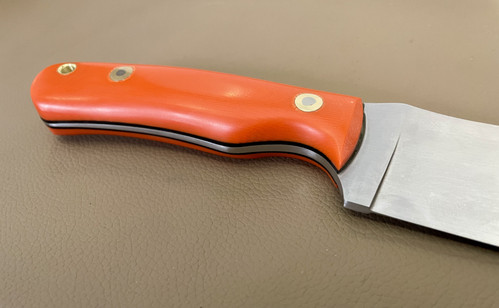
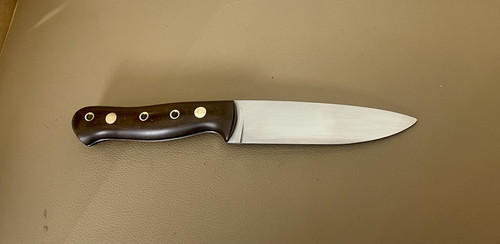
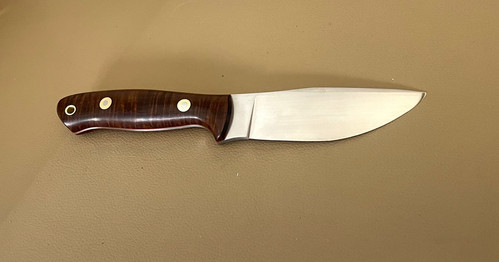
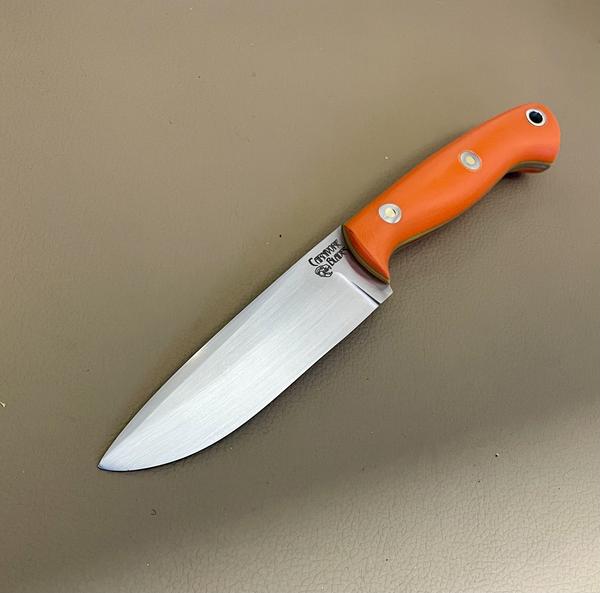
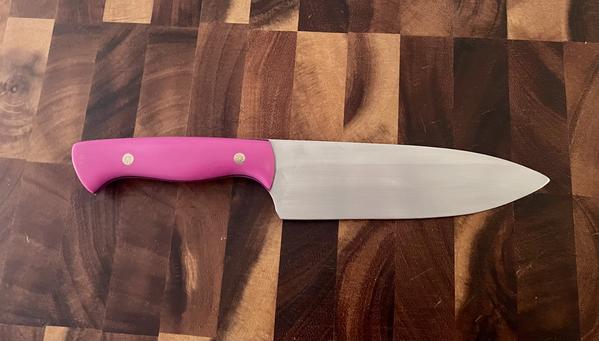
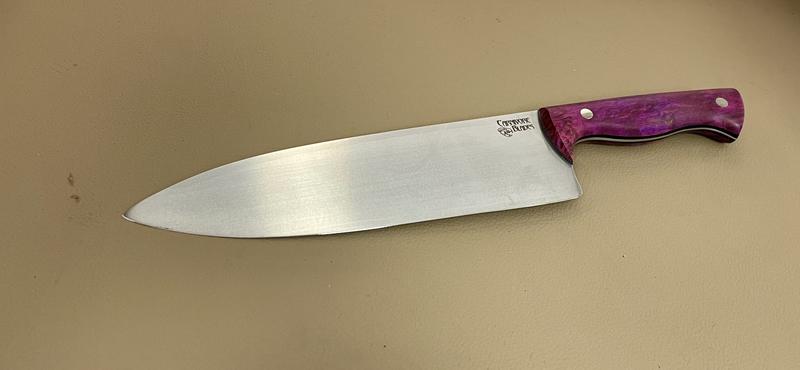
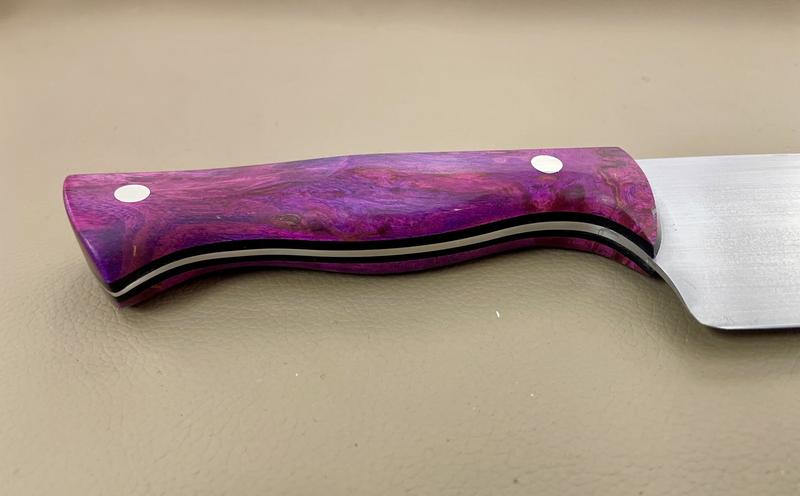
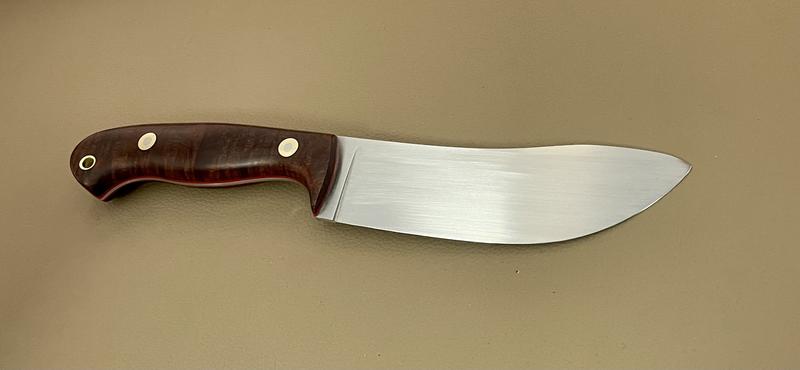
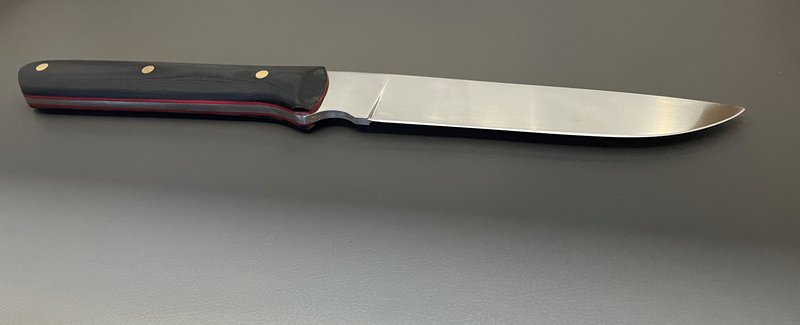
This one is pretty different design to anything I have done before. Its inspired by a guy on another forum who had something like this custom made for slicing ribs of pig carcases. The design intrigued me, so I decided to make a version of it for myself. Its designed to be gripped with both hands if required, but I can easily work with it in one hand.
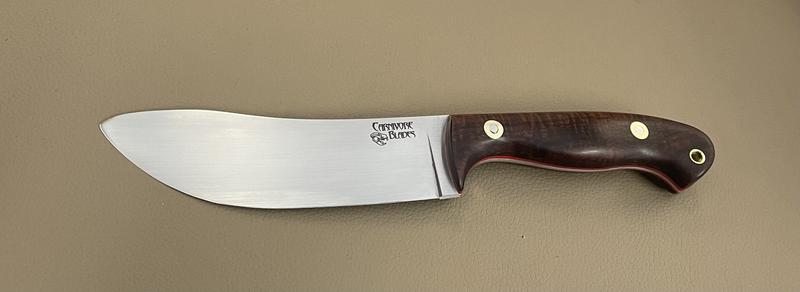
Towards the end of 2020, covid related shortages were starting to hit and some knife steels were in pretty short supply here in Australia and I grabbed a length of what was available at the time, thinking it might be my only chance for a while. So I ended up with a meter of 5.25mm CPM 3V. Then I realised the knife I was planning to make was a bit beyond me at that point, and the steel sat around unused for around 18 months.
To use some of the 3V up, I thought this project might be just the thing. I have never used 3V before, and boy was this build an experience. Its extremely abrasion resistant, and it really shows in several steps in the making process. I assumed it would be similar to the stainless steels I normally work with, but in hind sight, I should have done a lot more finishing work pre heat treat. Because once this was hardened, I found it has been VERY difficult hand sand.
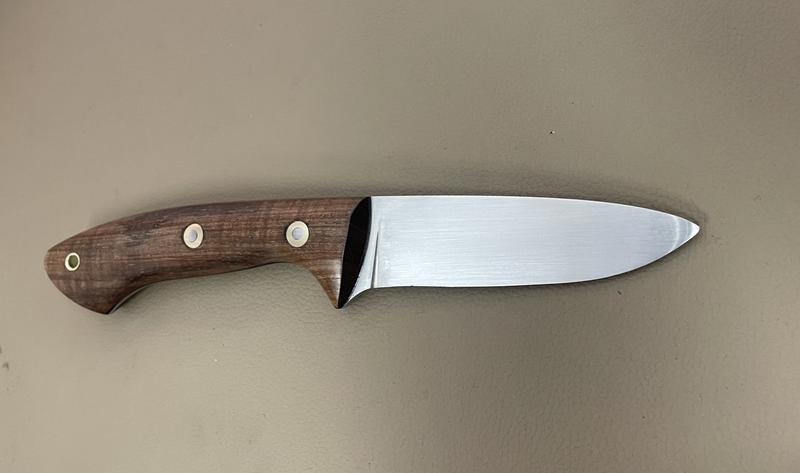
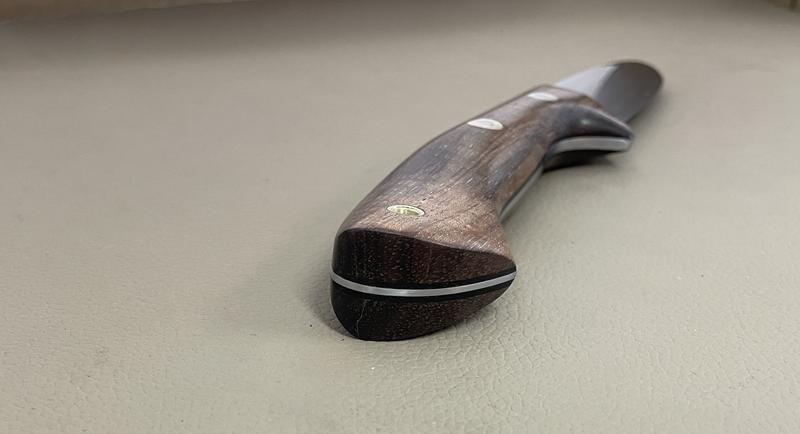
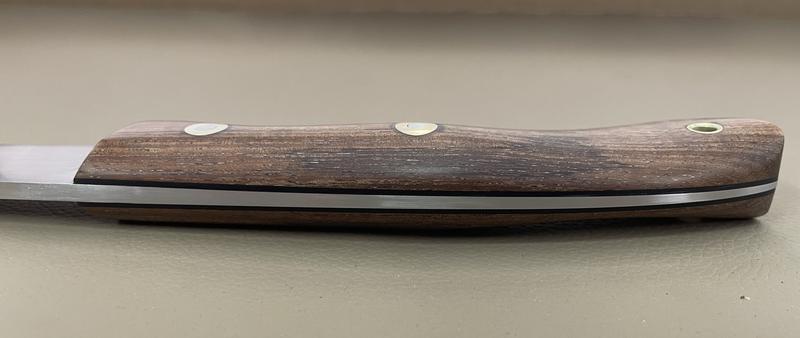
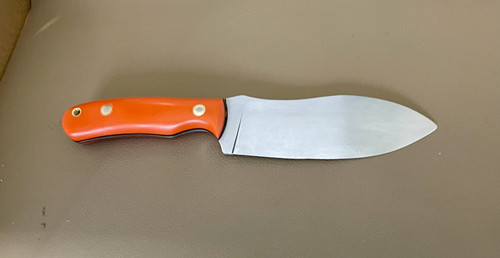
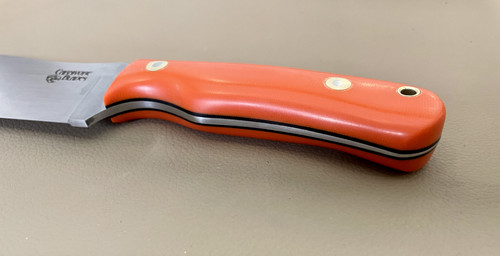
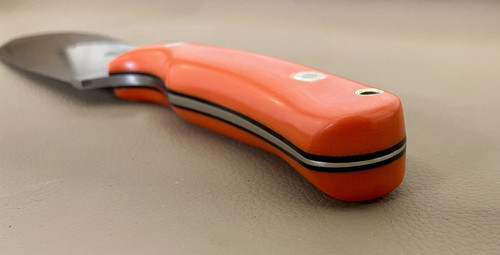
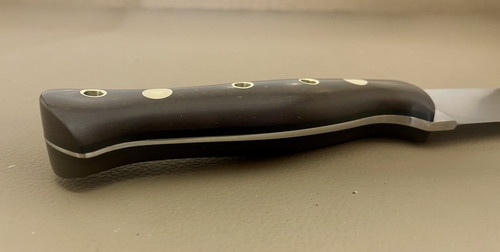
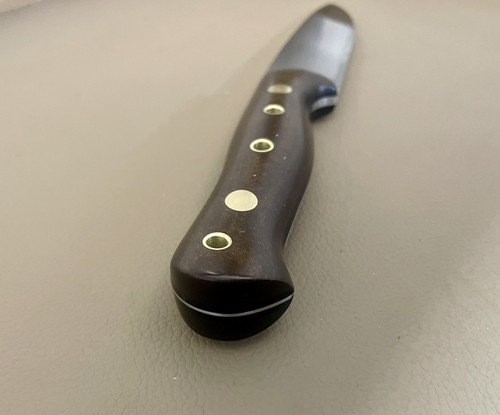
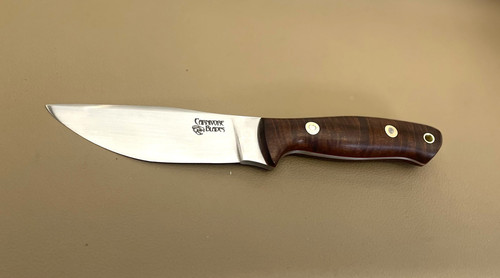
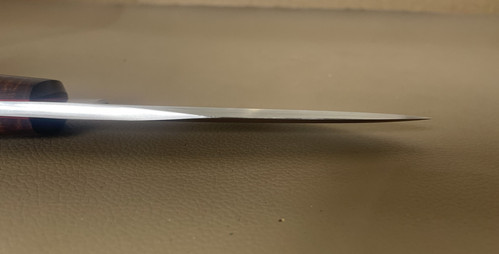
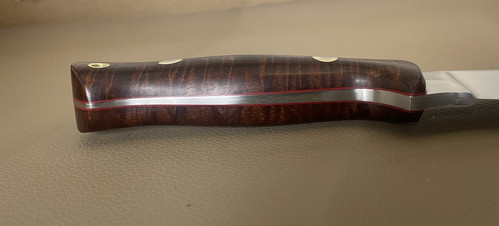
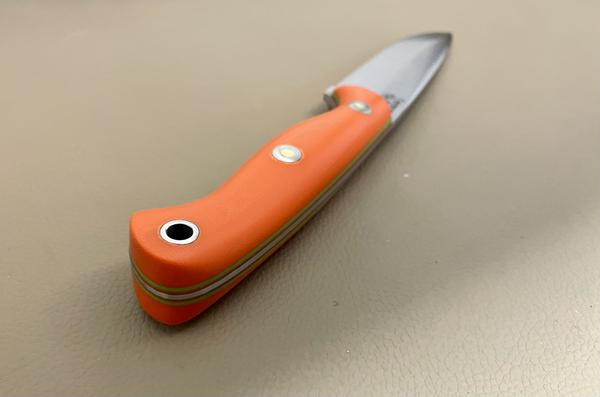
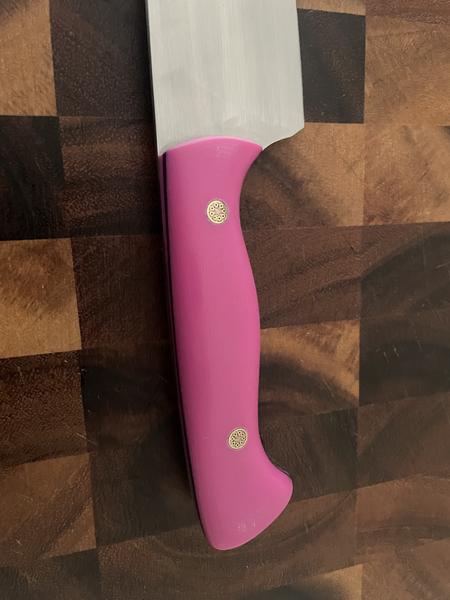
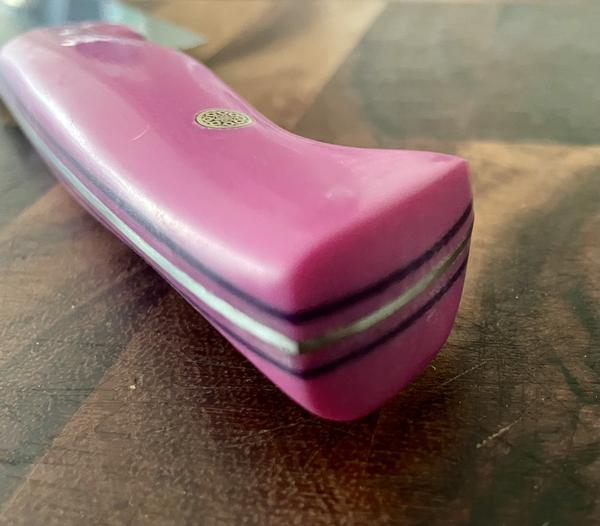
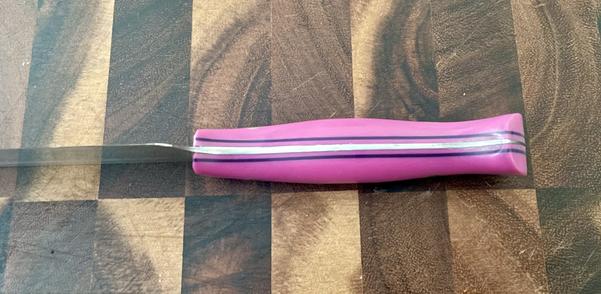
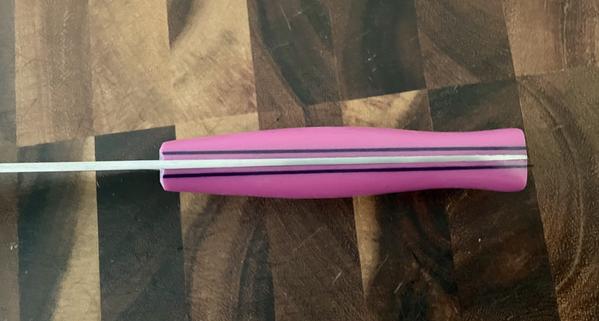
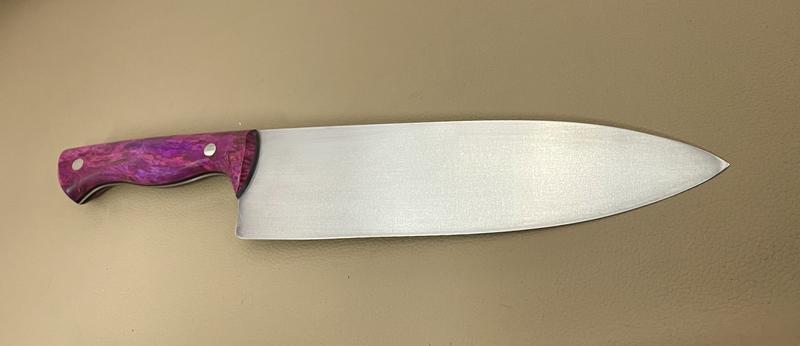
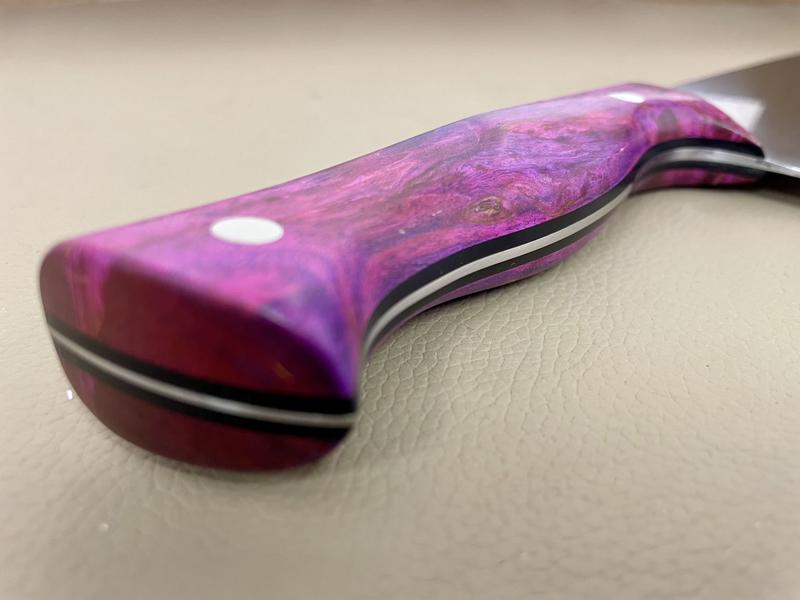
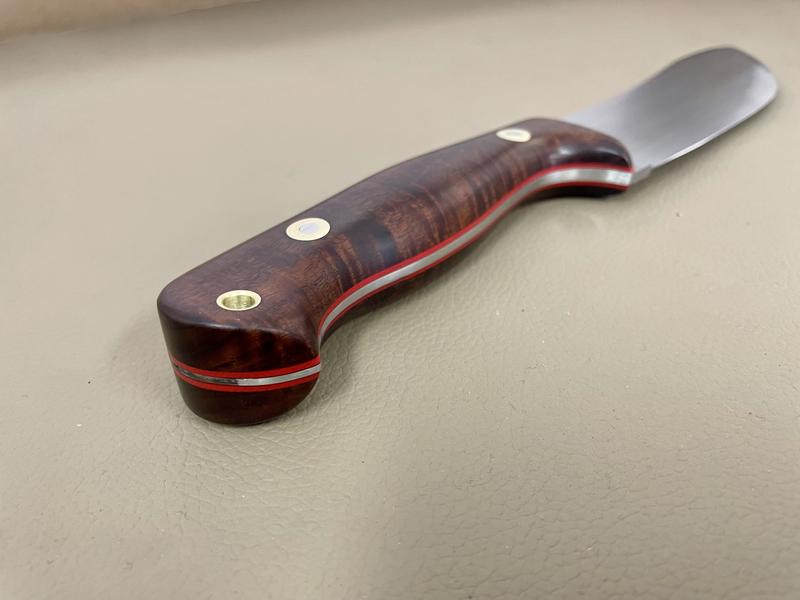
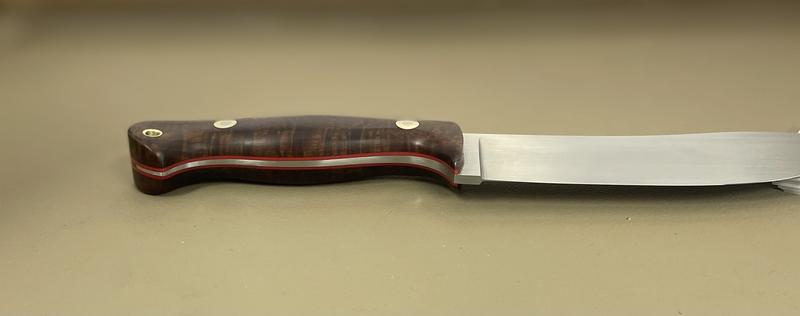
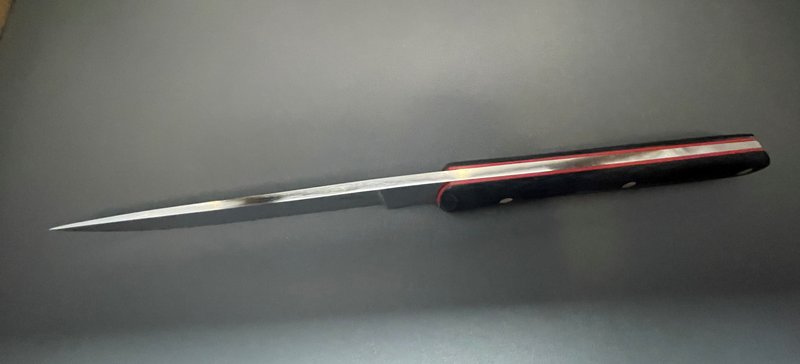
The blade is a full flat grind, with the normal distal taper on the blade. Since the steel is so thick, I tapered the tang to take a bit of weight out of the back end and help the balance of the knife. That leaves just a small section towards the centre of the knife where the handle meets the blade which is the full 5.25mm thickness. It worked out pretty well I think, as the balance feels good. Handle material is black micarta with red G10 liners and brass Corby bolts, so it should be pretty solid. Because it is intended to chop through bone in processing animals, I only took the edge down to 1mm thickness which should be pretty durable.
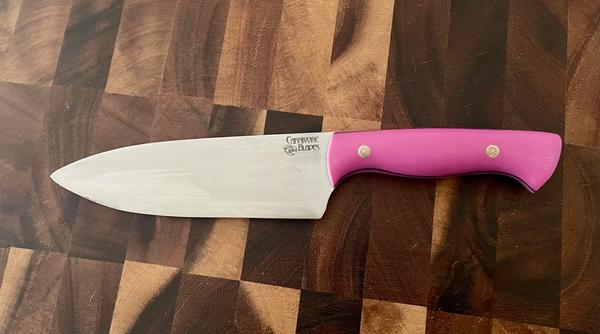
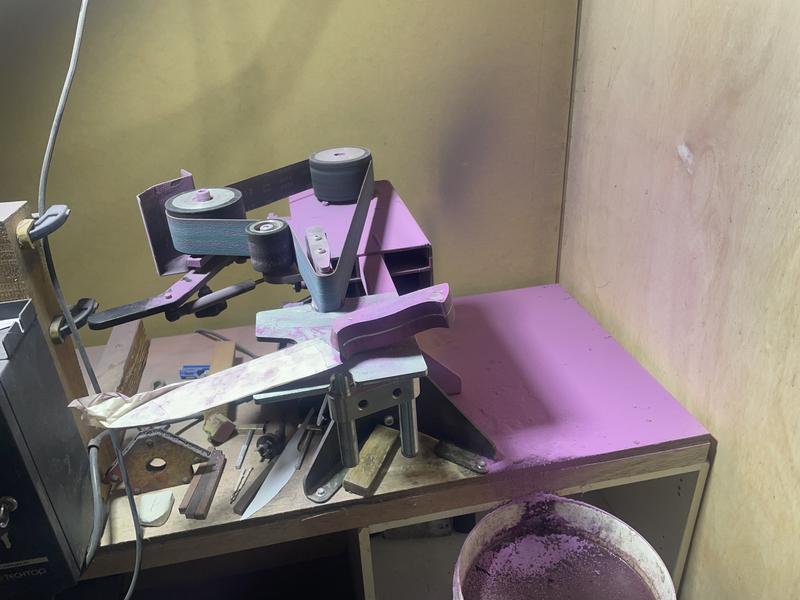
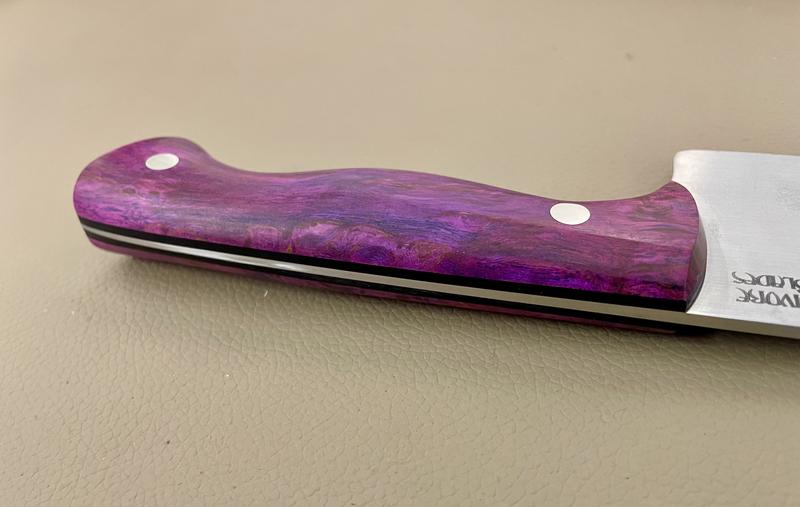
The last photo shows the sanded finish on the blade which has the scratches much more visible than would normally be the case when I finish a knife. I tried for 2 days to sand the bevel to an 800 grit finish, but in the end I conceded defeat and just gave up. Even when I put an edge on the knife it was harder than normal. I will usually start grinding the secondary bevel with either 240 grit, or 400 grit. For this one, I started with a 120 grit belt, but after 20 passes on each side, it was barely making an impact. I had to go to a 60 grit ceramic belt just to get the edge started. But that did the job, and its come up with a pretty nice edge.
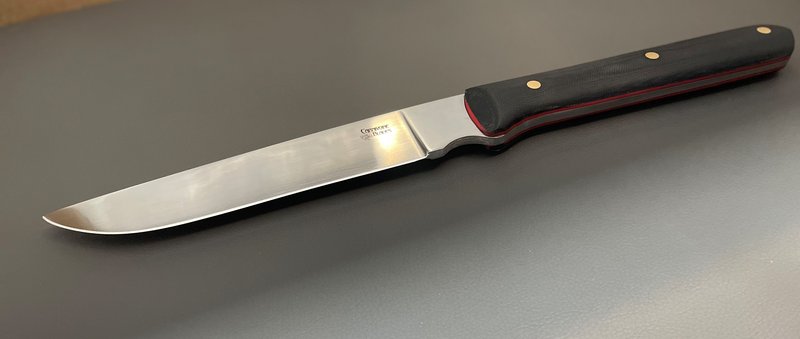

Beautiful and high quality builds for sure. Im always inspired by the knife makers like yourself so last year I played around with dolling up a couple cheap blades to give away to friends.I have posted a few of my knives in the past, but thought I would start a thread to keep all my builds together.
This one is pretty different design to anything I have done before. Its inspired by a guy on another forum who had something like this custom made for slicing ribs of pig carcases. The design intrigued me, so I decided to make a version of it for myself. Its designed to be gripped with both hands if required, but I can easily work with it in one hand.
Towards the end of 2020, covid related shortages were starting to hit and some knife steels were in pretty short supply here in Australia and I grabbed a length of what was available at the time, thinking it might be my only chance for a while. So I ended up with a meter of 5.25mm CPM 3V. Then I realised the knife I was planning to make was a bit beyond me at that point, and the steel sat around unused for around 18 months.
To use some of the 3V up, I thought this project might be just the thing. I have never used 3V before, and boy was this build an experience. Its extremely abrasion resistant, and it really shows in several steps in the making process. I assumed it would be similar to the stainless steels I normally work with, but in hind sight, I should have done a lot more finishing work pre heat treat. Because once this was hardened, I found it has been VERY difficult hand sand.
The blade is a full flat grind, with the normal distal taper on the blade. Since the steel is so thick, I tapered the tang to take a bit of weight out of the back end and help the balance of the knife. That leaves just a small section towards the centre of the knife where the handle meets the blade which is the full 5.25mm thickness. It worked out pretty well I think, as the balance feels good. Handle material is black micarta with red G10 liners and brass Corby bolts, so it should be pretty solid. Because it is intended to chop through bone in processing animals, I only took the edge down to 1mm thickness which should be pretty durable.
The last photo shows the sanded finish on the blade which has the scratches much more visible than would normally be the case when I finish a knife. I tried for 2 days to sand the bevel to an 800 grit finish, but in the end I conceded defeat and just gave up. Even when I put an edge on the knife it was harder than normal. I will usually start grinding the secondary bevel with either 240 grit, or 400 grit. For this one, I started with a 120 grit belt, but after 20 passes on each side, it was barely making an impact. I had to go to a 60 grit ceramic belt just to get the edge started. But that did the job, and its come up with a pretty nice edge.


Thanks mateBeautiful and quality builds for sure. I played around with dolling up a couple cheap blades to practice on to give away to friends certainly not high caliber like yours.
Beautiful and high quality builds for sure. Im always inspired by the knife makers like yourself so last year I played around with dolling up a couple cheap blades to give away to friends.View attachment 1042258View attachment 1042270View attachment 1042270View attachment 1042258View attachment 1042261
Hi mate. If you are asking me, no not blanks. These all start from a piece of steel and go from there.Are you getting knife blanks and then shaping them or creating from raw steel?