Day pack planning

A 70s era metal gear Kenmore (158.19411)

Photo right before cleaning up from this project, lots of string tails scattered. Also my "fancy" binder clip thread guide since I'm feeding off a cone of thread behind the machine. I was going to make an actual thread stand and just set that up temporary to try the machine but it worked just fine so I never bothered with a thread stand.

DE4C1F92-A392-4FCB-A75A-1B2D6AE56BFA_zpsj5nmsm5q.jpg


Also cut off the jingling metal sliders last night and tied on some high visibility pulls to try out. Aesthetically they are a bit bold at the moment but in low light I'm sure they'll be nicer to stand out among the pack/straps. Easy enough to change in the future too if desired.

B1D55DC0-0320-4B65-87B7-6731990EF73B_zpsbvoczayk.jpg
 
Got the hudson order hardware yesterday (thanks COlineman78 for coordinating/dropping off too!) so the pack now matches with coyote hardware (might as well). Also picked up some metal oval slides for pouches (coyote out of stock but tan works fine on hidden stuff) so I knocked out a pouch sized for my 8x42 binos. Built with placement on my belt mainly in mind but it can attach to the top of the pack (off center since it uses 5 spaces of PALS). I also made some DIY belt pulls (visual copies of the OV ones, no pics here since its not my creation, just made them for myself) that make snugging the belt so much nicer.

I haven’t cleaned off the chalk marks yet (those brush or wipe off).

0432FAC2-9C19-483D-9CB4-6D06E94EF41A_zpsbjkvdkf5.jpg


1D299EAF-9701-4EBA-8A36-6597CBEBED93_zpsguisgkj2.jpg


8ECCCE2E-DA00-43F9-B633-63C4D8B1939D_zpshpwizpej.jpg


7685DA10-1F06-4A01-B8D2-8AFBAE16C30F_zpseiai44xo.jpg
 
Yep you've started down an addicting path. Cargo panels and grab its are useful accessories to have lying around and are far simpler than your existing under takings were.
 
I got by hudson order in today. I guess i better build something. Those waveloc XLs are pretty legit.
 
Yep you've started down an addicting path. Cargo panels and grab its are useful accessories to have lying around and are far simpler than your existing under takings were.

Yeah panels and even the pouches are quick things to knock out. Even a large bag w/o much going on seems like it'd be pretty simple. That pack definitely took a bit more time over some evenings.

I've built a few belt pouches and they never turn out that nice

Sent from my SM-G900V using Tapatalk

I used the same method for pullout pouches to make this one to simplify things which means the zipper path is either limited to straight across the top width or across the face and halfway deep on each side. In my head it made assembly much quicker/cleaner out of one piece of fabric versus trying to piece together multiple pieces.
 
If i send you krypyek fabric and oval metal parts can you do me a medium belt pouch?...send me a pm when you get the time,nice work buddy.

Envoyé de mon E6560C en utilisant Tapatalk
 
That looks fantastic. It reminds me of a smaller hunting version of the MR SATL bag. I always liked the MR torpedo pockets and I wished MR made a hunting specific version of the SATL. Do you plan on adding buckles for attaching a lid like the MR alpine lid?
 
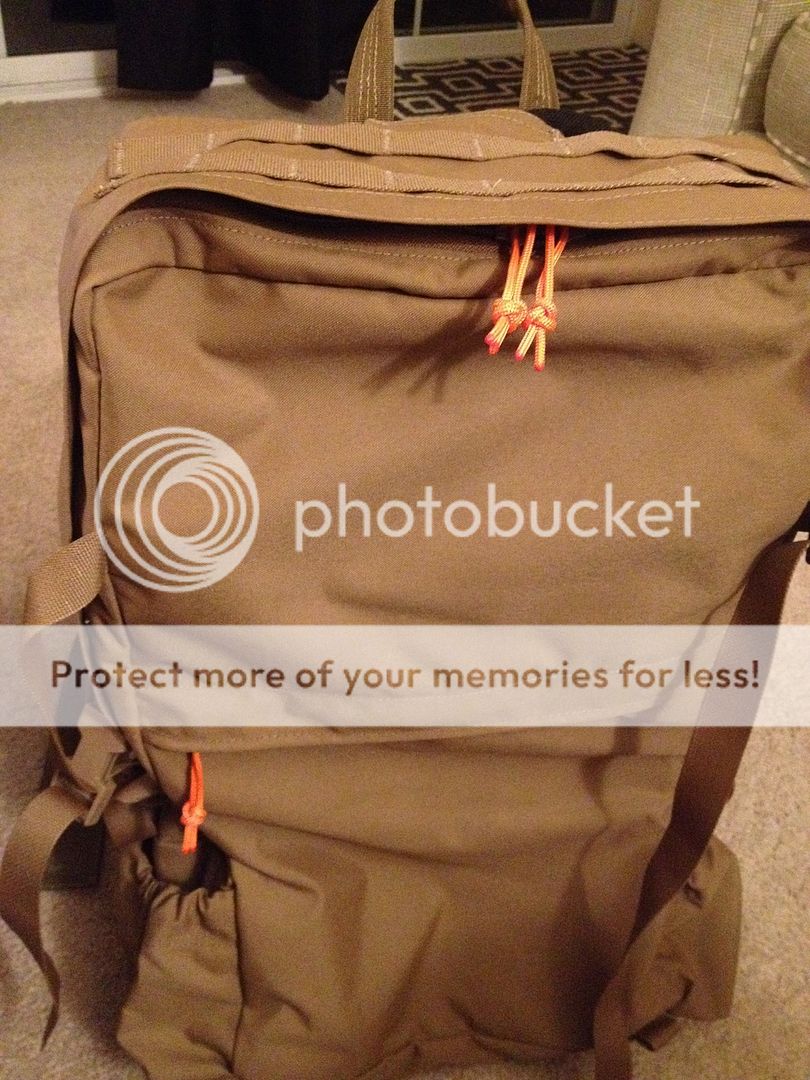
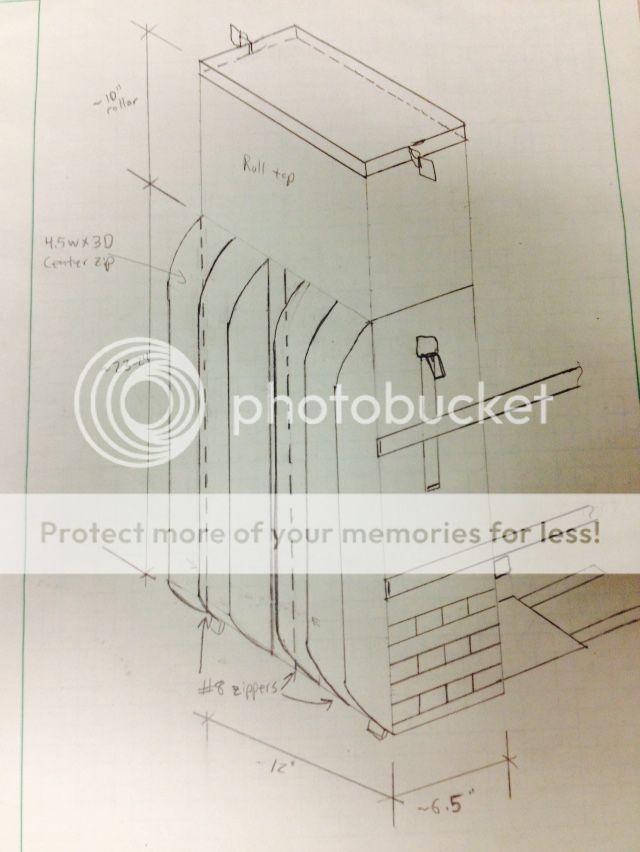
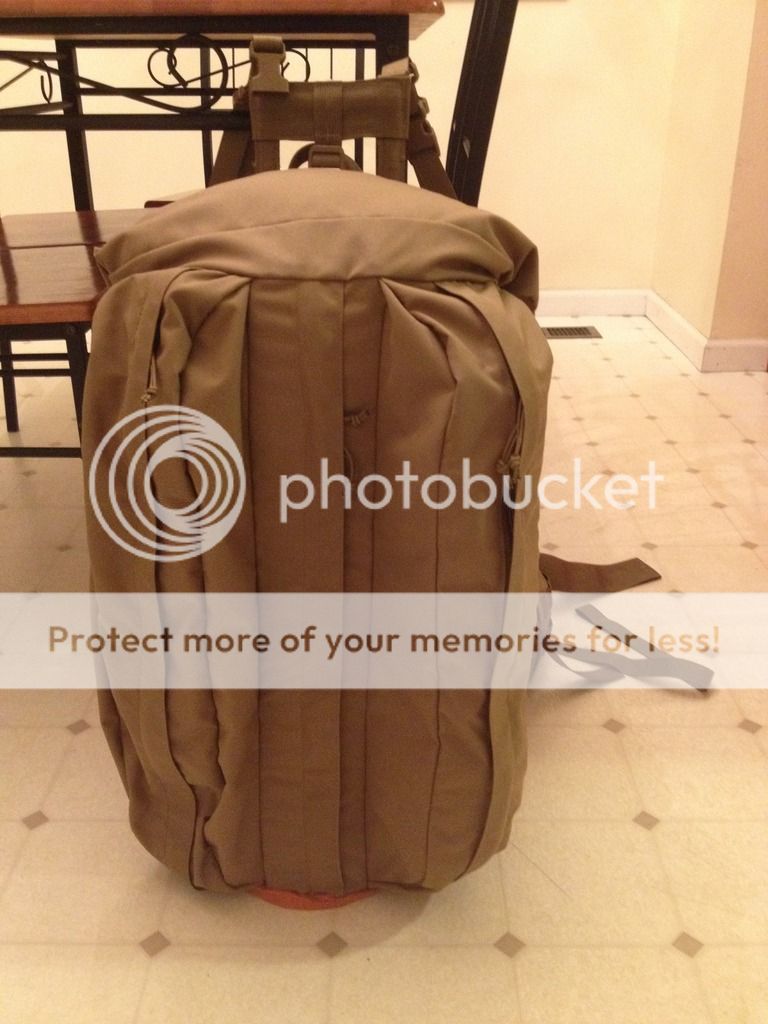
I will put two little loops along the bottom edge like my other build and also add those same ones to the top rear, that will let me connect repair buckles if I want something there. Within reason I can add something's later if I see a need. Generally though with the main body and torpedo pockets (my buddy urged those as an addition) I wouldn't want to carry much more around general hunting. Side pockets or a load bag on the cargo shelf covers camp hauling.

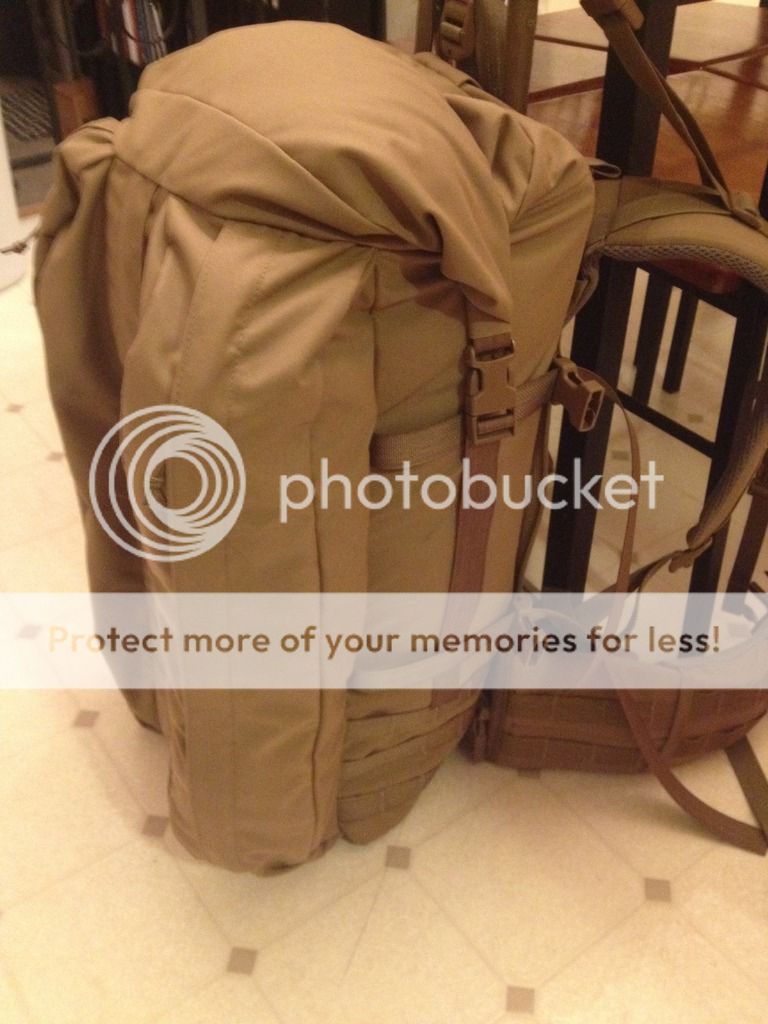
I thought PALS on the side to go sleek or swap on a bottle pocket/zipper pocket/rifle sling as I feel the need.
 
Started on this yesterday. Back panel done (has a center water bladder pouch like the prior pack), side strips have PALS on them, and the front panel is done. Need to join up the sides to front/back and then move to putting the collar and bottom on (still need to finish off those individual pieces as well). Front panel has those two long exterior pockets as sketched. On the inside I added some pockets as well (I'm not putting interior pockets on the sides of this pack, just the front/back). At the bottom are open top pockets I figure small loose stuff can be tucked into (headlamp, etc.) and quickly fished out by reaching in from the front center zipper assuming the pack isn't bulging at the seams. At the top I'm putting in some zippered pockets to tuck in stuff like keys, cell, ID, etc. that you don't want accidentally falling out.

CE2291B0-69A1-4E3F-BE06-2AABD0A72482_zpstkn0uxkr.jpg


DC4BCBAD-DB36-47D2-B441-820D61A36D42_zpstreh64iw.jpg
 
Thanks.

Some hylander showed up at my place over the weekend too after you suggested it. :p I'm making this pack in brown (cheaper and easier to work with since my fabric pencil shows better) but I might try making one in hylander too if it turns out well.
 
This is still incomplete, there is no bottom on it yet, you can see my sleeping bag poking out the bottom (and all the buckles aren't on all the straps yet) but I was excited to see how its looking now that the top is on it. Seems nice so far and when I pulled my sleeping bag out and rolled the top a couple more turns in sucked in the width of the pack nicely to help compress it. The right long pocket is stuffed and the left is empty.

DB409F80-641D-42B4-A79A-E28A96974F65_zpsye6cjc8u.jpg


3221968F-47F4-4C12-B96C-7F462478D95C_zpsdvain773.jpg


21F7CA4E-B2B8-48FA-AD75-CDACA0B83B21_zpsy34kaxgm.jpg
 
Back
Top