Another DIY Stove

Joined
Mar 14, 2012
Messages
543
Location
Somers Montana
I think I'm going to give one of these a shot. I'm going to go look at those plates at wally world and maybe use the larger size plates for the ends. I want to build a stove a little bigger than my large Kifaru box stove and make it airtight. My kifaru stove can't be shut down, if I try to load it up at bedtime it takes off like a rocket and can't be shut down. Anyone ever tried putting a hem in the body so it snaps together and would seal good, or does overlapping the two ends work well enough? The other goal will be a door that seals tight, the door on my Kifaru doesn't. Weight won't really be a big concern for me because I'm usually horse packing.
 

kad11

WKR
Joined
Jan 14, 2014
Messages
1,030
Location
Billings, MT
Bbrown, how did you make your damper? Specifically, what did you use to attach the damper plate to the L shaped rod? Epoxy or weld, or something else? I've just about got the stove I'd like to build figured out but I'm still struggling with the damper. Thanks for any help you might be able to provide.
 
OP
bbrown

bbrown

WKR
Joined
Mar 9, 2012
Messages
2,945
Location
Laporte - CO
Ya I think the 3" would be over kill for that small of a stove and i think both TiGoat and Ed T use the 2-3/8" for all their stoves so it seemed like the right choice.
 

Chem-E

Lil-Rokslider
Joined
Apr 28, 2012
Messages
132
Location
Lehi, Utah
Those drill bits are pricey but work well - another option is using the smaller sanding stones for the dremel. Worked a lot better that I expected.

Thanks for the kind words fellas.

you can get them pretty cheap at Harbor Freight
 

colonel00

WKR
Joined
Jun 19, 2013
Messages
4,769
Location
Lost
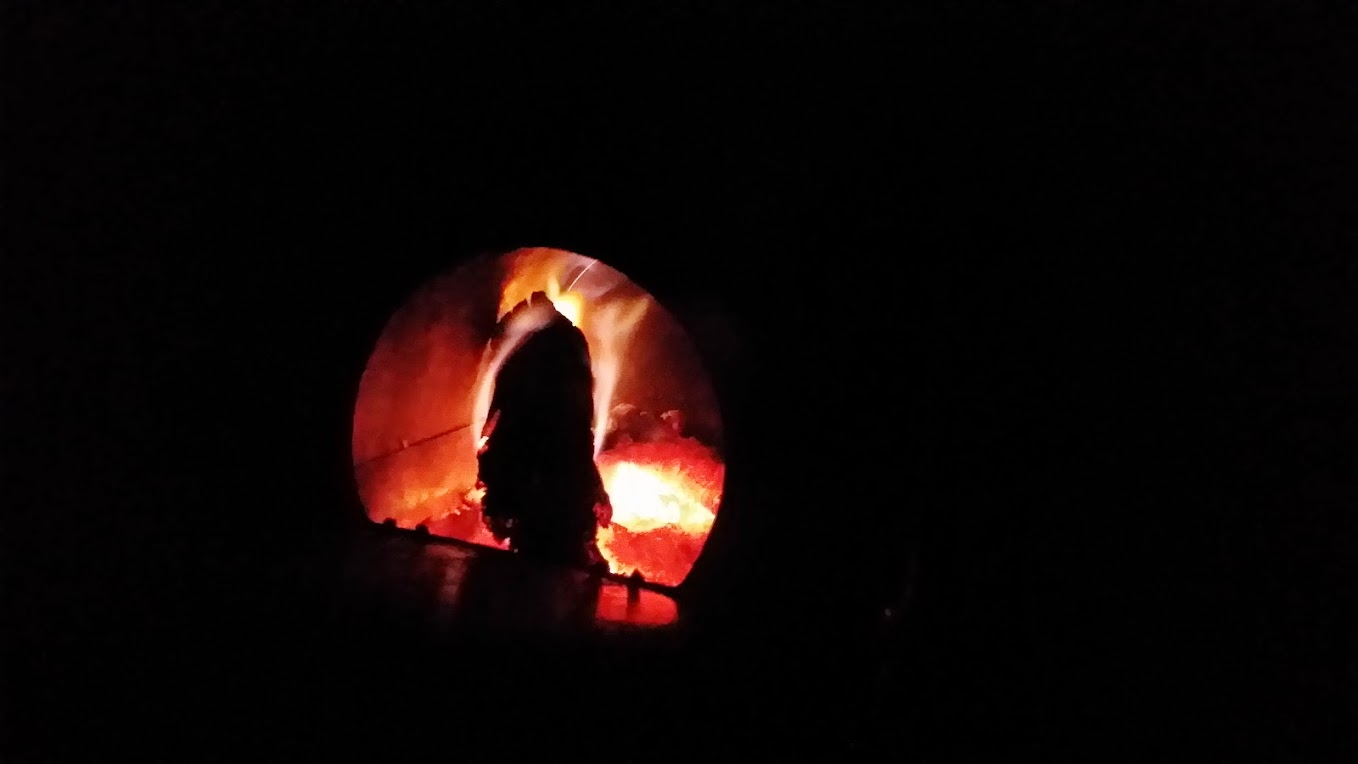
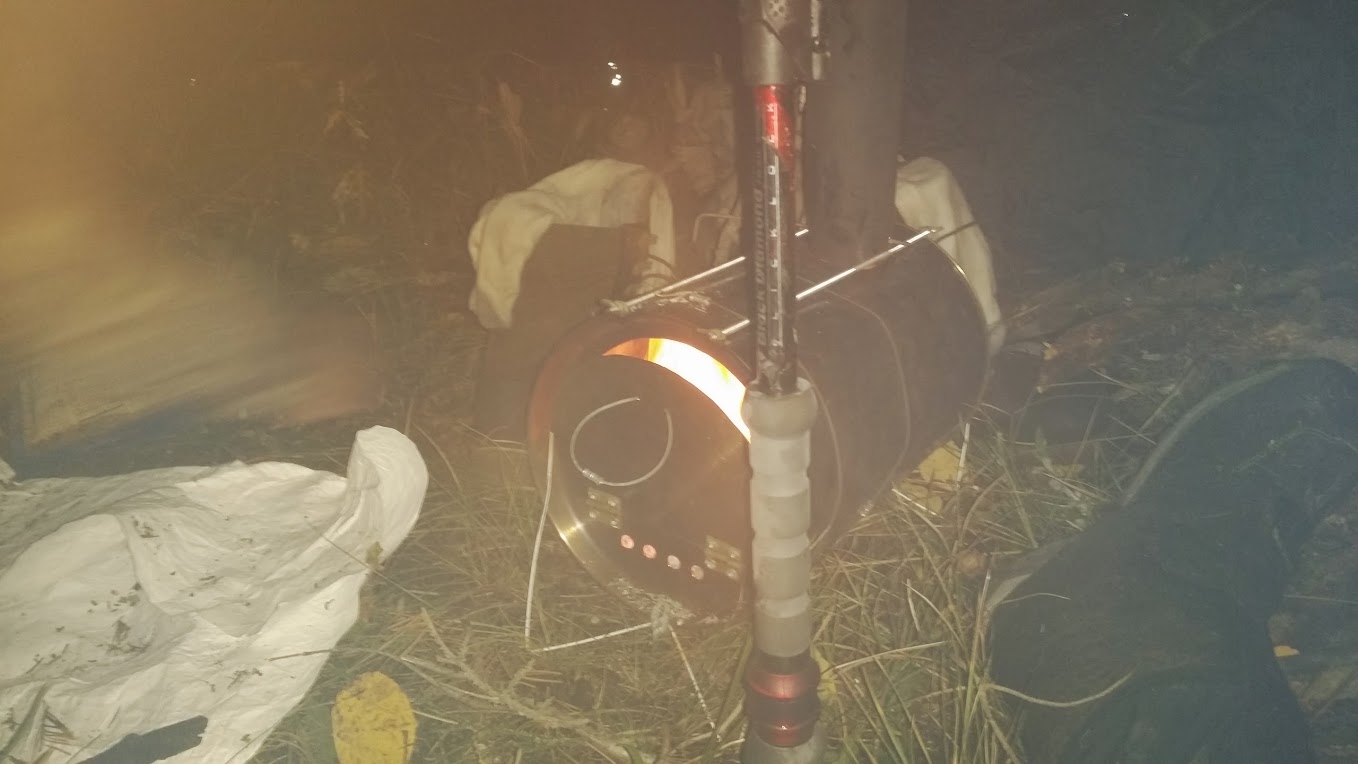
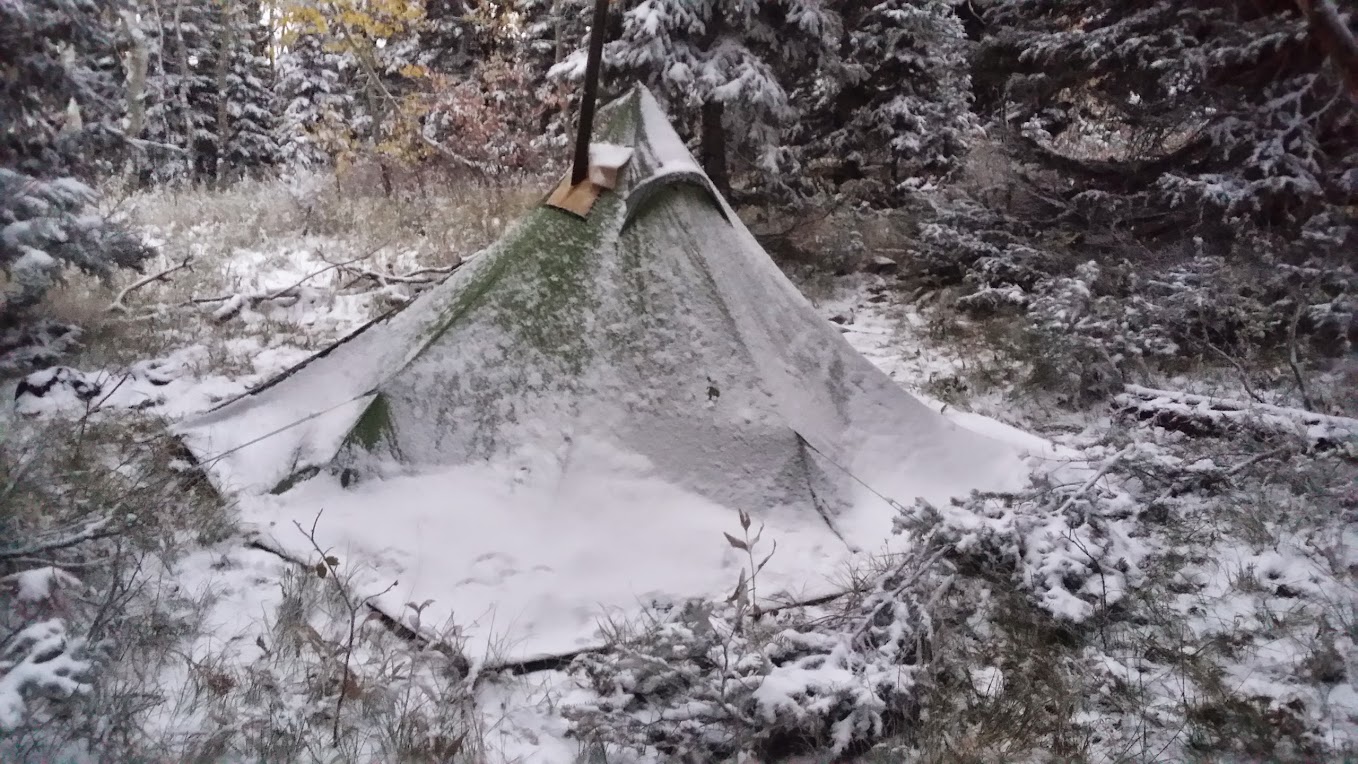
I took one of these stoves with me to Wyoming this week and it saved the trip. Temps dipped lower than expected and we have freezing rain, sleet and snow for several days. If we didn't have the stove, we would have probably been driven off the mountain within a day.

20141002_065353.jpg

20141002_065317.jpg

20140930_214419.jpg


[video]https://plus.google.com/photos/yourphotos?pid=6066115221601335042&oid=114495726988868218797[/video]
 
OP
bbrown

bbrown

WKR
Joined
Mar 9, 2012
Messages
2,945
Location
Laporte - CO
After some more tinkering I have made a few changes to save some weight and make the build simpler. I will post up some pictures one of these days here soon.

That looks cold... How was the hunt?
 
Last edited:

colonel00

WKR
Joined
Jun 19, 2013
Messages
4,769
Location
Lost
It was cold. Nothing crazy cold but definitely colder than we were expecting or geared up for. In the tent we stayed warm but out hunting I was wearing pretty much everything I brought and still had some cold hands and toes. Overall, my buddy shot a smaller deer and I passed on some spikes and forks. In the end, my old knees were crying just carrying myself and my gear down the mountain so it was probably a good thing that I did pass.

There was one day when we hunted the morning and then saw the low hanging clouds rolling in. We spent pretty much the whole day sacked in the tent. The stove was great not only for warmth but for something to do.

BTW, notice in the first photo that we had what we assume was a rabbit creeping on our tent in the night. I knew I should have brought some rabbit protection... :D

Looking forward to seeing what you have come up with different. I have a few thoughts but overall, it works great the way it is. I am still debating the all-thread connecting rods vs other options though. That and I may look into titanium foil for the pipe and stove body but I just don't know if the money is worth the 1/4-1/2lb savings.

Here is one other crappy cell phone photo of the stove in action. I have better photos I will get to you at some point.

20140930_190625.jpg
 
Joined
Mar 16, 2013
Messages
314
Location
Western Washington
I love the stove, and am looking to make a roll-up of my own to put in my Mountainsmith LT...
Any ideas on an end plate that is more like 5-6 inches diameter, rather than the 8.75 of the burner covers?
I just think an 8.75 stove may be a bit overkill.

Sorry to jack the thread...
 

colonel00

WKR
Joined
Jun 19, 2013
Messages
4,769
Location
Lost
It may just be me but I felt this one was just right if not a little small. While the overall size once everything is running may be a hair too big, the current size makes it easy to light and easy to load several pieces of wood. Most times, we had that thing stuffed full of dead pine branches and other material getting the fire going with all of the rain and snow.

I guess you could go a little smaller but I don't know that you would see that much of a weight or space savings. Also, these things eat up wood, especially non-hardwoods. I was feeding the stove about every 5-10 minutes to keep the warmth up.

With all of that said, you could go back to the original route of the Alpine plate for $8 which is listed at 7.5" in diameter.

http://www.campsaver.com/alpine-pla...PihHf_pL1XL5xE2Az7DnLHYJS2sf1dhcYthoCr0_w_wcB
 

realunlucky

Super Moderator
Staff member
Joined
Jan 20, 2013
Messages
13,222
Location
Eastern Utah
Brian I'm getting ready to build a stove for my copy cat tent and was hoping you could post up your thoughts on what you might change in your design. Brad now that you have used your some were there any upgrade/ changes that you would make? Thanks guys
 

colonel00

WKR
Joined
Jun 19, 2013
Messages
4,769
Location
Lost
I'm sure I will tinker with it a little bit but overall, I was very happy with how it performed as it currently is. Now, one thing in my current setup (I'm pretty sure as I haven't actually tried yet :) ) is I have extra length on the body material. Much more than is needed for the circumference of the small stove cover. I did this so I could also make up a larger stove should I want to and still use the same stove body piece.

I liked the little legs I made out of coat hangers but they did start to rust. Overall, they aren't completely necessary but nice to not have to rest the stove on rocks. However, I think if you did use a good bed of rocks, those rocks should retain and radiate heat. Not sure on this but it makes sense.

Also, I may still play around with different options other than using the all-thread but overall, using the all-thread is a solid option even if it does add a little weight.
 
OP
bbrown

bbrown

WKR
Joined
Mar 9, 2012
Messages
2,945
Location
Laporte - CO
After field use and making a few of these I have made a few changes but the same basic idea applies.

- I gave upon the hinges for the door. They worked well on mine but can be a pain to get lined up right and they are not needed. I do still like how everything is contained.

- After messing with the springs they just did not work as well as the all thread. I have been tempted to move down to the next size smaller that 1/4-20 but have not messed with that yet.

- Also at 1 end of each body support I ditched the washer and wing nut in favor of bending a simple "J" to hook around the end plate. Just use a torch to heat up the all thread and bend it a bit - eliminates the extra weight and small pieces to possible lose.

- Brad turned be onto some "obtuse corner angle" brackets that can be found at Lowe's (have not found them at home depot yet) instead of bending washers. They are lighter and work better so get these.

- The stove body only needs to be 30" long or so and that save some weight plus makes it easier if you have to make any cuts in the body to accept the legs.

- Legs are still a pain in the ass as I have not found something that works great yet. Brad's coat hanger works and I found some nutsert style adapters at ACE Hardware that work similar to what Ed T has but neither are perfect. Stay away from the aluminum nutserts they break too easy.

- Gave up on drilling vent holes because watching the fire has almost the same "entertainment" value as the heat does so I just leave the door open/off.

If anyone has questions shoot me a PM and I hope to update this thread with more/better pictures here soon.
 

colonel00

WKR
Joined
Jun 19, 2013
Messages
4,769
Location
Lost
- Brad turned be onto some "obtuse corner angle" brackets that can be found at Lowe's (have not found them at home depot yet) instead of bending washers. They are lighter and work better so get these.

- Gave up on drilling vent holes because watching the fire has almost the same "entertainment" value as the heat does so I just leave the door open/off.

Here are those brackets:

IMG_2371_zps6375a387.jpg


Interesting comments on the door. I really liked having the hinged door. Perhaps it had more to do with the weather and the fact that we were burning wet wood that was popping a lot so we kept the door closed most of the time. Also, keeping the door closed, at least in my setup, created a nice draft that really stoked the fire.
 

Scot E

Lil-Rokslider
Joined
Aug 12, 2013
Messages
120
After field use and making a few of these I have made a few changes but the same basic idea applies.

- I gave upon the hinges for the door. They worked well on mine but can be a pain to get lined up right and they are not needed. I do still like how everything is contained.

- After messing with the springs they just did not work as well as the all thread. I have been tempted to move down to the next size smaller that 1/4-20 but have not messed with that yet.

- Also at 1 end of each body support I ditched the washer and wing nut in favor of bending a simple "J" to hook around the end plate. Just use a torch to heat up the all thread and bend it a bit - eliminates the extra weight and small pieces to possible lose.

- Brad turned be onto some "obtuse corner angle" brackets that can be found at Lowe's (have not found them at home depot yet) instead of bending washers. They are lighter and work better so get these.

- The stove body only needs to be 30" long or so and that save some weight plus makes it easier if you have to make any cuts in the body to accept the legs.

- Legs are still a pain in the ass as I have not found something that works great yet. Brad's coat hanger works and I found some nutsert style adapters at ACE Hardware that work similar to what Ed T has but neither are perfect. Stay away from the aluminum nutserts they break too easy.

- Gave up on drilling vent holes because watching the fire has almost the same "entertainment" value as the heat does so I just leave the door open/off.

If anyone has questions shoot me a PM and I hope to update this thread with more/better pictures here soon.

Would love to see some pics of how you made the different leg options and what you had to do. Great thread!
 
Top