nighthawkf-117
Lil-Rokslider
- Joined
- May 27, 2024
- Messages
- 127
Hi everyone,
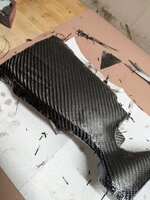
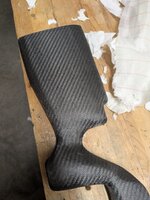
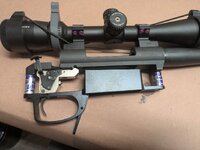
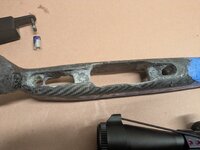
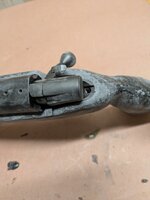
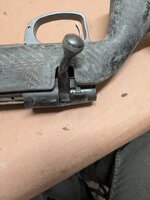
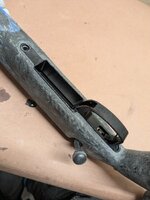
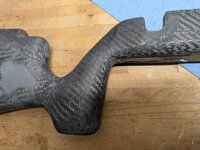
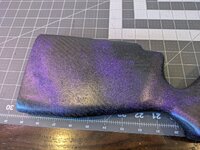
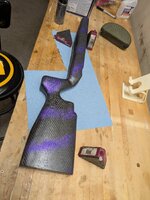
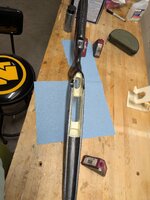
Inspired by other builds on this forum, I'm building a carbon fiber stock for my 308 Weatherby Vanguard. I recently put together a full custom rifle with an AG Composites Alpine Hunter stock. I'm amazed with how much I like this stock compared to the traditional style stock on my Vanguard. I also feel I am having issues with the barrel not being free floated on that rifle. Lastly I'll be designing this stock with a negative comb above bore butt stock. I hope to dramatically improve the shootablility of this rifle with these changes.
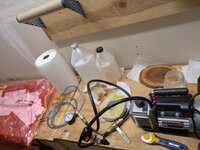
For those curious I have pretty extensive composites experience. I am currently building a set of molds for a Kevlar canoe which ultimately be vacuum infused. It has taken me many years and many failures to get to this quality of work.
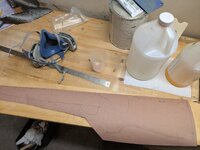
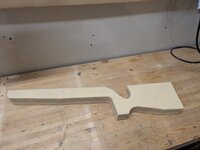
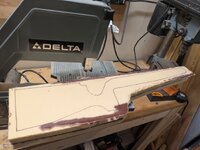
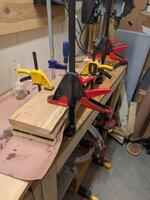
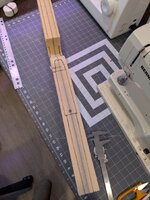
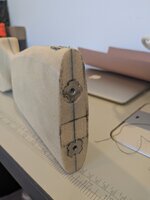
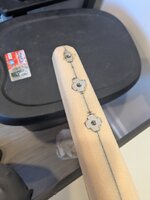
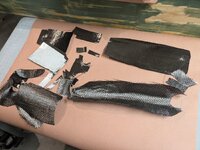
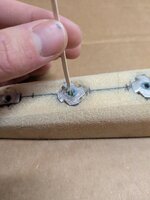
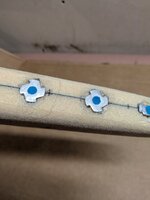
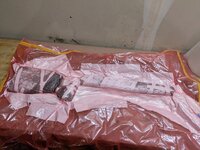
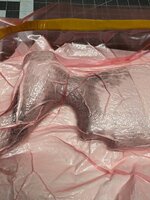
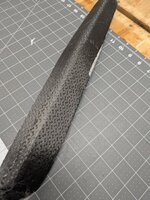
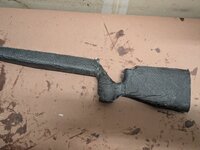
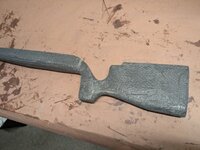
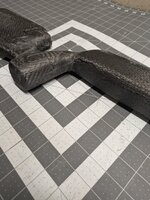
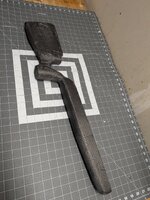
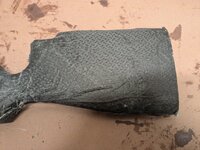
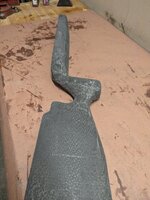
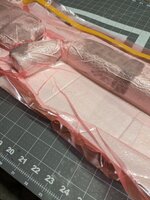
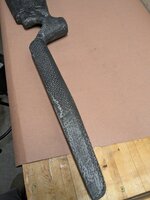
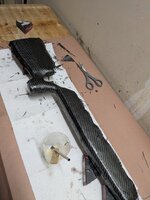
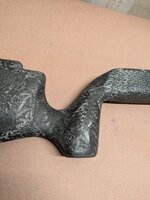
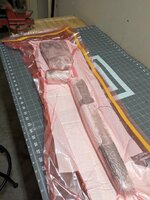
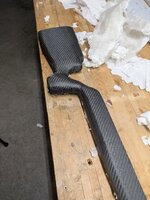
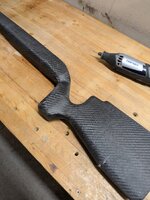
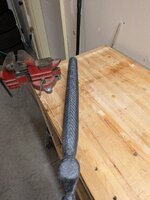
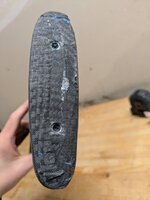
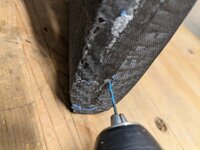
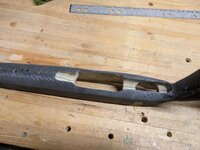
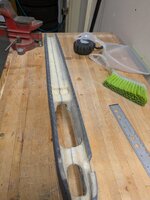
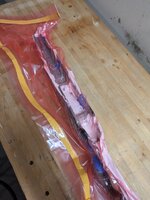
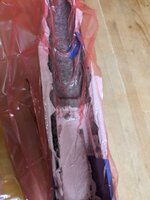
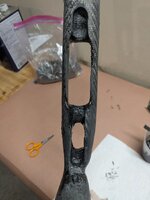
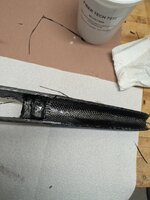
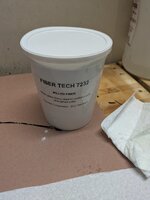
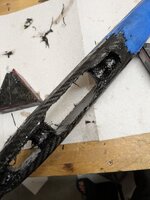
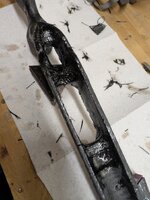
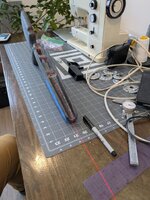
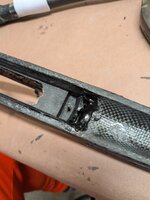
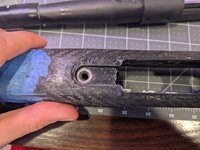
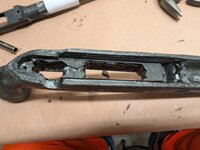
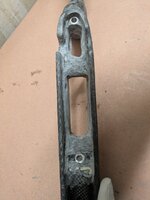
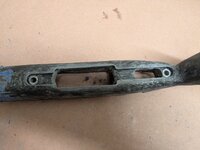
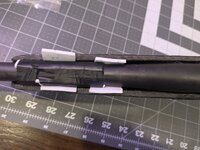
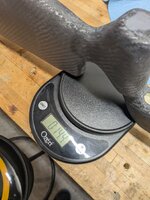
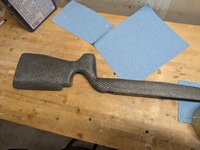
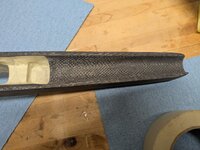
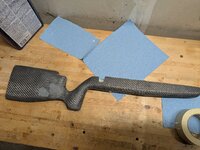
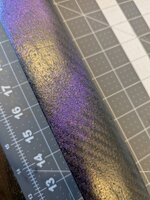
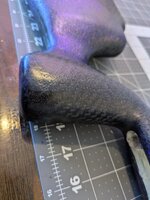
I started with 1/2" divinycell foam. While expensive I feel this foam is the only option for the quality I want to achieve. Insulation foam board sucks!! I laminated 4 layers of foam together to get to 2" thick. The center part has 4oz unidirectional carbon fiber epoxied together and the two outer parts have 0.75oz fiberglass. This was clamped between two boards and flatness checked with a straight edge. After a full day of curing the block was unclamped and the rough shape of the stock cut out on a bandsaw.
Next will be shaping the shoulder pad area, grip, and foreend. Then blending.

