Hey all.
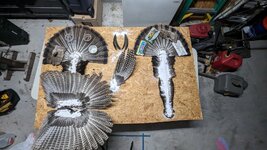
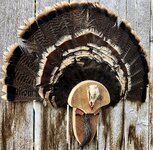
Sitting here thinking about how to ‘mount’ this tail fan I have.
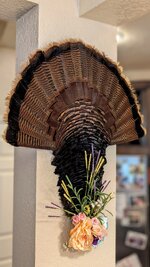
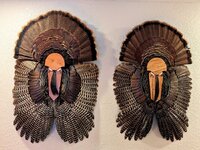
I am not such a huge fan of the traditional spread-fan mounts. I would much rather have something that I could pick up off a table, inspect, admire, and pass to others to do the same.
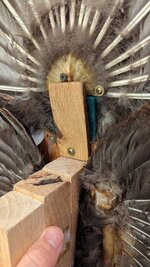
I am trying to figure out a way to preserve a tail fan in a way that would allow me to spread the fan open and close whenever the hell I want, while trying to mitigate the risk of damaging it.
Does anyone have any idea how I might be able to accomplish this? Think its even possible?
Thanks much.
John
Sitting here thinking about how to ‘mount’ this tail fan I have.
I am not such a huge fan of the traditional spread-fan mounts. I would much rather have something that I could pick up off a table, inspect, admire, and pass to others to do the same.
I am trying to figure out a way to preserve a tail fan in a way that would allow me to spread the fan open and close whenever the hell I want, while trying to mitigate the risk of damaging it.
Does anyone have any idea how I might be able to accomplish this? Think its even possible?
Thanks much.
John
Last edited: