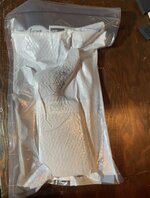
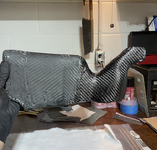
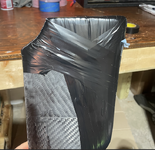
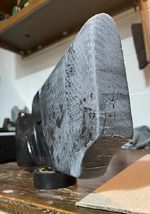
Many thanks to all the pioneers on here who inspired me to take a miter saw to my CVA buttstock. The original geometry of the comb and toe made shooting the thing with a scope pretty uncomfortable. Additional the grip and trigger reach left something to be desired. Hijacking a little bit of all the methods that others have posted with their DIY mods, and trying to emulate the Rokstok here is my progress so far.
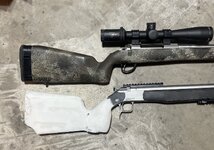
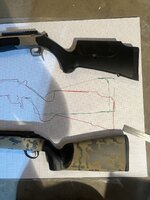
Started with a simple trace on some grid paper so I could line up the barrels and triggers so I could see where I need to cut the original stock
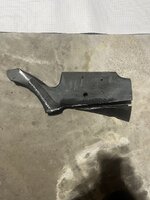
Next step was to use an oscillating multi tool to cut off the cheek pad. The plastic stock more or less melted vs cut. Post cheek pad removal with some sanding. The holes are from where i previously had added a cheek riser and QD cup. White line along the toe is where I need to make my cut. White line along the grip is the through hole to attach the stock to the gun.
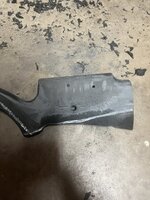
Miter saw cut. The cut ended up not being square to the stock, so the toe now has a little cant left to right. I'll fix that with puddy later.
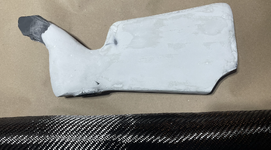
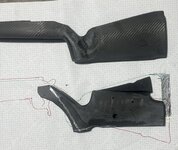
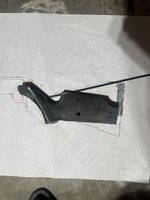
Back on the grid paper for a visual. I initially thought of reusing the stock material, so that's why that's in the pic.
 Decided to use a carbon fiber arrow shaft. I'm missing some pics of where I drilled holes and then JB welded the arrow shaft to the stock and the shafts together. Here's a mock up of where I wanted the shaft for the comb, also added a shaft that goes vertical out of the rear of the stock in front of the recoil pad. These two shafts are connected with JB weld at the top/rear of the stock.
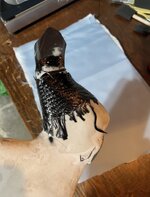
 After re-reading other DIY post and taking consideration of my skills and tools, I decided to use "Free Form Air", a two part epoxy dough. This has been a great material to use IMO because it's easy to mix and handle, forgiving on time set, easy to sand, and cures pretty hard. Here's my first application while it's still "wet".
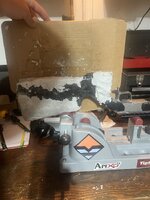 After a little sanding.
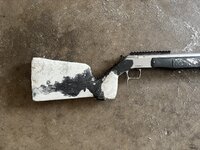
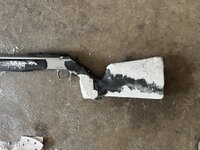
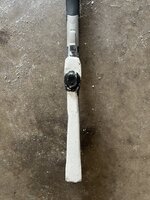
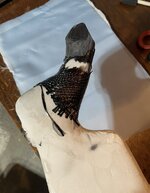
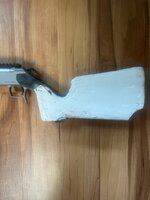
Second application of Free Form Air and some sanding
Started with a simple trace on some grid paper so I could line up the barrels and triggers so I could see where I need to cut the original stock

Next step was to use an oscillating multi tool to cut off the cheek pad. The plastic stock more or less melted vs cut. Post cheek pad removal with some sanding. The holes are from where i previously had added a cheek riser and QD cup. White line along the toe is where I need to make my cut. White line along the grip is the through hole to attach the stock to the gun.

Miter saw cut. The cut ended up not being square to the stock, so the toe now has a little cant left to right. I'll fix that with puddy later.

Back on the grid paper for a visual. I initially thought of reusing the stock material, so that's why that's in the pic.
 Decided to use a carbon fiber arrow shaft. I'm missing some pics of where I drilled holes and then JB welded the arrow shaft to the stock and the shafts together. Here's a mock up of where I wanted the shaft for the comb, also added a shaft that goes vertical out of the rear of the stock in front of the recoil pad. These two shafts are connected with JB weld at the top/rear of the stock.
 After re-reading other DIY post and taking consideration of my skills and tools, I decided to use "Free Form Air", a two part epoxy dough. This has been a great material to use IMO because it's easy to mix and handle, forgiving on time set, easy to sand, and cures pretty hard. Here's my first application while it's still "wet".
 After a little sanding.


Second application of Free Form Air and some sanding


