RepeatPete
Lil-Rokslider
- Joined
- Aug 13, 2023
- Messages
- 225
RPete - Wow - what a build!
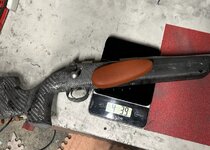
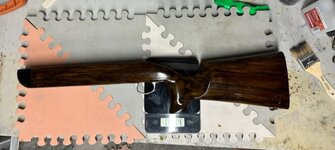
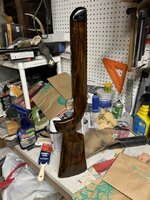
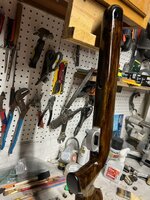
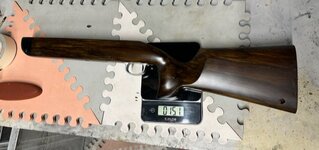
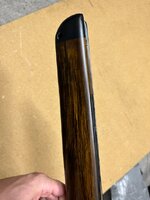
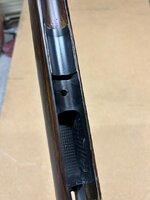
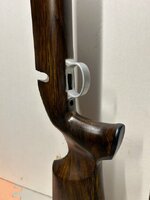
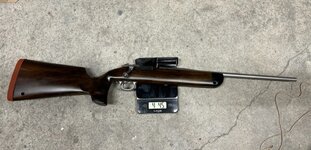
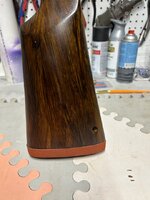
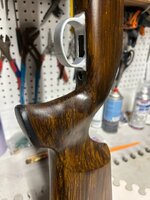
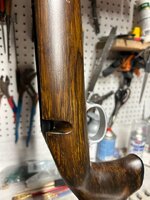
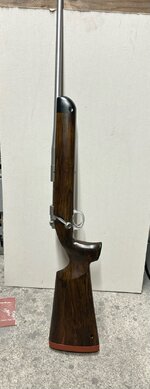
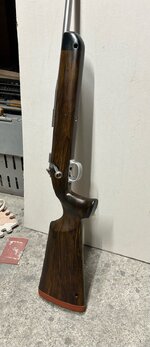
Your technique improved by an order of magnitude on this second round. I am loving your inlet section build - using CF tube is really good in a lot of ways. It contours nicely to your rifles action and the arc of the tube adds a lot of extra strength. The multi-directional fiber orientation adds even more. Plus CF tube is relatively cheap and best of all - you don't have to fabricate it - win win.
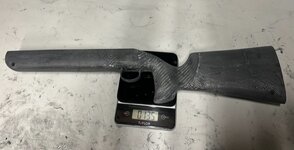
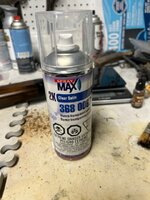
Do you plan to leave the exterior CF surface 'raw' or seal it with something? One option that has worked really well for me is automotive clear coat applied with a Preval spray bottle. If done, make sure it has UV protection additive. Easy to apply, seals in all the stray fibers and cures rock hard.
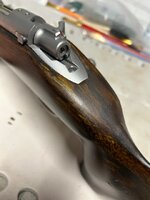
Don't see any mention of bedding the action. Are you planning to do any? The action on my little Izhmash 7-2 .22lr is designed with bedding ridges cut into the steel of the receiver, so it's a given for my application. A bit of a apples to oranges comparison, but similar in a few ways. One main advantage I have found is bedding gives you some adjustment capability to set the barreled action dead center of the forearm slot. Doesn't really impact functionality, but it's visually nice to have the barrel dead center of the groove.
That sling looks really cool. Initially curious of the integrity of that loop over the monkey's fist closure staying put but a great ultralight + tough solution.
Designing and building from the inside (inlet box, recoil lug, sling & bipod mounts) out is the way to address such a project. Get the internals properly addressed and it's much easier to layer the outer skin around them. Dude - your weave alignment on that forearm is outstanding!
Pretty amazing how the second (and subsequent) builds come together after some lessons learned. Biggest step is starting the first one,
Love your use of varied compression methods - haven't tried electrical tape as I thought it would leave winding lines in the cured CF, but yours looks great. Another option is window film shrink plastic from HD. Cut in long strips, wrap item and hit with blow dryer level heat to increase the compression strength. Stuff has surprising tensile strength and pulls down nicely. As you have shown, these are very doable without a vacuum setup.
You really have me thinking about a new build.
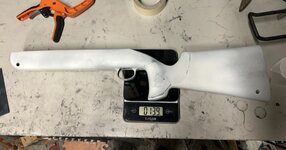
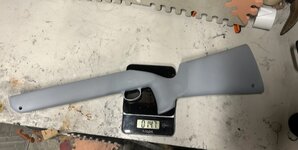
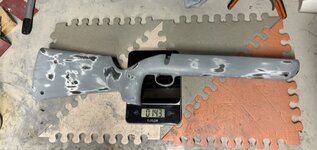
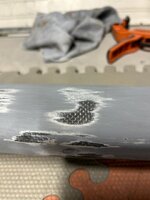
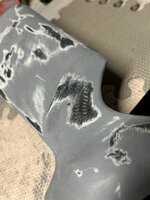
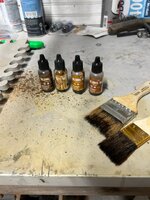
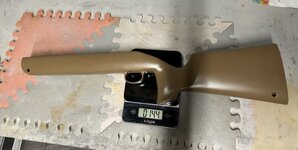
The carbon will be sealed, I have an idea for paint, but still waiting to see if it’s actually going to work. That Preval bottle looks pretty cool - I’ll have to give it a try for the clear coat after the paint.
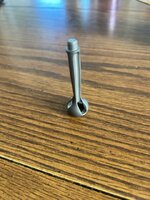
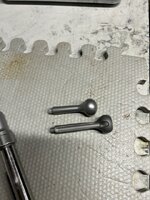
Funny you mention bedding - I actually did that today. I used Marine-Tex gray and bedded just the chamber section of the barrel and the recoil lug as the rest of the inletting section fit very tightly already. And I don’t actually need the barrel-centering capability of the bedding, as I put in quite a bit of work previously by centering the barrel channel section of CF tube that I made, and got lucky and the barrel is dead nuts in the center.
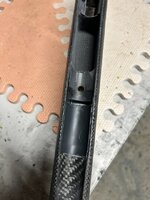
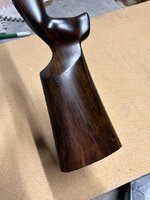
The electrical tape does leave lines if it’s placed directly over the carbon (as my recent grip layup proved), but the peel ply and breather add enough of a cushion to spread out the compression and leave the surface even. A vacuum bag setup is definitely in the future - the pros are too hard to ignore, but I’ve been surprised how well the electrical tape works. And I’ll definitely have to try the window film - that’s genius!
Thank you!Wow. Super cool.

