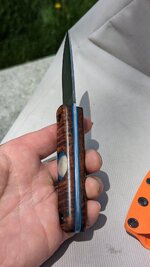
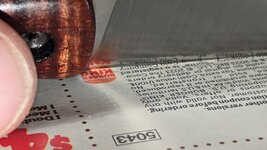
sndmn11
"DADDY"
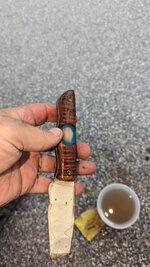
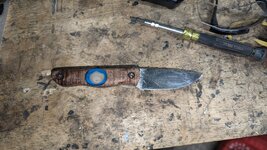
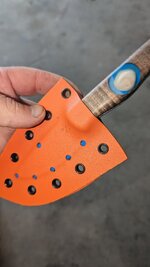
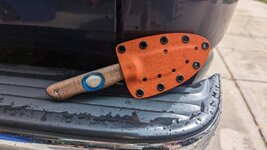
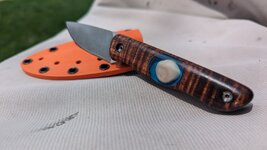
I sometimes get PMs from folks wanting to make their own handles for knives. I am doing one for @rootacres from this thread https://rokslide.com/forums/threads/custom-knife-handle.293625/
Since this one is fancy and special I am taking my time and that allows me to take pictures and document the steps. Normally, especially with cork, I just have a plan together in my head and my process flows to the point I forget to take pictures, lay things out, etc.
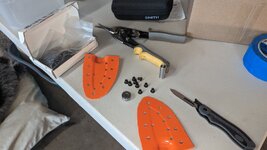
Parts needed:
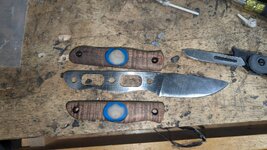
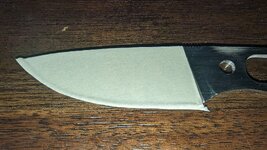
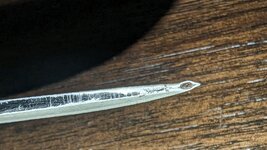
-blade @feanor delivered magnacut
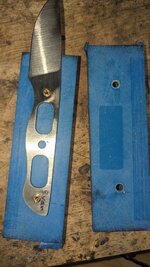
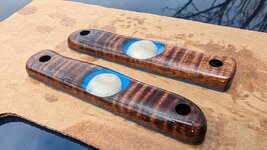
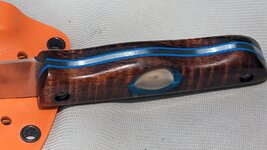
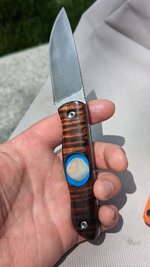
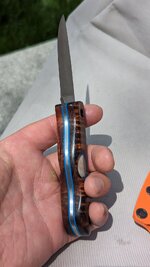
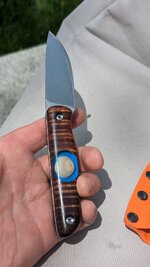
-scales/handle block this is a custom set from https://www.woodbymohler.com/category/segmented-knife-scales with an ivory sent to him by @rootacres
-double sided carpet tape (very mandatory)
-masking tape (optional)
-pins or in this case we are using bolts
-drill bit; in this case a fancy stepped bit for our bolts

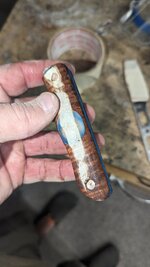
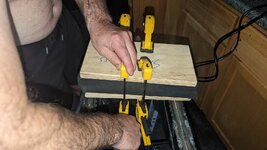
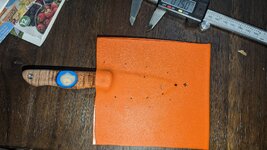
I use the carpet tape to stick the scales together so that everything lines up. This matters a bunch when there are segments like a multipiece scale that need to line up for aesthetics.
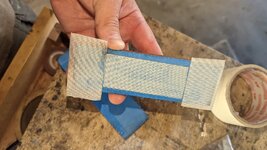
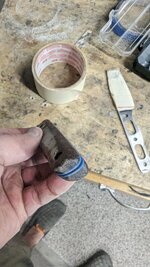
I tape the down side of the scales so my drill bit doesn't tear material out. This isn't a big deal with thick scales, but these are close to finished thickness.
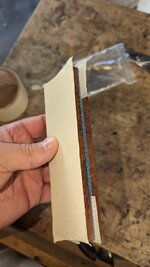
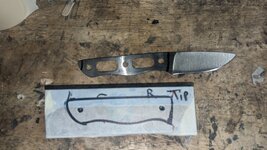
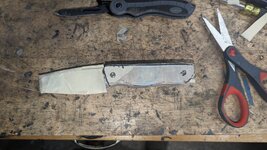
I pestered @rootacres about where he wanted the tooth, pointed up or down, which way he wanted the blade, etc. He settled on this.
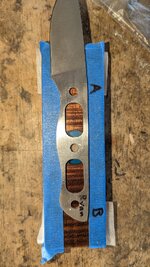
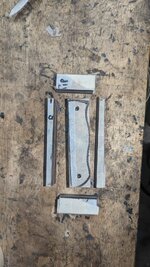
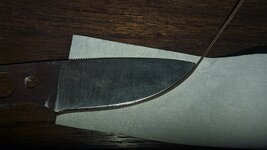
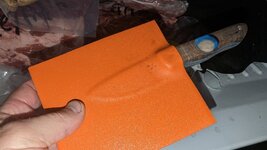
There wasn't much difference in the height of the tang and the height of the window. I wanted to make sure the wood reveal on spine and belly were symmetrical and also the top/bottom of the window parallel with the spine, so that is the purpose of the top/bottom tape "train tracks". I normally don't, but this time I covered the blade in tape in case I dropped it.
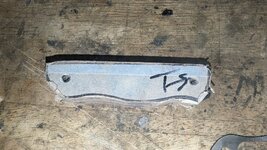
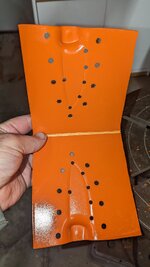
The holes in the tang are 1/4" so I used a 1/4" brad point to mark the center of my fore and aft holes on the top of my scale sandwich.
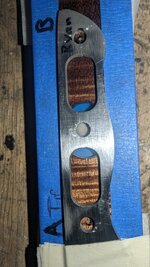
I then used a 3/16" brad point to drill; that's the small diameter of the stepped tang nuts. THIS IS THE MOST IMPORTANT STEP! If your holes are not aligned then fitting becomes a bear with the likely hood of things getting misaligned and sometimes scales breaking.
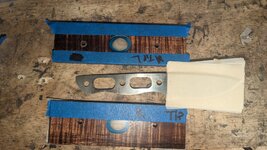
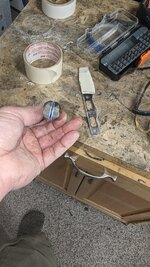
These holes will act as a pilot for the stepped drill bit which is 3/16" : 1/4"
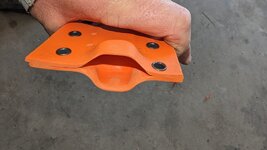
I eye ball the depth of the stepped bit on my drill press allowing for the head of the screw to have substance, still be sunk under the material, and not be too deep to bottom out against the other screw. Then I set my drill press stop. You can always drill deeper, so error on the side of top shallow.
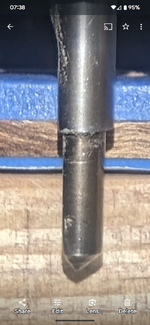
I want a little bit of the screw stick out the tang side of the scale, but not much.

Since this one is fancy and special I am taking my time and that allows me to take pictures and document the steps. Normally, especially with cork, I just have a plan together in my head and my process flows to the point I forget to take pictures, lay things out, etc.
Parts needed:
-blade @feanor delivered magnacut
-scales/handle block this is a custom set from https://www.woodbymohler.com/category/segmented-knife-scales with an ivory sent to him by @rootacres
-double sided carpet tape (very mandatory)
-masking tape (optional)
-pins or in this case we are using bolts
-drill bit; in this case a fancy stepped bit for our bolts

I use the carpet tape to stick the scales together so that everything lines up. This matters a bunch when there are segments like a multipiece scale that need to line up for aesthetics.

I tape the down side of the scales so my drill bit doesn't tear material out. This isn't a big deal with thick scales, but these are close to finished thickness.

I pestered @rootacres about where he wanted the tooth, pointed up or down, which way he wanted the blade, etc. He settled on this.

There wasn't much difference in the height of the tang and the height of the window. I wanted to make sure the wood reveal on spine and belly were symmetrical and also the top/bottom of the window parallel with the spine, so that is the purpose of the top/bottom tape "train tracks". I normally don't, but this time I covered the blade in tape in case I dropped it.
The holes in the tang are 1/4" so I used a 1/4" brad point to mark the center of my fore and aft holes on the top of my scale sandwich.

I then used a 3/16" brad point to drill; that's the small diameter of the stepped tang nuts. THIS IS THE MOST IMPORTANT STEP! If your holes are not aligned then fitting becomes a bear with the likely hood of things getting misaligned and sometimes scales breaking.

These holes will act as a pilot for the stepped drill bit which is 3/16" : 1/4"
I eye ball the depth of the stepped bit on my drill press allowing for the head of the screw to have substance, still be sunk under the material, and not be too deep to bottom out against the other screw. Then I set my drill press stop. You can always drill deeper, so error on the side of top shallow.

I want a little bit of the screw stick out the tang side of the scale, but not much.


Last edited:

