Kindo
WKR
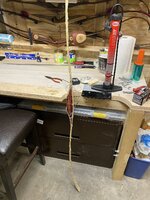
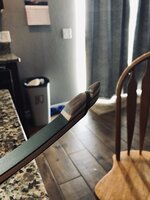
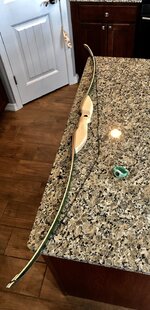
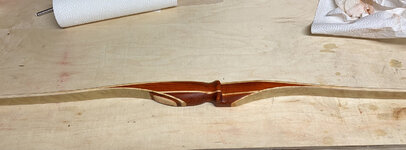
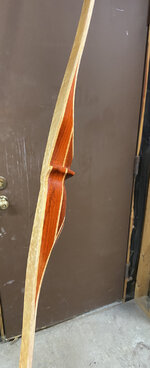
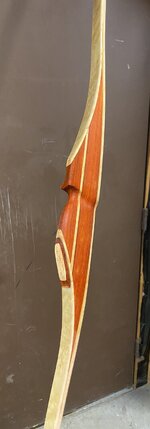
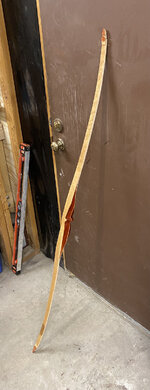
Since 2020 started off in the crapper and I found myself with way more time on my hands, I decided to take a shot at making my own bow.
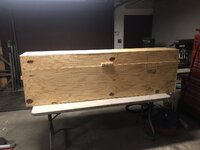
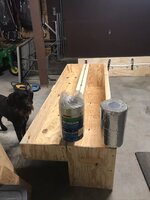
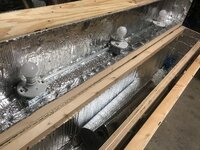
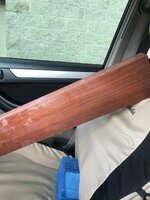
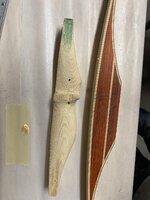
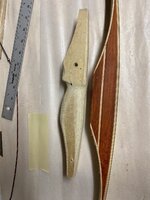
This won’t be so much a build along as I have done most of the work already over the span of 2-3 months (pre and post hunting seasons). I am currently at about 90% completion and should have it completely wrapped up in the next couple of weeks.
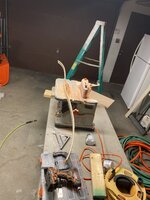
I built this bow and all of the associated equipment with pretty average tools. I did buy an oscillating sander and a bandsaw which helped but a belt sander would’ve done the job too. I was presented too good of an offer to pass up the other tools.
I should also note, I don’t really know what I’m doing. I bought a book, read a ton online, reached out to a few folks for their expertise and consumed about 3 cases of Busch lattes trying to figure out how not to screw this up. YMMV.
Here she goes....
First off, you need to figure out your design. Don’t do what I did and try making your own design. I’m sure it is close to other bow designs but I just eyeballed some similar bows and made my measurements for the reflex and deflex. Those measurements were made about 85 lattes or so ago so I couldn’t tell you exactly what they were.
If you decide to take on something like this, talk to Kenny at Kenny’s archery or Bingham’s Archery and just buy a template.
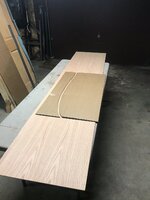
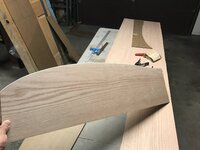
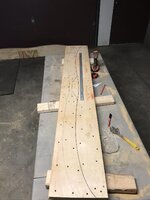
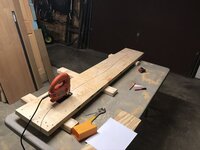
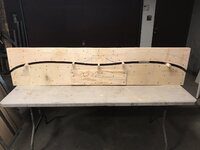
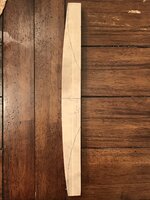
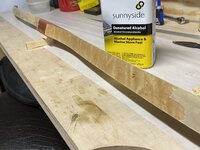
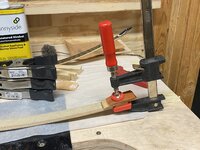
First I sketched the design onto cardboard, then transferred to some 1/8” plywood. I then screwed two pieces of 3/4” poplar or birch plywood together along with some wood glue to get my form to 1.5” (this will be the width of my blank and my laminates). I then transferred the design to the 1.5” thick plywood stack and cut it out.
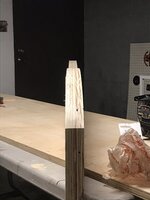
Note: there are now separate halves of the bow form, each made out of the (2) 3/4” pieces and rough cut to the dimensions needed.
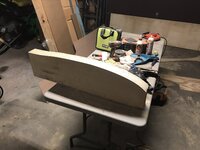
At this point, it’s crucial to have a square surface across all of the form to avoid developing any twist in the limbs.
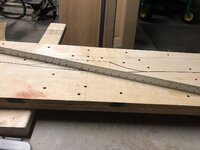
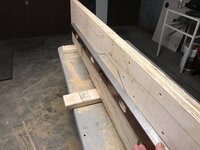
To do this, you put all 4 pieces of the 3/4” plywood together and square it up. I found that a square, pencil and belts sander worked great for this. Once you get close, then use a sanding block.
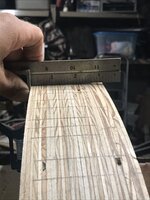
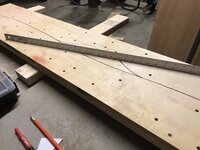
Basically, slap the square up, where you don’t see light, put a line, sand all the lines off and re-check and repeat. I heard a router and stencil could work really well for this when cutting out the form but I didn’t have that available.
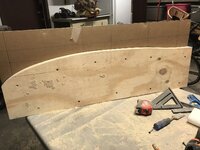
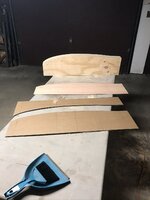
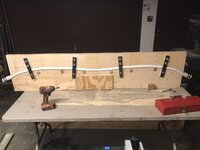
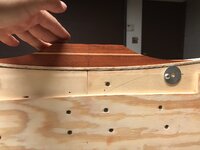
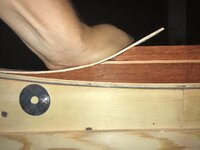
Square up and attach the two halves and boom, the form is done! Well....sort of.
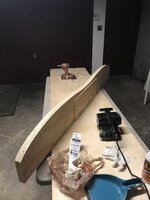
This won’t be so much a build along as I have done most of the work already over the span of 2-3 months (pre and post hunting seasons). I am currently at about 90% completion and should have it completely wrapped up in the next couple of weeks.
I built this bow and all of the associated equipment with pretty average tools. I did buy an oscillating sander and a bandsaw which helped but a belt sander would’ve done the job too. I was presented too good of an offer to pass up the other tools.
I should also note, I don’t really know what I’m doing. I bought a book, read a ton online, reached out to a few folks for their expertise and consumed about 3 cases of Busch lattes trying to figure out how not to screw this up. YMMV.
Here she goes....
First off, you need to figure out your design. Don’t do what I did and try making your own design. I’m sure it is close to other bow designs but I just eyeballed some similar bows and made my measurements for the reflex and deflex. Those measurements were made about 85 lattes or so ago so I couldn’t tell you exactly what they were.
If you decide to take on something like this, talk to Kenny at Kenny’s archery or Bingham’s Archery and just buy a template.


First I sketched the design onto cardboard, then transferred to some 1/8” plywood. I then screwed two pieces of 3/4” poplar or birch plywood together along with some wood glue to get my form to 1.5” (this will be the width of my blank and my laminates). I then transferred the design to the 1.5” thick plywood stack and cut it out.
Note: there are now separate halves of the bow form, each made out of the (2) 3/4” pieces and rough cut to the dimensions needed.

At this point, it’s crucial to have a square surface across all of the form to avoid developing any twist in the limbs.
To do this, you put all 4 pieces of the 3/4” plywood together and square it up. I found that a square, pencil and belts sander worked great for this. Once you get close, then use a sanding block.

Basically, slap the square up, where you don’t see light, put a line, sand all the lines off and re-check and repeat. I heard a router and stencil could work really well for this when cutting out the form but I didn’t have that available.


Square up and attach the two halves and boom, the form is done! Well....sort of.


