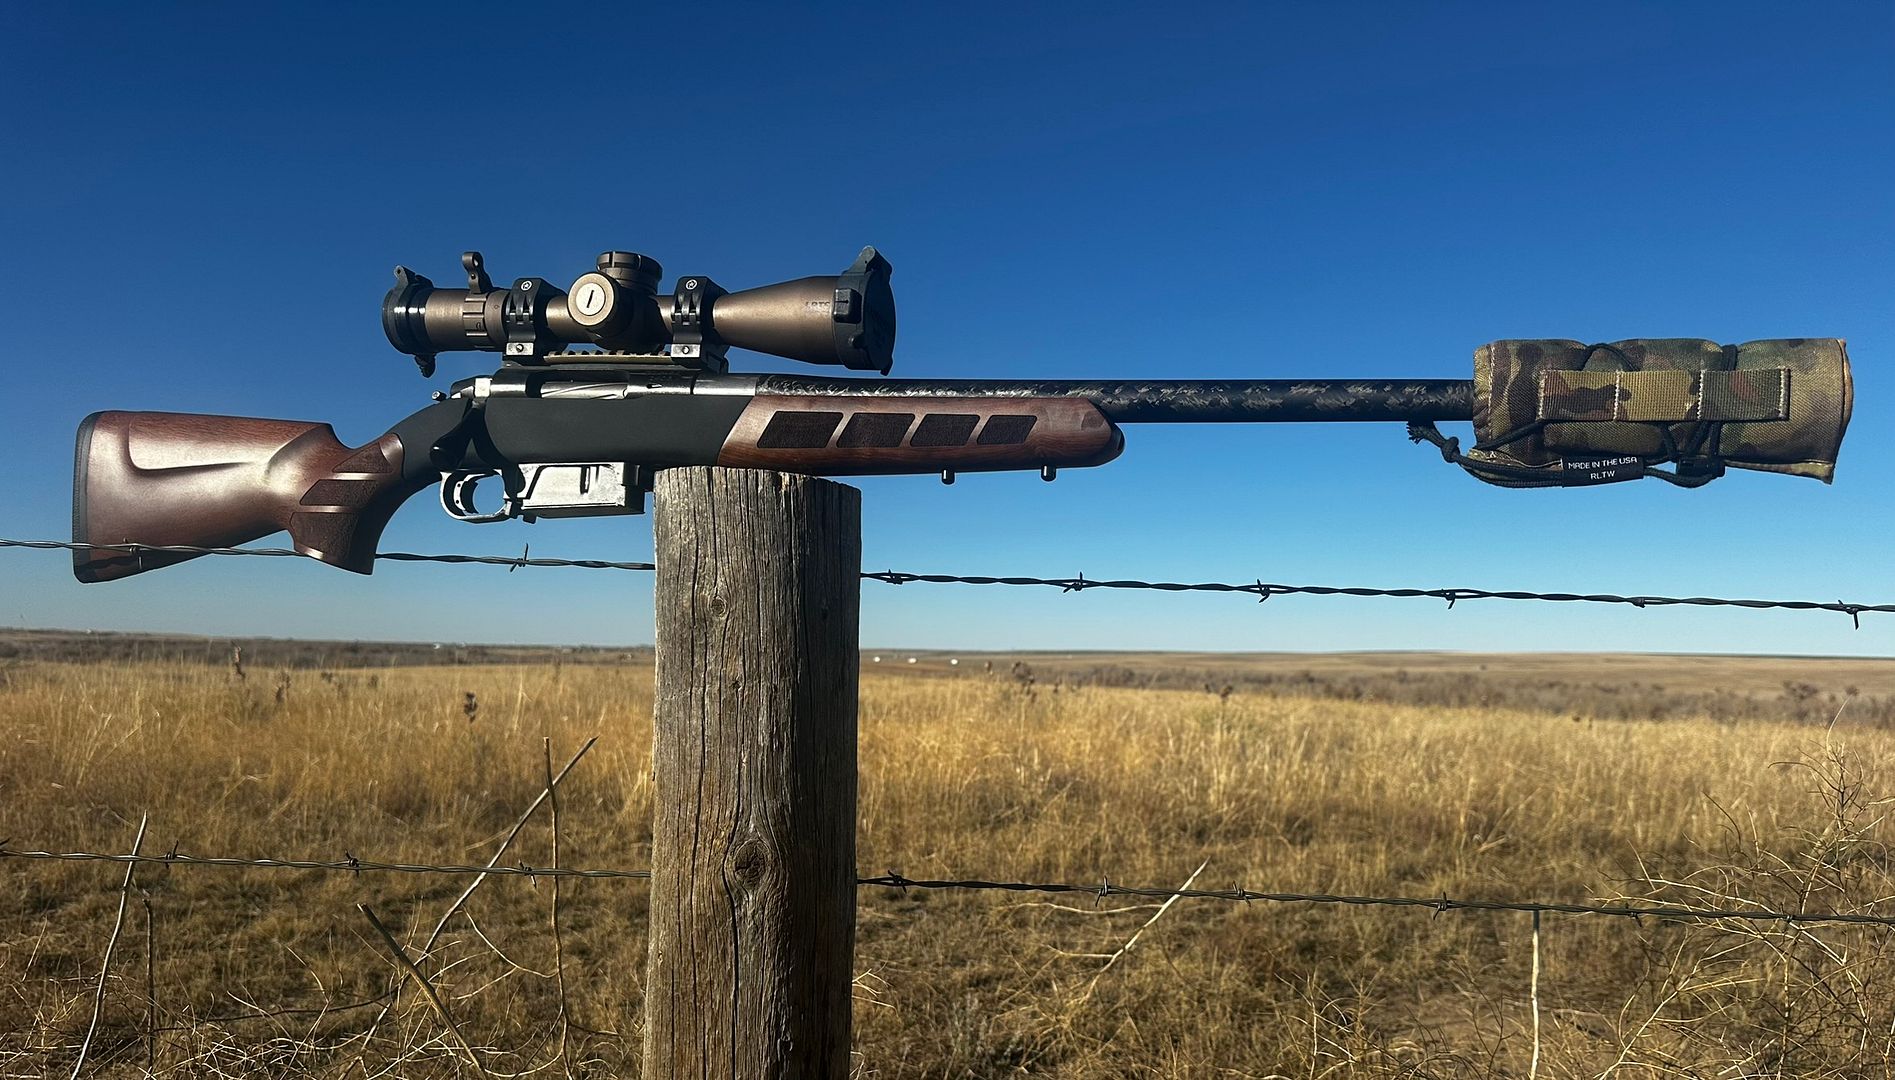
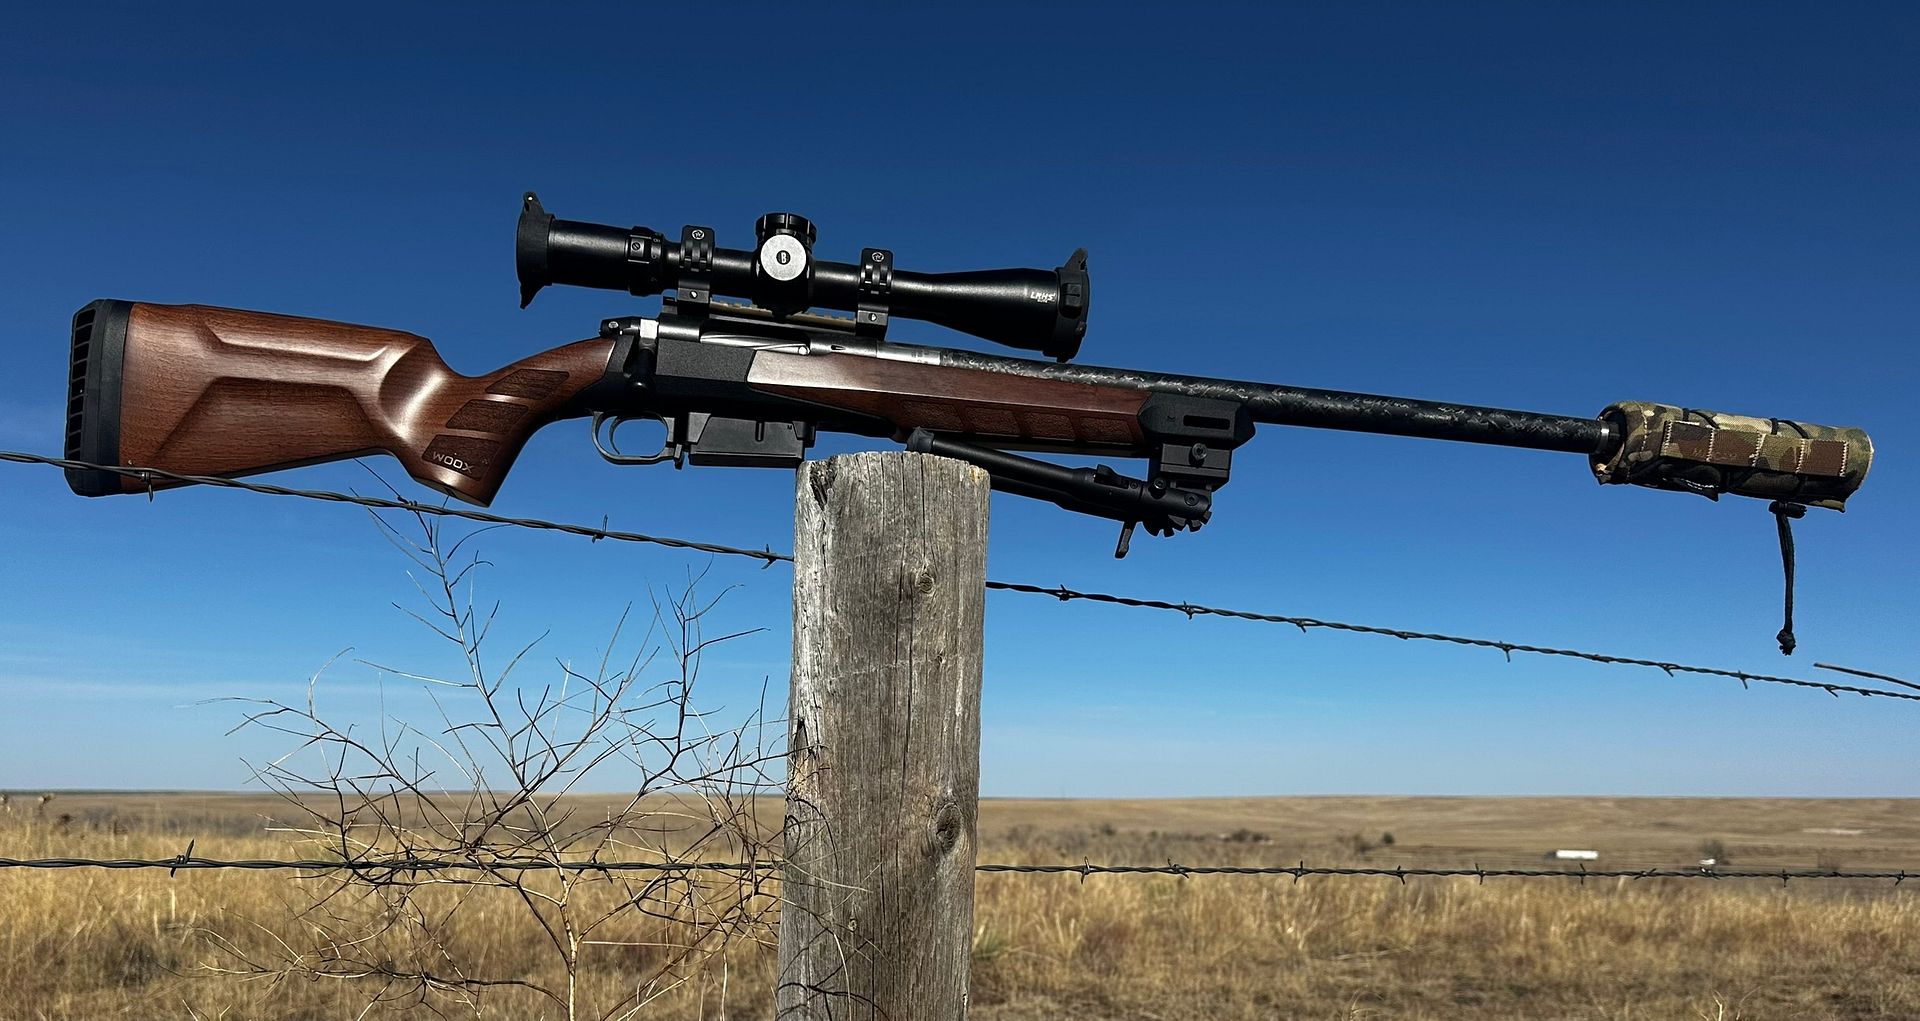
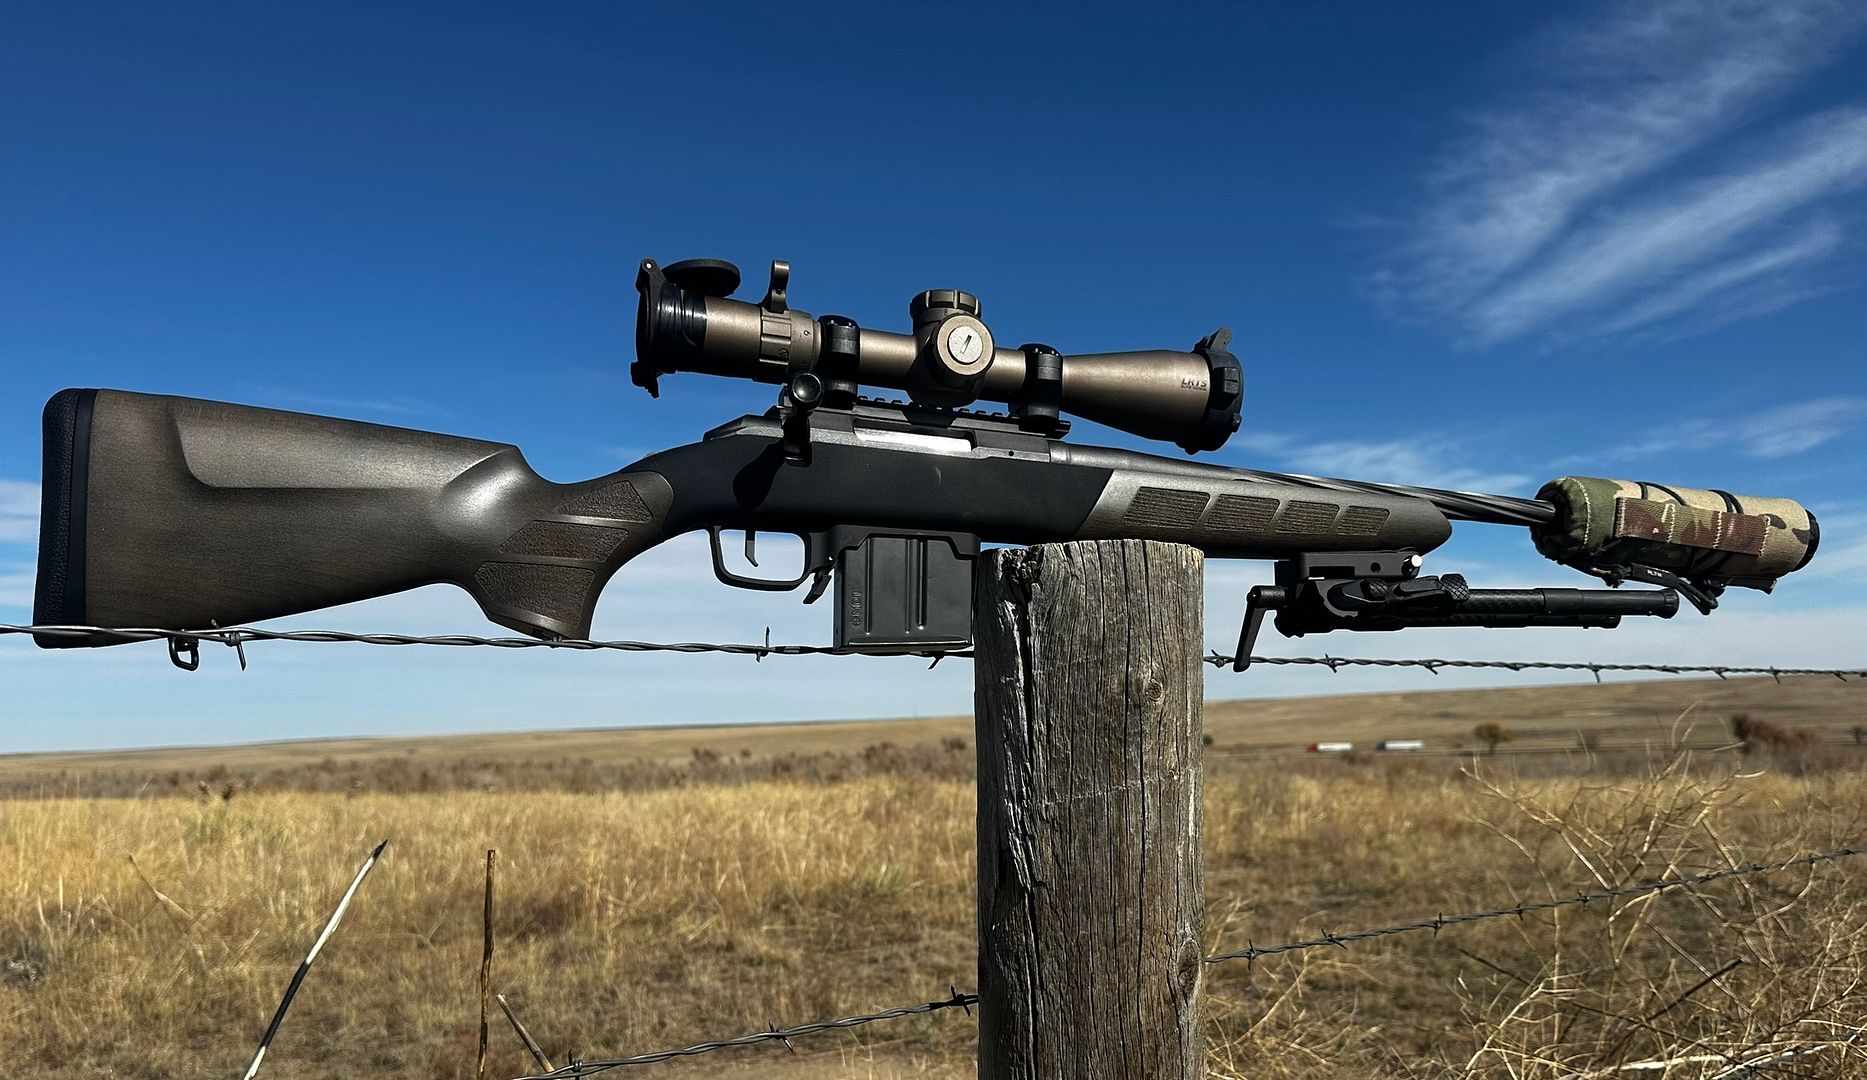
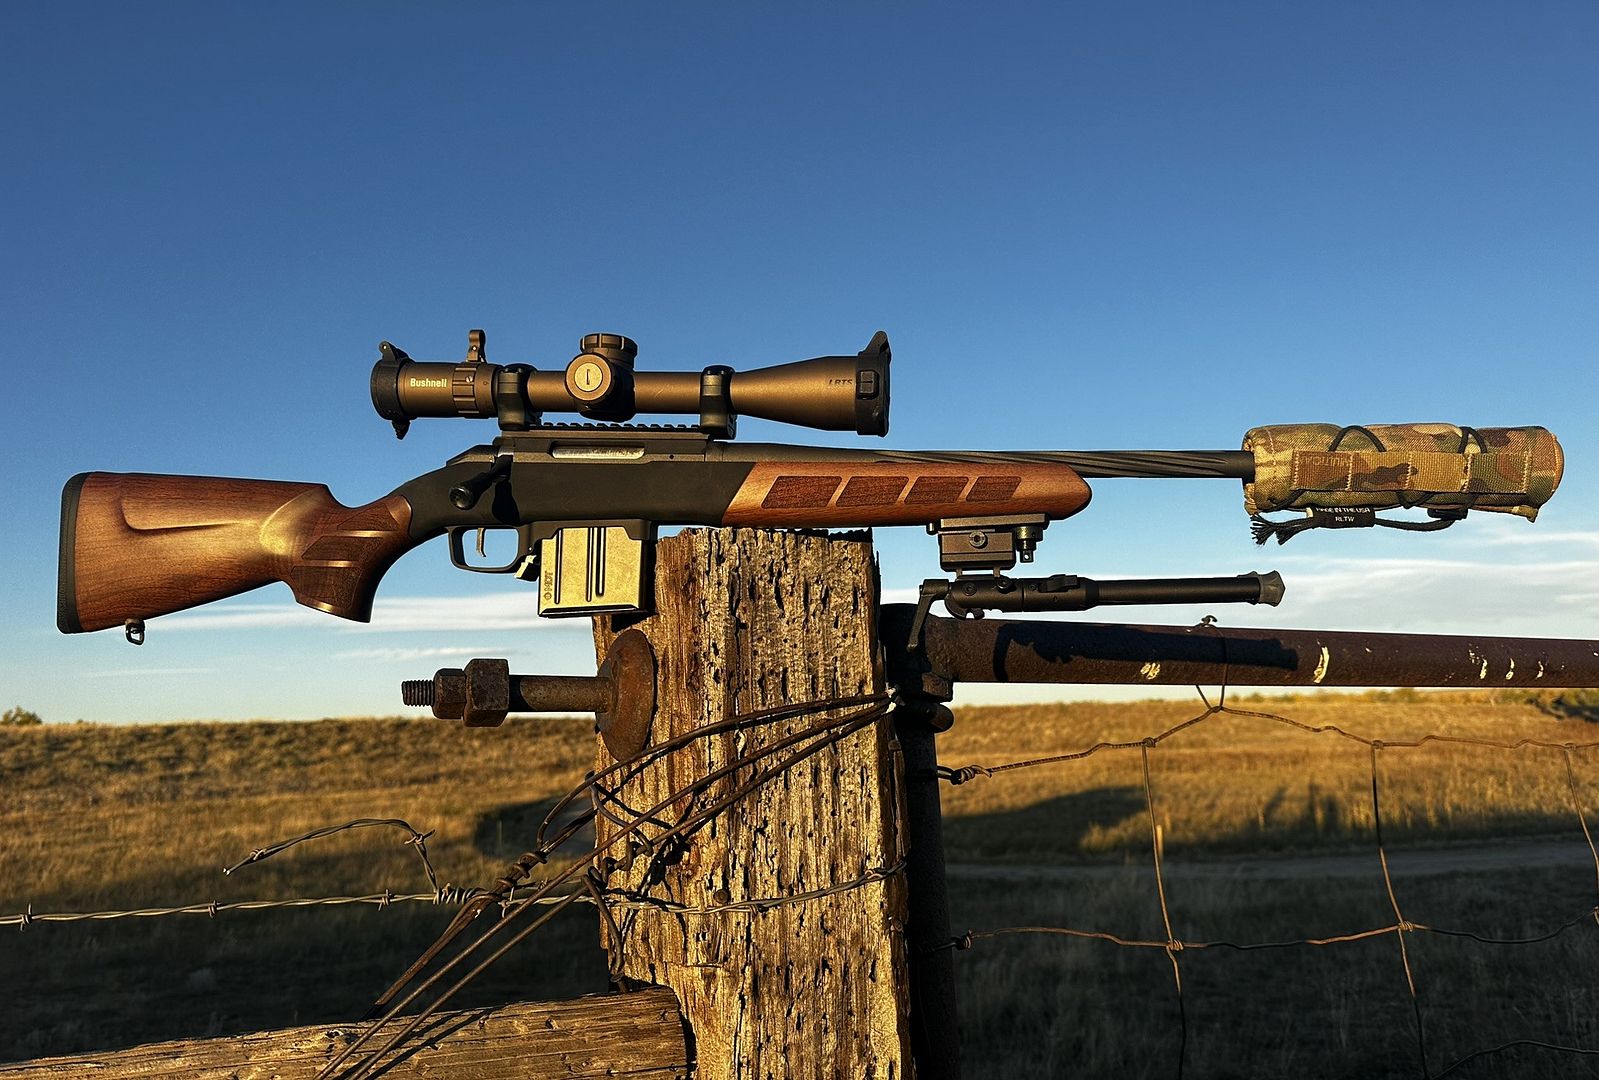
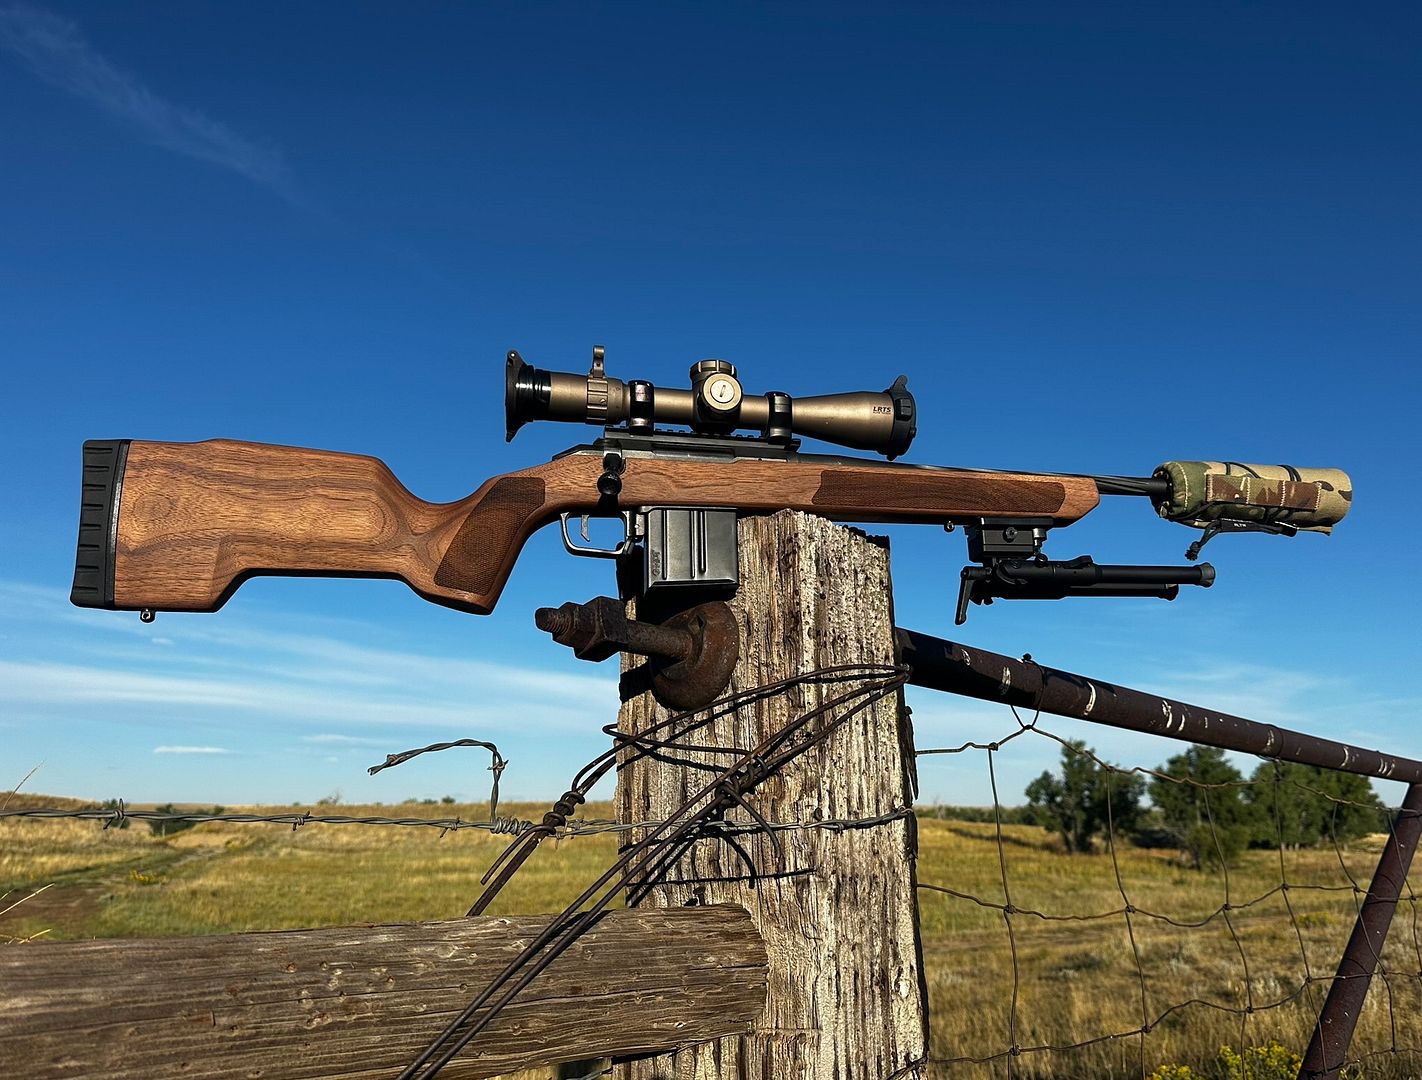
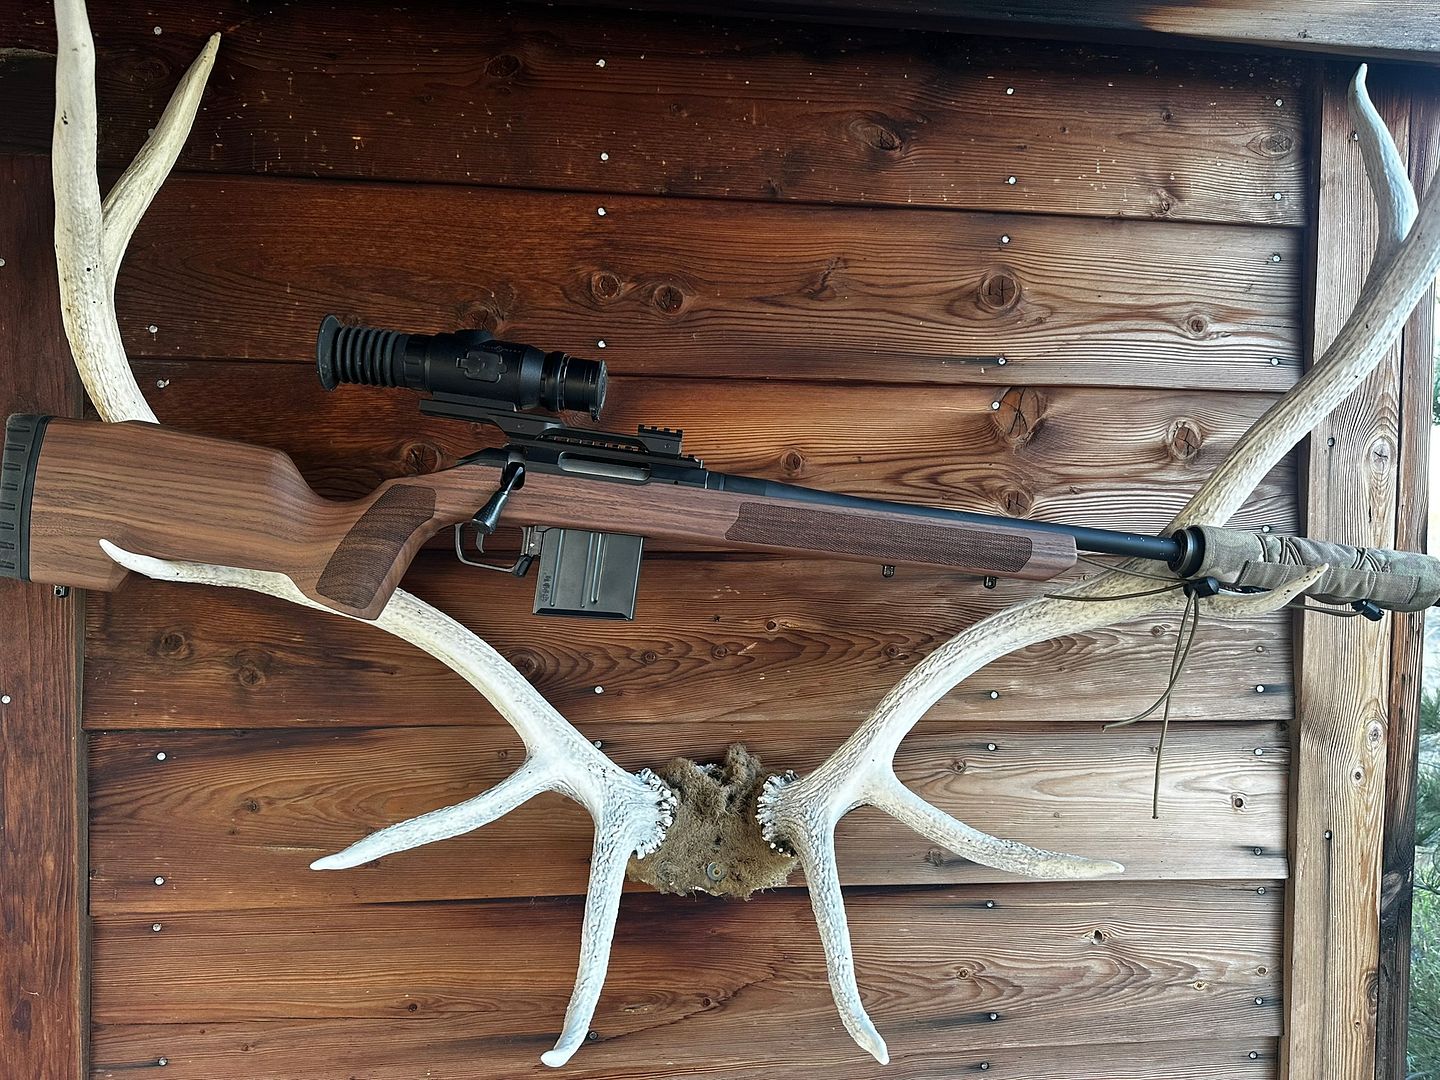
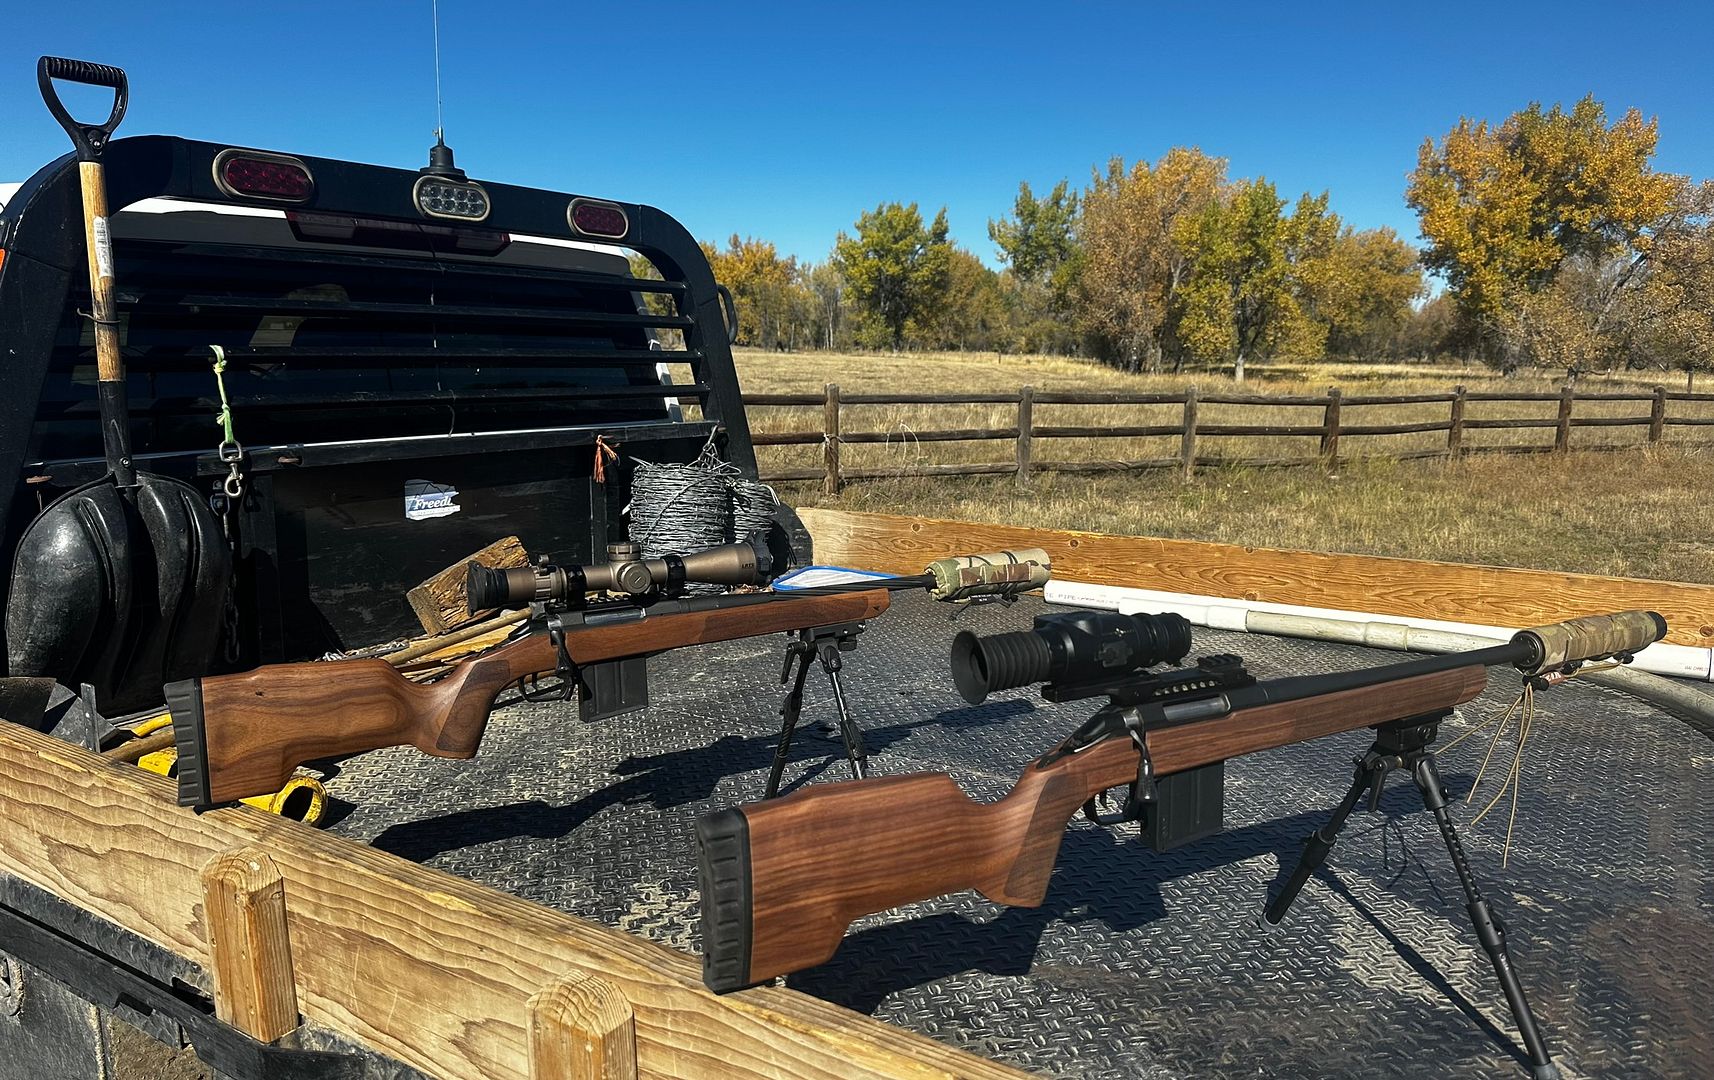
Tactical / Precision Rifles w/WOOD

I use the Pachmayr with the basket weave texture. I think it adds that "custom" touch. I dont think they make it in brown, but my fingers are crossed!
 
Seeing the brown with walnut really makes me wish I had used one on this walnut stock I carved. I didn't finish this one. It was a carve and rough sand only.

20251027_215318.jpg
20251027_215339.jpg
20251027_215328.jpg
20251027_215401.jpg
 
I was nervous about the way the grain moved through the wrist, so I ended up running a 6” x1/2” oak dowel into the grip behind the rear action screw. Time will tell if that was a smart move or not. It will get covered when I bed the action.

I’m also very happy with the stipple texture. I can see why the wood Rokstok is so well loved.IMG_0514.jpeg
 
With me being unfamiliar with the equipment it took about 4 hours.

No sir, I'm not any faster. I average about 4 hours per carve. I like to take my time, tape off the bottom metal inletting with a few layers of painters tape. Follow the edges, check fit, remove a layer, check again. Basically sneak up on the fit I want.

Most of my templates have pretty large barrel channels, so I also use transfer ink and carve those with a barrel channel inletting tool. Gradually dropping the barrel in. Then, sanding with the barrel in place for perfectly even clearance.
 
I might have missed you covering this, but just in case, be sure to seal the end-grain wood underneath the recoil pad. The slightest bit of moisture getting between the wood and the end plate will swell the grain up, sometimes pretty bad.
Yessir.
Waterproof cement under the pad covering all the endgrain
 
If I had some wood, a duplicator and a modicum of you guy's skill, I wouldn't have to buy MDT TimbrCores and Woox's.....

63628cd4-07e0-43b5-8103-08123016c60d.jpeg

02772ce5-858b-4d78-b80b-8a656c84be63.jpeg

b1359873-1517-4a5a-a40a-f2607db01ccf.jpeg

bf994ba6-39c0-49b0-bfa6-fe815a5a649d.jpeg

d15dbbf8-43cc-4faf-9113-f518de3ae744.jpeg

9730d1ba-9726-4d2d-99f9-07ec203f4a42.jpeg

80f38241-573e-4890-9737-7e1afd1f5e5b.jpeg
 
The first one I carved, i used foam sanding blocks and just kept getting waves in the wood. I guess the foam was applying uneven pressure. I no longer use them.

For 80 & 120 I use an orbital sander. The harder flat sanding disk creates nice surfaces. It removes a lot of wood, and fast though... so I keep a very close eye on all my lines. Sand a little, check. Sand some more, repeat. 80 & 120 gets rid of all the tool marks and dimples etc.

For large flat areas, like the bottom of the forend, and the top lines of the forend where I want flat and even lines, I either lay a full sheet of sand paper on the hard work bench surface or ill wrap a hard wood block in sand paper to keep thinks flat.

220, 320 & 400 I cut 1-1.5" wide strips about 3 inches long and tri-fold them. I sand everything with that 1 by 1 paper. It helps get in all the nooks and follows the curves well.

Something an old stock maker showed me, was using a knife as a scraper (scrapers in general, but the knife seems to work great). It works great for shaping and for scraping shaping out little transitions, like in behind the grip, thumb cutouts, and such. I find it saves me a lot of course sand paper work and peels wood off a little quicker I think.

Another sanding trick for the long flats, is wrapping sand paper around a big file. Iv been using the 2” wide sticky back sand paper and sticking it to a big worn out file, seems to help keep the surface flat.

Just a couple more tricks for the toolbox!!

Keep up the good work!

This winters project I’m working on, due date late February, to be raffled off at the B.C sheep show

IMG_5322.jpeg
IMG_5488.jpeg
 
Back
Top