R/D Longbow Build

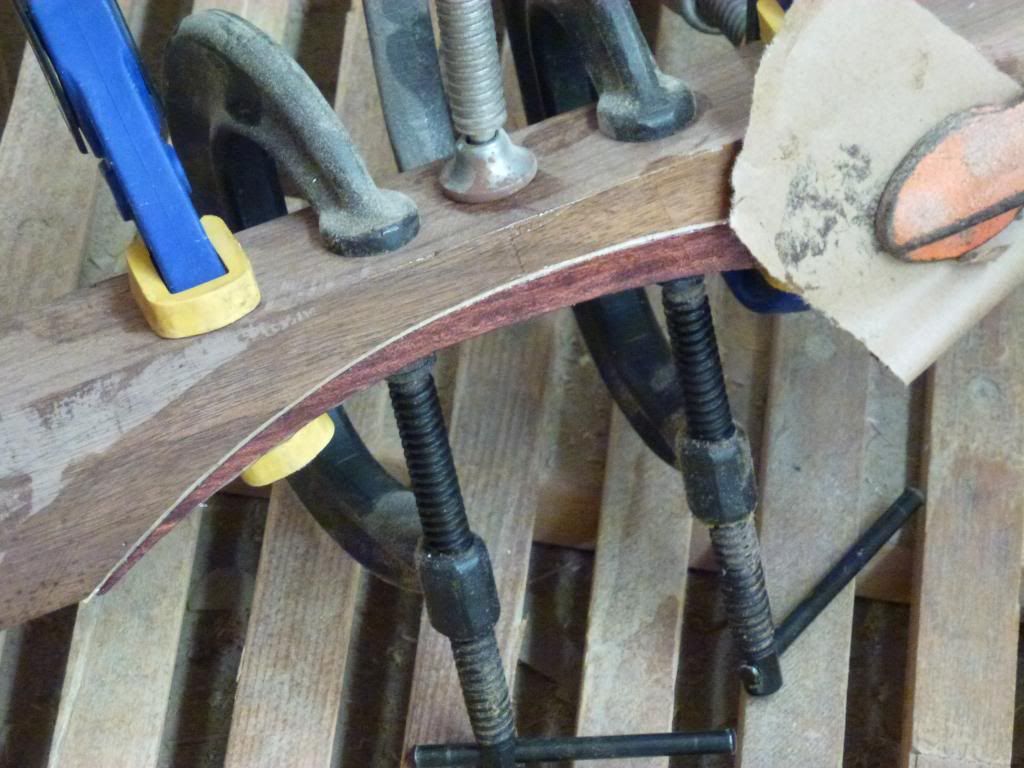
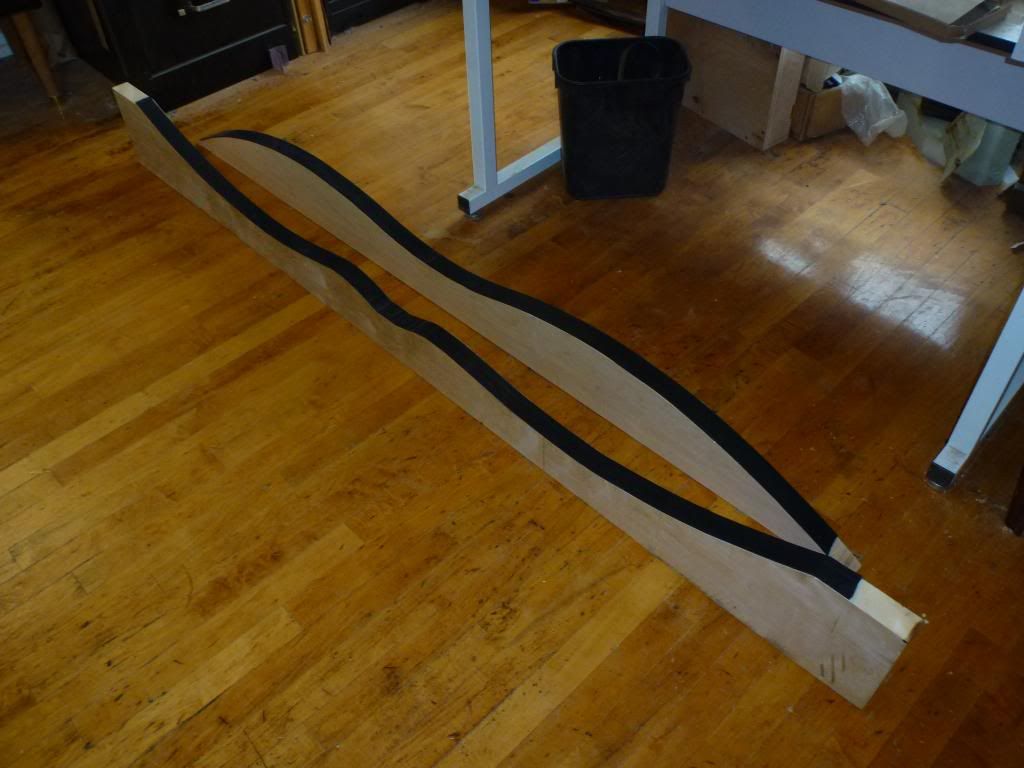
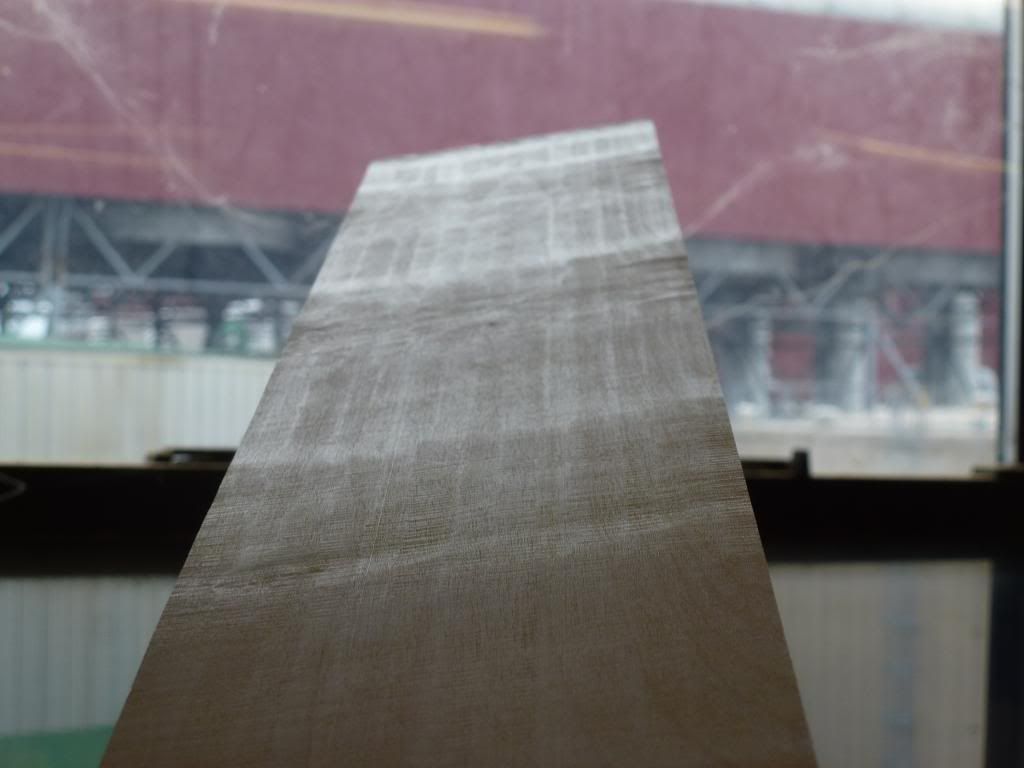
Today I worked on getting the 0.001" tapers done. It was rough. I thought the way i did the 0.002" taper would work, but because of how thin the0.001" final dimensions were, it ended with some bad results. Some how the planer rollers pressed down on the lam and did some pretty big gouges. They were only about 0.007"-0.008" gouges, but I didn't want the tiller of the bow to be messed up, so my partner devised another way. Here is the messed up piece:

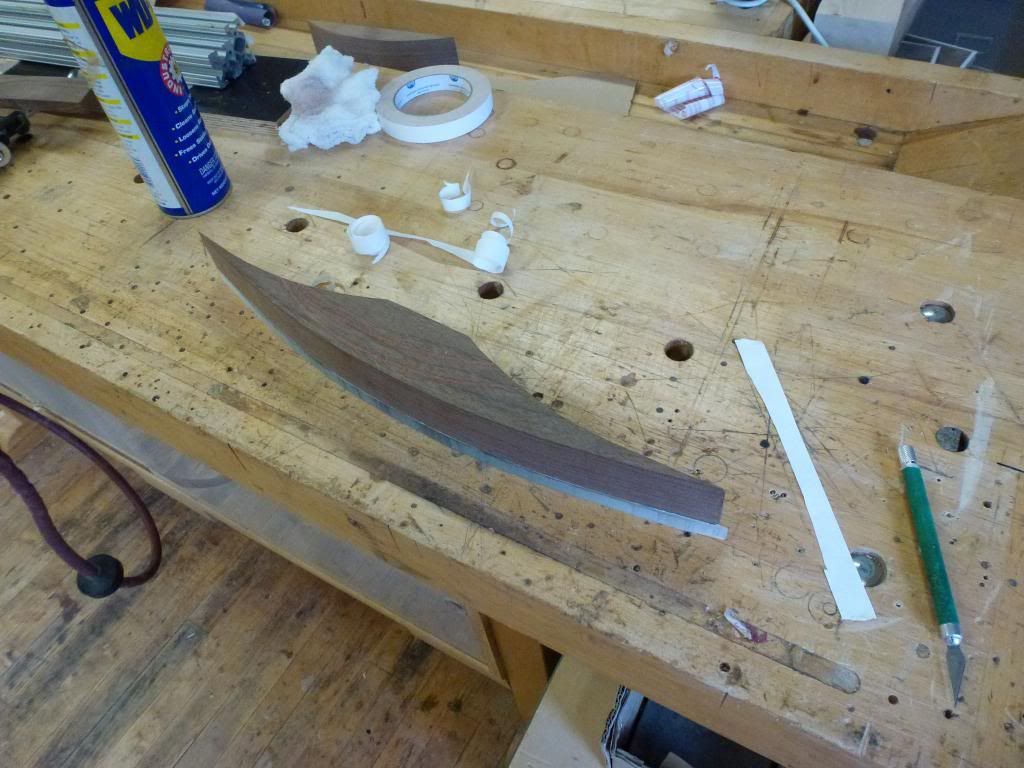
Here is the new plan of attack. Some pieces of 8020 just put together with double sided tape, and the desired taper shims between them. Then we just taped the maple lam to it and ran it through the table saw. It was brilliant!
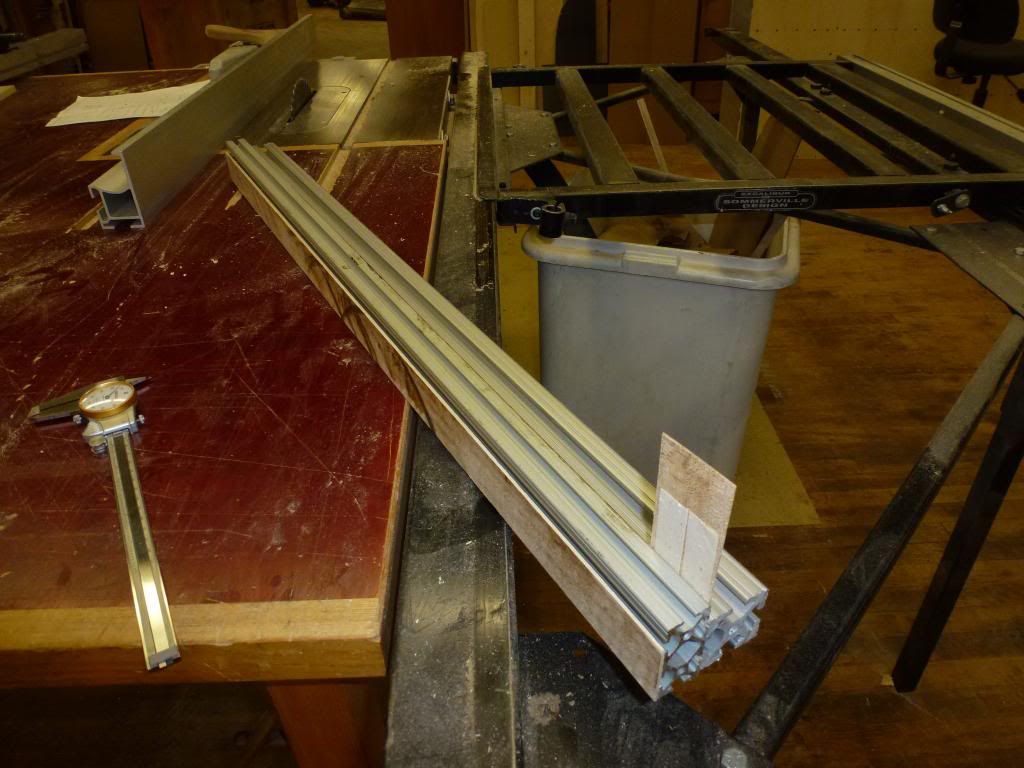

I will take no credit for this, my partner was the one running this thing through the table saw, and he hit the nail on the head. What a stud. Here's the 0.100" side:
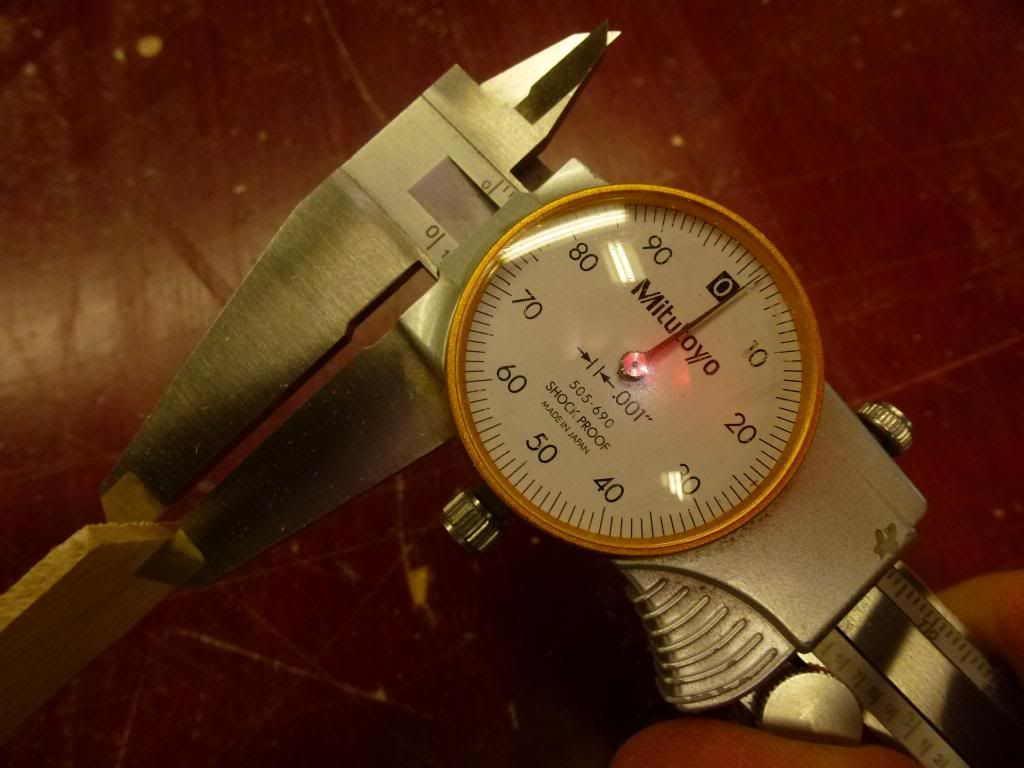

Darn. Off by 0.0015". The bow probably won't work now... ha! That's an amazing cut, and here's the other side of the same piece. Shooting for 0.065"
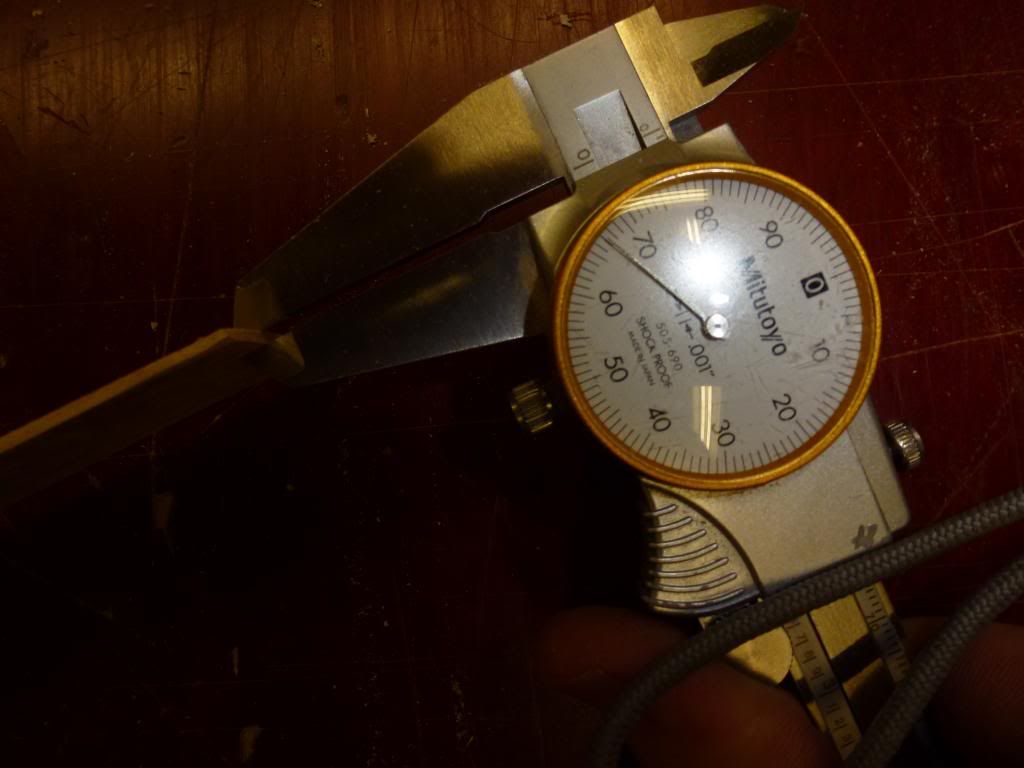

Now with the two belly tapers, We're all ready for glue up! I'm excited/ really content. This is going much faster and much better than I originally anticipated. I'm looking to have one glued up by tuesday at lunch. Going to do a dry run on monday and get everything prepped. Then hopefully glue and clamp it up on tuesday.
 
Didn't get as far as I would've liked today, but still got some stuff done. I glued up part of another riser. I decided to do it in two seperate glue ups since I've got the time and since the fit was giving me a little trouble.


Since I had nothing to do for the last 15 minutes or so I decided it would be a good idea to make a template of the finished riser that fit so well with the bottome caul:


That's all I got for today. It took us a while to get lumber for the top caul today. So tomorrow we'll spend the day getting the top caul all marked up and... dare I say it... cut out...
 
Today we got all the individual pieces cut to length and put them together on the bottom caul. It's just to make a template for routing out the top caul. It was exciting to see a semi bow shaped object coming together!


More curves:


I missed my goal to have it glued up by today, but soon! I'm learning some patience.
 
Haha, thanks man. It's slow going. I wish I could just spend all day on it... such is life. Enjoy the shoot tonight
 
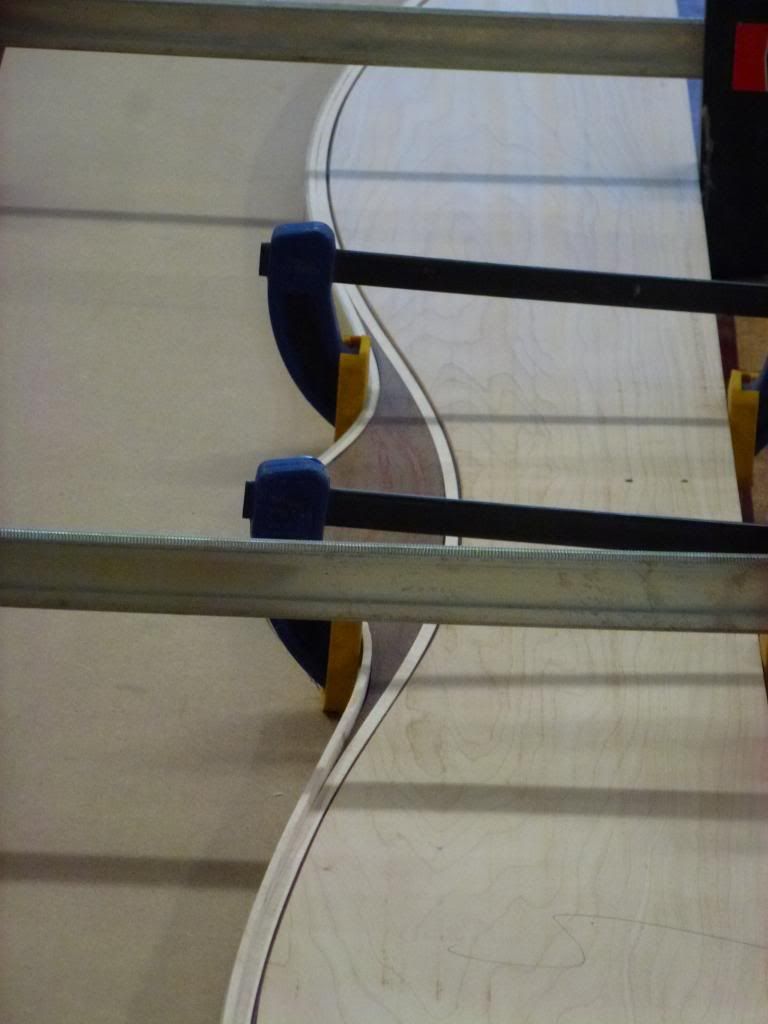
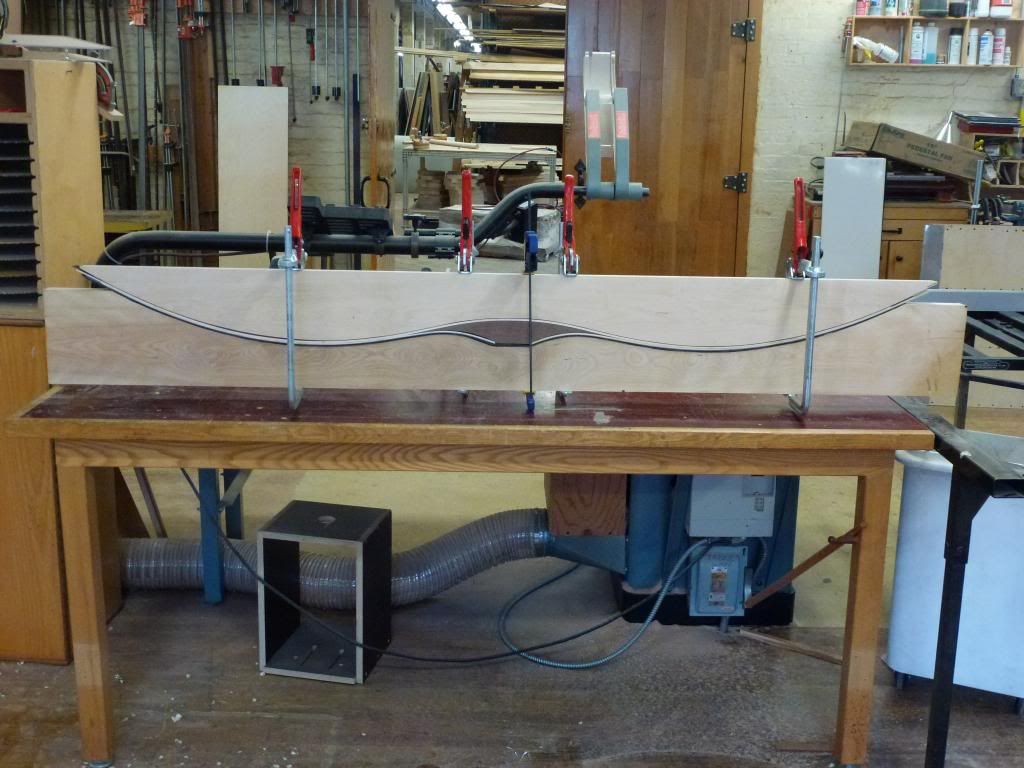
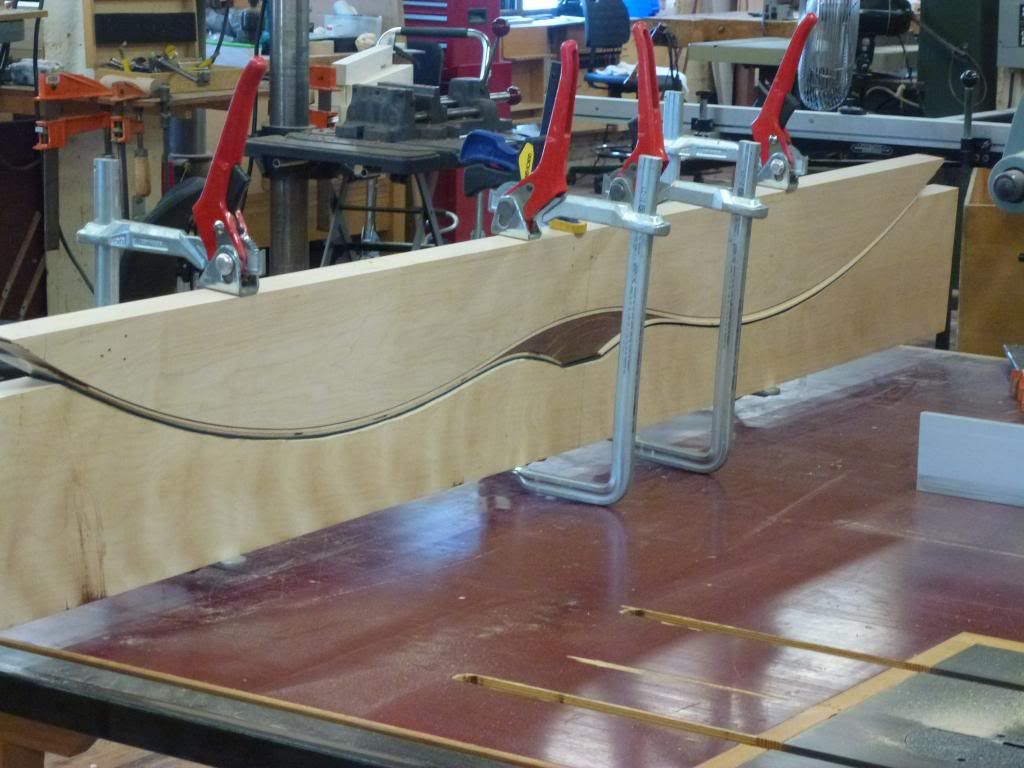
Got the top half of the caul cut out. The fit is okay as of now, but not great. You'll see what looks like a big gap on the bottom, it's actually a 1/8" piece of rubber that will even out the pressure a little bit and make the fit a little more forgiving.


Here's another picture from a different angle, same stage though.


We scribed it and sanded down to the scribed lines. Going to clamp it together tomorrow in the big clamp. Hopefully friday we should glue it up. I've gotta make sure I've dotted my t's and crossed my i's.
 
Welcome, Atlas! Hopefully I'll have one put together by then.

I'm still just scribing and sanding. I'm chomping at the bit to glue one up! But I'm going to use my better judgement and be patient... no point in doing all this work to end up with a fancy laminated piece of toxic firewood.

My buddy is going to do some of the sanding tomorrow, there's a small (very small) chance that we'll glue tomorrow. We shall see!

Stay tuned
 
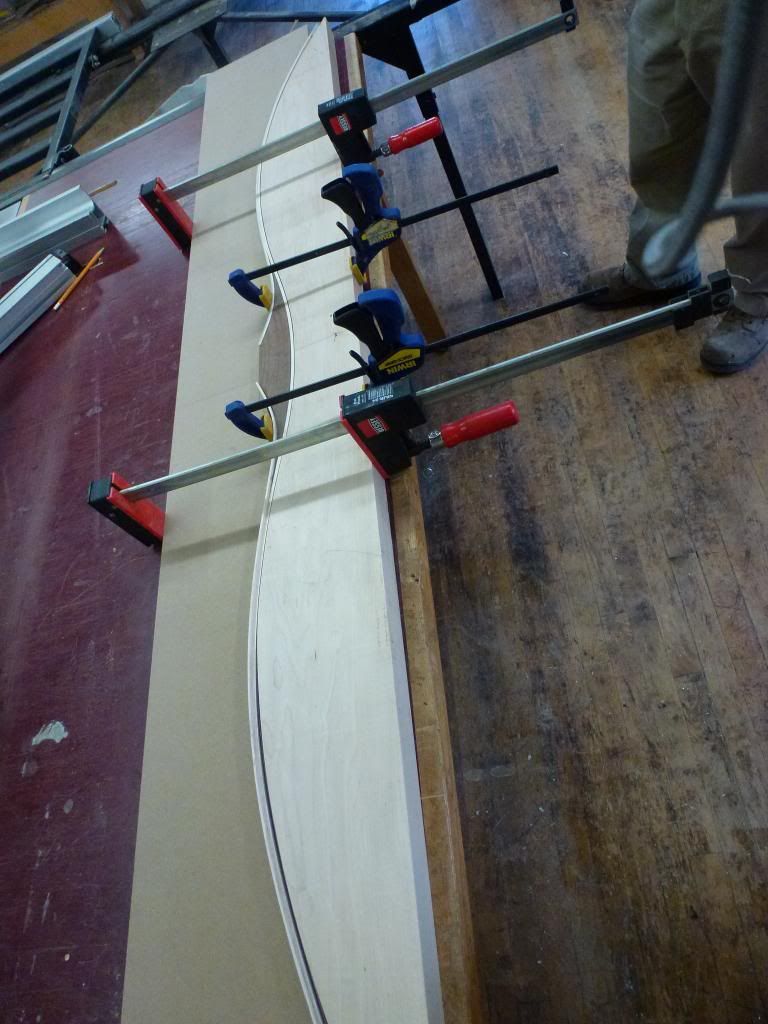
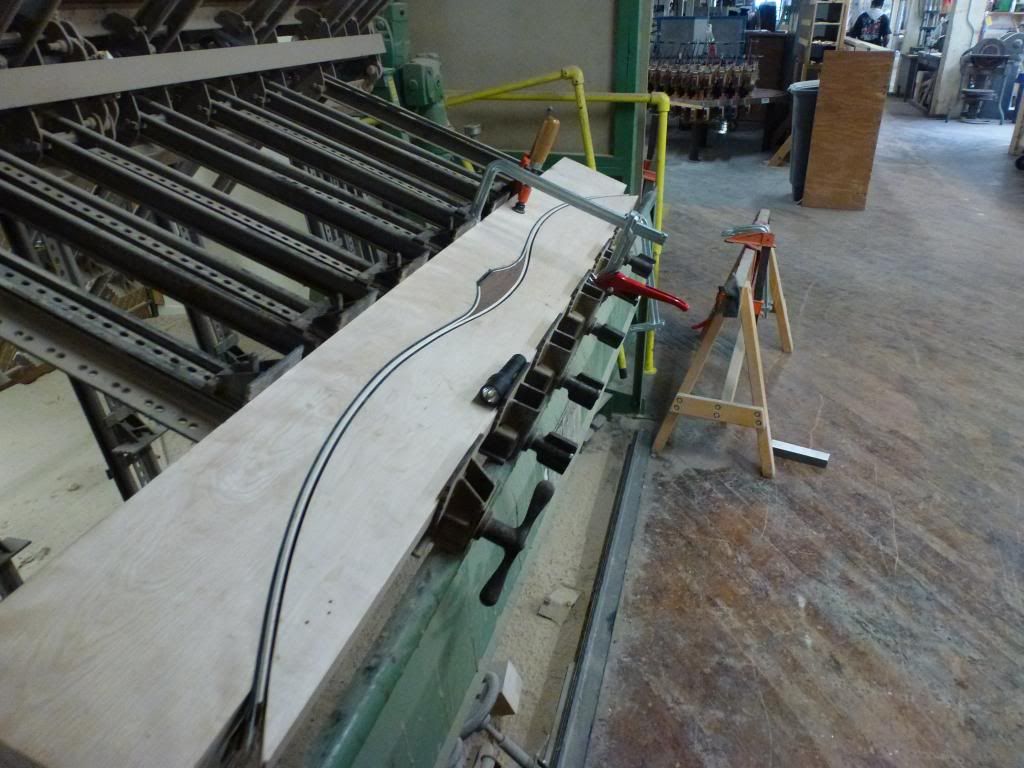
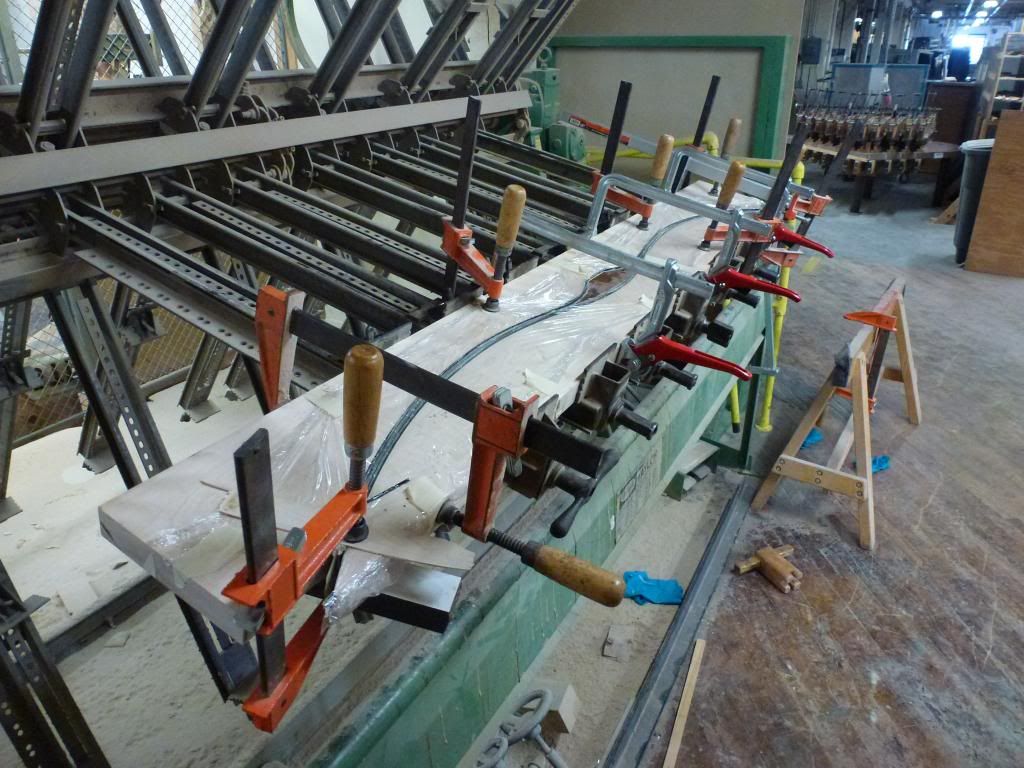
Unfortunately no glue today! And I'm not at all upset about it. It was a good choice to hang back, play it safe, and wait for monday to do the glue up. As you'll notice, we switched from C and bar clamps to a nice big glue rack. It makes it much easier. This is probably my 5th or 6th dry clamp in the rack, still without veneer. We've just been scribing and sanding, and now the caul is good to go! No light is coming through, so we're good to go! Glue on monday!

 
Today was good. I went ahead and put the rubber on both of the cauls before I did one final dry clamp with veneer.


On the first dry clamp, nothing fit correctly... everything was slightly off. I checked center on the cauls, and the top caul was off center, so I loosened it up, tapped it to center, and then re-clamped. Still, off. Grrr. I ran through it all in my head, double checked everything, and I had put the riser in upside down. I flipped it around, and bingo, it all matched up just right. No light coming through, so I'm hoping for pretty clean (non-existent) glue lines.

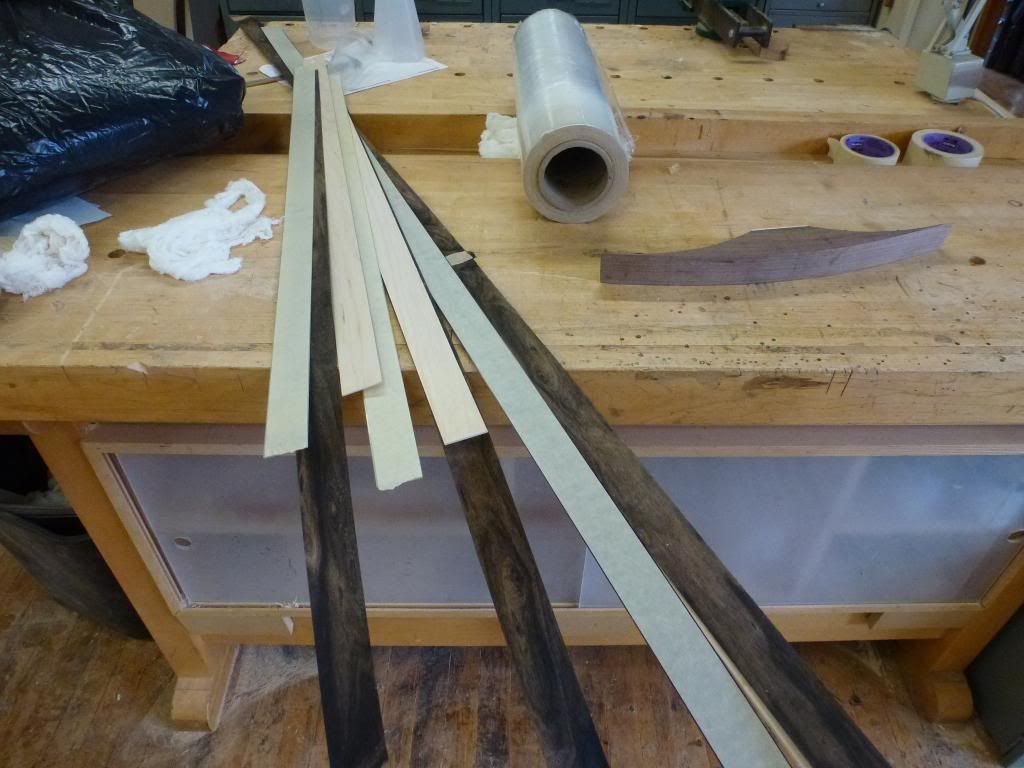
Here's a picture of all the lams after running the skyve knife down the length of them for a rough up. I plastic wrapped the cauls to make my life easier tomorrow. There's tape of the smooth faces of the fiberglass...


Here it is all clamped up


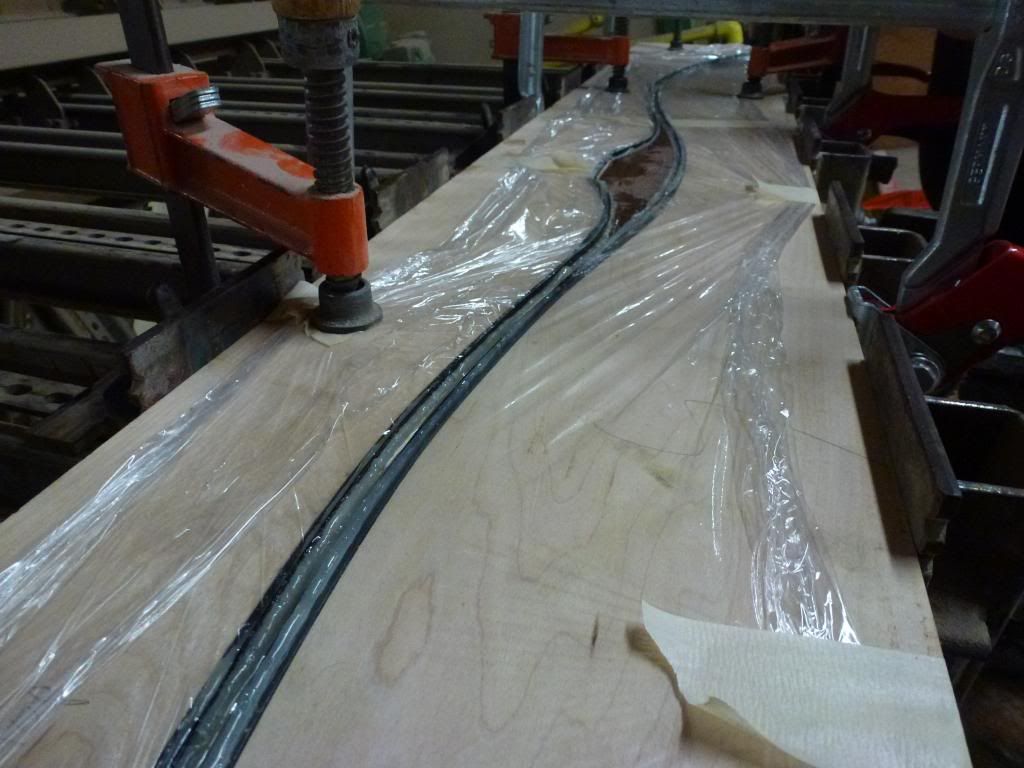
Pretty good and even squeeze out along the length of the bow


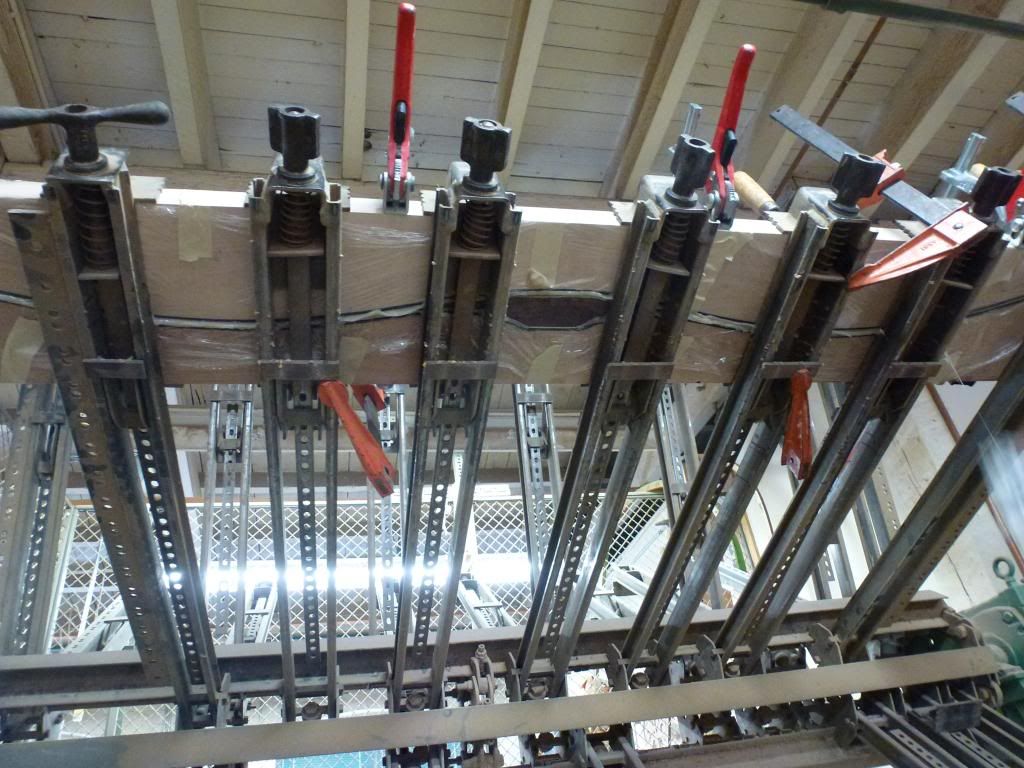
And there's the squeeze out on the bottom


Looks like I'll have some serious boogers to pick tomorrow.

Hopefully it turns out okay! I checked and rechecked, and then rechecked, repeat, repeat. Fingers crossed!
 
Looks great! Sounds like it went ok then. So what will you do tomorrow? Did you wrap the cauls to keep to glue from getting on the clamps?
 
Back
Top