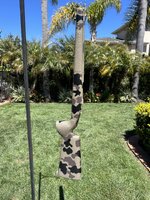
My first go at stock painting

SDHNTR

WKR
Joined
Aug 30, 2012
Messages
7,211
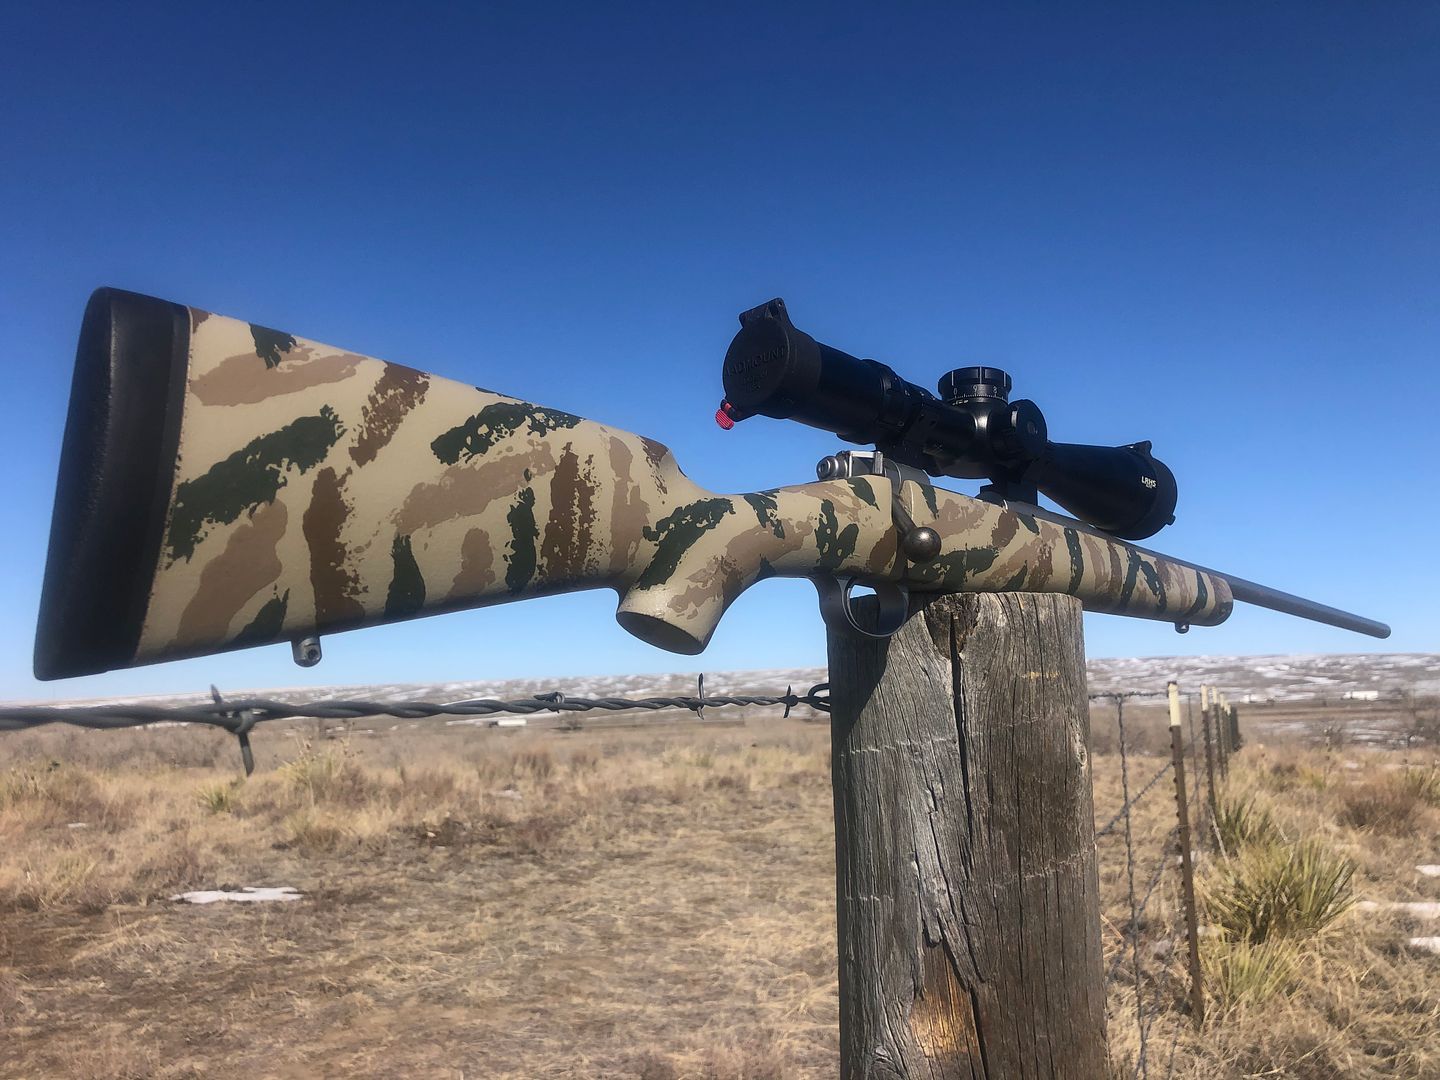
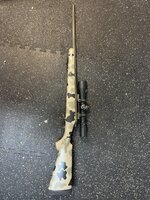
Used Freedom Stencils, Brownells Alumahyde II paint and Duracoat matte clear coat. For a first attempt, I’m happy with the results. This was an all black McM Rem Hunter Edge.

A few things I will do differently next time:

Use more stencils. I bought 2 pages. The 4 page kit would have been better.

The OD Green is not dark enough. I would either use Woodland green too, or instead. At least if I was going for the same look with FDE as the primary color. The barreled action going into this stock is Cerakoted OD Green so I went with the FDE for the primary color. I would also consider adding in some Earth brown.

Heat ALL cans of Alumahyde for at least an hour. On one can I was in a hurry and only gave it a few minutes in front of the heater. It definitely didn’t spray or lay down as smoothly as the heated colors. Warming Alumahyde is a must.

I used Alumahyde for the colors because it’s cheaper per can. Then put a clear coat of Duracoat on top for durability. Worked fine, but I may consider using all Duracoat next time. It drys faster and harder. Both are very easy to work with in aerosol form.

I will no longer pay a pro to have this done. Super easy!
 

Attachments

  • 0FEE48C3-490C-4D59-836E-F630FC2BA36B.jpeg
    0FEE48C3-490C-4D59-836E-F630FC2BA36B.jpeg
    707.1 KB · Views: 264
Joined
Nov 8, 2016
Messages
1,810
Location
Kiowa/Deer Trail, CO
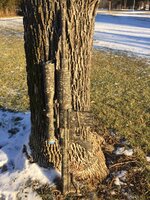
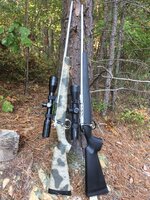
Looks good. I quit the stencils for sponge jobs.... Easier to me., personally.

IMG_1959.JPG
IMG_2433_(2).JPG
IMG_7362.JPG
IMG_7340.JPG
IMG_0439_zpsjwaya9yn.jpg

IMG_0576_zps7ujci6ui.jpg
 

Shraggs

WKR
Joined
Jan 24, 2014
Messages
1,619
Location
Zeeland, MI
Man that came out great!

I’m getting ready to do same, only I’m going with bright base colors, yellow, red and sky blue with decoration on three tikkas.

I just know I’ll never find a camo gun in a cut cornfield, lol.

I was going to use rust oleum 2x ultra base and finish all in one. Allegedly works well on plastic. Should I be looking at different products?
 
OP
S

SDHNTR

WKR
Joined
Aug 30, 2012
Messages
7,211
Man that came out great!

I’m getting ready to do same, only I’m going with bright base colors, yellow, red and sky blue with decoration on three tikkas.

I just know I’ll never find a camo gun in a cut cornfield, lol.

I was going to use rust oleum 2x ultra base and finish all in one. Allegedly works well on plastic. Should I be looking at different products?
I would use a firearm specific product. Aluma-Hyde is not much more expensive than hardware store spray paint, but it is more resistant to gun oils and solvents. I don’t know about you, but I don’t want to take my stock off every time I clean a gun.
 
Joined
Feb 25, 2012
Messages
852
Location
Poulsbo Wa.
Used Freedom Stencils, Brownells Alumahyde II paint and Duracoat matte clear coat. For a first attempt, I’m happy with the results. This was an all black McM Rem Hunter Edge.

A few things I will do differently next time:

Use more stencils. I bought 2 pages. The 4 page kit would have been better.

The OD Green is not dark enough. I would either use Woodland green too, or instead. At least if I was going for the same look with FDE as the primary color. The barreled action going into this stock is Cerakoted OD Green so I went with the FDE for the primary color. I would also consider adding in some Earth brown.

Heat ALL cans of Alumahyde for at least an hour. On one can I was in a hurry and only gave it a few minutes in front of the heater. It definitely didn’t spray or lay down as smoothly as the heated colors. Warming Alumahyde is a must.

I used Alumahyde for the colors because it’s cheaper per can. Then put a clear coat of Duracoat on top for durability. Worked fine, but I may consider using all Duracoat next time. It drys faster and harder. Both are very easy to work with in aerosol form.

I will no longer pay a pro to have this done. Super easy!
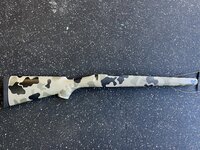
I like that!
 

Montucky

WKR
Classified Approved
Joined
Apr 25, 2020
Messages
375
Location
SW MT
Used Freedom Stencils, Brownells Alumahyde II paint and Duracoat matte clear coat. For a first attempt, I’m happy with the results. This was an all black McM Rem Hunter Edge.

A few things I will do differently next time:

Use more stencils. I bought 2 pages. The 4 page kit would have been better.

The OD Green is not dark enough. I would either use Woodland green too, or instead. At least if I was going for the same look with FDE as the primary color. The barreled action going into this stock is Cerakoted OD Green so I went with the FDE for the primary color. I would also consider adding in some Earth brown.

Heat ALL cans of Alumahyde for at least an hour. On one can I was in a hurry and only gave it a few minutes in front of the heater. It definitely didn’t spray or lay down as smoothly as the heated colors. Warming Alumahyde is a must.

I used Alumahyde for the colors because it’s cheaper per can. Then put a clear coat of Duracoat on top for durability. Worked fine, but I may consider using all Duracoat next time. It drys faster and harder. Both are very easy to work with in aerosol form.

I will no longer pay a pro to have this done. Super easy!
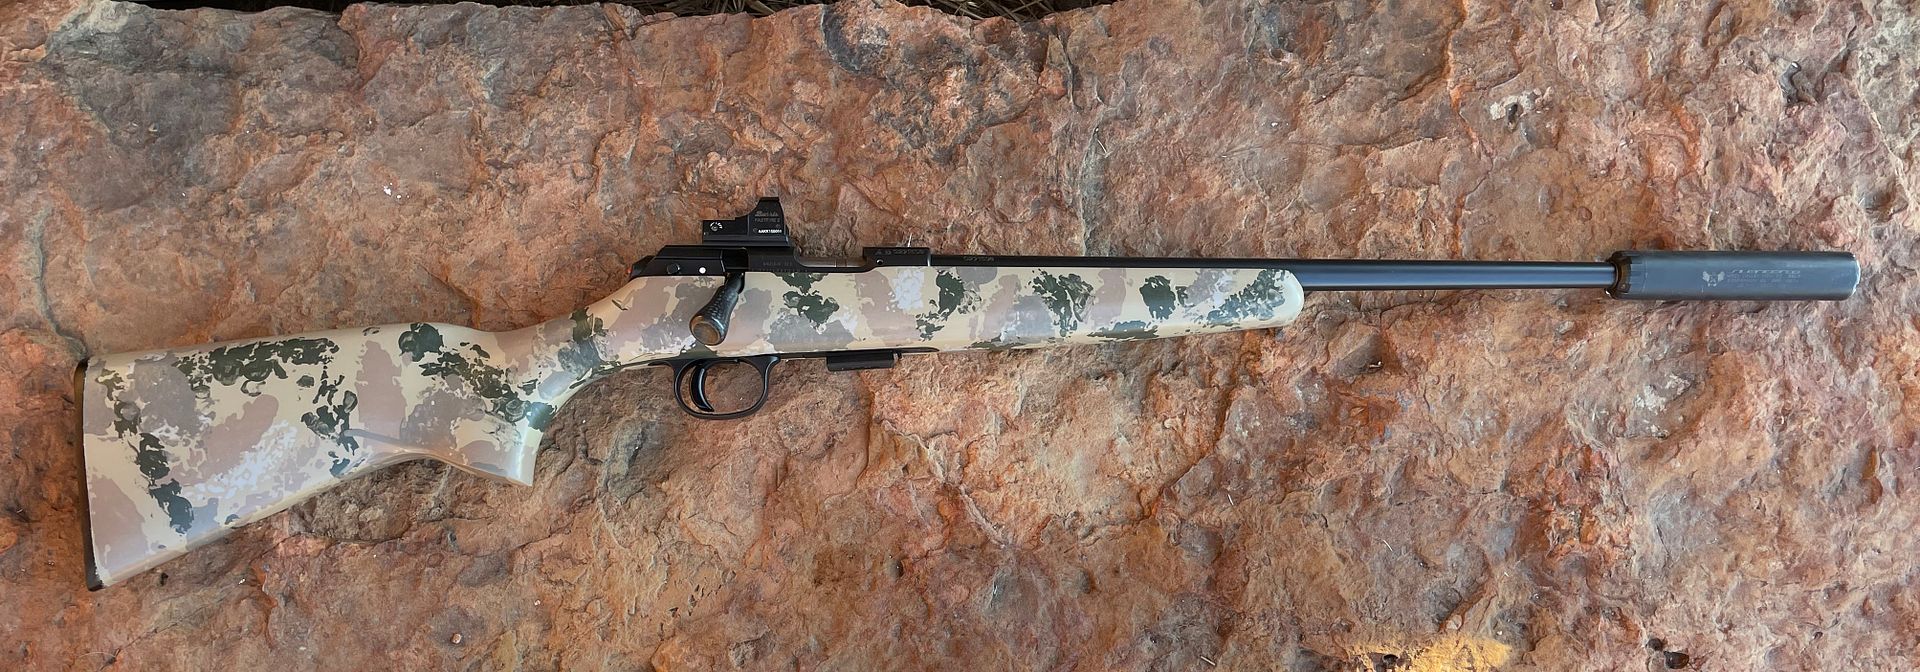
Turned out awesome!!! I wonder if you tried a sponge pattern on top of the Duracoat & then coated your finished pattern….? You got the room to do it, do you think it would bond & finish out?
 
OP
S

SDHNTR

WKR
Joined
Aug 30, 2012
Messages
7,211
Turned out awesome!!! I wonder if you tried a sponge pattern on top of the Duracoat & then coated your finished pattern….? You got the room to do it, do you think it would bond & finish out?
A little steel wool scuff up and I’m sure it would adhere. I had to touch up a couple spots and did that and you can’t even tell. I don’t want the soft lines of a sponge on this look, but at some point in the future I may cut some negative void stencils, mask everything else off and add a few more color splotches.
 

Montucky

WKR
Classified Approved
Joined
Apr 25, 2020
Messages
375
Location
SW MT
A little steel wool scuff up and I’m sure it would adhere. I had to touch up a couple spots and did that and you can’t even tell. I don’t want the soft lines of a sponge on this look, but at some point in the future I may cut some negative void stencils, mask everything else off and add a few more color splotches.
Love It…. I know it’s stressful, I’ve been there….but you got a battle plan bro…..keep us posted
 
OP
S

SDHNTR

WKR
Joined
Aug 30, 2012
Messages
7,211
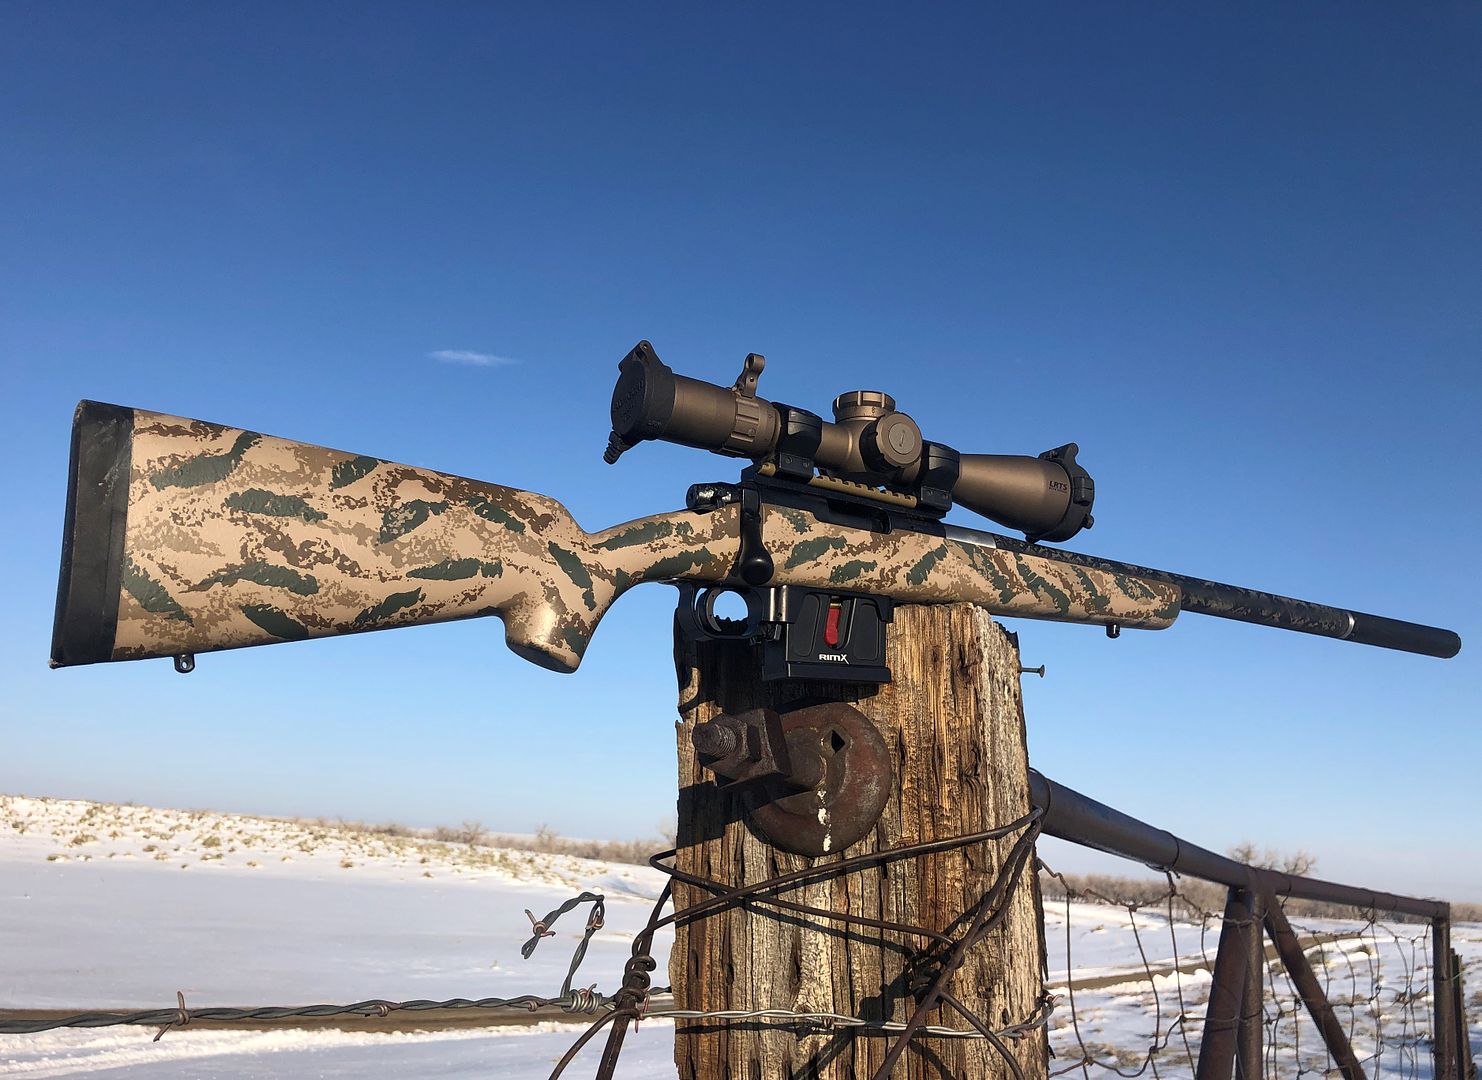
Fully cured and all back together. New scope it deserved. New look. Just need to use it more now. This was my very first custom build from several years ago. .260 Rem. Pacnor barrel on a highly modified 700 action. Built it to be a lightweight, compact backpacking/mountain gun. Never been 100% happy with it. But I think I finally am now.
 

Attachments

  • 14A702F2-E1FD-4638-8B86-82E6EEA1E163.jpeg
    14A702F2-E1FD-4638-8B86-82E6EEA1E163.jpeg
    683.8 KB · Views: 76

Babs

FNG
Joined
Sep 5, 2020
Messages
13
Looks awesome! Ive done a few with rattle cans… theyve held up really well despite getting beat in the mountains!
 

Attachments

  • IMG_5891.png
    IMG_5891.png
    774.4 KB · Views: 48

Jason t

FNG
Joined
Feb 2, 2018
Messages
89
I know this is a bit old, but I’m bout to paint my stock with alumahyde. Did you tape off the inletting, or just let her rip. I’m wondering if my action. Which was just bedded will be affected.
 
OP
S

SDHNTR

WKR
Joined
Aug 30, 2012
Messages
7,211
I know this is a bit old, but I’m bout to paint my stock with alumahyde. Did you tape off the inletting, or just let her rip. I’m wondering if my action. Which was just bedded will be affected.
Yes I taped off the inletting. I wouldn’t want paint on the bedding surface.
 
OP
S

SDHNTR

WKR
Joined
Aug 30, 2012
Messages
7,211
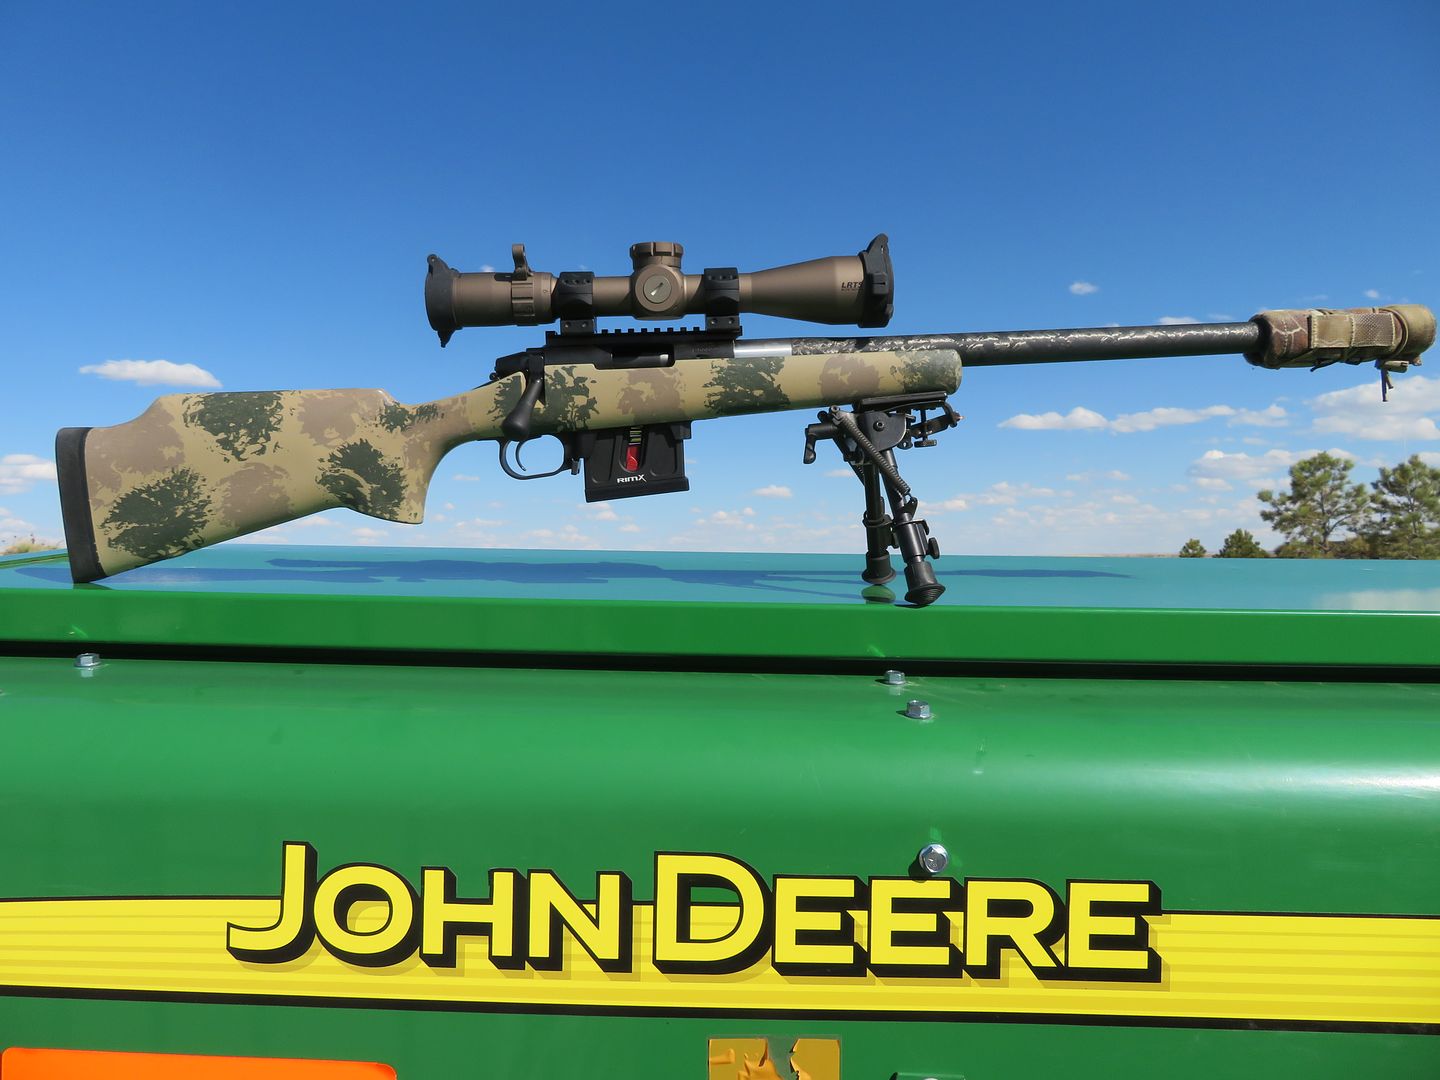
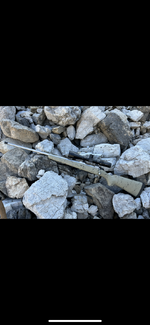
FWIW, this was my second attempt. I used Duracoat on this one. More expensive, but I think I like the results better.
 

Attachments

  • IMG_5383.jpeg
    IMG_5383.jpeg
    629.2 KB · Views: 29
Top