MR Pop Up-Inspired Lumbar Pack (Build-Along)

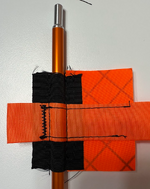
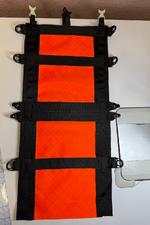
You probably wanted to save weight but when I built my copy of a kifaru ultralite frame years ago, I used a piece of 17337 webbing. It was probably 2 inch to accommodate about a 3/4 wide by 3/8 thick composite stay. I just folded under the bottom to create a long pocket. I believe it copied this from kifaru but I can't remember.
ddc469671d0416e4a0a6b491516fe0af.jpg


Sent from my SM-G991U using Tapatalk

Thanks man! I have a roll of that laying around if I need it. If you look at how the Exo K4 frame has an upper and lower portion, with stays that slide into the upper portion, that's basically what I'll be doing. I have some "hybrid" UHMWPE webbing that should make some nice sleeves or sleeve reinforcements for the upper frame. Assuming I don't just go all the way with fabric.

 
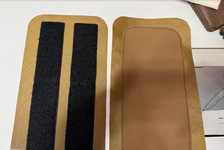
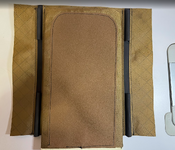
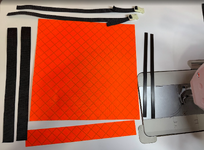
I filled some slack time between work ending and picking up the kids by cutting some fabric for the lumbar pad. Going with 1/2" foam for the lumbar pad and 1/4" for the belt and shoulder straps. Once the foam is in the lumbar pad, I'll top stitch the "Slip Not" fabric in the middle to hold everything tightly together.

1759967309236.png
 
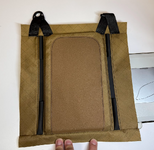
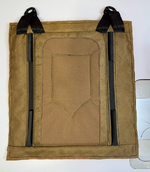
Brown on brown doesn't show too well, but the lumbar pad is almost done. I'm going to attach the webbing for the shoulder straps and the top flap over them, and then I will finalize the lumbar pad height.
1759973192802.png
 
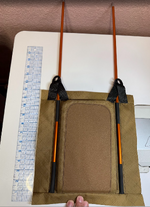
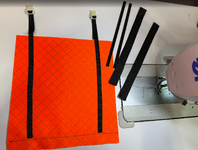
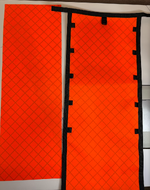
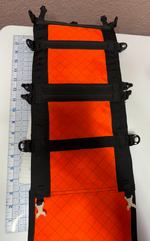
One more picture for clarity. I've got some orange Ecopak that I'll be using to brighten up the interior for the opposing side--can't wait to work on that tonight.

1760027949098.png
 
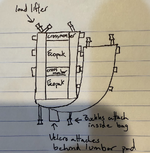
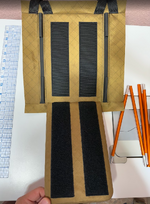
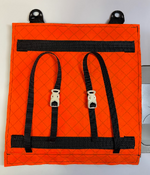
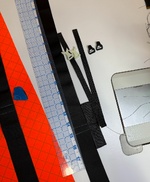
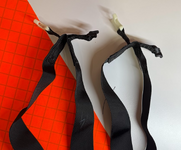
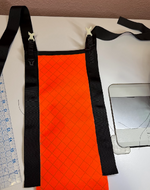
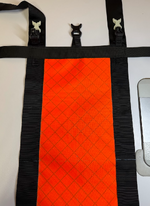
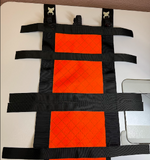
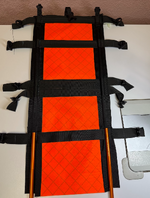
The interior of the back panel is complete, and with that, I think the entire back panel is done. There will be hip stabilizers inline with the carbon fiber strips I sewed in, with the thought that they will counteract the force placed on the top of the vertical stays, causing the bottom of the stays to pull in the opposite direction.

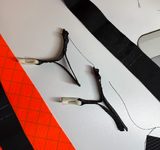
The buckles you see here will connect to the load sling/cargo panel piece, pulling the side closest to the frame taut, inline with the frame, adding rigidity when hauling.

I'm still not entirely certain this whole removable frame contraption is going to work out, but if it fails at least I suppose I'll at least have a decent lumbar pack.... The further along I get, the better I feel about it.

Right now I'm a little worried about flipping the pack inside out after I bind the panels together due to the size and bulk of the back panel. It should be able to bend just enough to flip, but it's going to be tight.

1760056622676.png

1760056640444.png

1760056665199.png

1760056709459.png
 
No real progress today, besides thinking and planning. Tomorrow I'll start the side pockets/panels and hope to share another update and pictures.

Thoughts on the side panel/pockets as I am planning them now:
  • Side panel will finish at 7" wide for a 7" pack depth.
  • Pockets will be the same Ecopak fabric
  • More rigid fabric will make for easier pocket access with pack on
  • Top pocket edge will be hemmed and rolled over to house a doubled over length of 3/32" shock cord
  • Both ends of the top pocket edge will be open, with a loop of grosgrain on either end. One to run replaceable shock cord through, and the other to hold a fixed cord lock.
  • I like the idea of replaceable shock cord more than sewn in elastic.
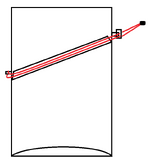
Behold, my finest Paint work... I have the cord lock at the top, furthest from the back in this drawing, but it probably makes more sense to put the cord lock close to the back for easier manipulation.
1760151152287.png
 
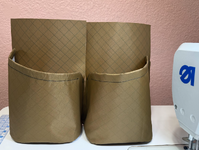
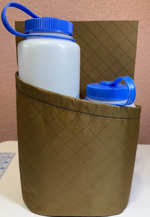
The pockets are mostly together. It's been a while since I've sewn a cylinder type shape, and suffice it to say, I embarrassingly had to relearn everything I once knew. Used some scrap fabric and made a couple proofs before I got it right.

1760298350504.png

1760298408132.png

1760298425474.png

The front panel is almost done. I had some Hex70 fabric that I used for the inside of the pocket. Before I begin on the bottom panel or roll top, I will be adding a stretch pocket over front panel, and attaching all of the various shock cord hardware, lashing points, etc.

1760298580440.png

I haven't been too worried about the weight, but I am making small efforts where I can in an attempt to keep weight in check. Obviously not too much effort, as I still with with a waterproof zipper, plastic sheet, non-slip lumbar fabric, am binding edges with 1" ribbon, and the list goes on.

As it sits right now with the vertical stays, 4 panels, and hardware to be attached, the weight is 18 oz. It would be nice to see the finished product come in at or below 3lb 🤞

If the concept works out, I could see rebuilding this from Challenge Ultra 200 or a similarly light fabric and incorporating more curves into the design to spread seam stresses around more efficiently. It's about 2oz per sq yard lighter, which might save 3-4oz or more on the final assembly.
 
Likely the last update for today. I've got all the D-rings, cord locks, etc. attached. Grabbed some clips and connected the panels so I could get a sneak peek.

An aside: the stretch pocket is made from the Venom Stretch Mesh ECO MAX. You need a hot knife to cut it easily, but it was really nice to work with otherwise. I will be using this stuff again.

Once I make sure I haven't forgotten anything...

  1. Join the 4 panels and bind seams.
  2. Create a bottom panel. Will add some webbing and ladder locks to carry things like a sitting pad, trekking poles, etc.
  3. Attach bottom panel and bind edges.
  4. Create roll top.
  5. Attach and bind roll top.
  6. Finalize the upper frame attachment plans.
I have some waterproof seam tape that I might slap on top of things to seal the pack up... Never tried it before.

1760311965183.png

1760312060633.png

1760312083369.png

1760312111042.png
 
Looking sharp. Thanks for taking us along.

Sent from my SM-G991U using Tapatalk
Thanks man, it’s all your fault. I’m not sure I would have picked up sewing gear if I hadn’t first seen that Kifaru copycat frame you made years back. It really got my wheels turning to consider what was possible.
 
Thanks man, it’s all your fault. I’m not sure I would have picked up sewing gear if I hadn’t first seen that Kifaru copycat frame you made years back. It really got my wheels turning to consider what was possible.
I still remember someone's post on another forum that did the same for me. I was dabbling with sewing stuff but it all kind of sucked. I was scouring the internet for anyone making diy stuff that was actually nice. It just didn't really exist on the internet back then. This was pre Facebook prevalence. I found some guy on a random forum making tactical type backpacks that looked store bought and I was blown away. Then I knew it was possible.

Sent from my SM-G991U using Tapatalk
 
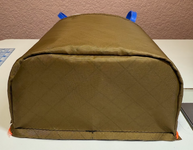
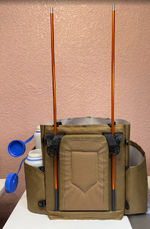
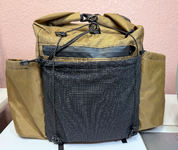
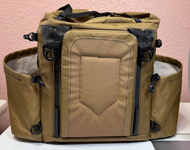
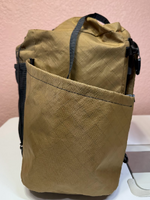
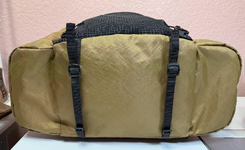
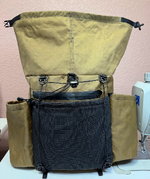
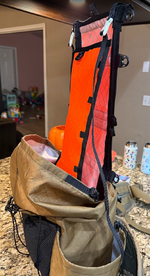
I think I'm done with the main bag, except for binding the roll top and bottom panel. I shoved a couple light jackets for fill. Should have stuffed more in to make it look a little more symmetrical than it does here.

I haven't used my double needle machine in a while, so I set it up this morning to do the double lapped/flat felled seam on the roll top. Midway through the seam, after a bunch of testing, the thread shredded. Checked my needles--somehow I grabbed a pair of 18g instead of 19g needles. That sucked. I was really hoping to have a nice, clean seam there. Oh well.

1760387023256.png

1760386925298.png

1760386997291.png

1760387074177.png

1760387098834.png
 
That looks great brother! I have only worked with VX a little bit. Do you find it easy to work with? I do like how the raw edge of the material doesn't fray.

Also, do you use an edge binding attachment, or by hand? I have found the tight corners to be difficult with an attachment.

Sent from my SM-S911U using Tapatalk
Thanks!

This is a little different than the X-Pac VX. Challenge Ecopak 200, with a polyester face. It frays a little, but overall I found it easy to work with (this was my first time using it. It's more unforgiving of mistakes in technique and measurement than some Corduras that have some stretch to them. But also, because of a lack of stretch, it stays where you want it better than Cordura.

I use a dedicated machine with attachments for binding, a knock off of a Pfaff 345. Using a herringbone-type grosgrain helps for better coverage around sharper corners. If I have to bind actual corners, I will use an attachment on a flat bed machine and tuck the corners for a mitered corner look.
 
Back
Top