DIY RokStok in maple

Joined
Dec 16, 2021
Messages
605
Location
Larkspur, CO
Inspired by @Decker9 ’s amazing work and guided by the great information from @Formidilosus on long range rifle stock configuration, I set out to build my own ‘stok because there’s no indication that @Stockys will ever make a RokStok for the venerable Swedish Mauser.

My rifle is a model 1896 manufactured in Sweden in 1898 (serial no 10XX) and eventually imported and sporterized by Kimber of Oregon. I put a 25” #3 contour 6.5x55 shilen barrel on it and in a plastic Ramline stock with SWFA 3-9x42 recently put 20 127gr LRX’s inside 4” at 315 yards. Somehow our great-great-grandfathers knew how to design and manufacture reliable, accurate, CRF rifles long before CNC machining.

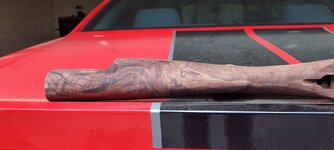
I bought this slab of maple for $40 online and let it sit in my shop for a couple years, periodically checking for warping and never got any.
99dd72eb86e419414f30f26f415cad5d.jpg


I laid out the intended dimensions as follows:
- toe parallel to bore line
- heel 1/2” above bore line
- 1.7” reach to trigger (second stage)
- nearly vertical grip
- negative comb (start at -6 degrees and increase until it fits me)
- forearm nearly parallel to bore(3 degrees)
- forearm transition from flat in front of action screw to round at 1.35” diameter tip

My intent was not to make an heirloom like @Decker9, just to get a functional stock built before the summer camping/shooting season. I wasn’t going to spend 60 hours trying to keep the inletted wood less than a gnat’s eyelash from steel. Instead this stock would have a thick layer of bedding between steel and wood and a good bit of that bedding would even be visible (gasp!).
 
Last edited:
OP
Mtnmilsurp
Joined
Dec 16, 2021
Messages
605
Location
Larkspur, CO
Having never carved a stock from scratch, the hardest part was getting started. My maple slab only had one planed side so I spent a lot of time trying to figure out how to get at least one other side (the top) cut square to that planed edge so I could have a flat, square surface to start inletting.

My solution was to glue a guide board parallel to the intended bore line and run that guide along the fence on my table saw, stopping short of the comb line. It worked great!
87e54f778219fcae09cf72d7788d272a.jpg

2f21237ff10aa056be987a9f8fbe3c3e.jpg

a5ba800d98c2d8d992d74aee24a695e3.jpg
 

Decker9

WKR
Joined
Apr 10, 2015
Messages
1,017
Location
BC goat mountains
Inspired by @decker9’s amazing work and guided by the great information from @formidilosis on long range rifle stock configuration, I set out to build my own ‘stok because there’s no indication that @Stockys will ever make a RokStok for the venerable Swedish Mauser.

My rifle is a model 1896 manufactured in Sweden in 1898 (serial no 10XX) and eventually imported and sporterized by Kimber of Oregon. I put a 25” #3 contour 6.5x55 shilen barrel on it and in a plastic Ramline stock with SWFA 3-9x42 recently put 20 127gr LRX’s inside 4” at 315 yards. Somehow our great-great-grandfathers knew how to design and manufacture reliable, accurate, CRF rifles long before CNC machining.

I bought this slab of maple for $40 online and let it sit in my shop for a couple years, periodically checking for warping and never got any.
99dd72eb86e419414f30f26f415cad5d.jpg


I laid out the intended dimensions as follows:
- toe parallel to bore line
- heel 1/2” above bore line
- 1.7” reach to trigger (second stage)
- nearly vertical grip
- negative comb (start at -6 degrees and increase until it fits me)
- forearm nearly parallel to bore(3 degrees)
- forearm transition from flat in front of action screw to round at 1.35” diameter tip

My intent was not to make an heirloom like @Decker9, just to get a functional stock built before the summer camping/shooting season. I wasn’t going to spend 60 hours trying to keep the inletted wood less than a gnat’s eyelash from steel. Instead this stock would have a thick layer of bedding between steel and wood and a good bit of that bedding would even be visible (gasp!).

Excellent stuff!! A big cheers to you for jumping into the art!! Your cartridge choice, is my all time favourite!!

You sound like a man with a plan, you’re going to nail this!! Looking forward to following!
 
OP
Mtnmilsurp
Joined
Dec 16, 2021
Messages
605
Location
Larkspur, CO
Excellent stuff!! A big cheers to you for jumping into the art!! Your cartridge choice, is my all time favourite!!

You sound like a man with a plan, you’re going to nail this!! Looking forward to following!

Thanks! Not much risk here. I paid slightly above USFS campground wood bundle rates for the blank…
 

Ucsdryder

WKR
Joined
Jan 24, 2015
Messages
6,605
I’m in for this. I always appreciate people doing stuff I couldn’t do in my wildest dream. We will put this one that category.
 
OP
Mtnmilsurp
Joined
Dec 16, 2021
Messages
605
Location
Larkspur, CO
The next head scratcher was how to get the action screw holes straight, plumb, parallel to each other, etc so the extended stock making screws would keep the action aligned for all the rest of the inletting. I decided to locate the front action screw hole and drill it with my drill press using a level to make sure the hole is 90 degrees to the length and width of the top of the blank. I then set only the front stud in the action, set the action on the blank, and drilled through the action screw hole in the tang to locate the rear hole.
aeb5ca4b5984dde09dbf376e6898530f.jpg


After that came a couple weeks of inletting. I cheated a bit with some forstner bits in the drill press but mostly used a cheap carving knife set I got at woodcraft and some rasps from harbor freight.
21e80a9c0162080c1e5e91013641dd72.jpg

e3bc9b8a9ece2351f6cc1ad4a8b909be.jpg

I tried the dremel but it wasn’t nearly as useful as I expected. The chuck always gets in the way.

I also used a router to get a head start on the barrel channel.
e032f46d696b54c0e2e628eb8aa7d1cb.jpg


I removed a lot of material with drill bits…
ea4ee25c508a327955845f643147f57f.jpg


To break up the monotony I frequently switched between working on the top
05282cf26f57387fb0ed07a0a81765dd.jpg

and bottom…
 

Wrench

WKR
Joined
Aug 23, 2018
Messages
6,211
Location
WA
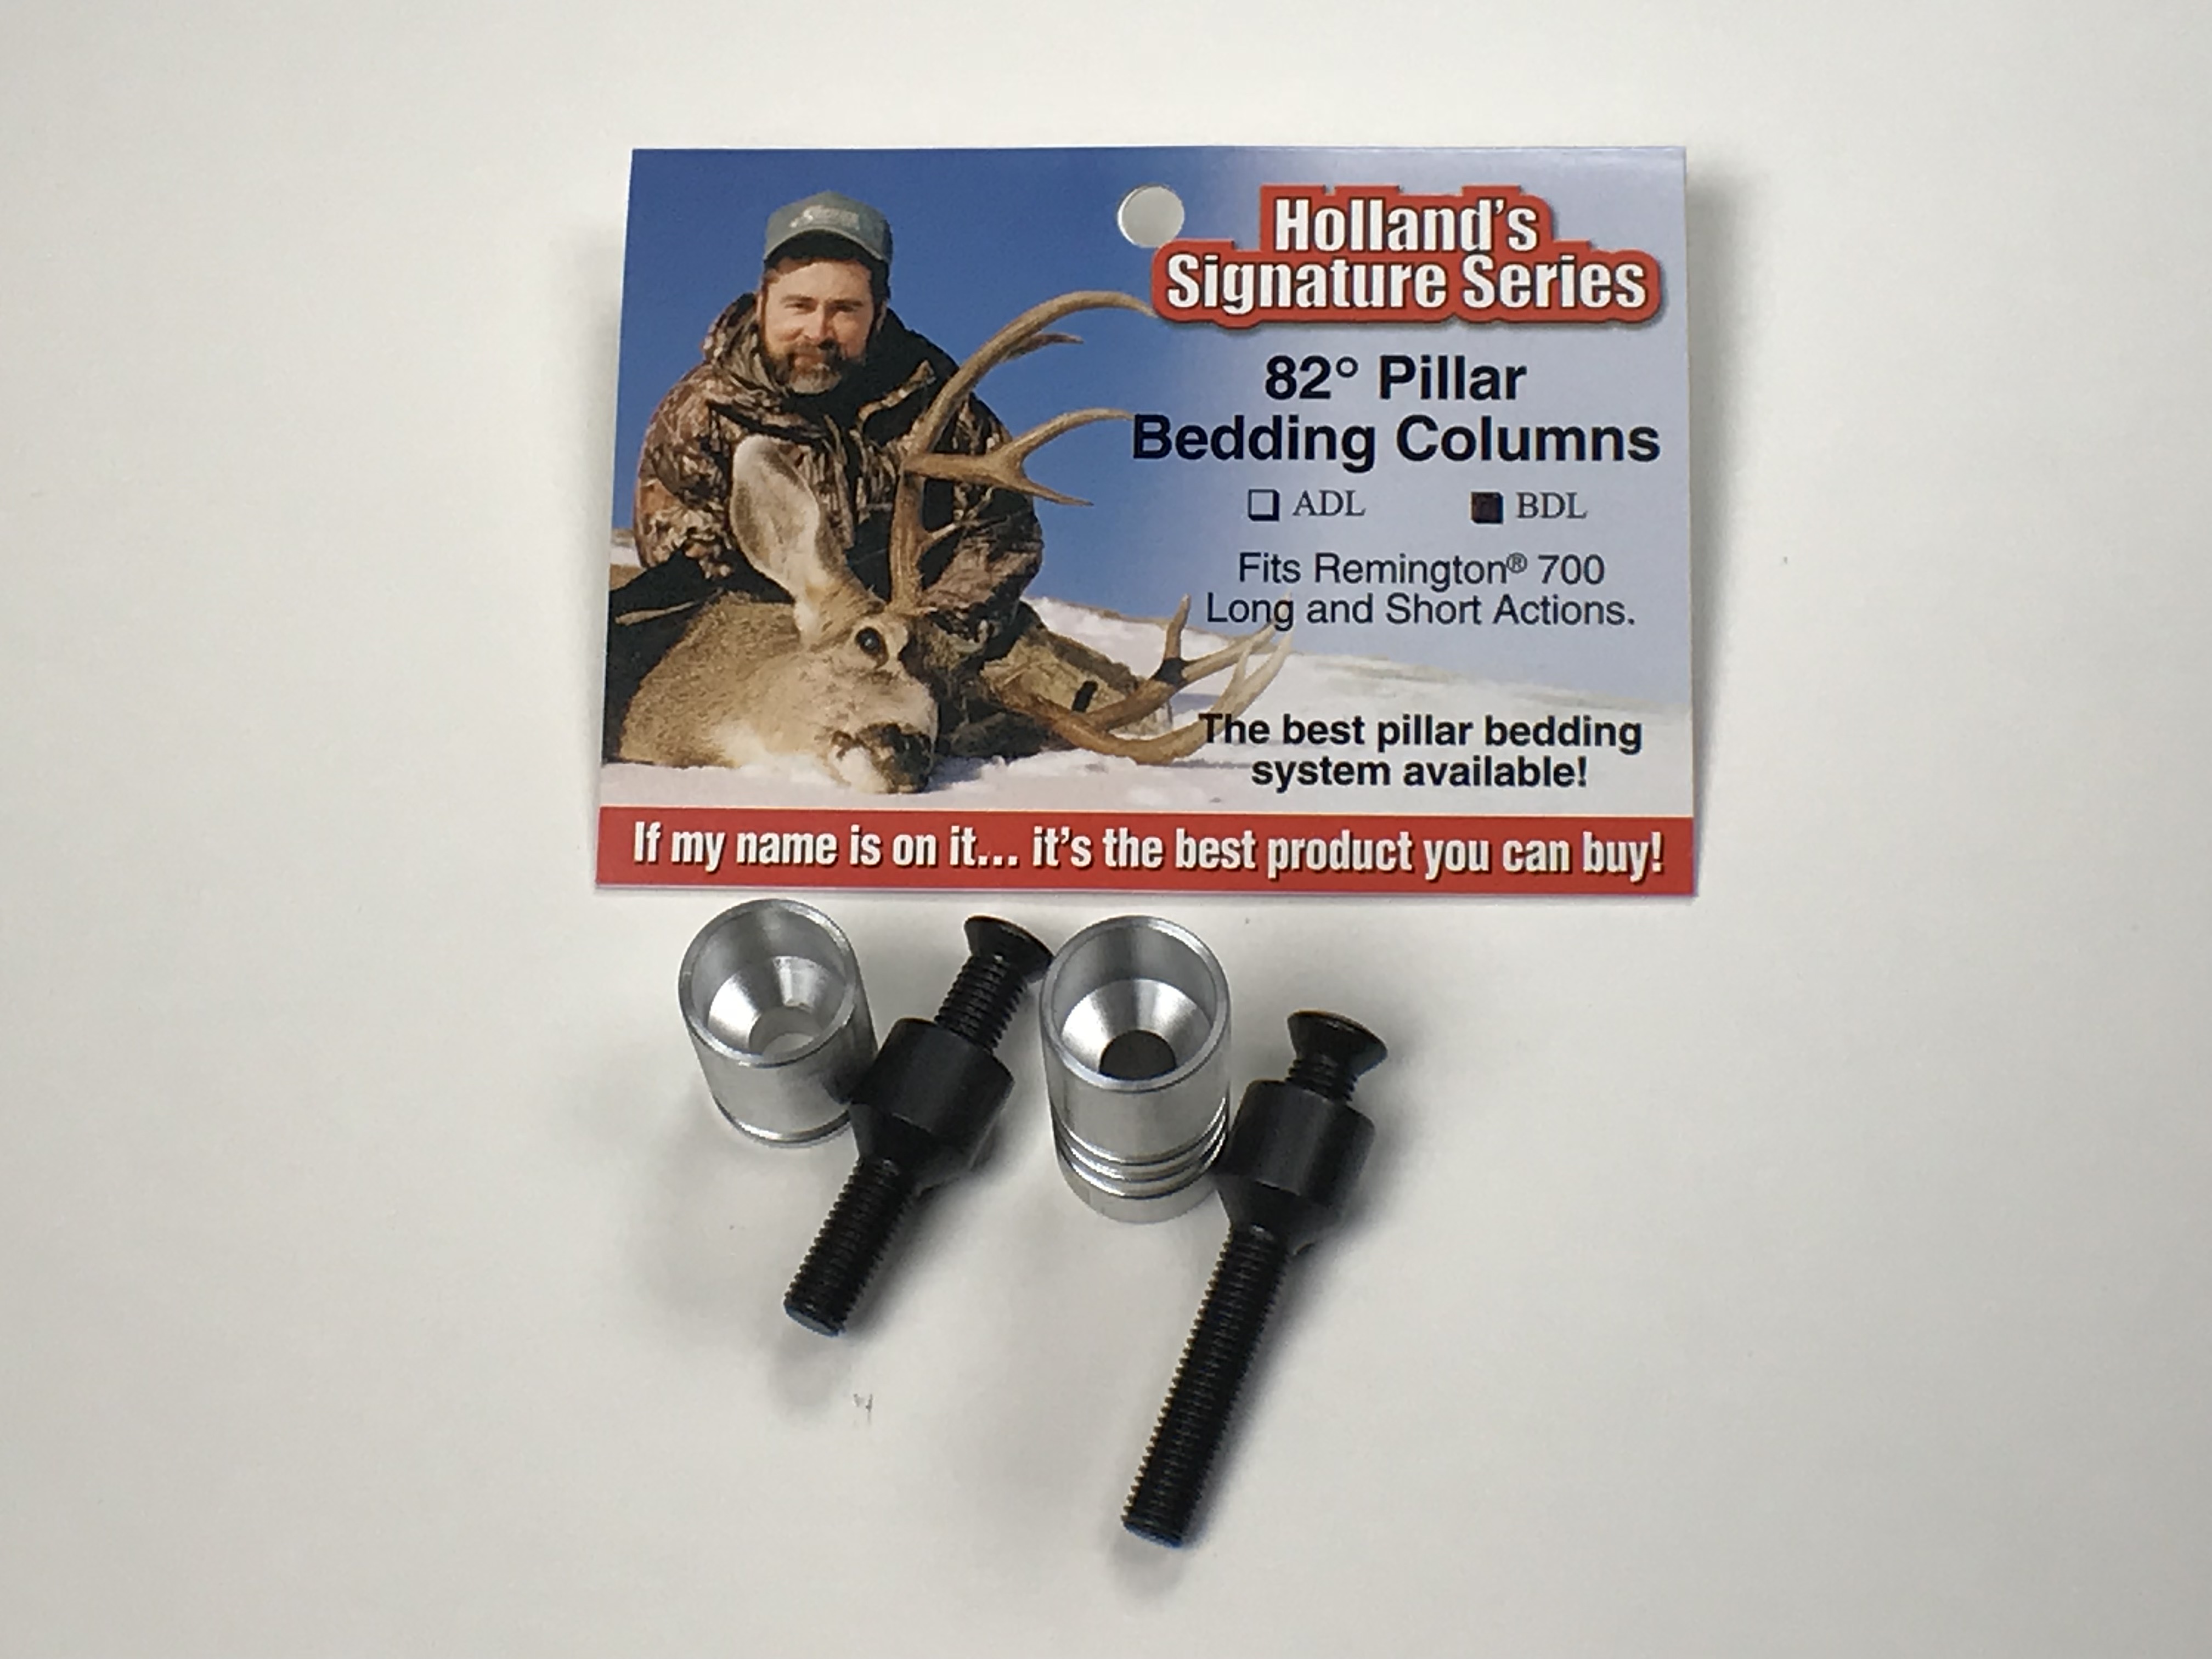
Here's a link to Hollands bedding columns. If you're going all in, this is worth considering.

 
OP
Mtnmilsurp
Joined
Dec 16, 2021
Messages
605
Location
Larkspur, CO
Here's a link to Hollands bedding columns. If you're going all in, this is worth considering.


Those look nice but would almost double what I’ve got invested in the stock. Is it okay to just make pillars out of bedding compound? I’m using some leftover pro-bed for this project. That’s what I’ve done before and it seemed to work okay so far. Alternatively I’ve thought of just trying to make my own pillars.
 

Decker9

WKR
Joined
Apr 10, 2015
Messages
1,017
Location
BC goat mountains
Those look nice but would almost double what I’ve got invested in the stock. Is it okay to just make pillars out of bedding compound? I’m using some leftover pro-bed for this project. That’s what I’ve done before and it seemed to work okay so far. Alternatively I’ve thought of just trying to make my own pillars.

Iv read quite a bit that poured pillars are just as good. As long as theirs no air pockets, I wouldn’t hesitate if I was keeping it on the budget side.

On that note, score high’s adjustable pillars are gems to use.
 

Jmanley13

FNG
Joined
Jul 29, 2019
Messages
10
The next head scratcher was how to get the action screw holes straight, plumb, parallel to each other, etc so the extended stock making screws would keep the action aligned for all the rest of the inletting. I decided to locate the front action screw hole and drill it with my drill press using a level to make sure the hole is 90 degrees to the length and width of the top of the blank. I then set only the front stud in the action, set the action on the blank, and drilled through the action screw hole in the tang to locate the rear hole.
aeb5ca4b5984dde09dbf376e6898530f.jpg


After that came a couple weeks of inletting. I cheated a bit with some forstner bits in the drill press but mostly used a cheap carving knife set I got at woodcraft and some rasps from harbor freight.
21e80a9c0162080c1e5e91013641dd72.jpg

e3bc9b8a9ece2351f6cc1ad4a8b909be.jpg

I tried the dremel but it wasn’t nearly as useful as I expected. The chuck always gets in the way.

I also used a router to get a head start on the barrel channel.
e032f46d696b54c0e2e628eb8aa7d1cb.jpg


I removed a lot of material with drill bits…
ea4ee25c508a327955845f643147f57f.jpg


To break up the monotony I frequently switched between working on the top
05282cf26f57387fb0ed07a0a81765dd.jpg

and bottom…
A draw knife or a Japanese
Inspired by @decker9’s amazing work and guided by the great information from @Formidilosus on long range rifle stock configuration, I set out to build my own ‘stok because there’s no indication that @Stockys will ever make a RokStok for the venerable Swedish Mauser.

My rifle is a model 1896 manufactured in Sweden in 1898 (serial no 10XX) and eventually imported and sporterized by Kimber of Oregon. I put a 25” #3 contour 6.5x55 shilen barrel on it and in a plastic Ramline stock with SWFA 3-9x42 recently put 20 127gr LRX’s inside 4” at 315 yards. Somehow our great-great-grandfathers knew how to design and manufacture reliable, accurate, CRF rifles long before CNC machining.

I bought this slab of maple for $40 online and let it sit in my shop for a couple years, periodically checking for warping and never got any.
99dd72eb86e419414f30f26f415cad5d.jpg


I laid out the intended dimensions as follows:
- toe parallel to bore line
- heel 1/2” above bore line
- 1.7” reach to trigger (second stage)
- nearly vertical grip
- negative comb (start at -6 degrees and increase until it fits me)
- forearm nearly parallel to bore(3 degrees)
- forearm transition from flat in front of action screw to round at 1.35” diameter tip

My intent was not to make an heirloom like @Decker9, just to get a functional stock built before the summer camping/shooting season. I wasn’t going to spend 60 hours trying to keep the inletted wood less than a gnat’s eyelash from steel. Instead this stock would have a thick layer of bedding between steel and wood and a good bit of that bedding would even be visible (gasp!).
looks like a fun project I’ve always wanted to try
 

Tom-D

FNG
Joined
Sep 11, 2023
Messages
77
Those look nice but would almost double what I’ve got invested in the stock. Is it okay to just make pillars out of bedding compound? I’m using some leftover pro-bed for this project. That’s what I’ve done before and it seemed to work okay so far. Alternatively I’ve thought of just trying to make my own pillars.
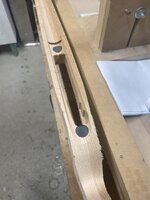
What i have done a few times is pre drill larger holes first right through then pour epoxy resin and then drill through for the action screws later
 

Attachments

  • 4F31F5AE-B2D0-494F-B9BE-9F7E8E3CAEDF.jpeg
    4F31F5AE-B2D0-494F-B9BE-9F7E8E3CAEDF.jpeg
    219.9 KB · Views: 149

Wrench

WKR
Joined
Aug 23, 2018
Messages
6,211
Location
WA
Poured in are fine. Just make sure you do not have contact with the screws. The Hollands are awesome because you can pull the bottom metal but not disturb the action.
 
OP
Mtnmilsurp
Joined
Dec 16, 2021
Messages
605
Location
Larkspur, CO
Poured in are fine. Just make sure you do not have contact with the screws. The Hollands are awesome because you can pull the bottom metal but not disturb the action.

That’s great to know about the hollands. Once I build up some confidence I might try going all in on the finer things for my next project.
 
OP
Mtnmilsurp
Joined
Dec 16, 2021
Messages
605
Location
Larkspur, CO
Hmmmmm......
If you end up wanting a very sexy display stock for your 96, hit me up

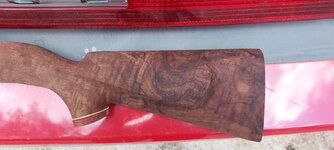
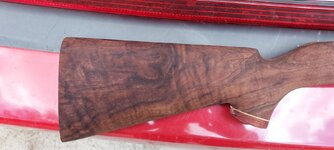
I bought 2, since there's no return policy. AAA Fancy Claro Walnut. I'm keeping the one I want & moving this one on cheap. Like, cheap, cheap.]

That’s some pretty wood but I’m thinking I carve my own from here on out if this project goes well (enjoying it immensely so far). I’d love to see your Swede in the stock you kept.
 
Top