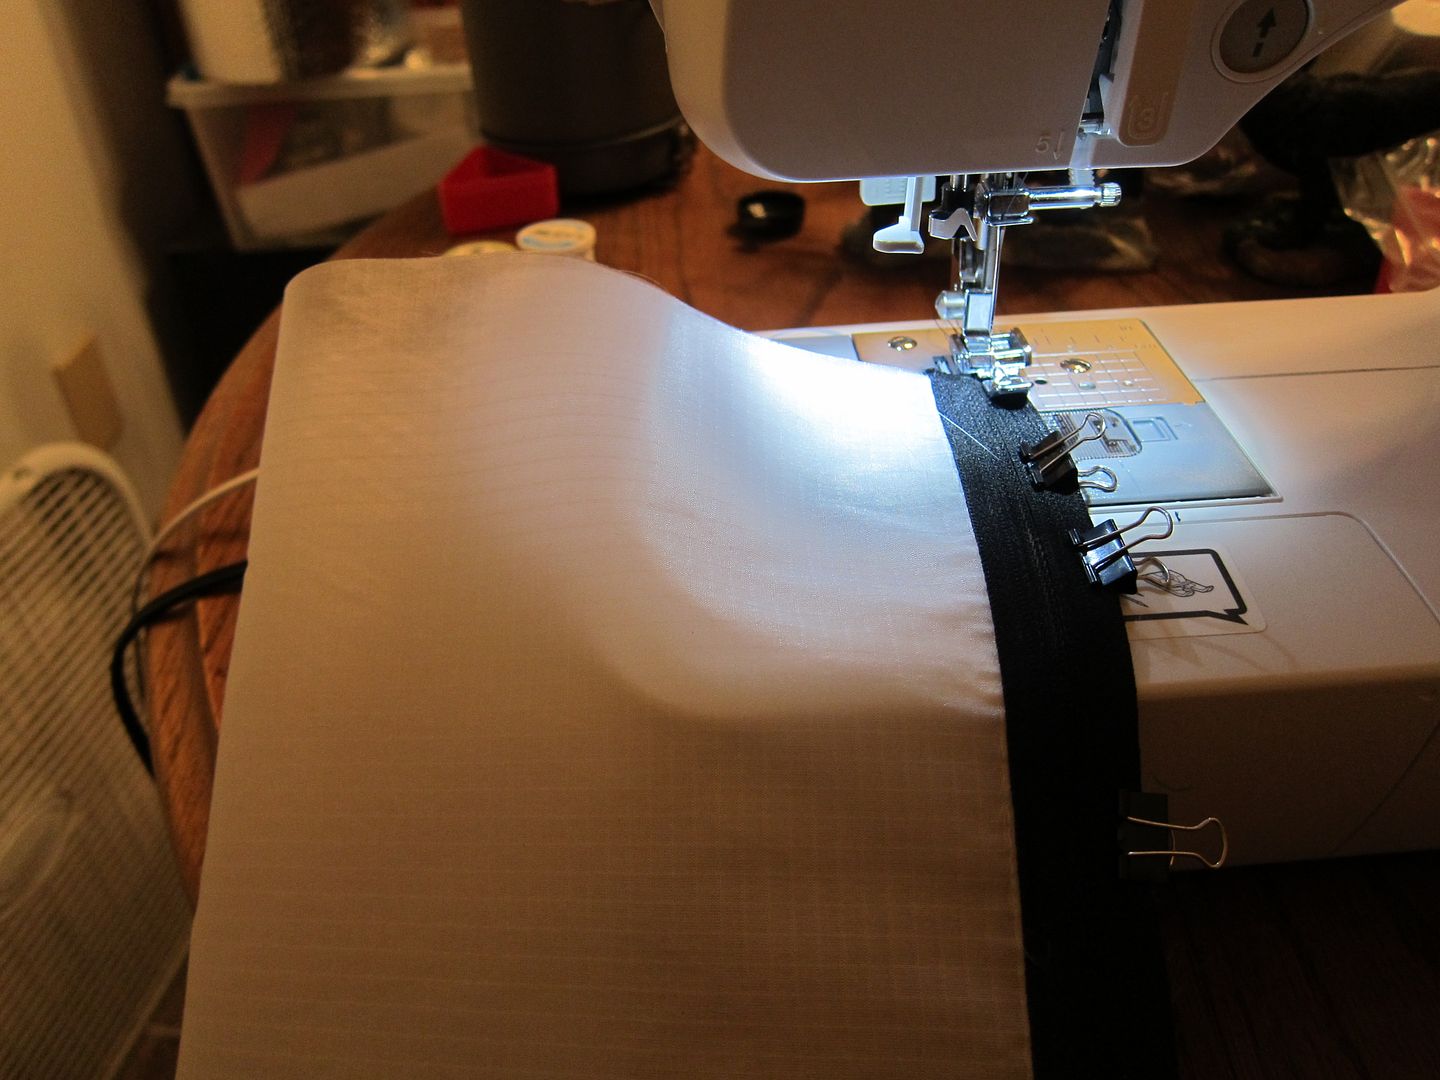
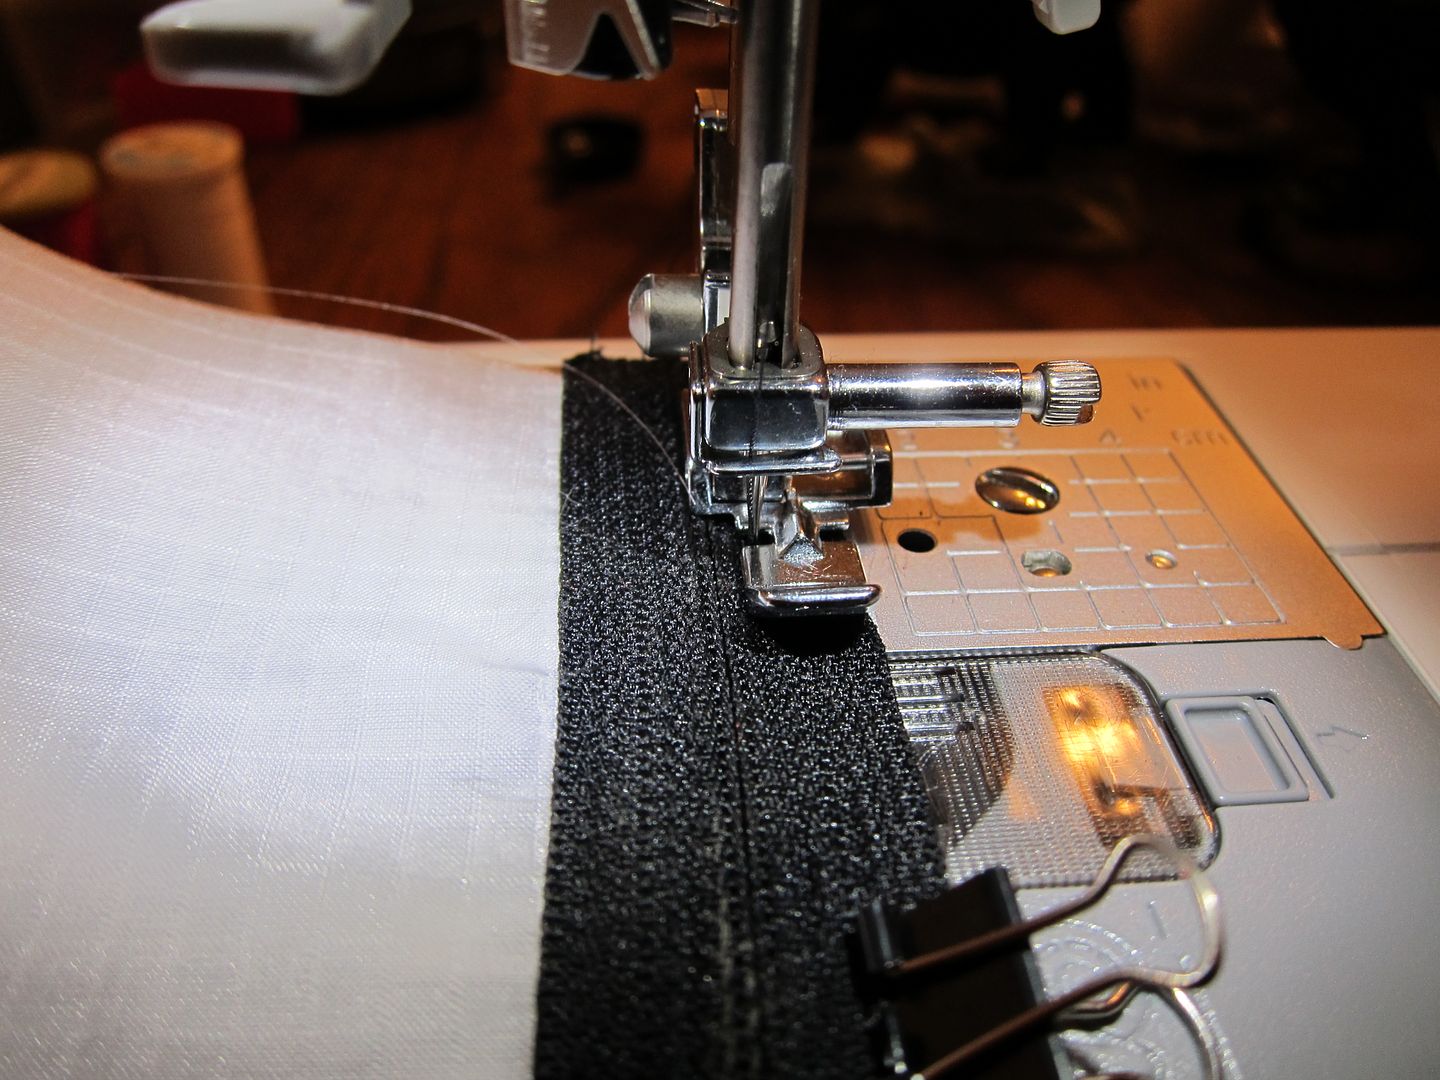
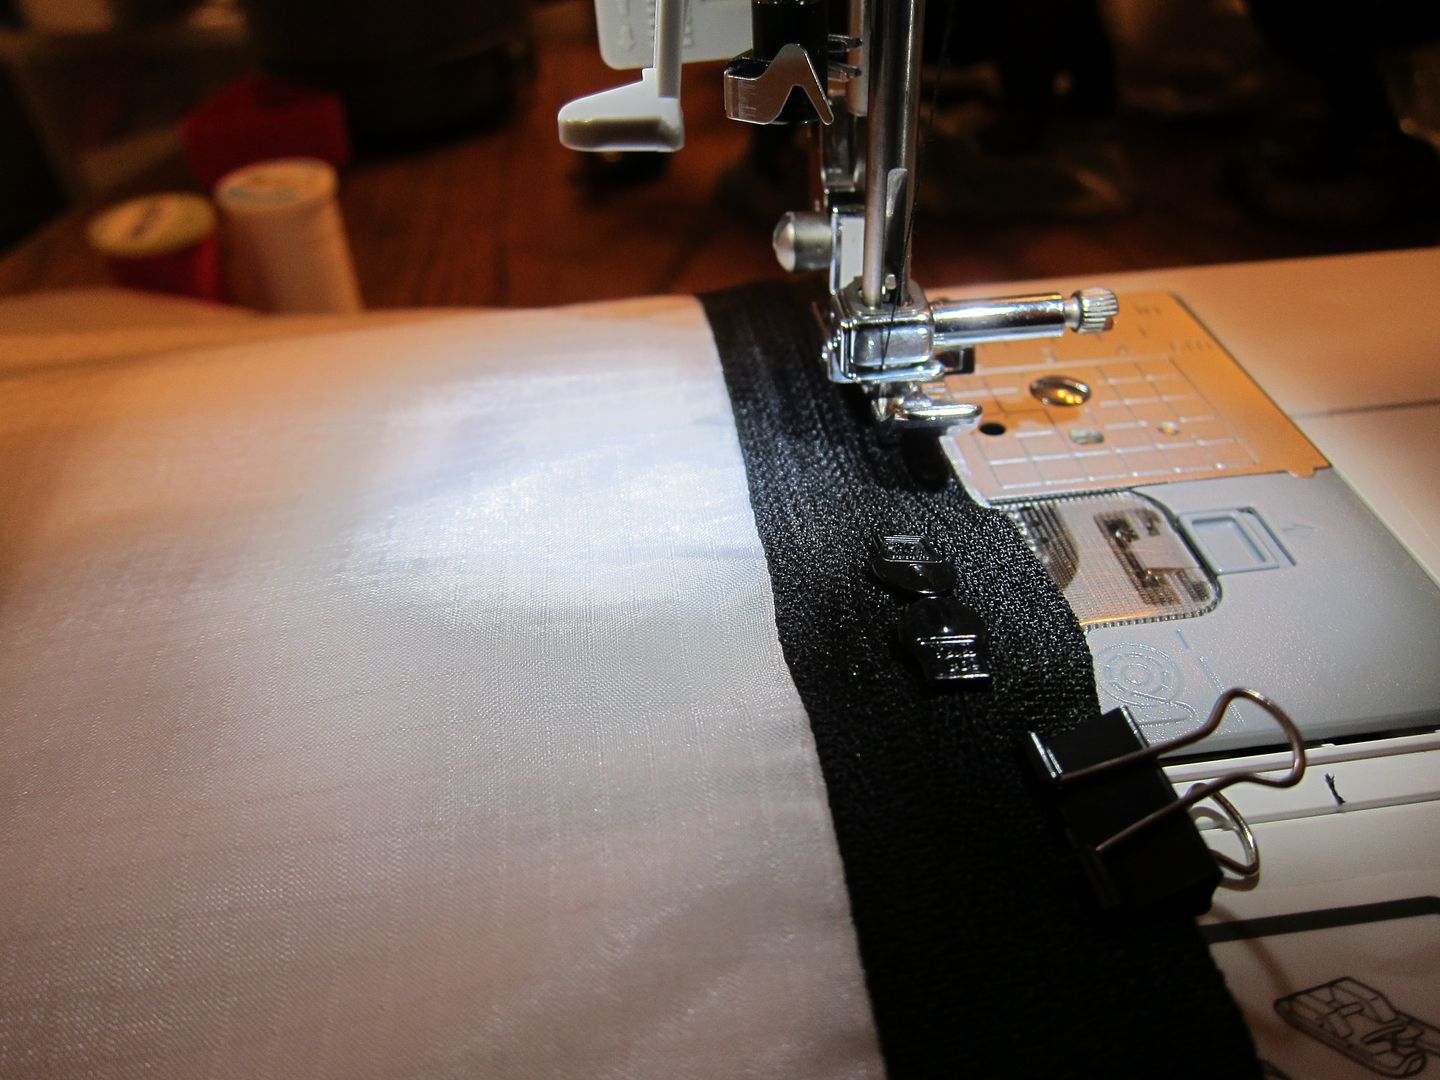
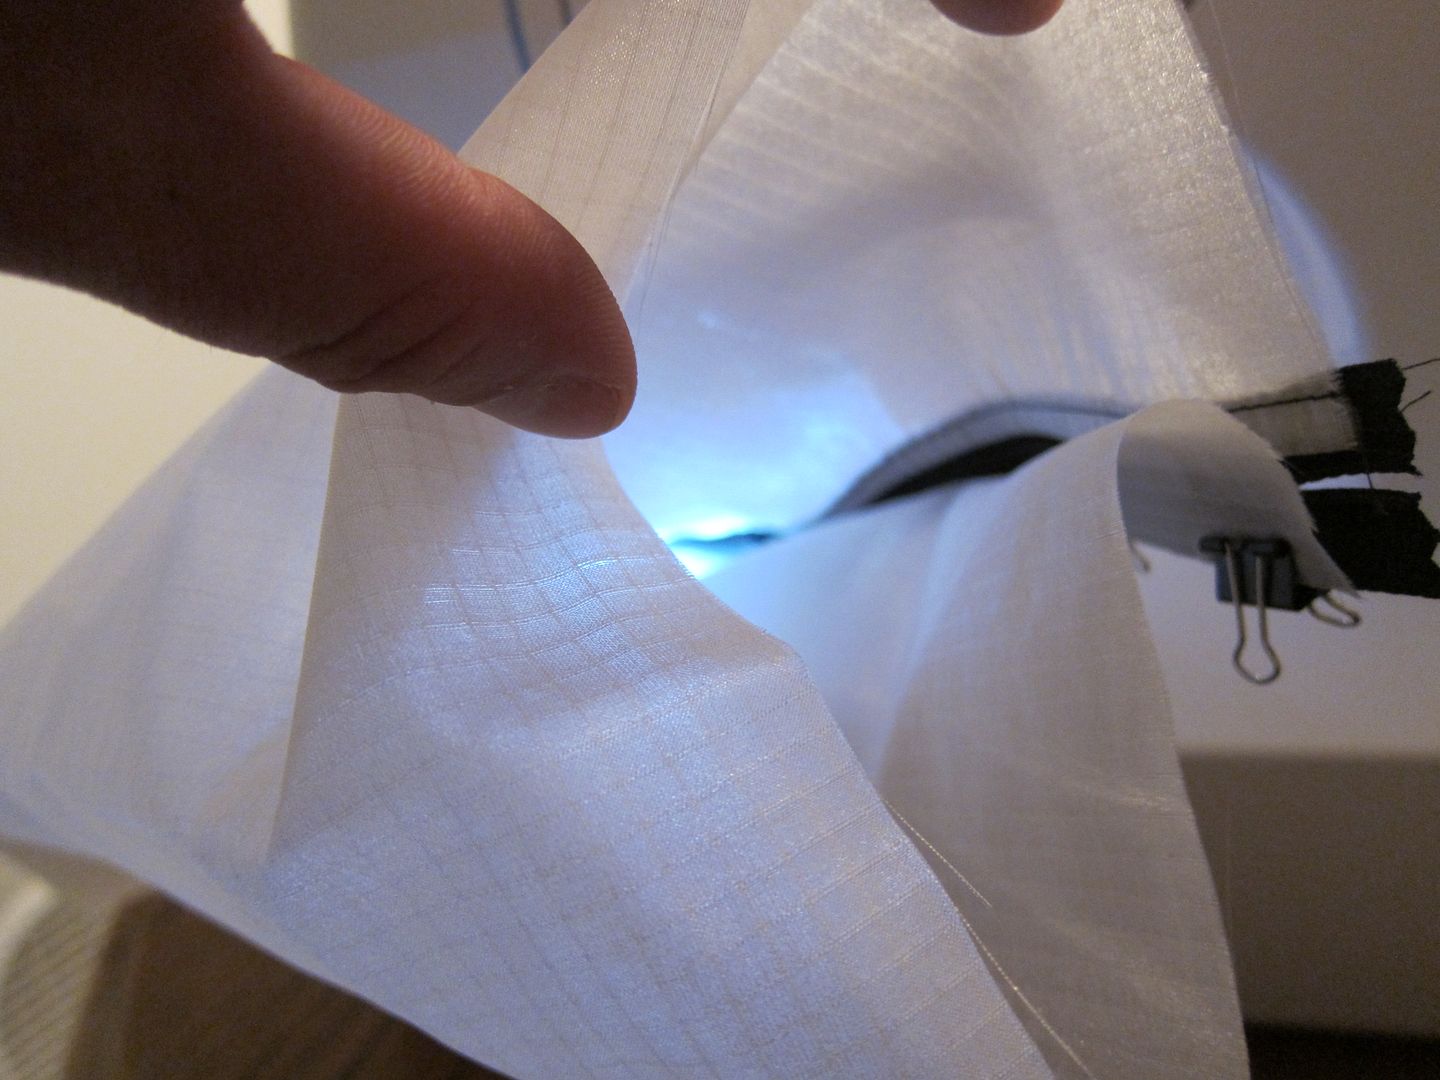
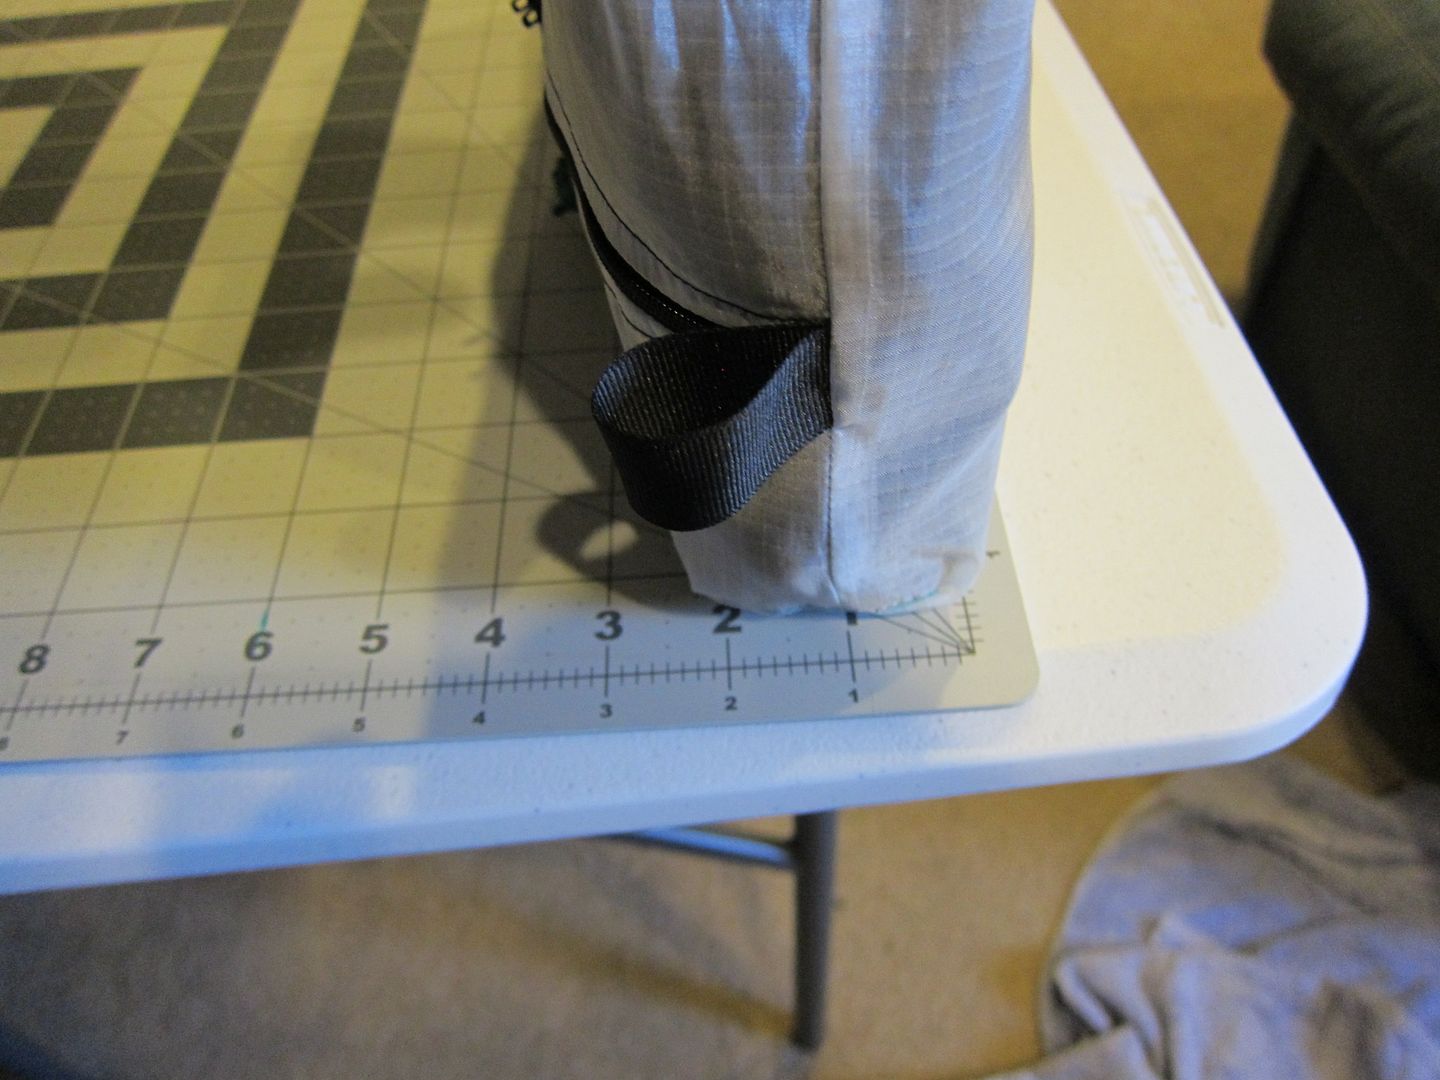
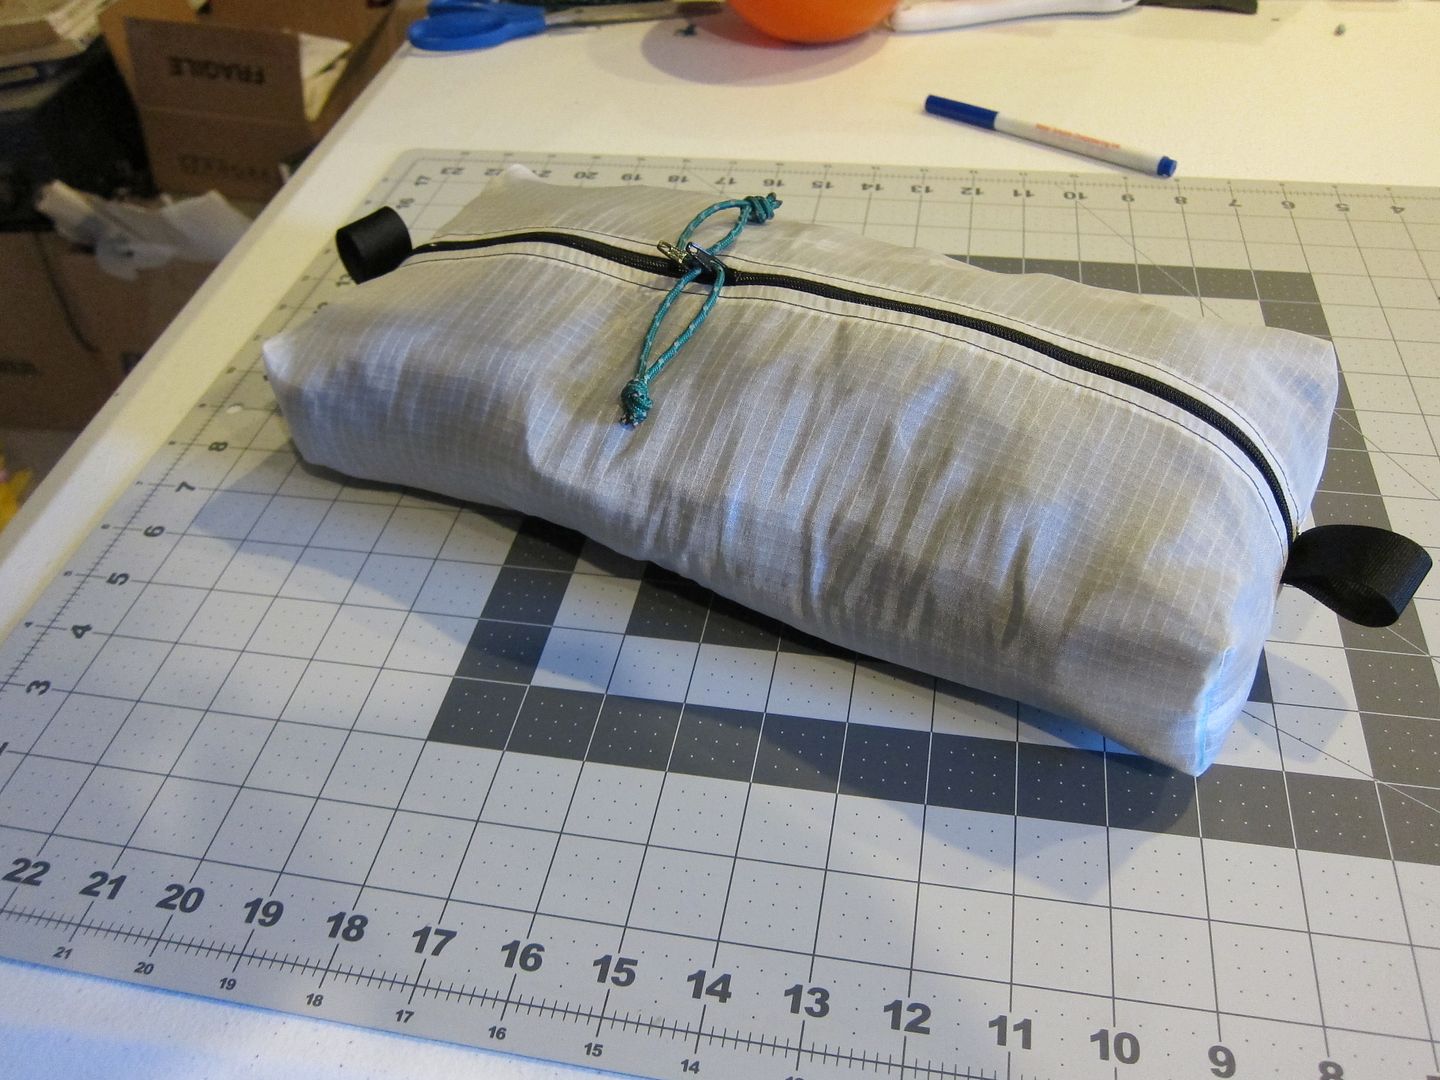
I wanted to get a thread started even though I don't have a full walkthrough ready as of yet. First, big thanks to Manosteel and his thread here which inspired me to give this a shot. My thought on starting this thread now was that it would allow me to provide some preliminary info so people who were interested could order some items. It would also allow me to see what questions people had which would add to the instruction I could provide. Finally, if I never started the thread, I would continue to put off posting any lessons or videos so now I can be held accountable.
First let me say that these are the first things I have ever sewn, ever. I tend to pick things up quickly and I am good at working with spacial concepts so that has helped but by no means am I an expert and the instructions I can provide will result in a serviceable product but in no way will they be close to retail products that you can get from many of the great supporters of this site. My biggest motivation for doing this was that I wanted the ability to have custom sizes and features that I just couldn't get from sellers out there.
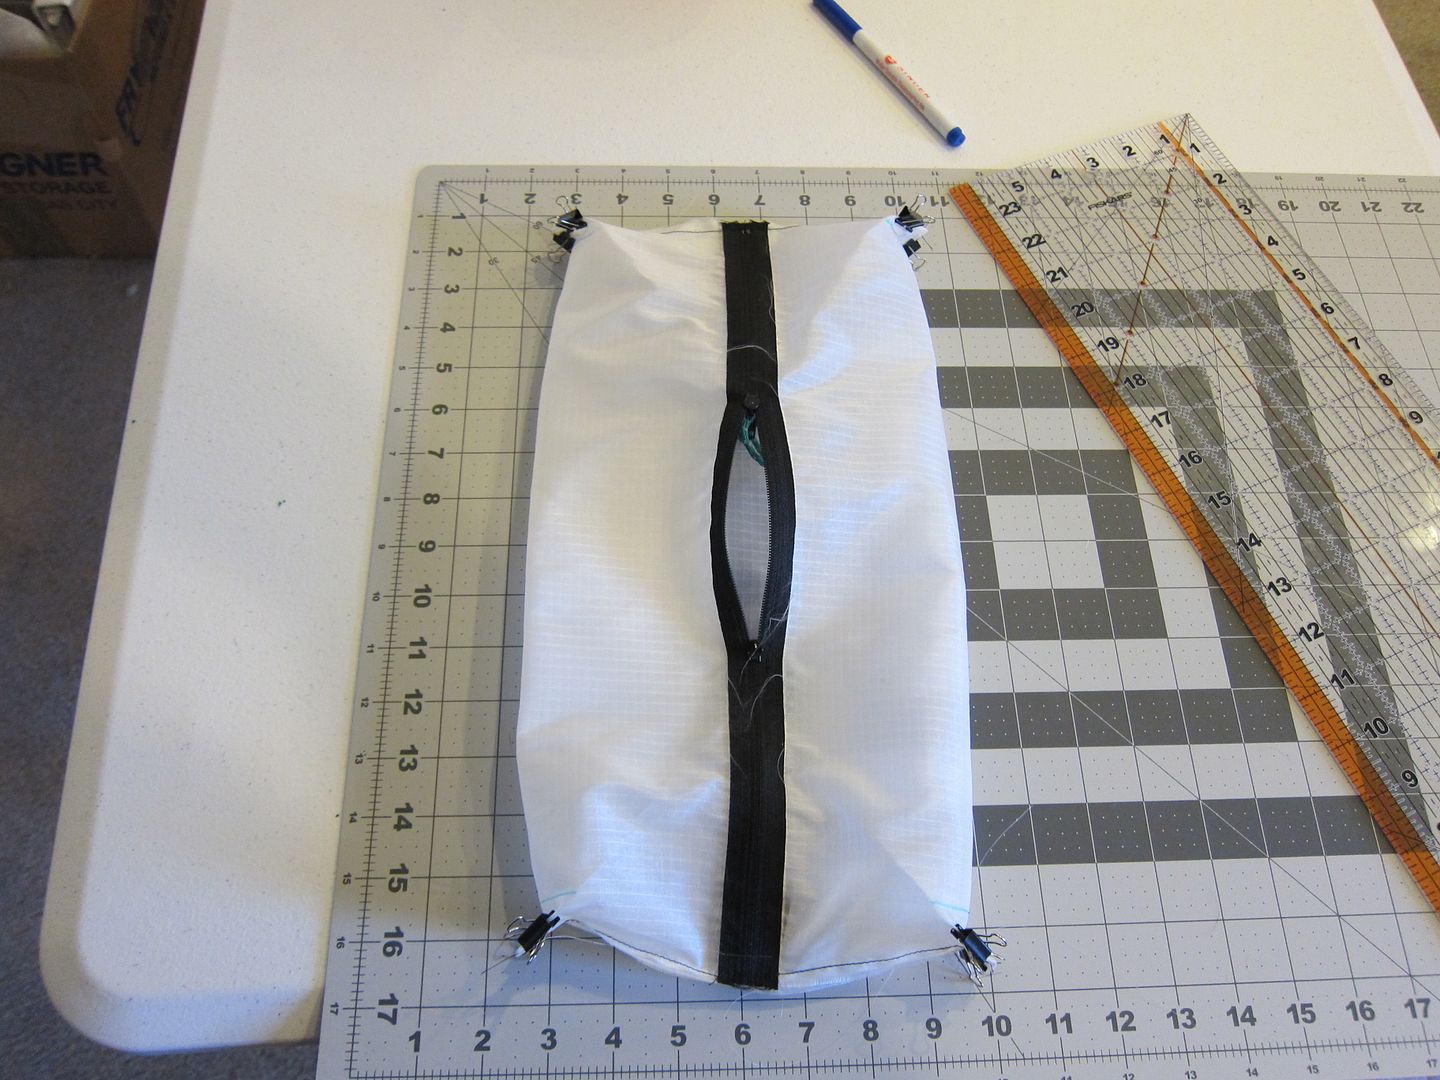
So, winter is on it's way and I have a couple trips planned next year that I am starting to gear up for. Part of the plan is to get a new pack and I wanted a way to have pullouts that were measured to fit closely to the pack's dimensions to reduce wasted space. I know this isn't the biggest deal but I really like being organized and if I was going to go the route of pullouts, it only made sense.
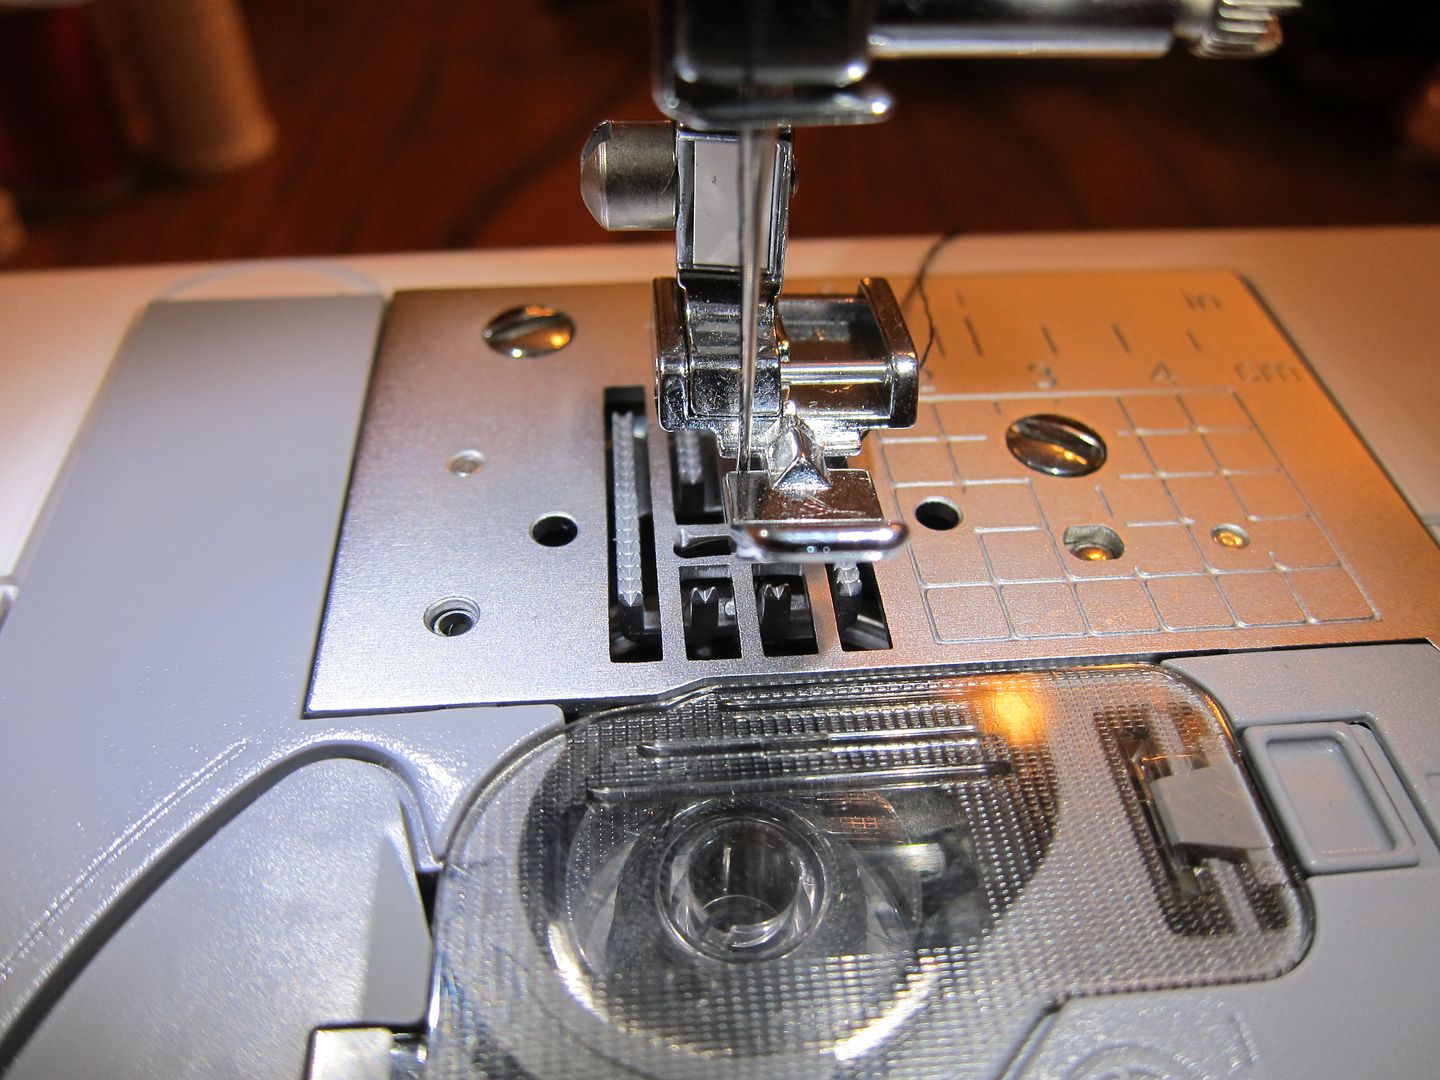
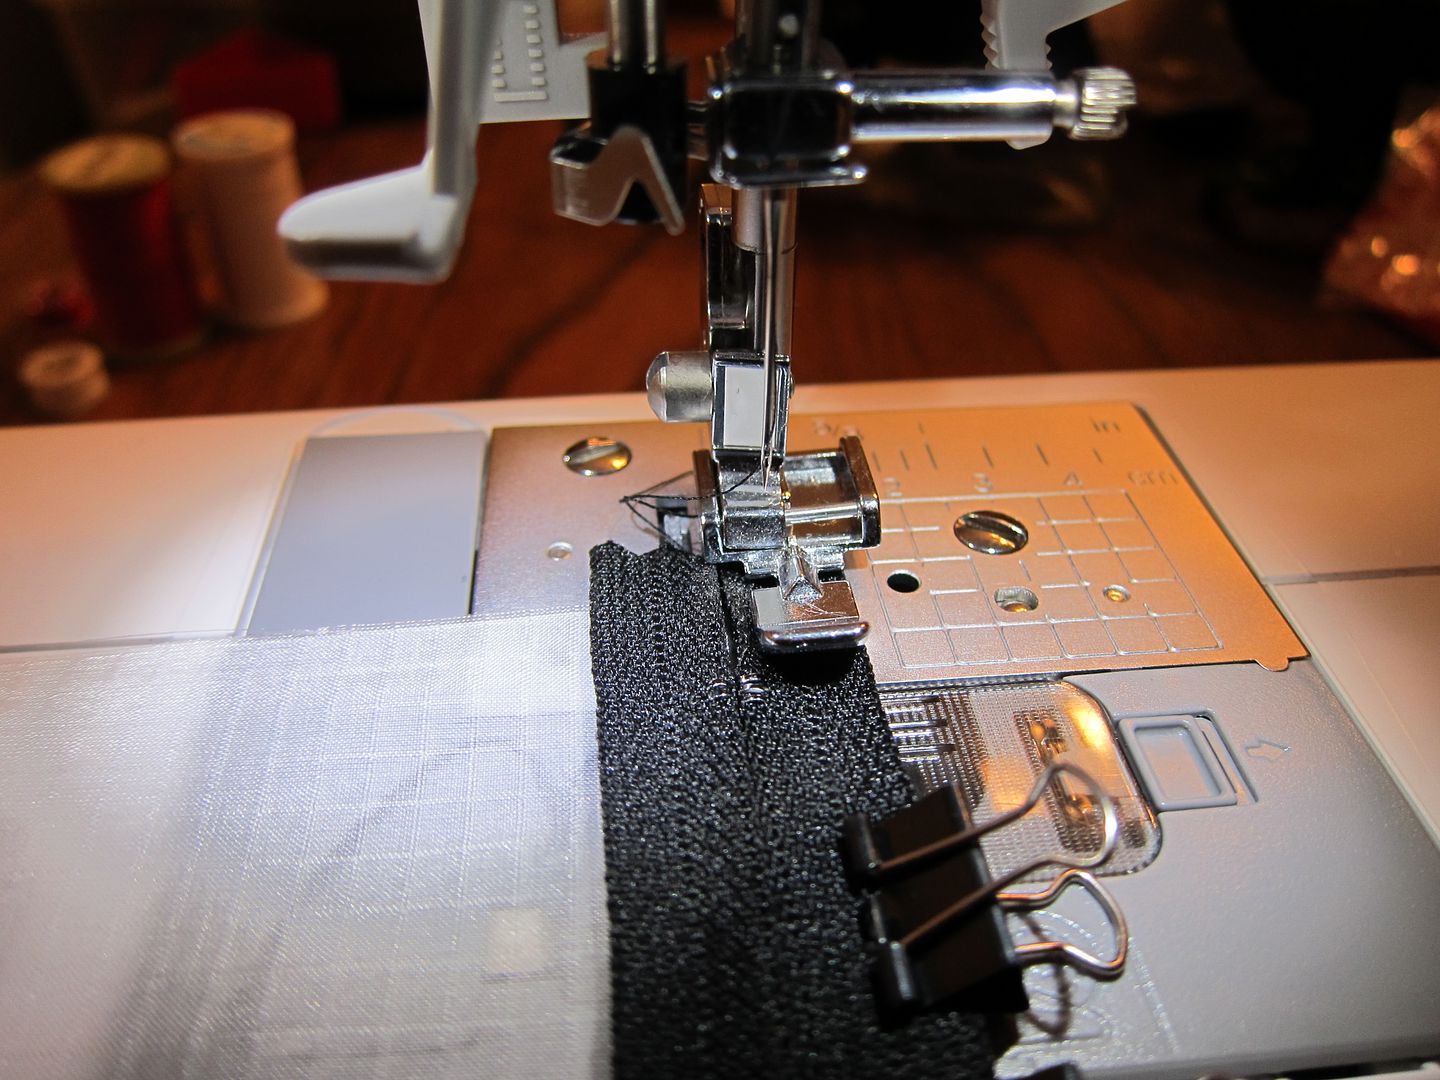
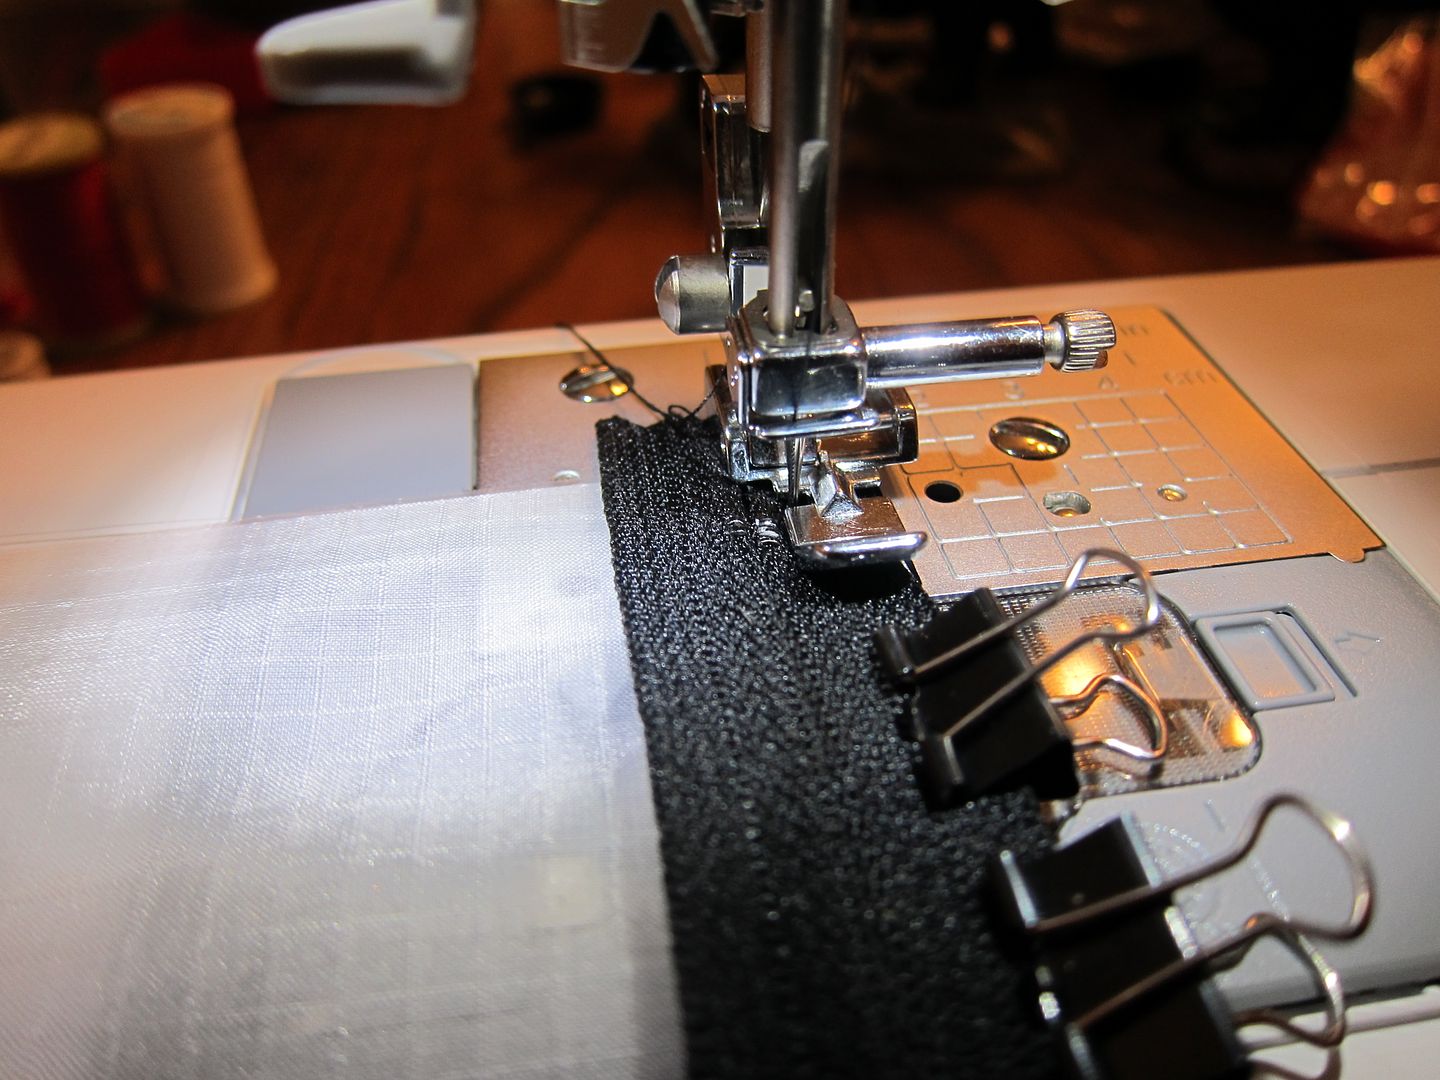
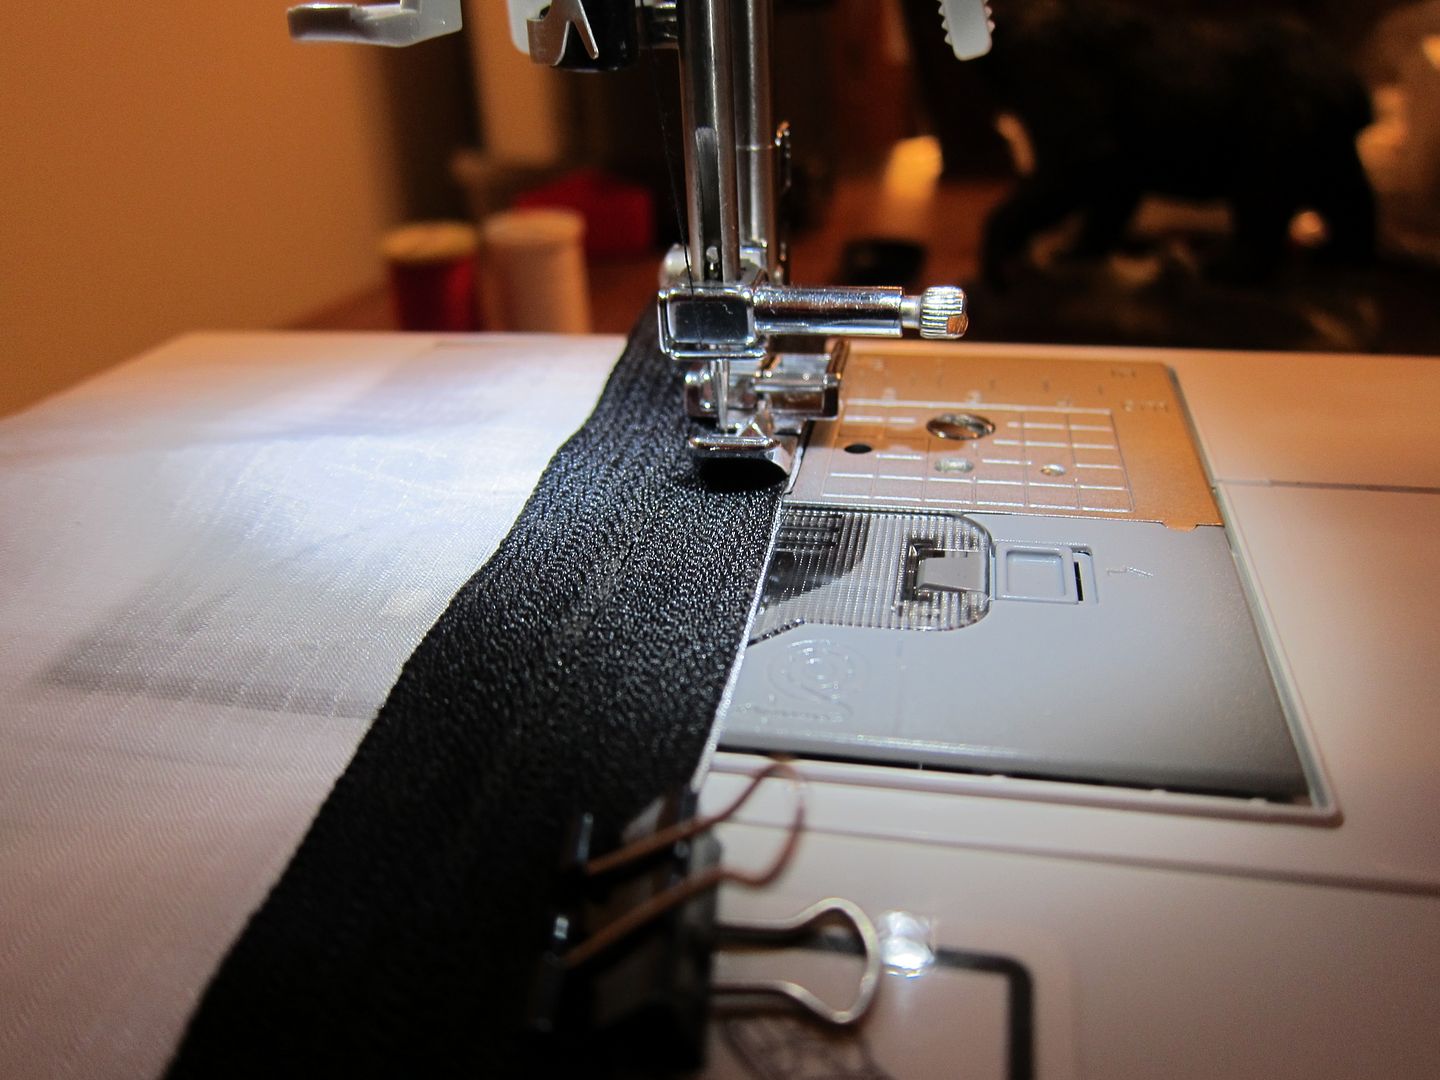
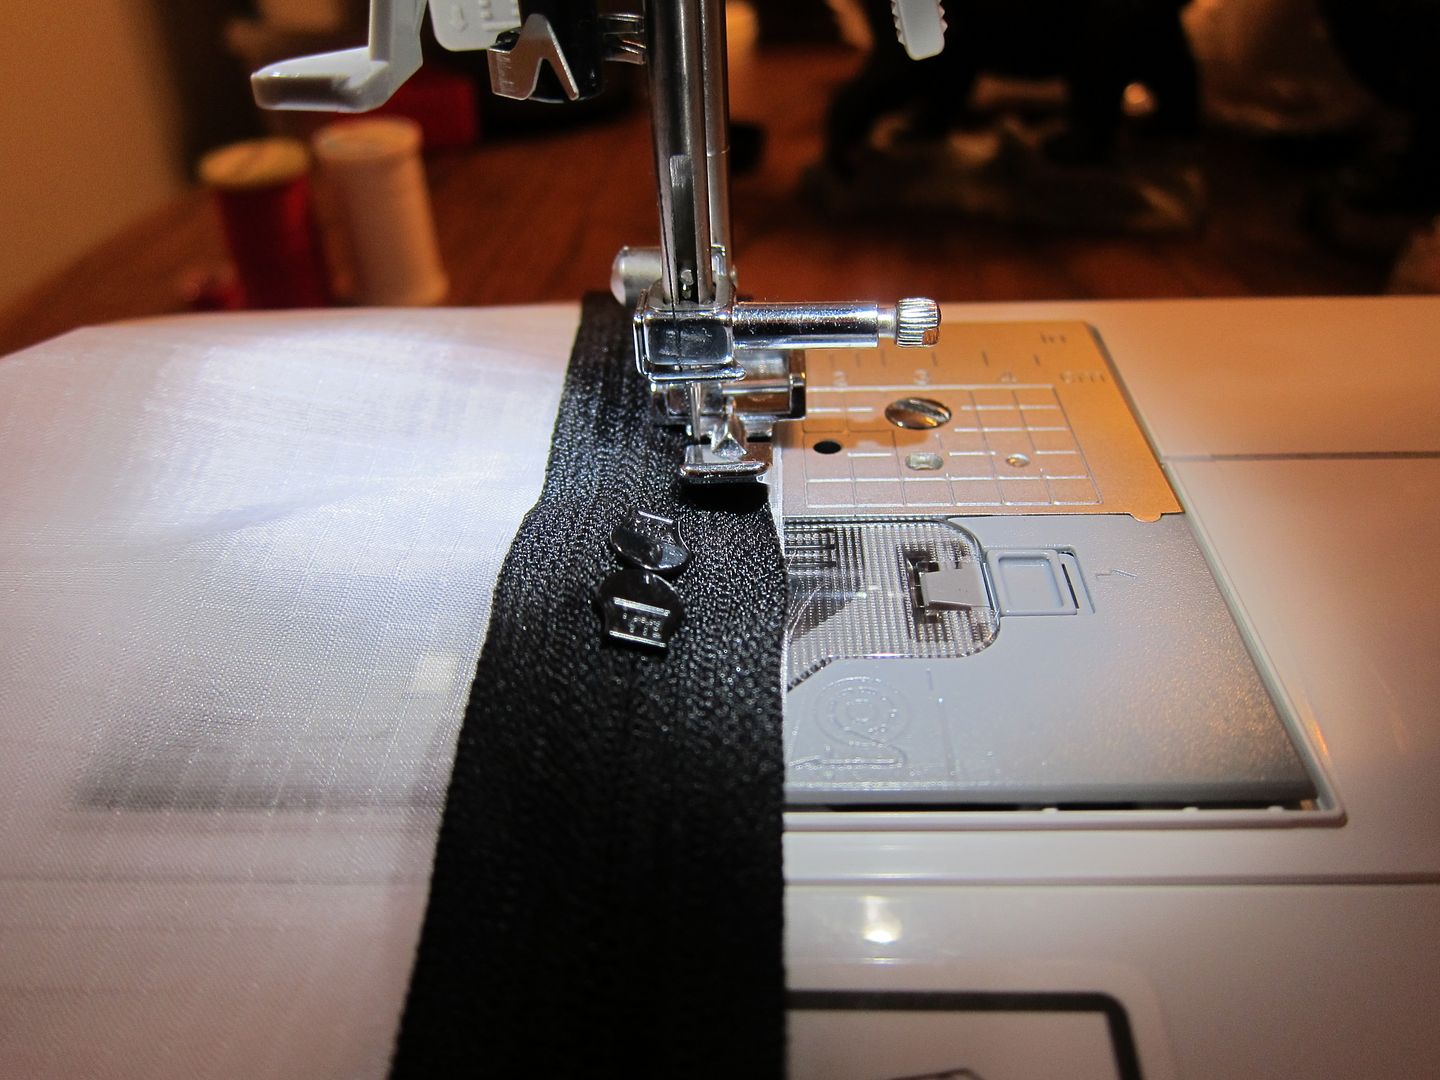
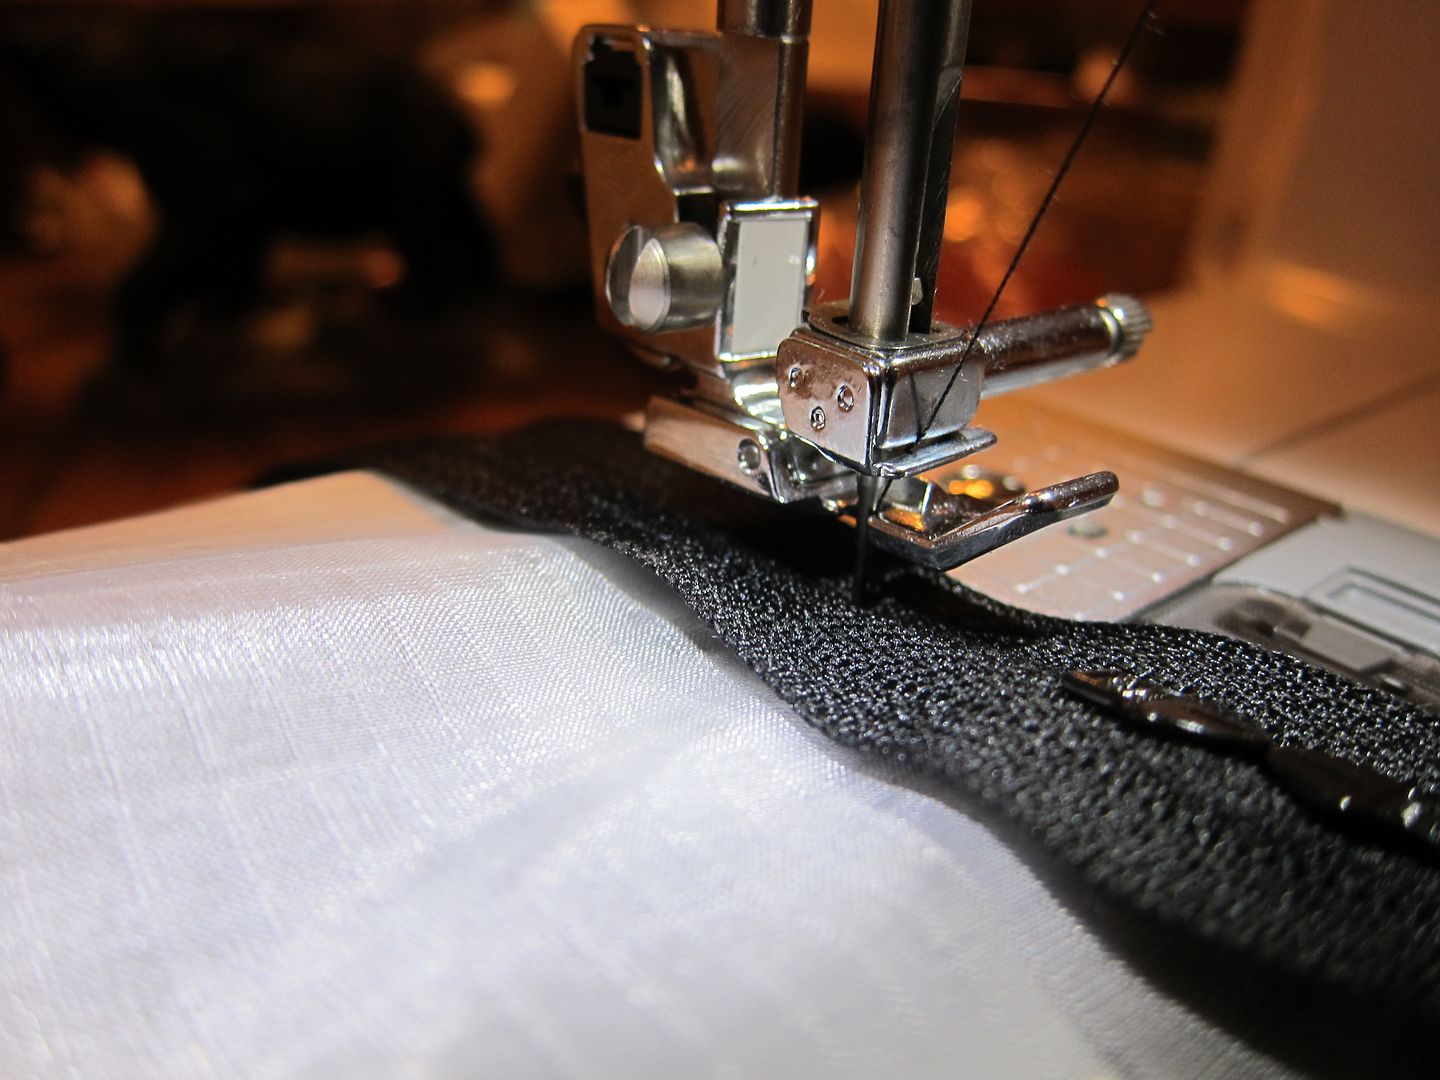
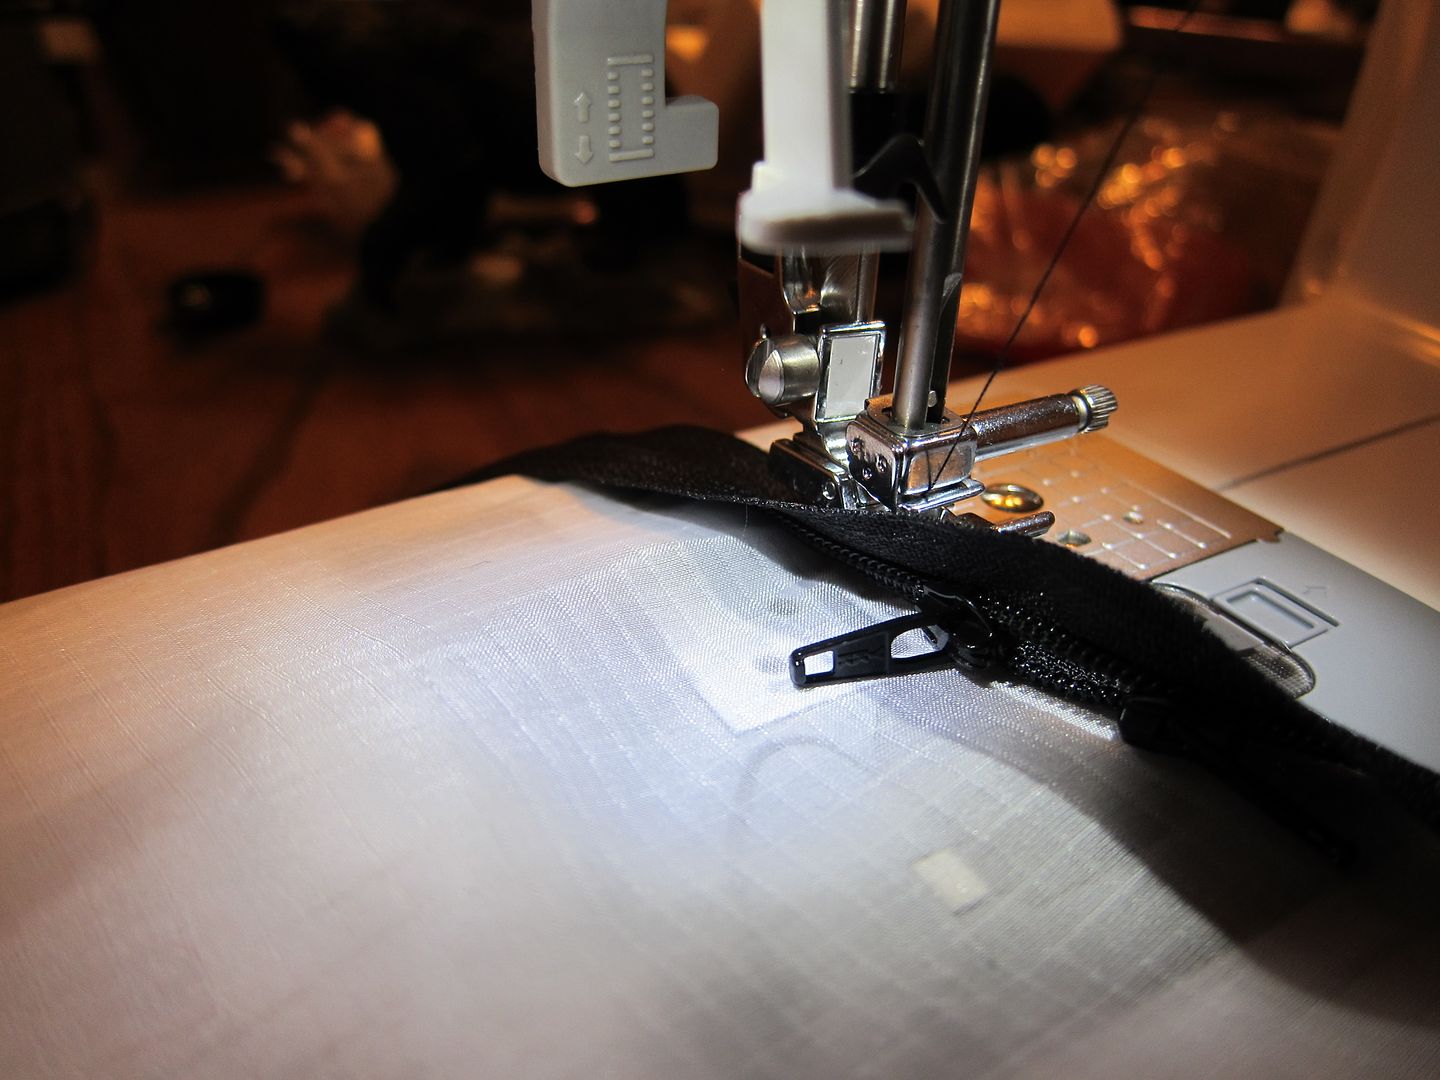
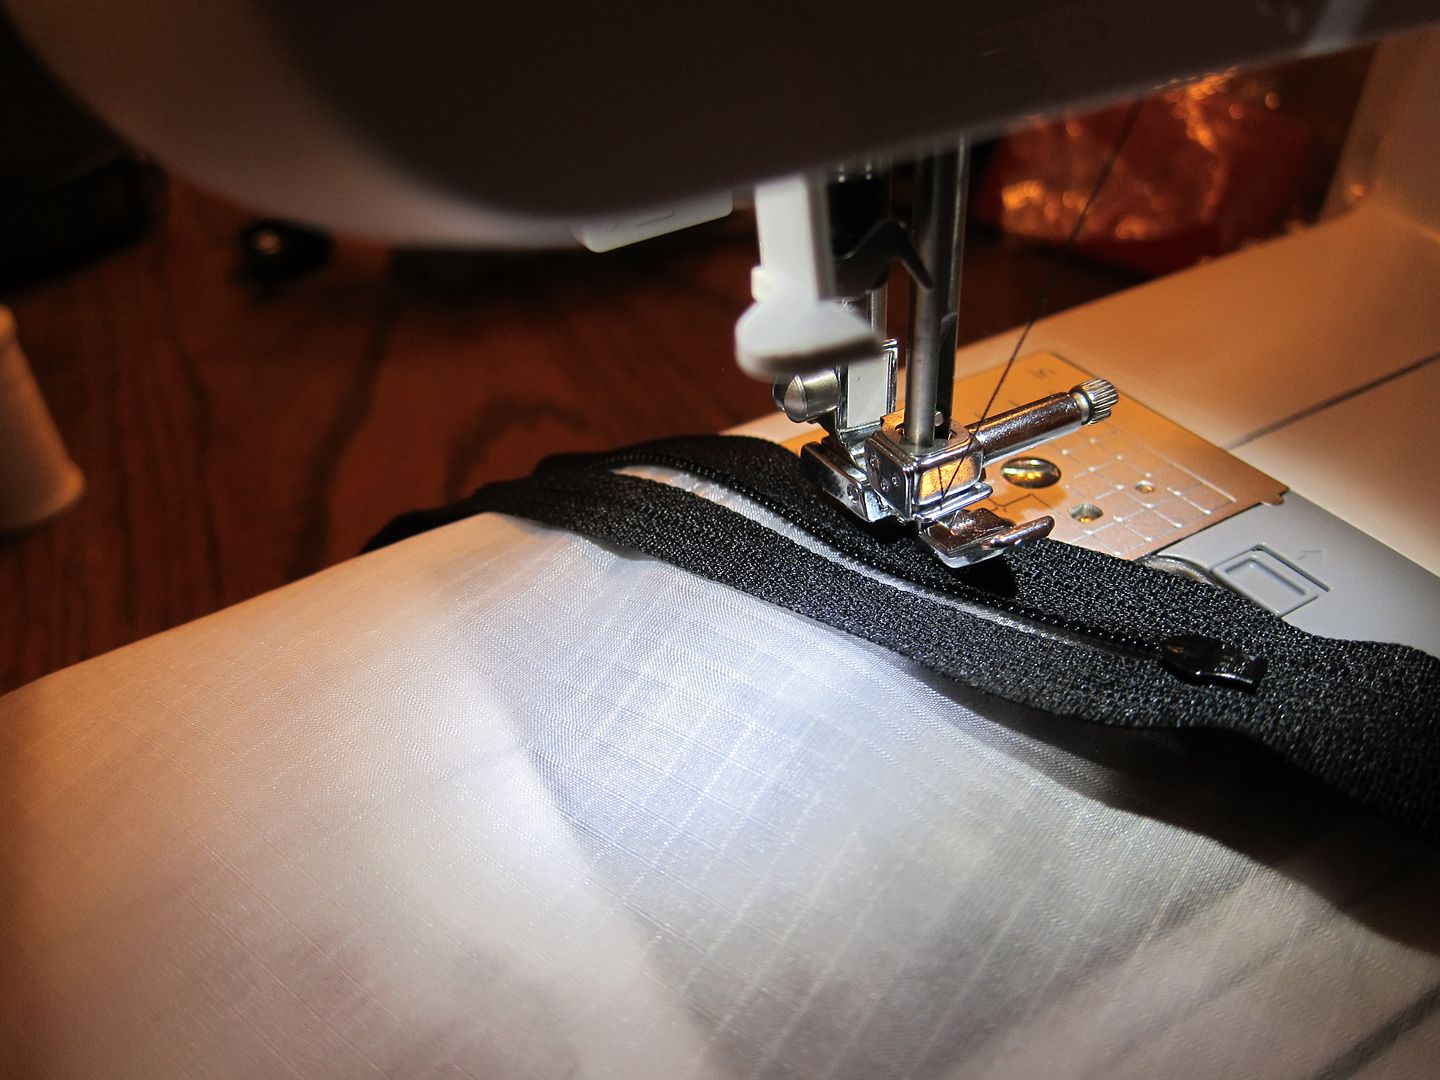
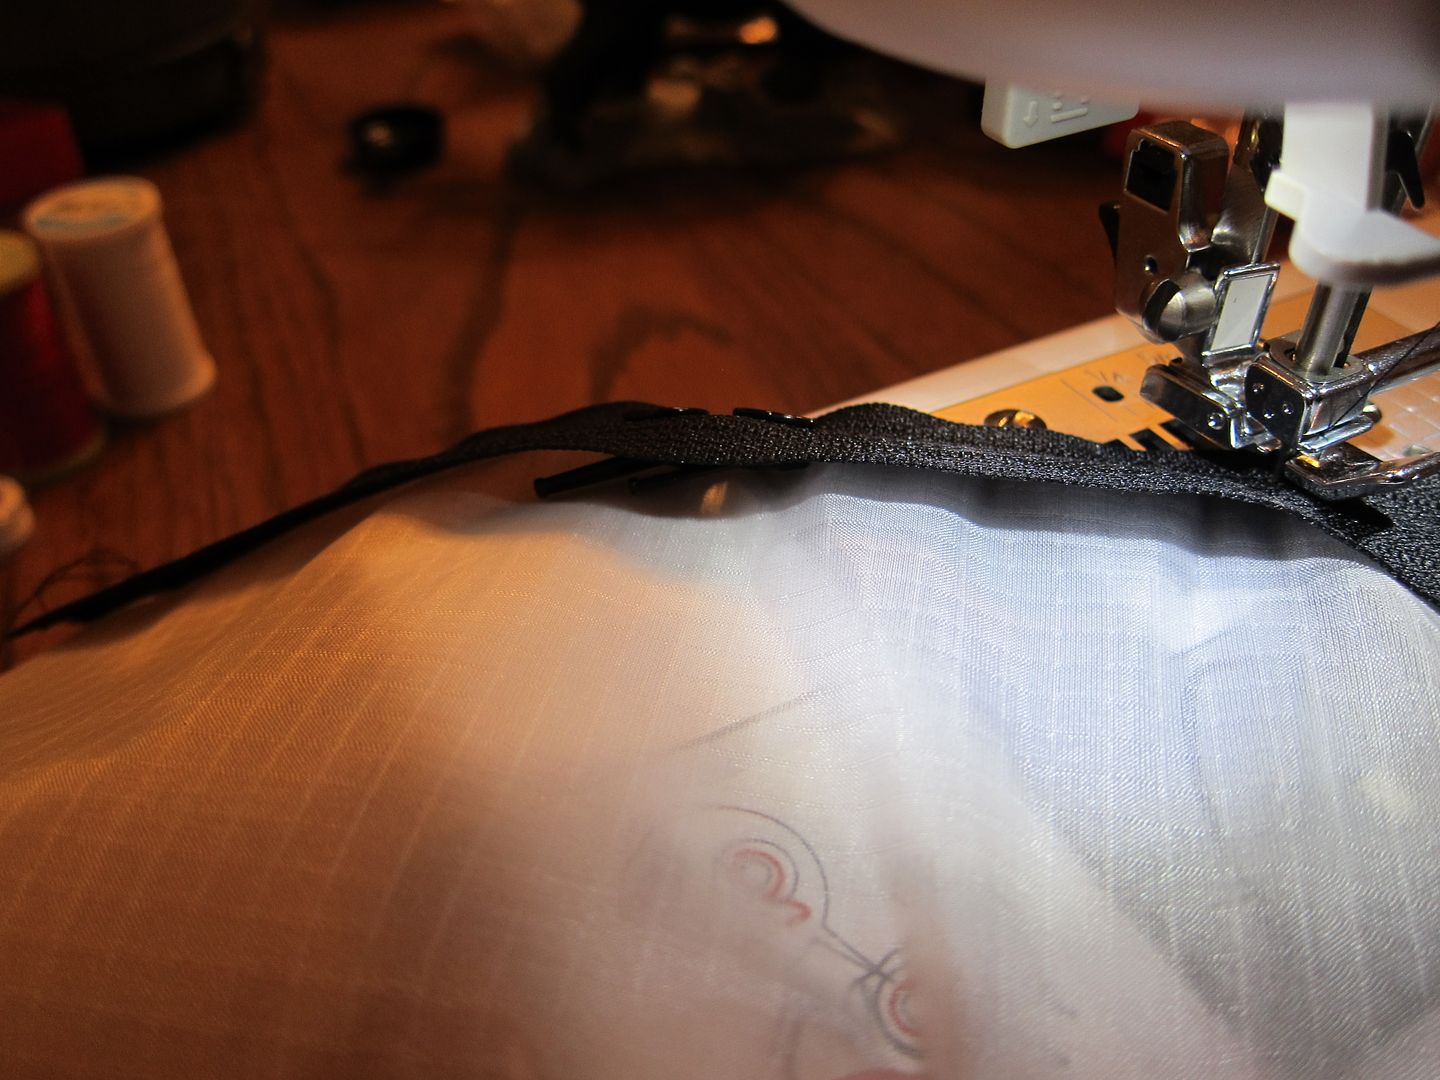
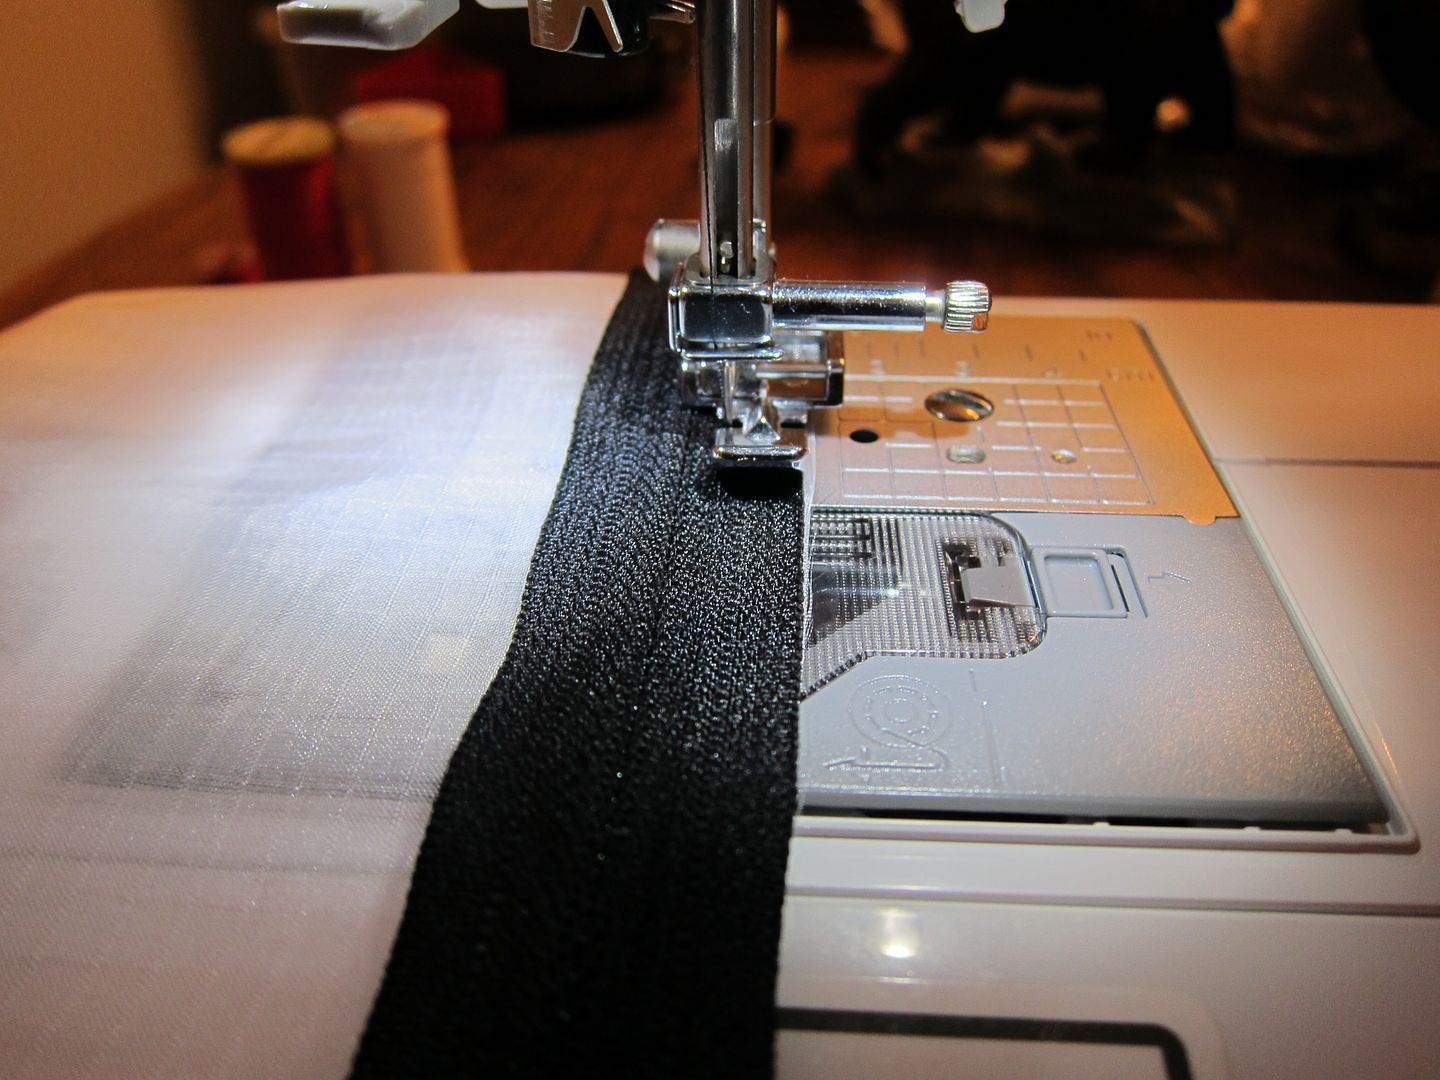
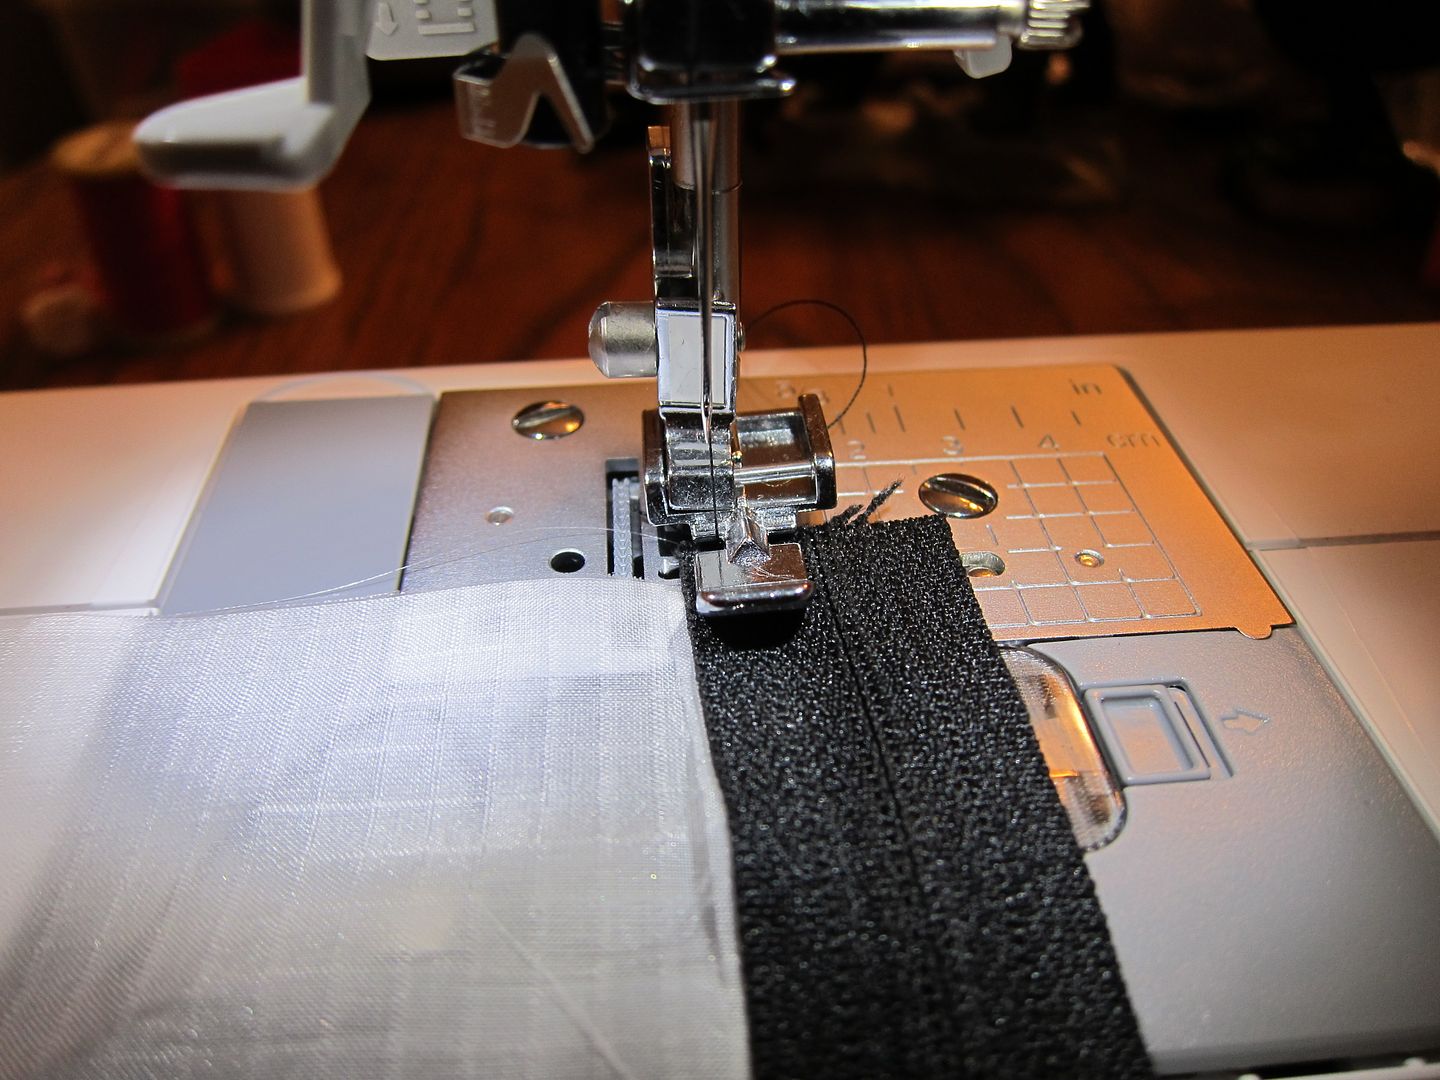
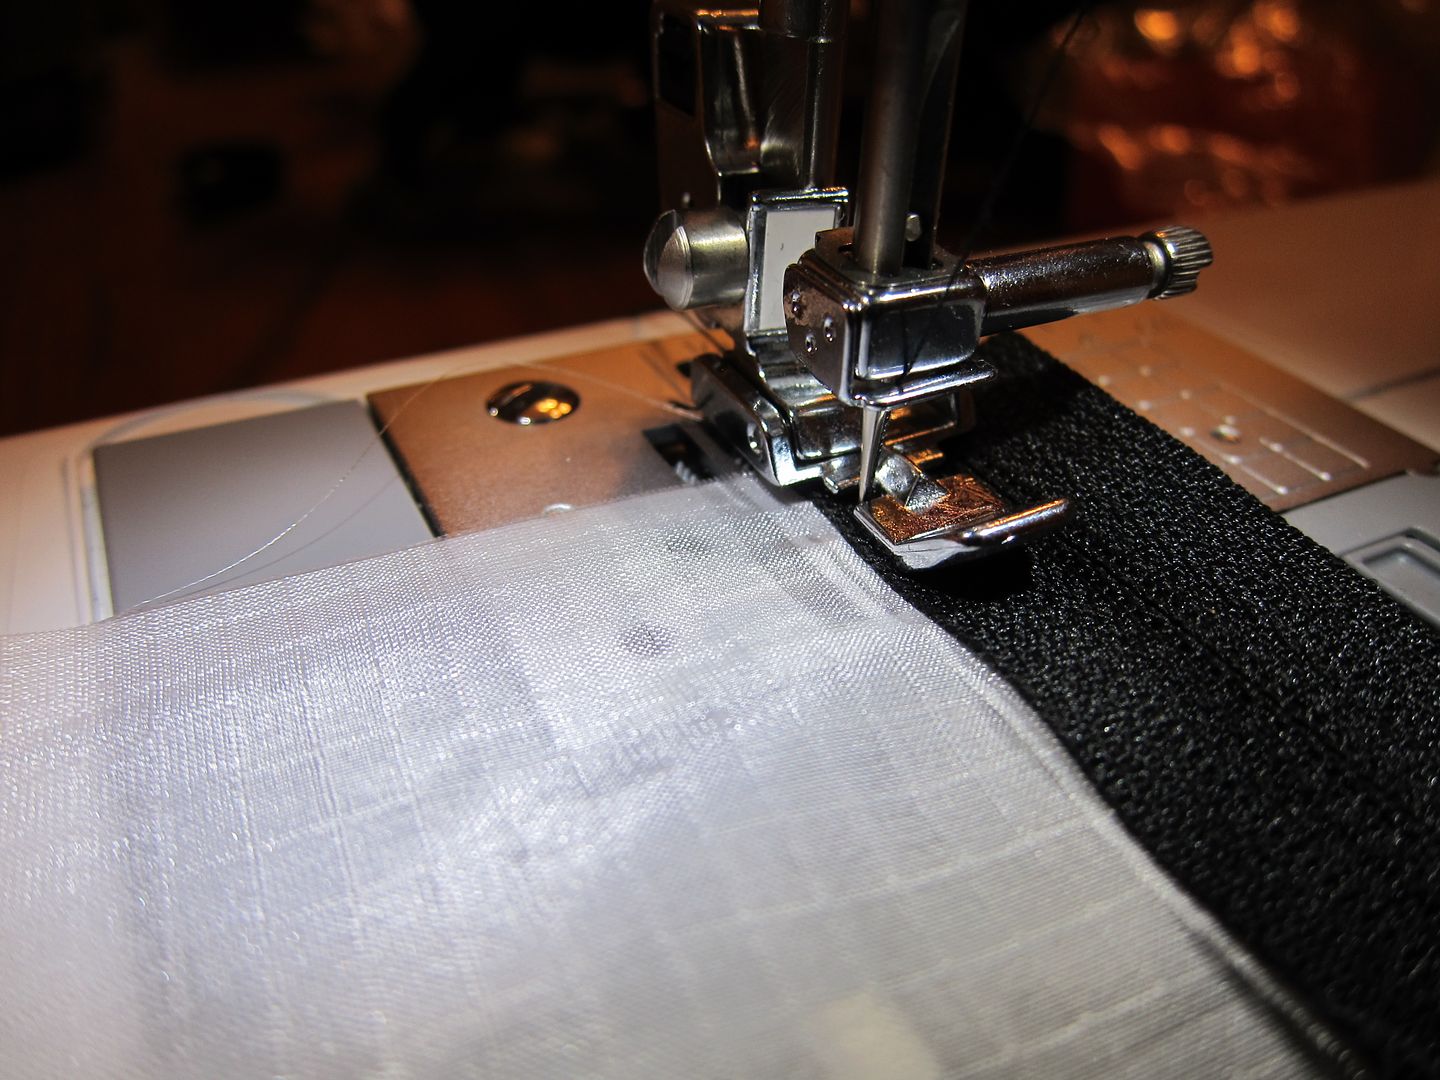
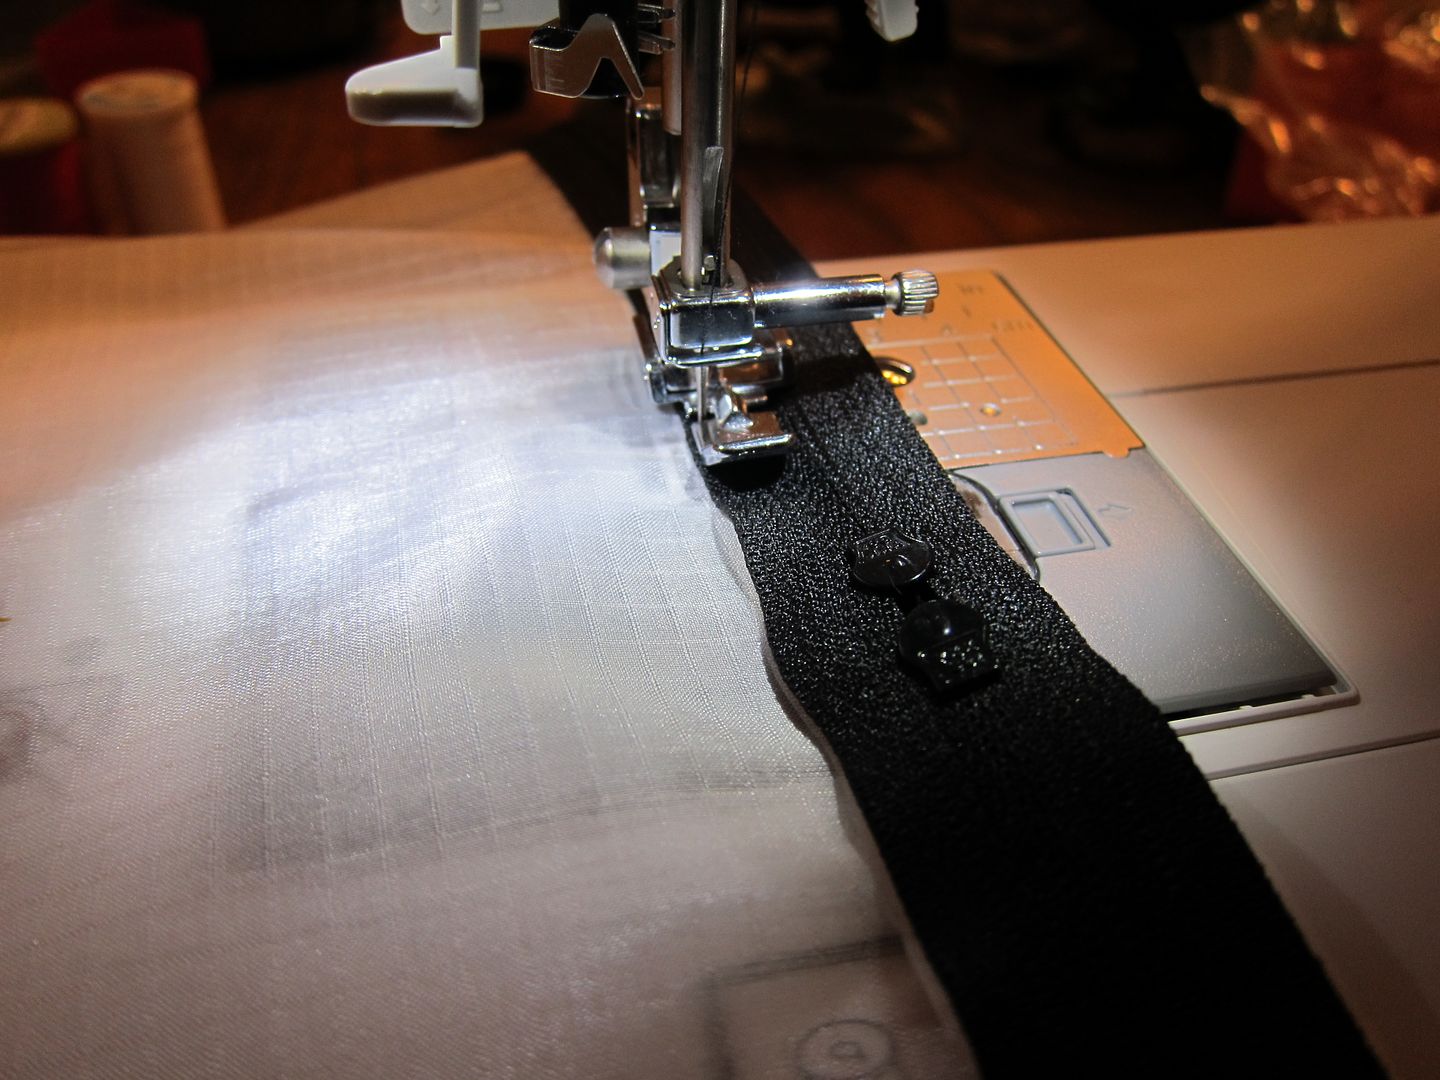
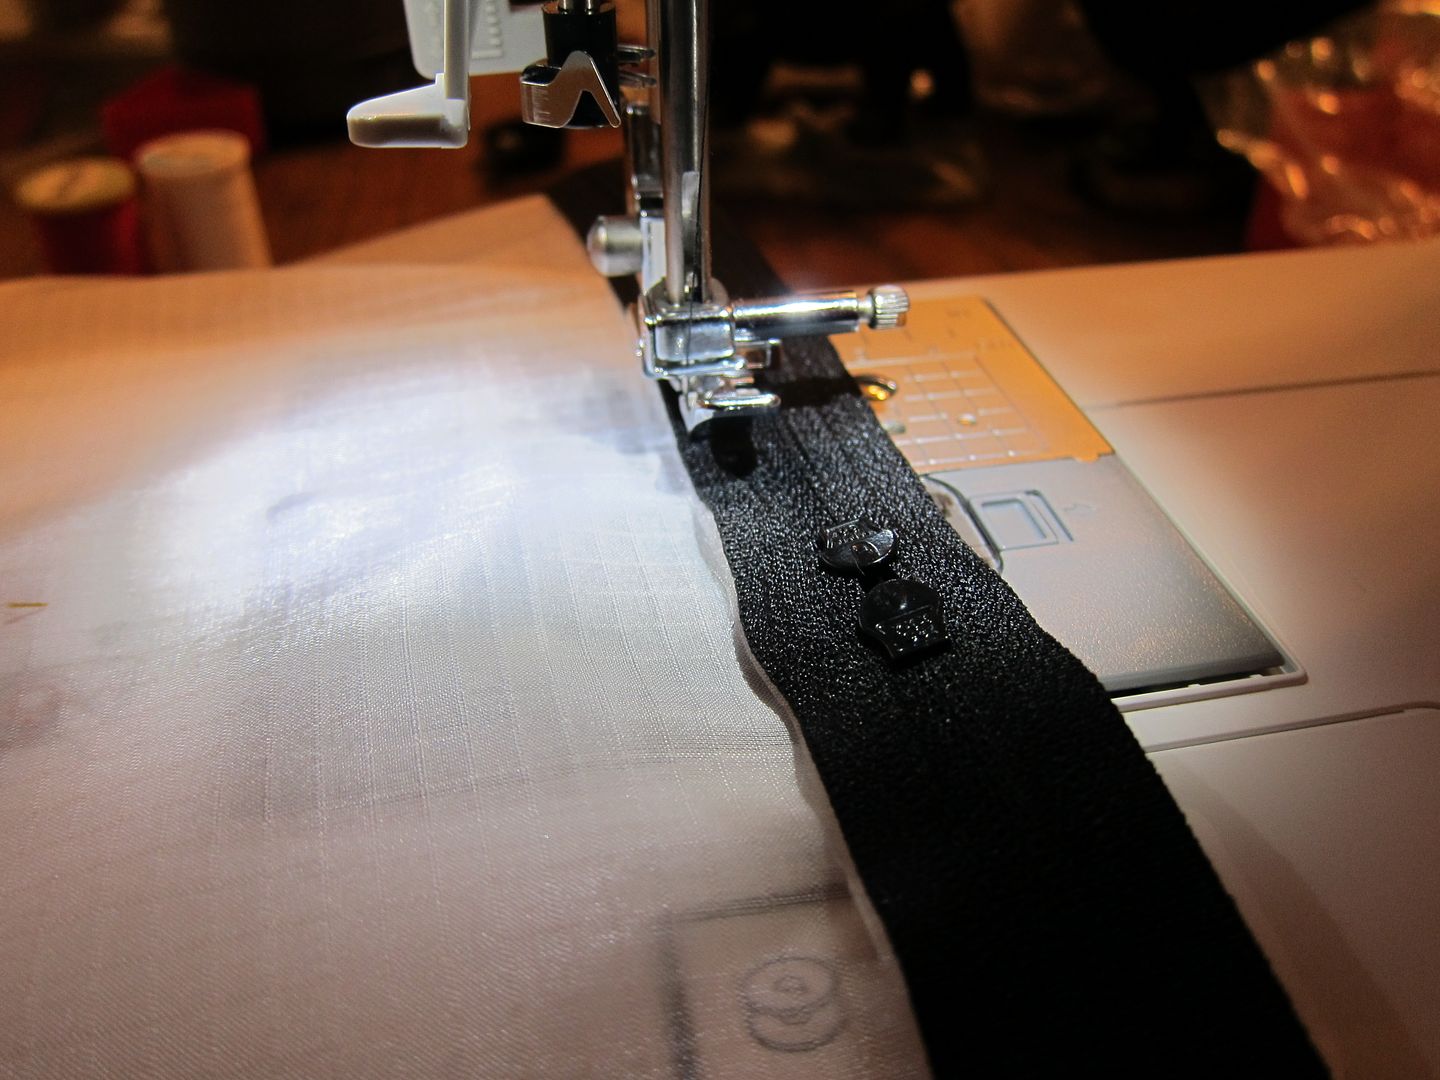
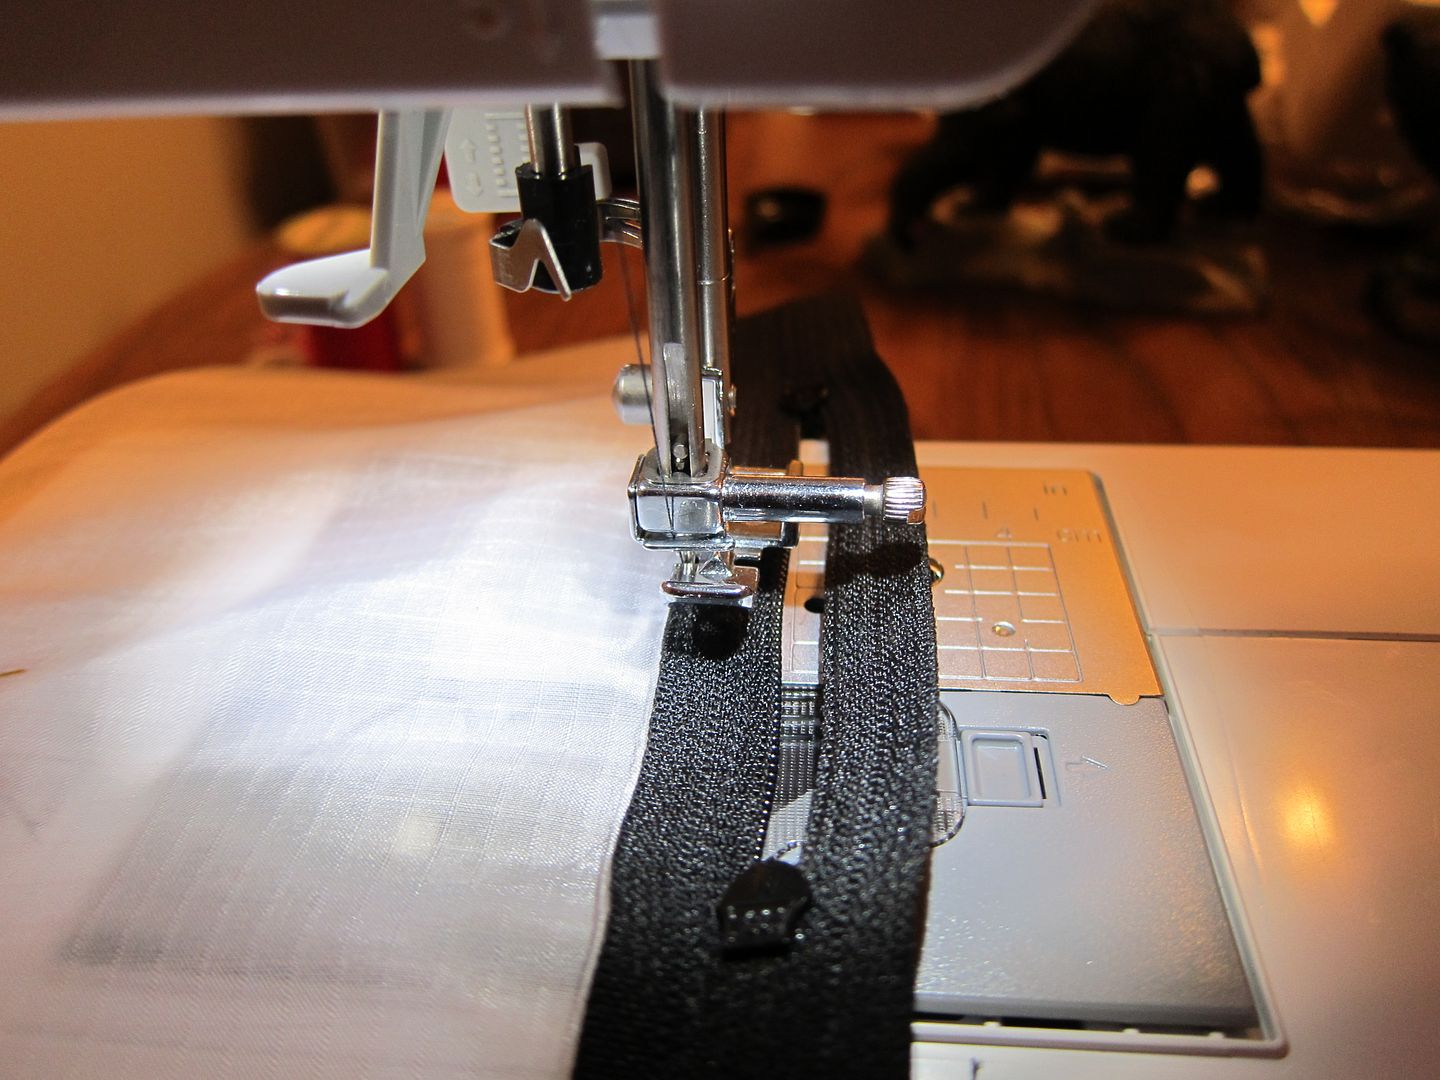
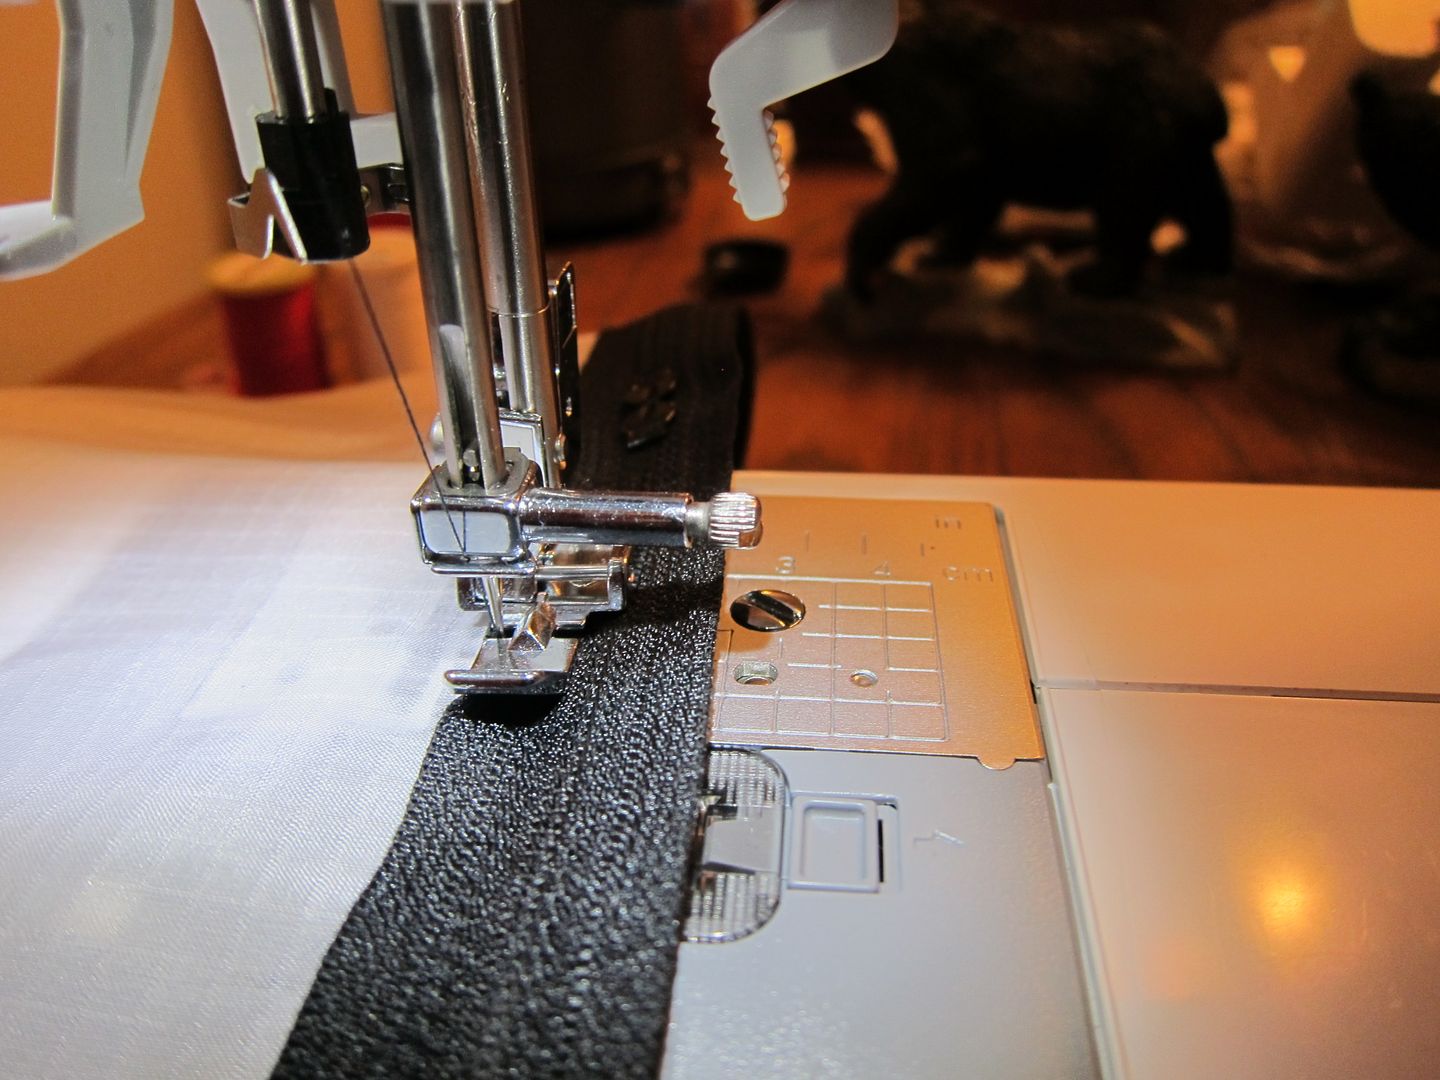
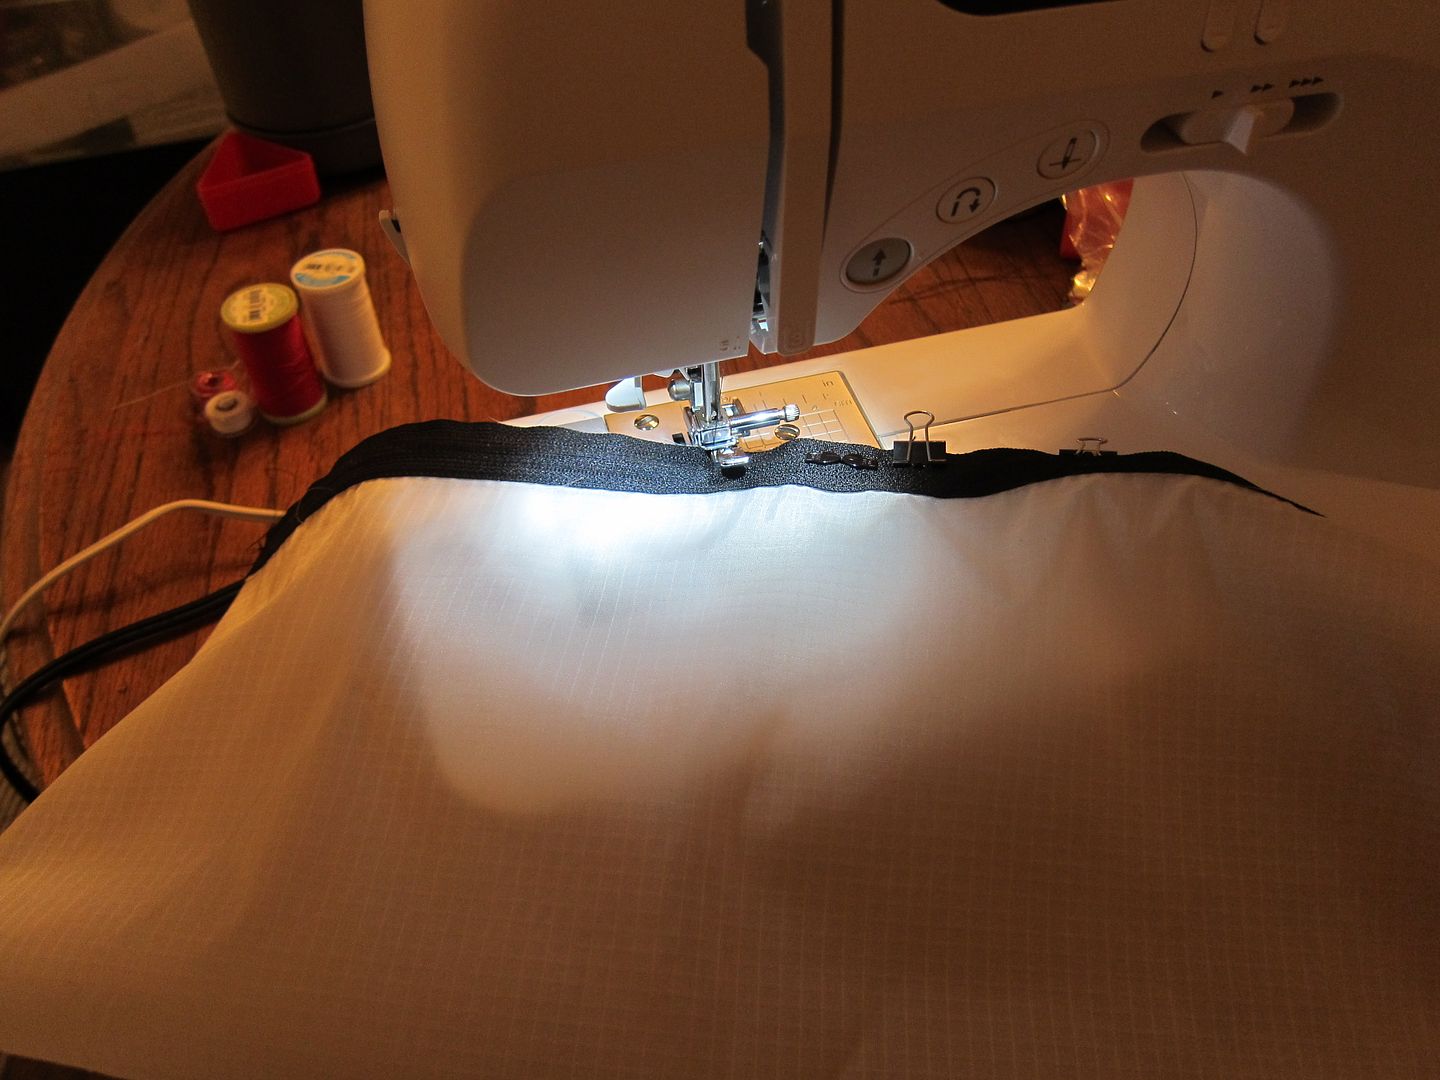
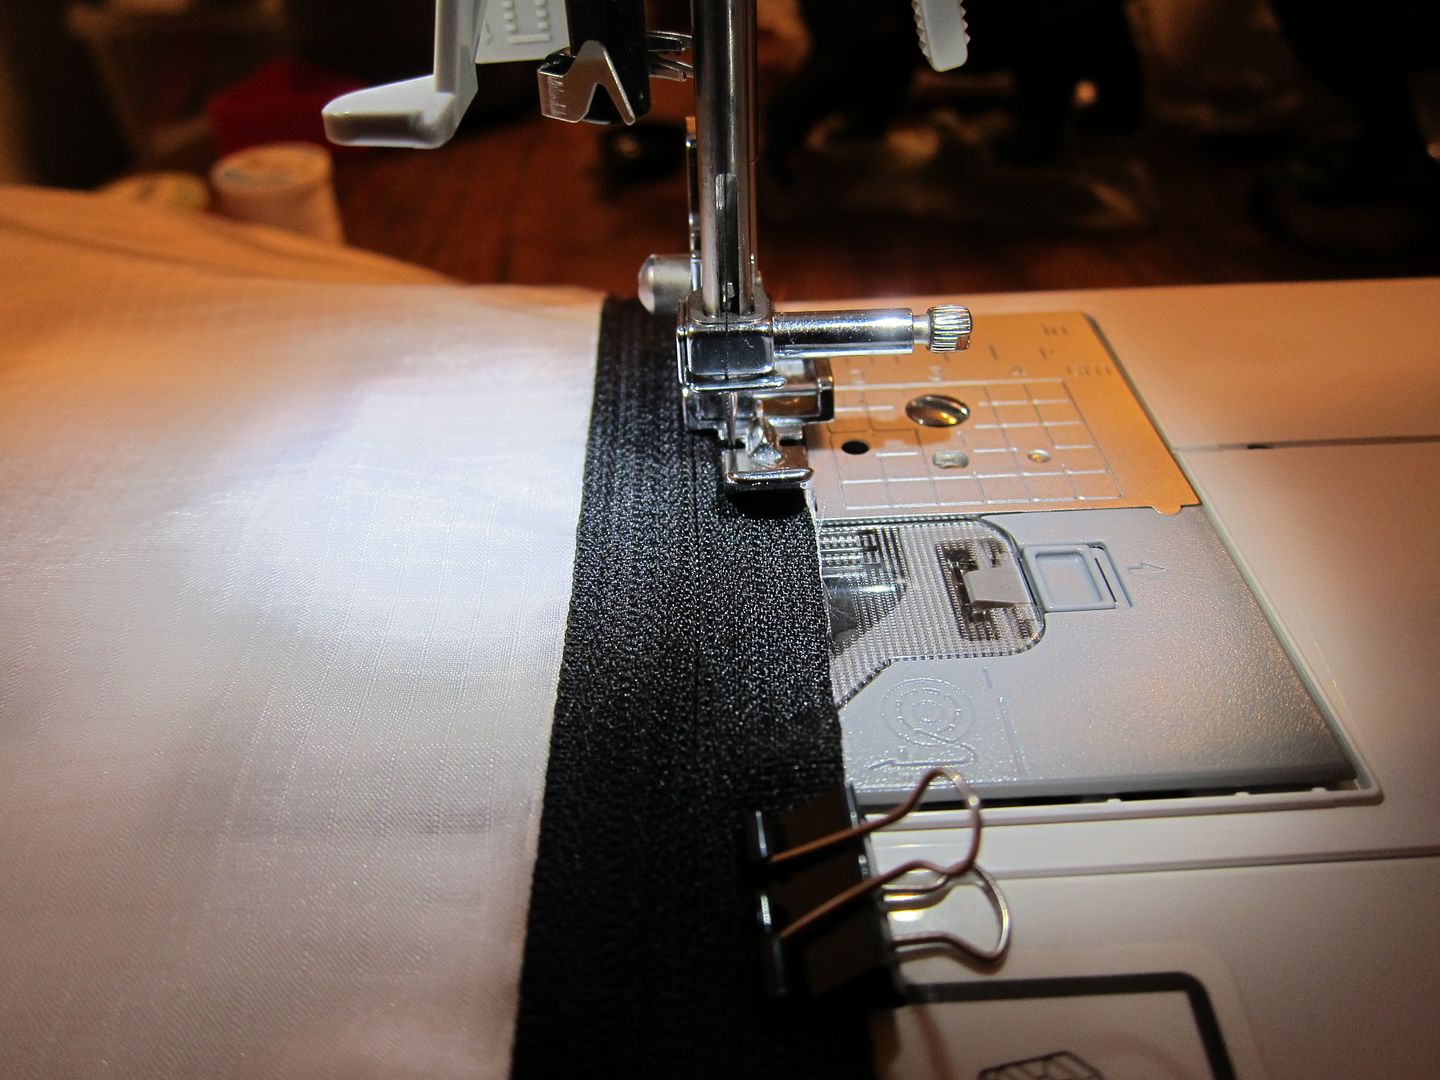
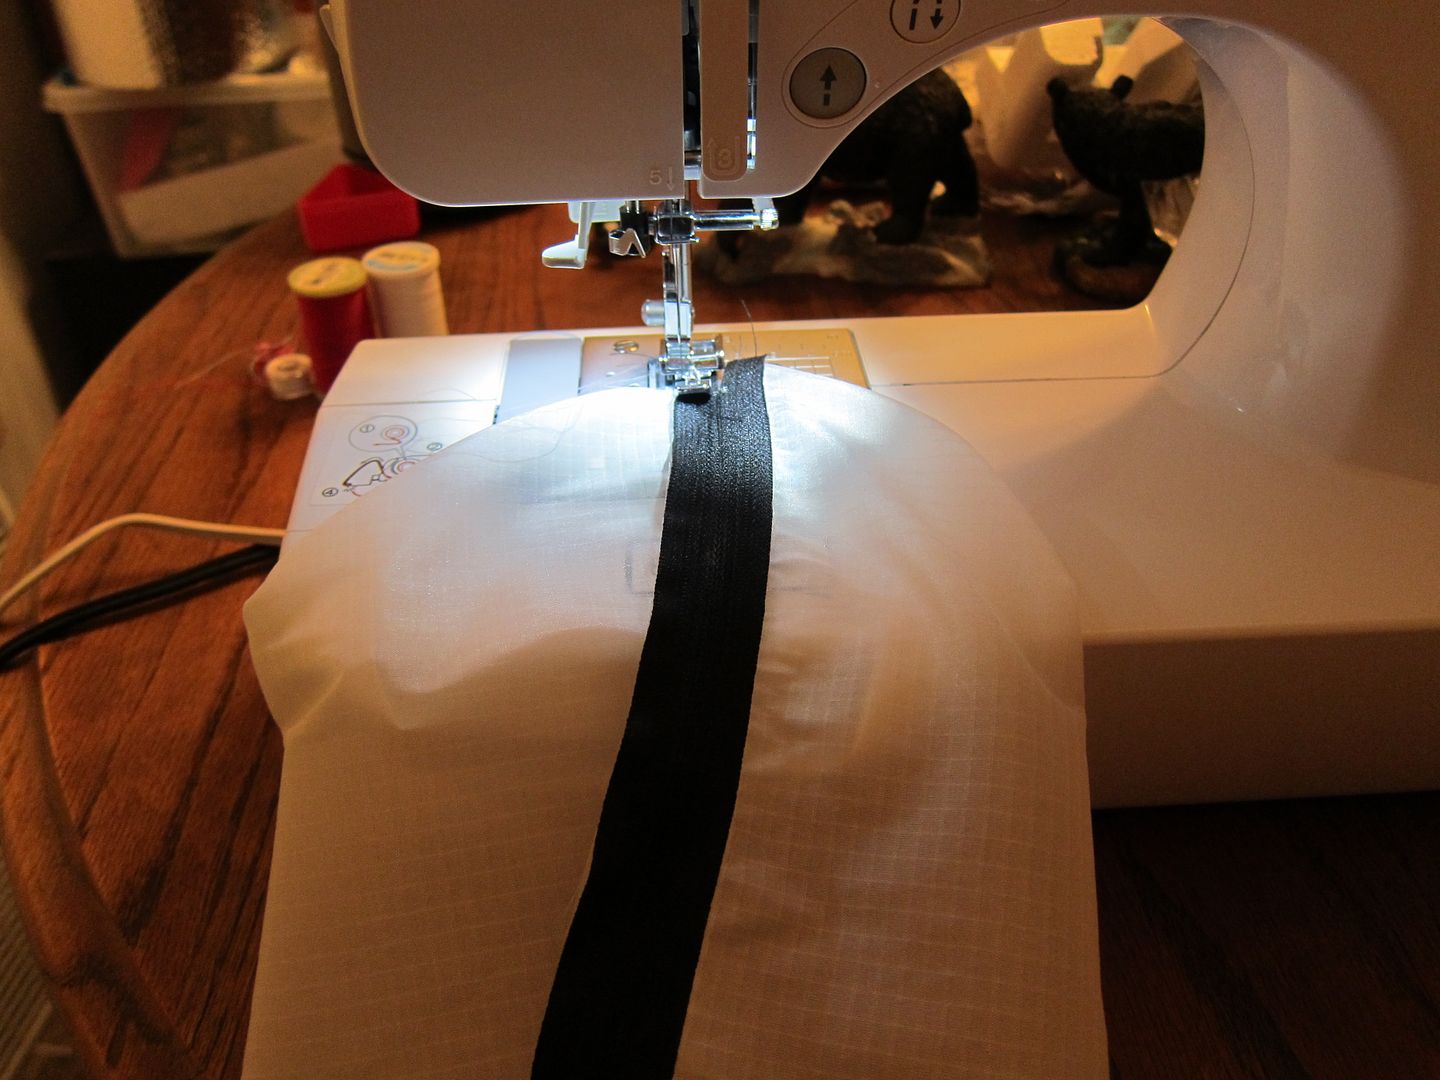
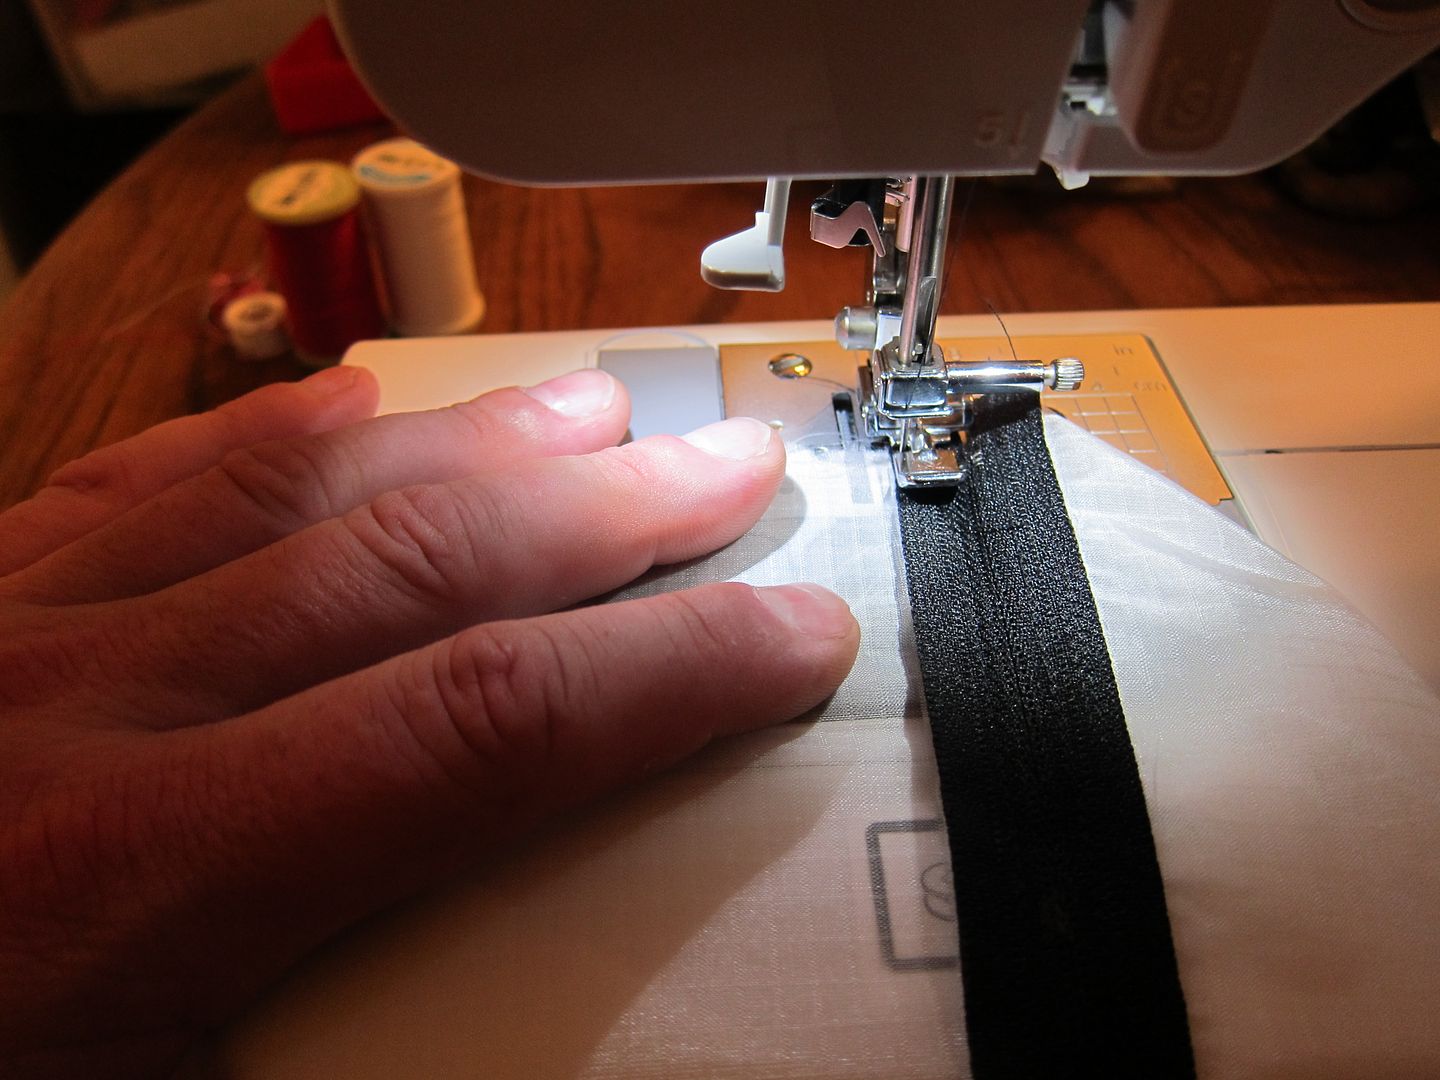
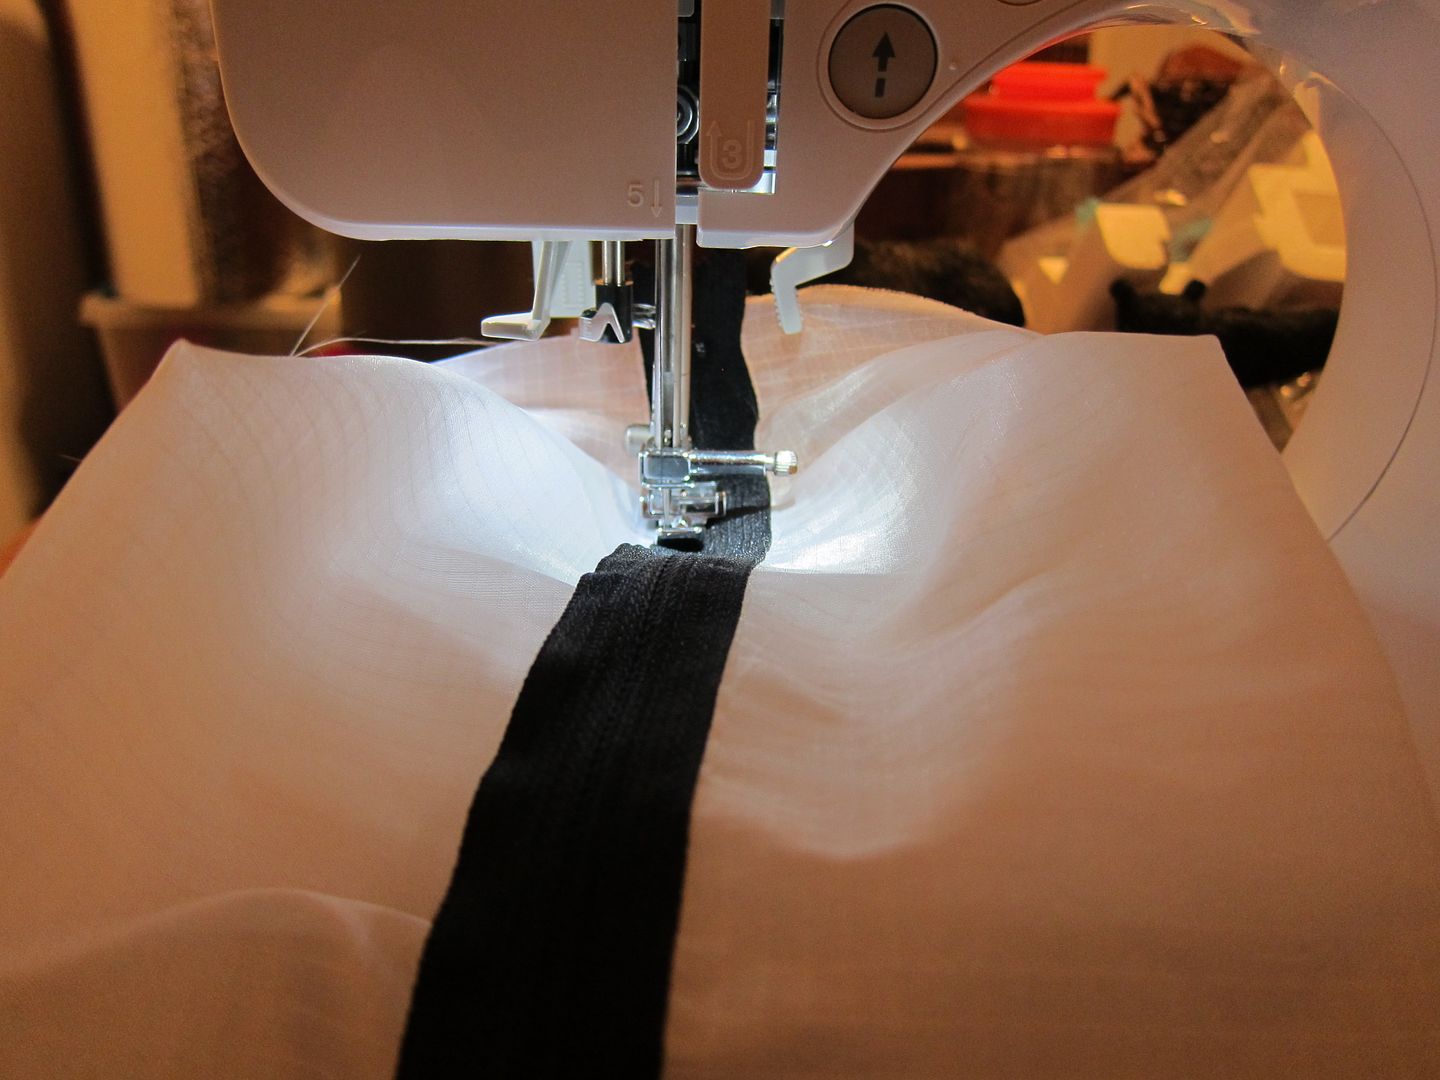
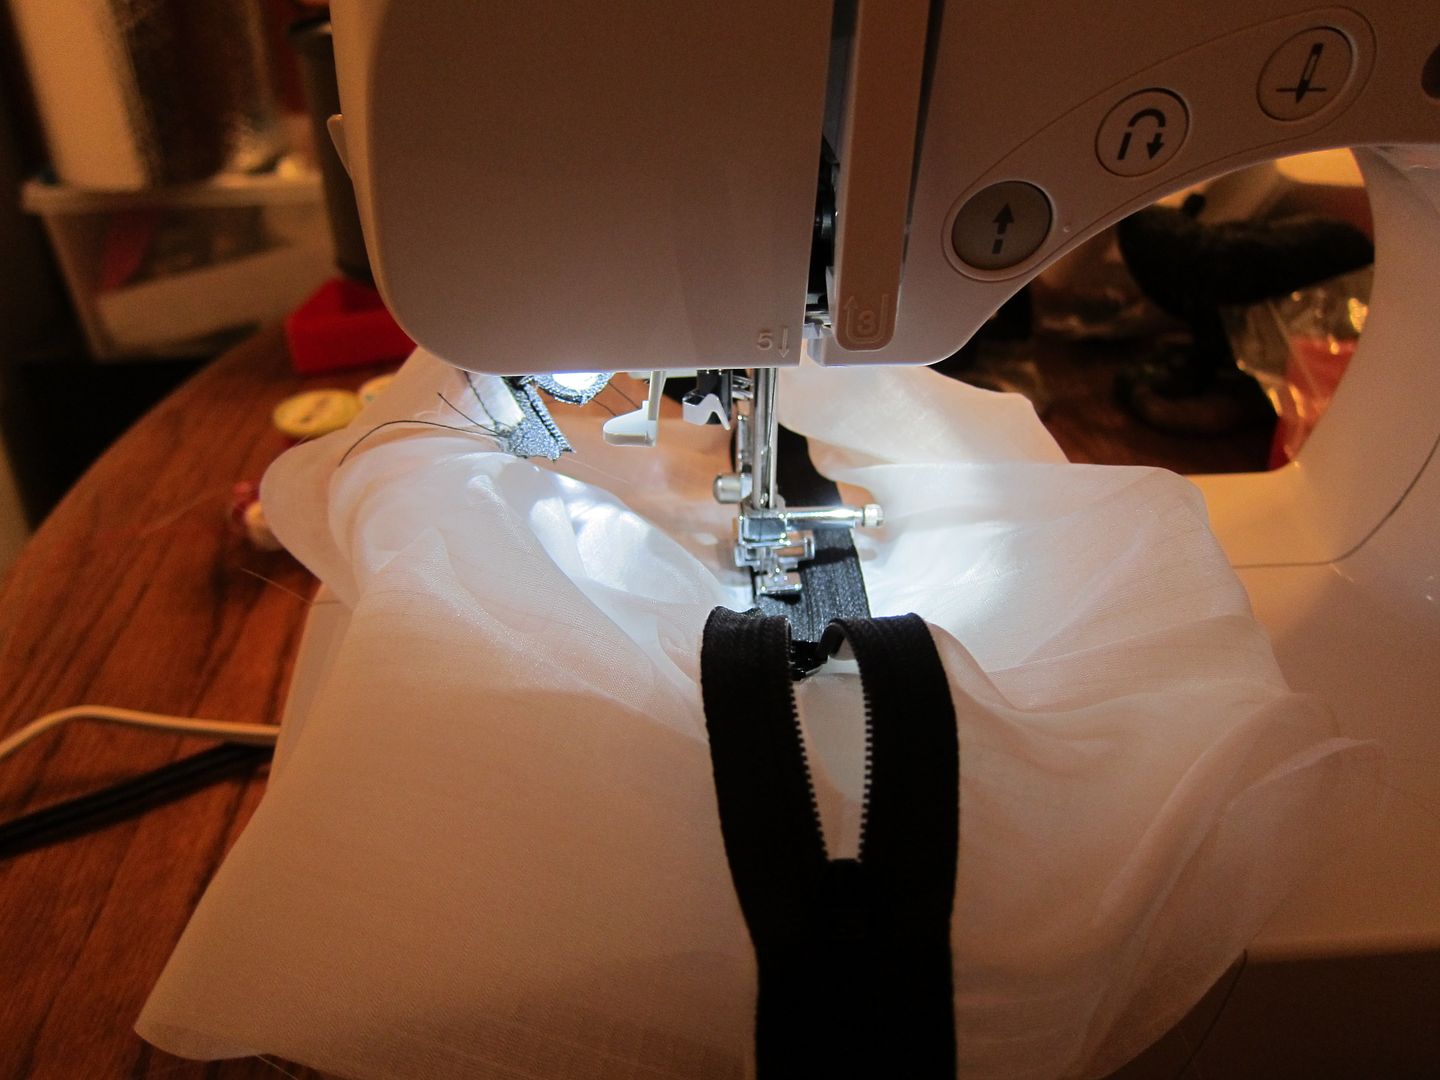
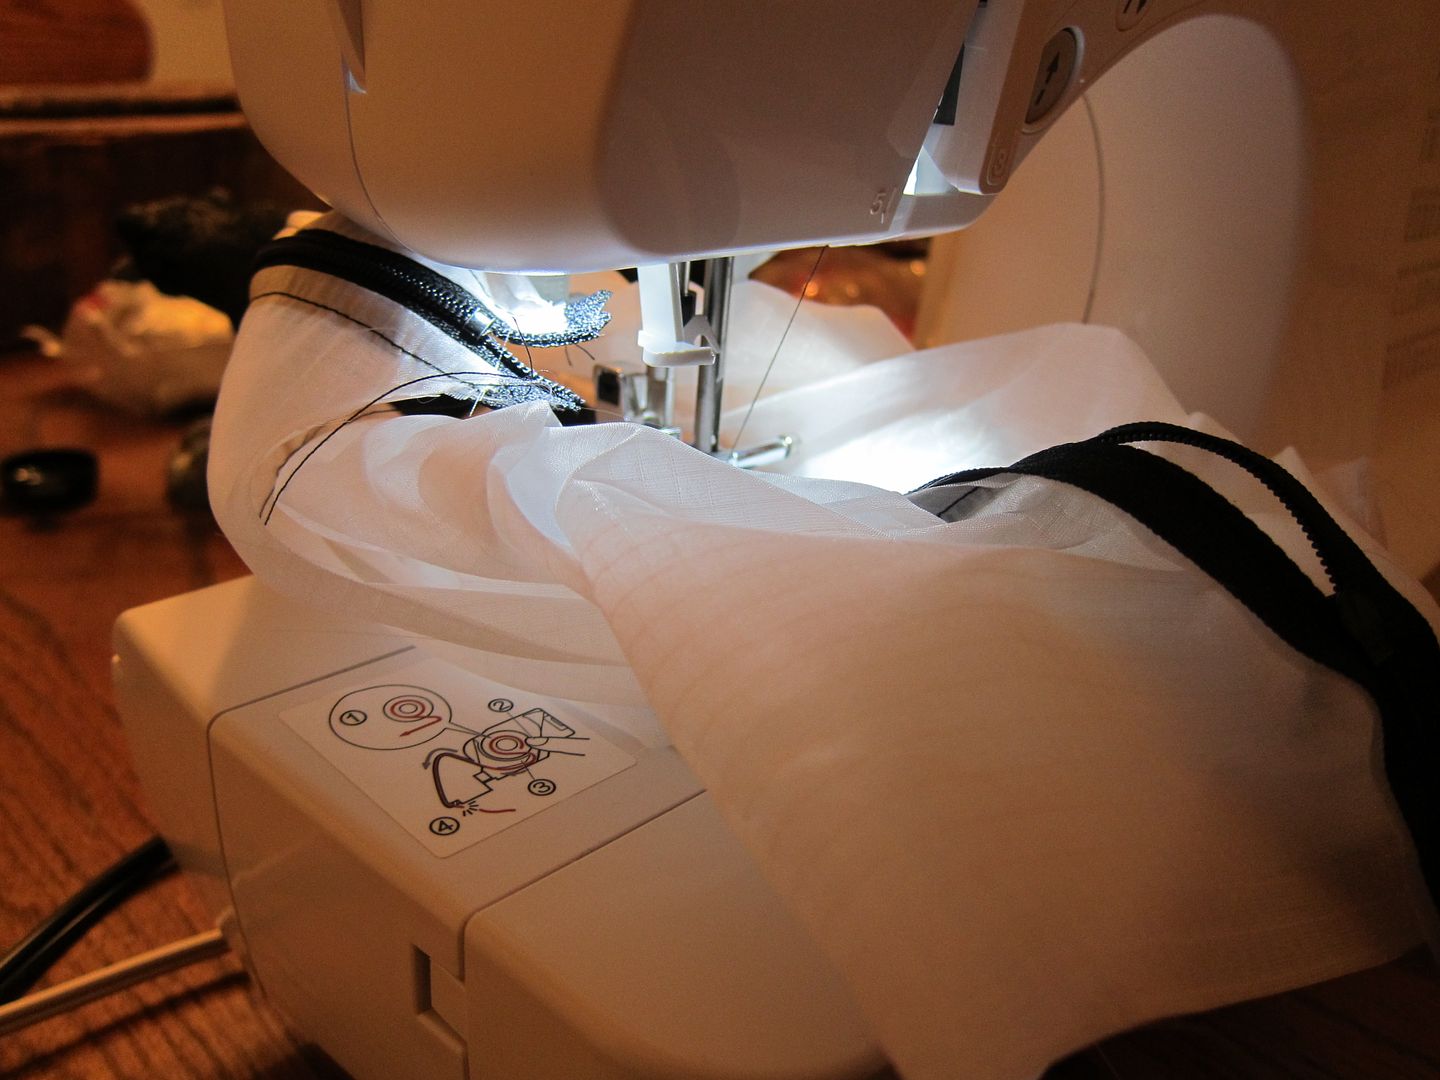
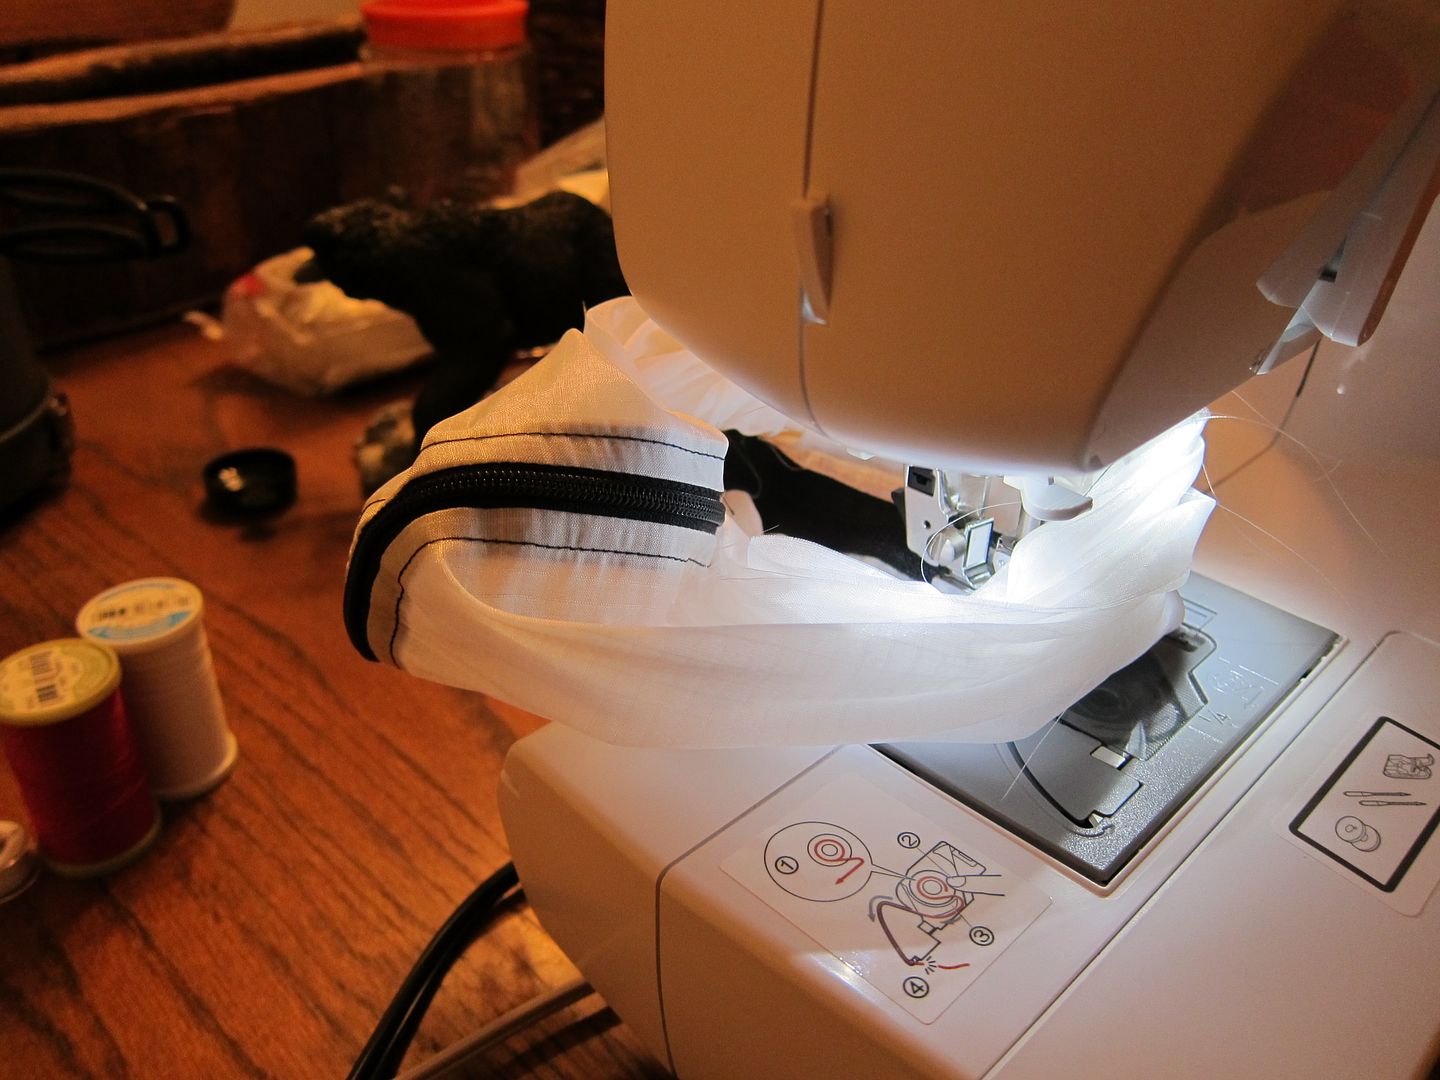
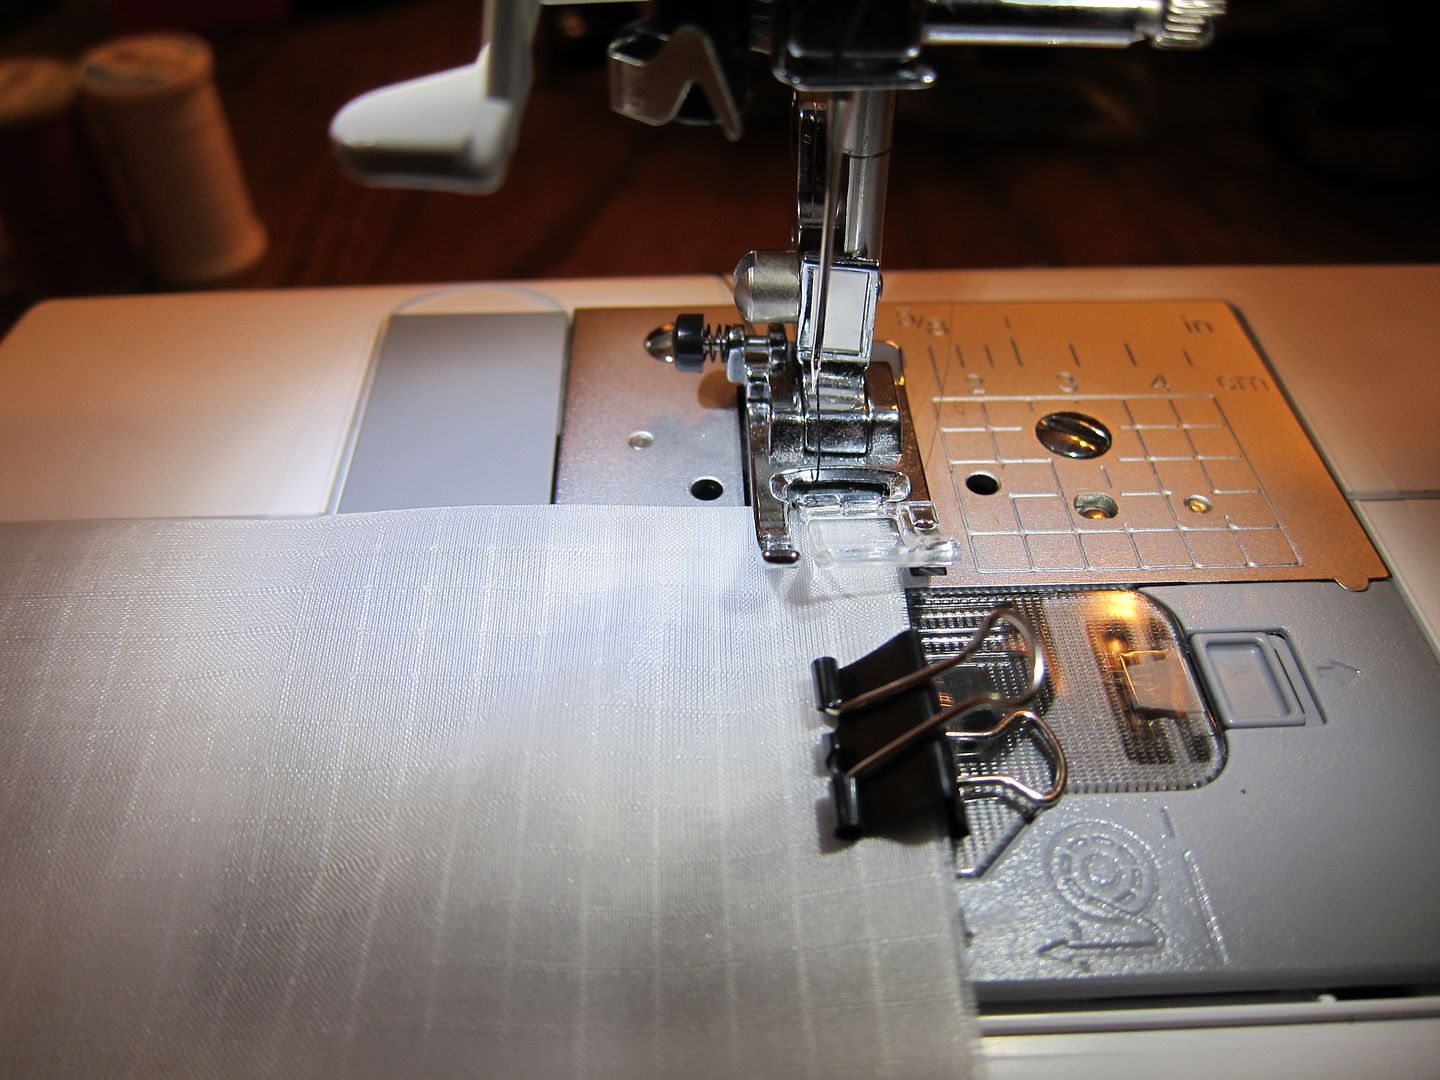
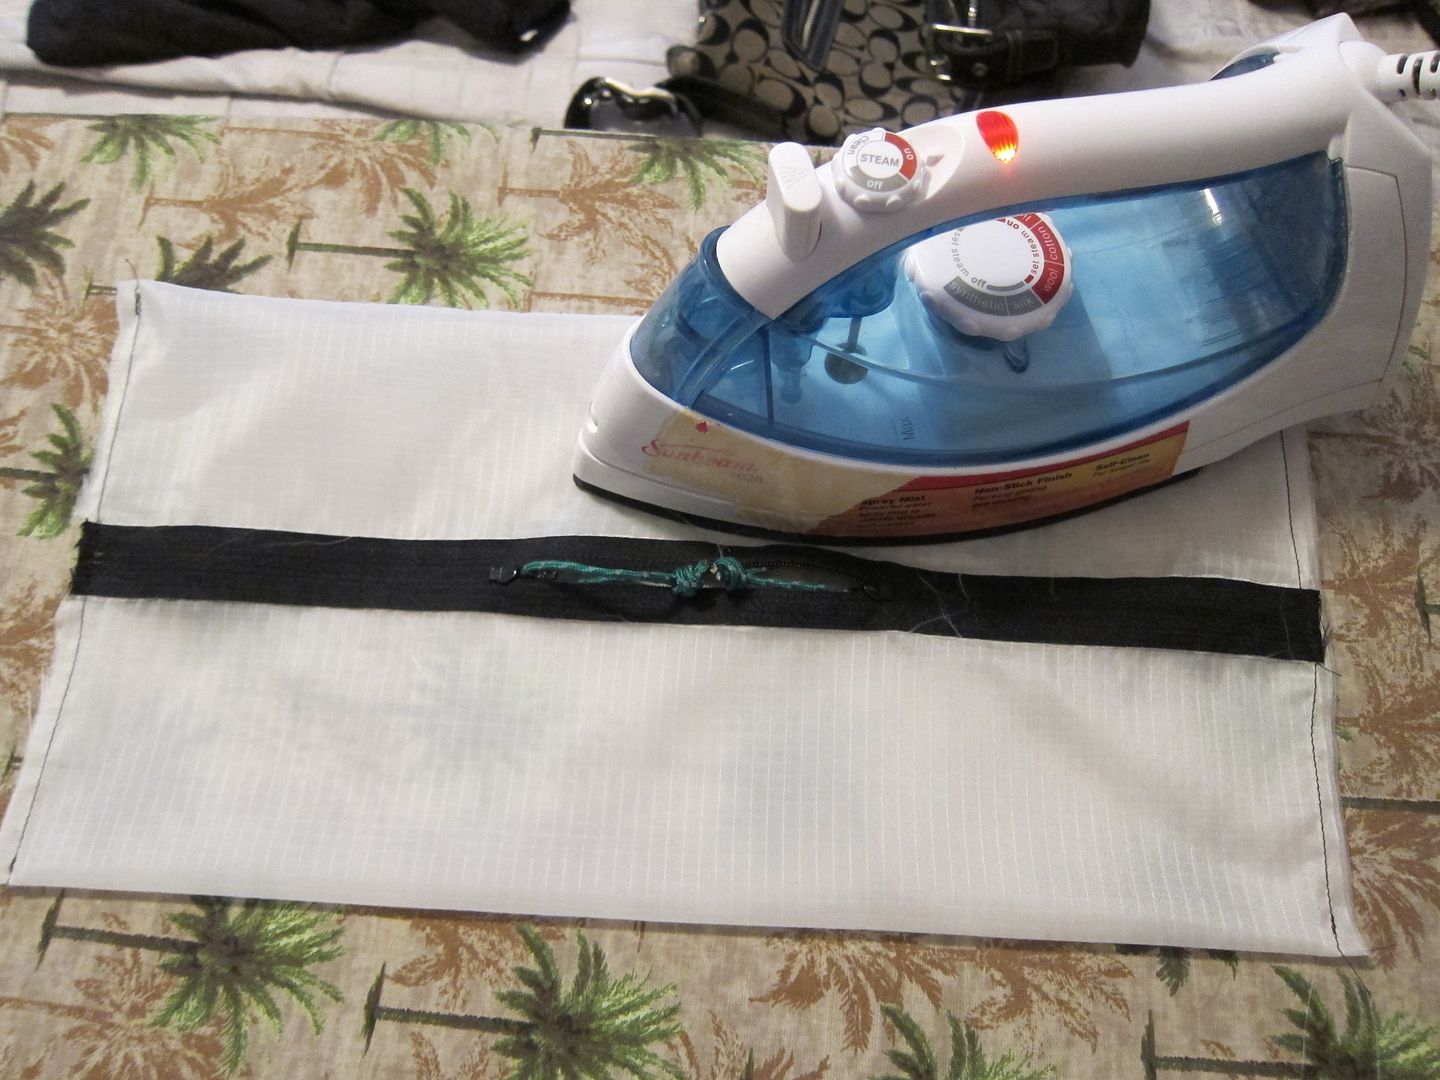
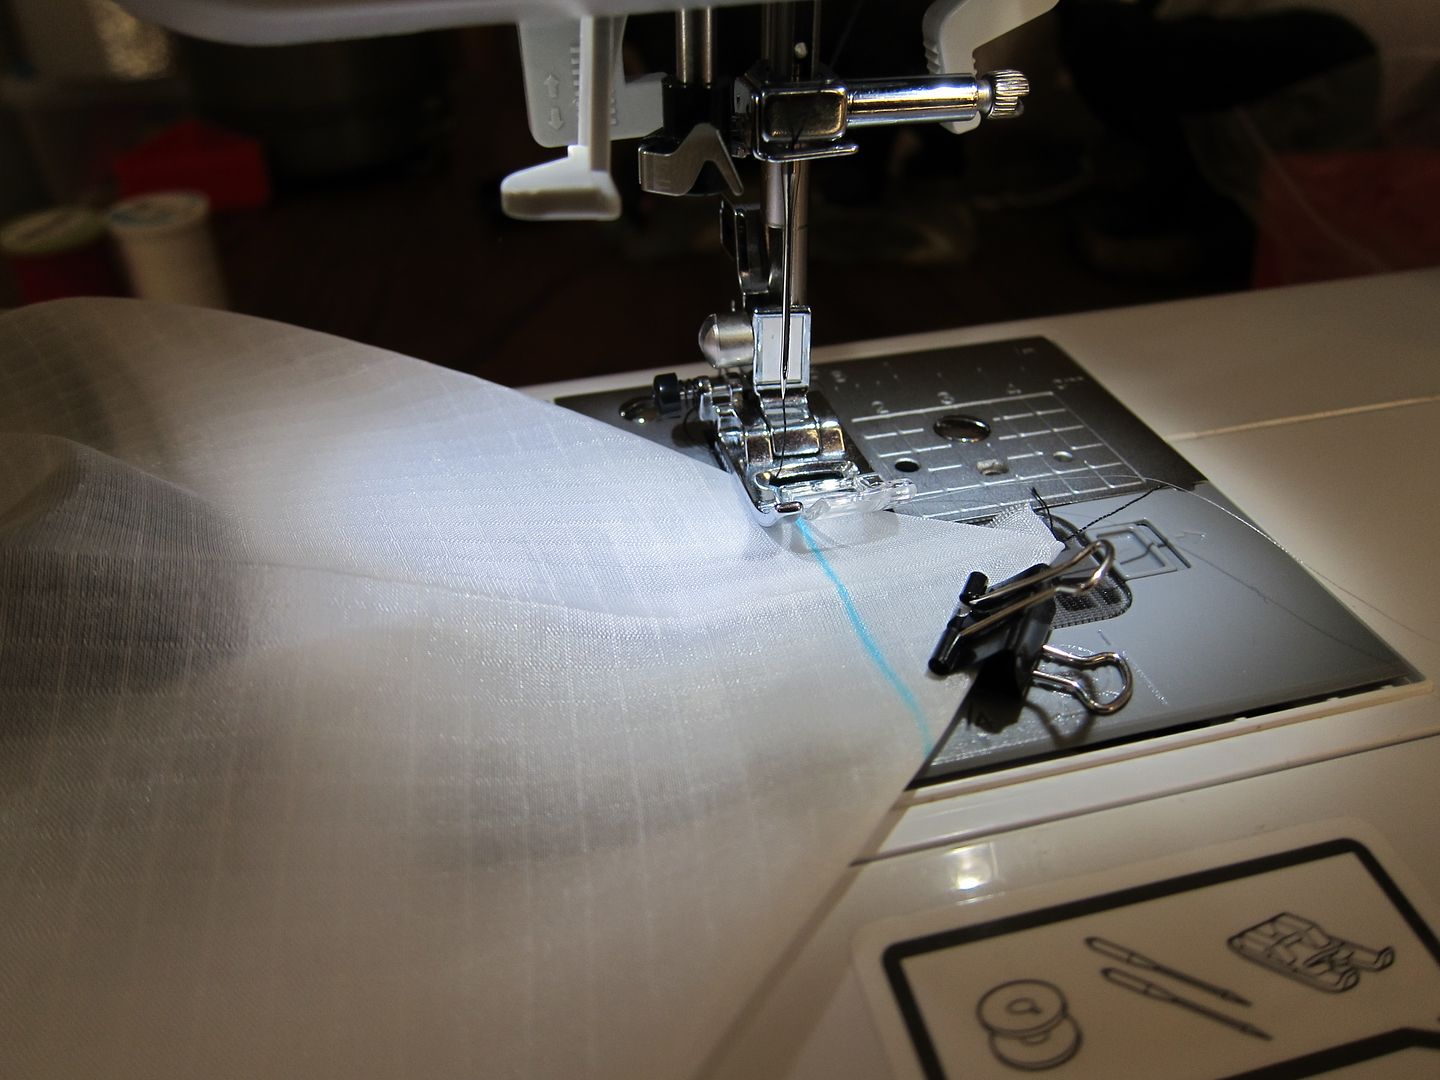
Now let's start at the beginning. I recently purchased a sewing machine for my girlfriend because she wanted to learn to sew. Guys, with the holidays coming up, this is a great tactic to not only knock out a nice gift but also gain a tool you can use as well I got her the Brother 6000i off of Amazon for around $140. It has a lot of fancy stitches that we will probably never use but it does have a few nice features that will come in handy. First of all, it comes with a zipper foot (usually pretty standard I think) as well as a walking foot (good for working with slippery fabrics). It also has a buttonhole foot that can automatically do button holes which is handy for stuff sacks. By no means are these requirements but they do make things a little easier. I haven't sewn heavier materials so I cannot comment on how the machine will handle stuff like 1000d cordura. I plan to keep an eye out for an older, mechanical machine that may only do straight stitches but can chug through the heavier stuff should I ever really need to work with that type of material.
Basic materials
To start off my adventure I started by hitting up local Walmarts. Doing some reading at hammock forums and DIY sites, it appears that Walmart at times carries what some claim is silnylon for dirt cheap, like $1.50/yd. I was not lucky enough to find any silnylon but I did find some ripstop in white for $1.50/yd so I picked up 3 yards. I am kicking myself for not buying it all because I went back for more and it was gone. I have not been able to find anymore yet in my area. Below is a link where you can enter your zip code and you will get a list of stores that carry fabric. From what I have read and seen, it is almost always in the Clearance section and the bolts do not actually say what the material is and just list it as generic fabric. It also seems that very few of the employees know what it is so calling around is usually pointless.
http://instoresnow.walmart.com/Event-Detail.aspx?txtEventId=1472
If you cannot find any at your walmarts then I would suggest at least trying to find a similar material that is cheap to practice with. If you want to actually work with silnylon or regular ripstop then I will update this thread with some fabric sources. Hopefully others can chime in as well with some of their sources so we can compile a solid list for people to use.
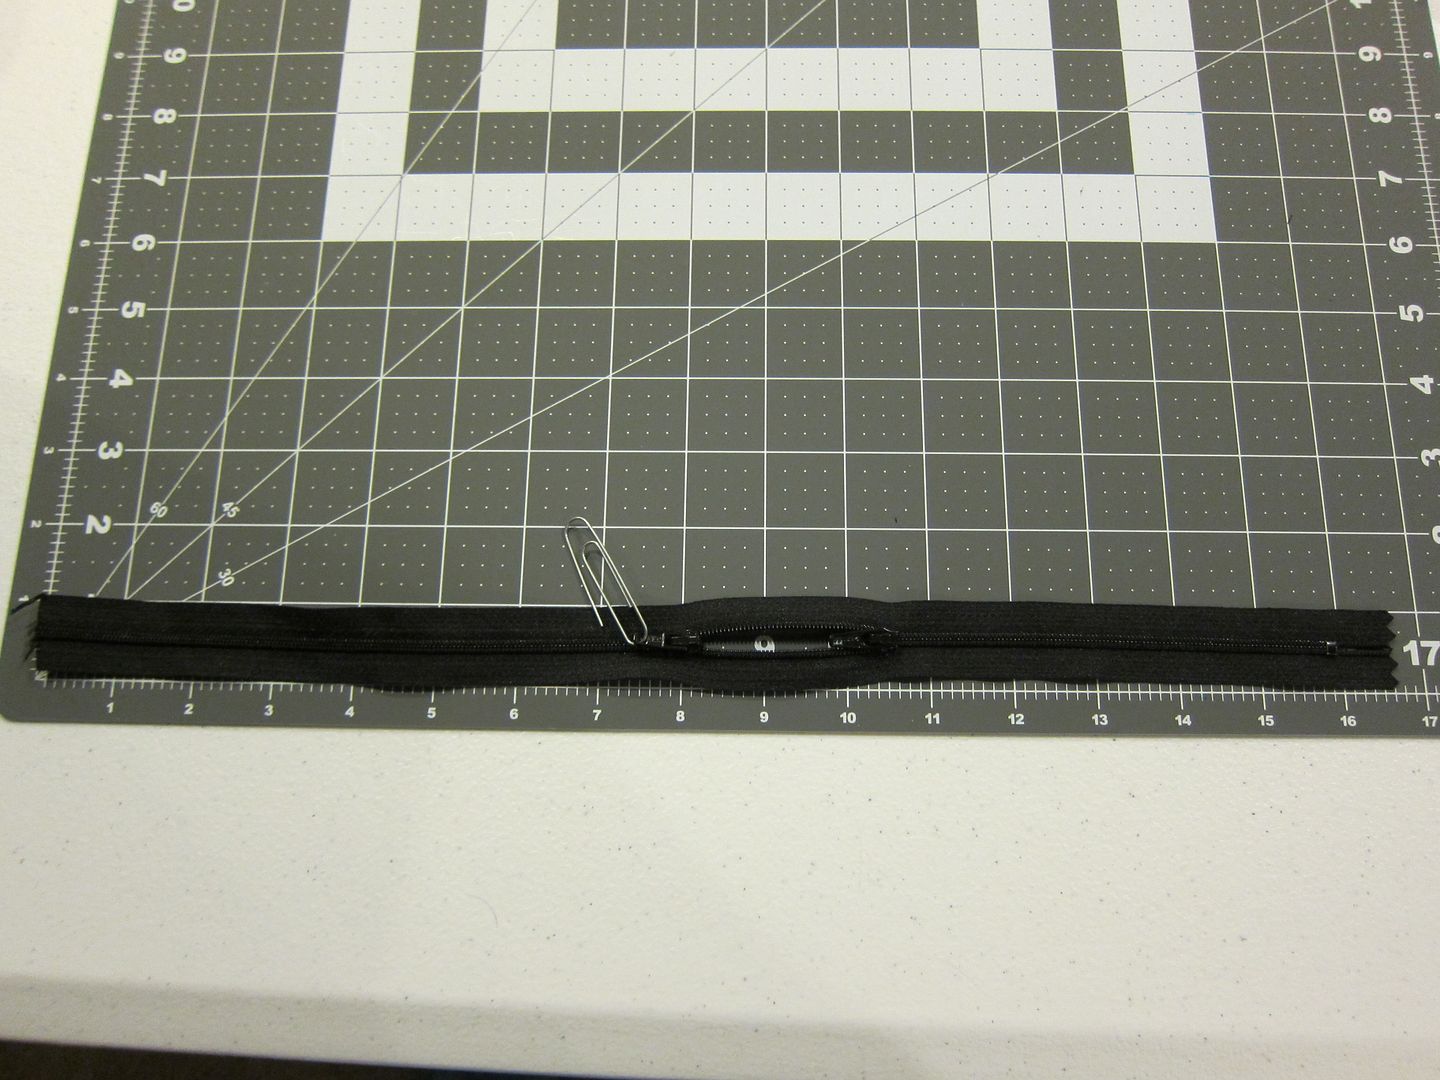
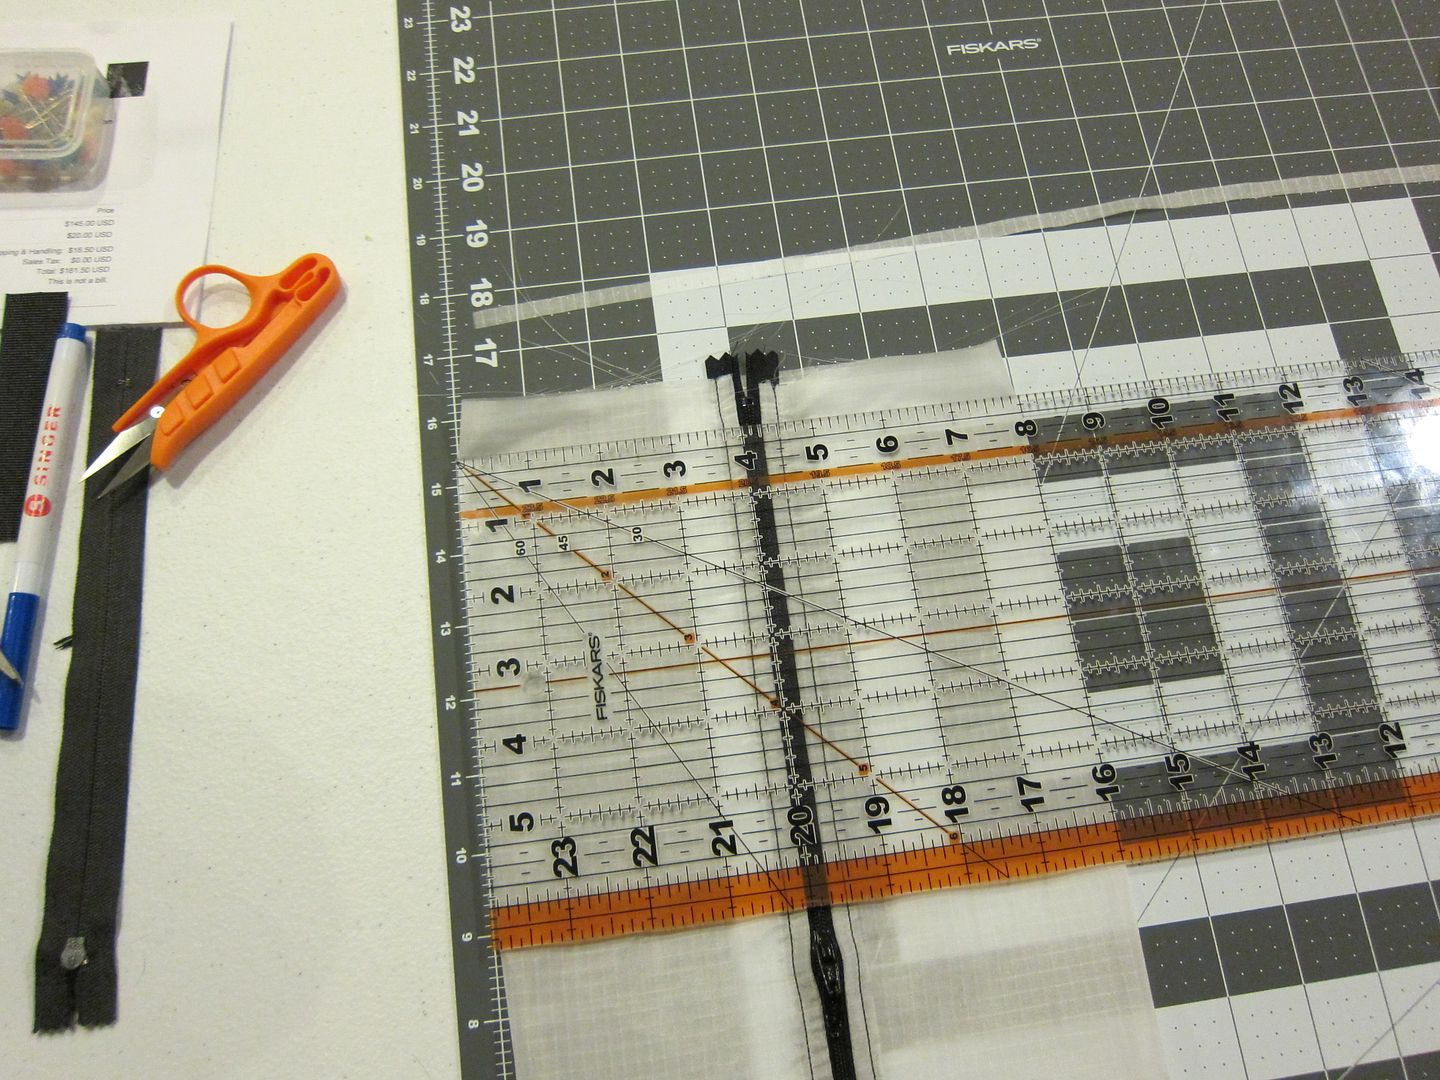
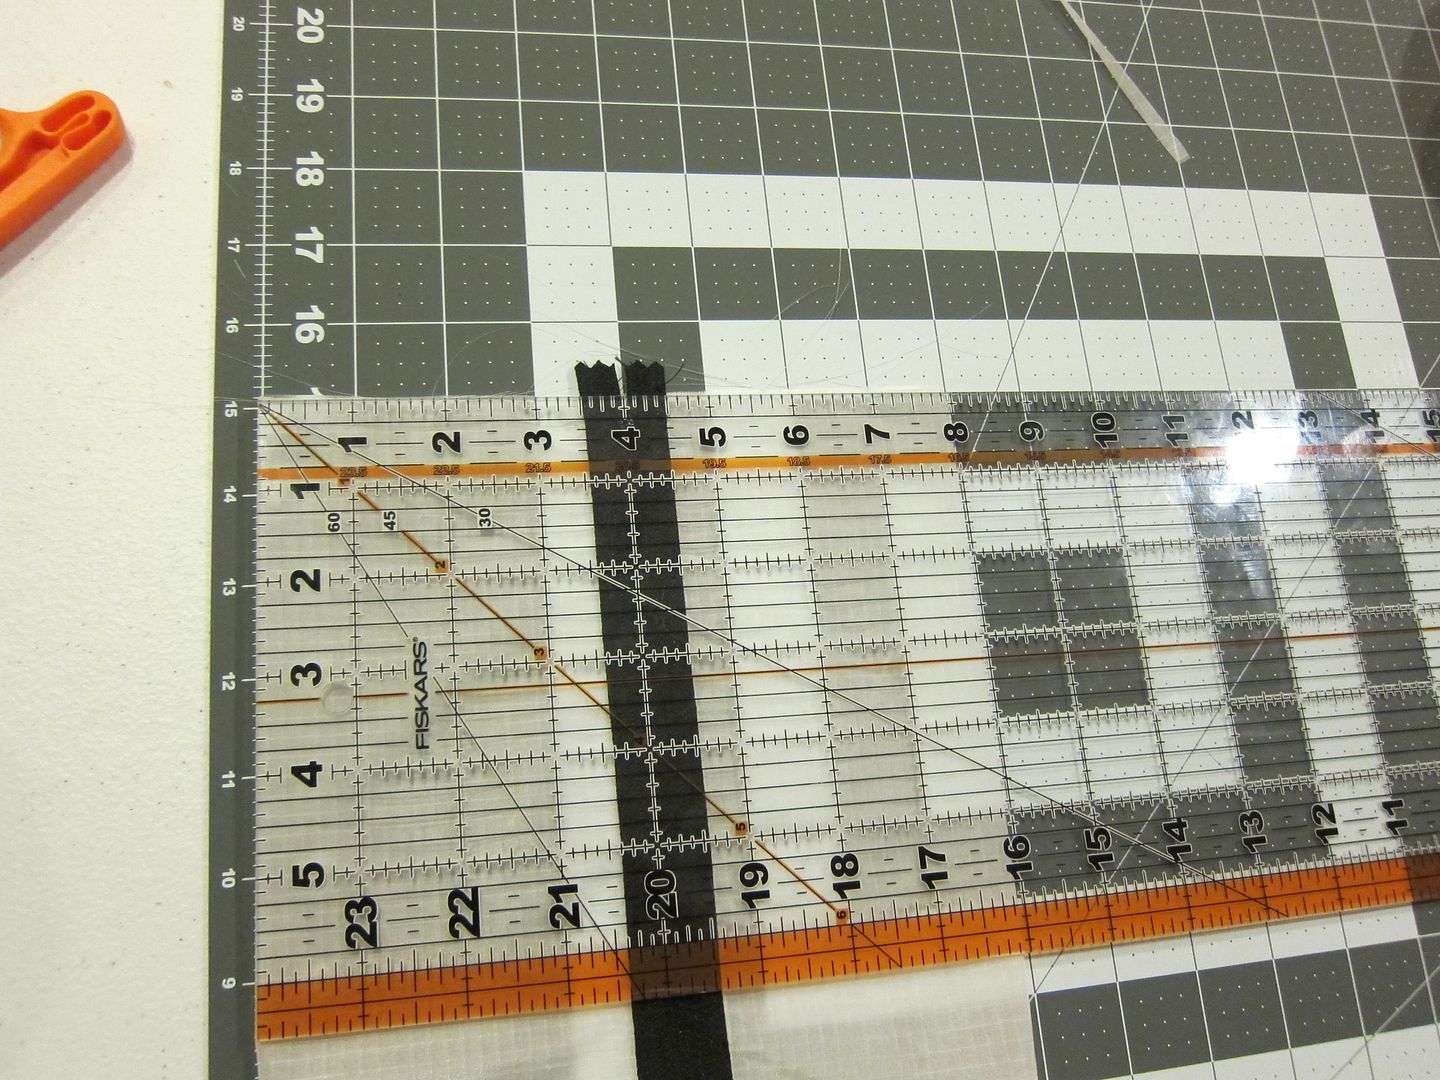
Next up would be some zippers. I purchased some via Amazon that came from ZipperStop. The bundle deal through Amazon was very cheap and they combined shipping so I ended up with 22 zippers (8" & 14" lengths) for like $10 shipped. The 14" is what I use the most for what I have done so far. You can always cut them down so I would suggest getting plenty of length. So far, everything I have done uses #3 YKK single-pull zippers which work fine. Below is a link to the 14" zippers I got. I would suggest buying quite a few as you will probably go through them quickly.
http://www.amazon.com/gp/product/B005MDYAQK/ref=oh_details_o02_s00_i00?ie=UTF8&psc=1
Once you have a sewing machine, fabric, zippers and thread, you are ready to go. For thread, I just picked up some 100% polyester thread from JoAnn Fabrics. It seems to work well and that is what was recommended on the DIY and hammock sites.
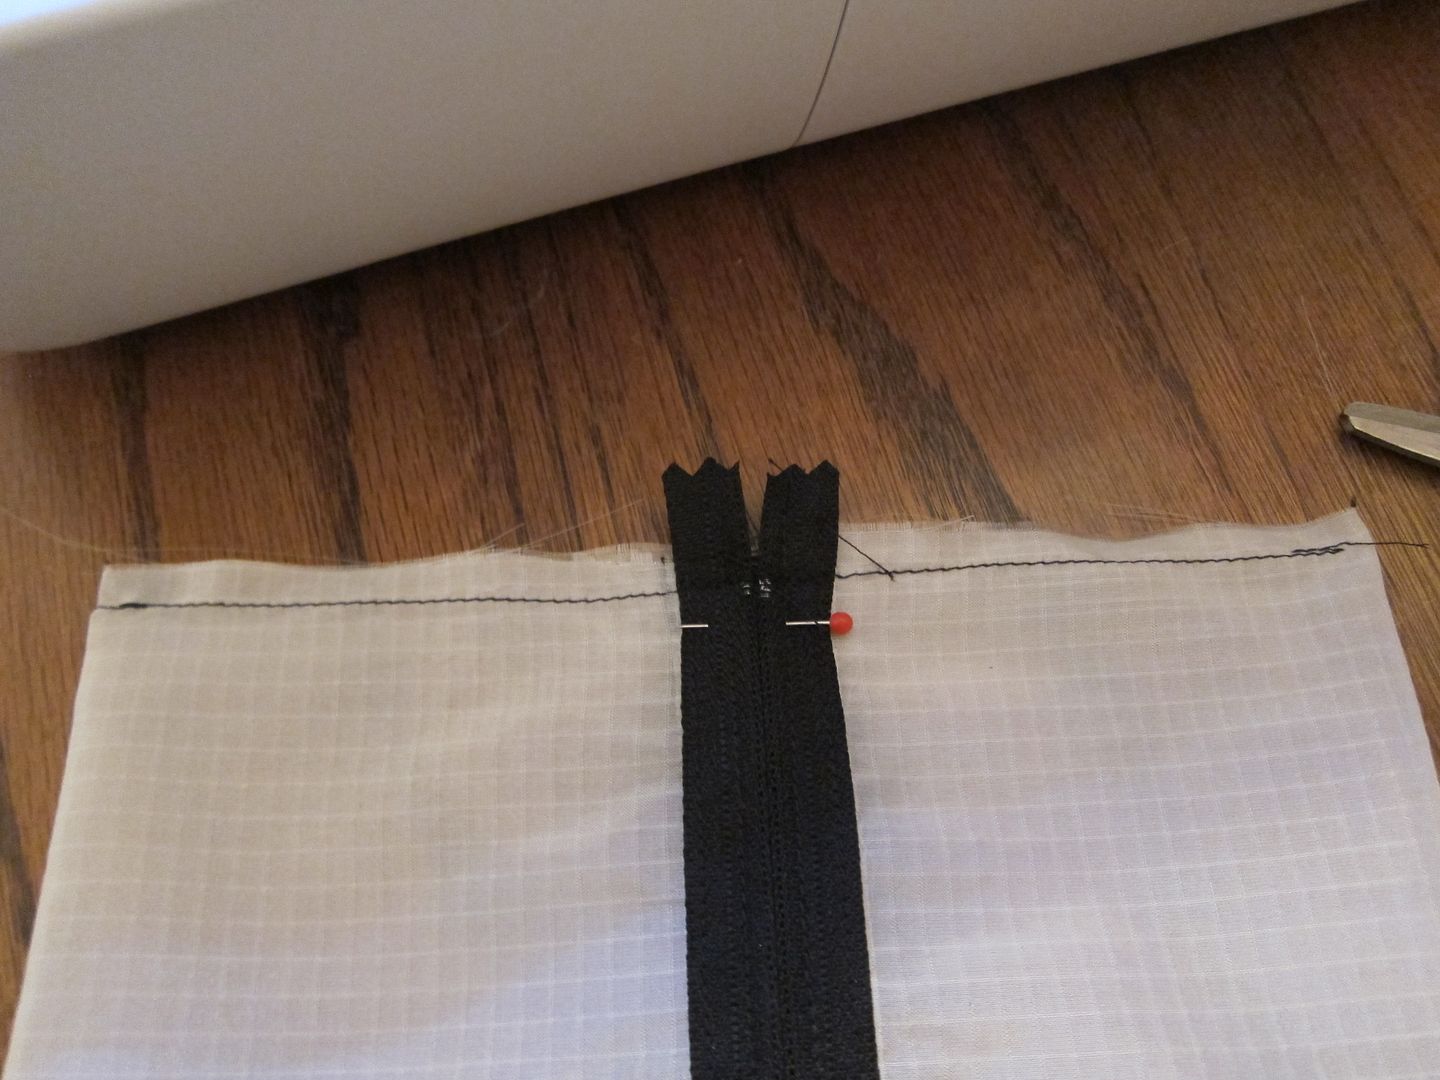
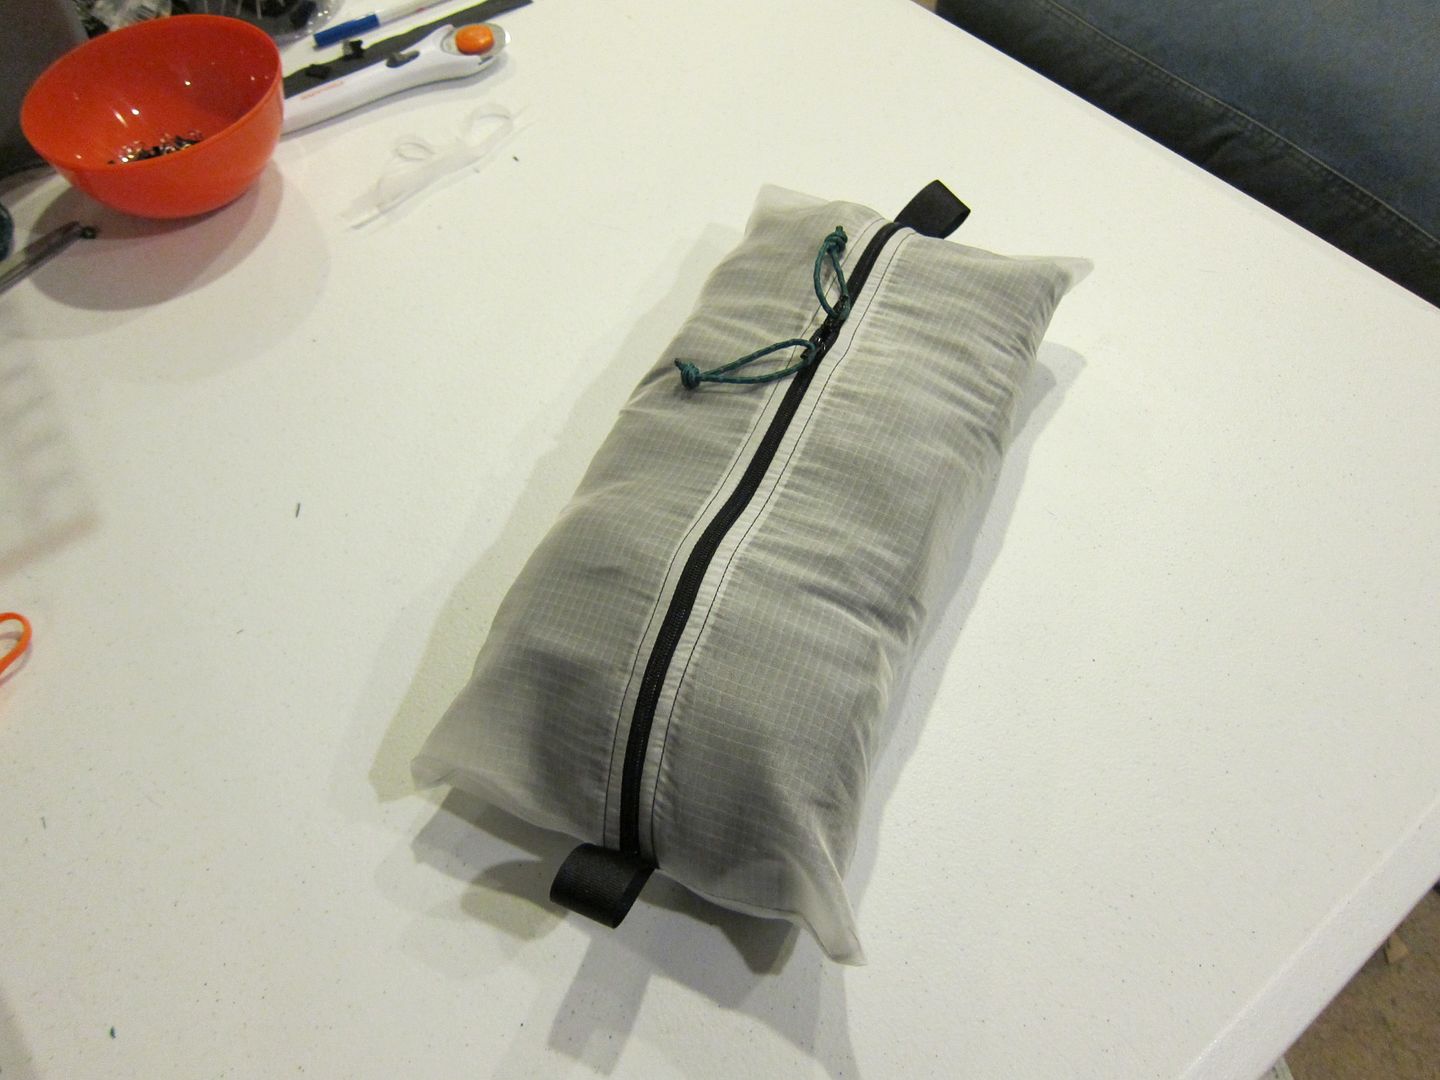
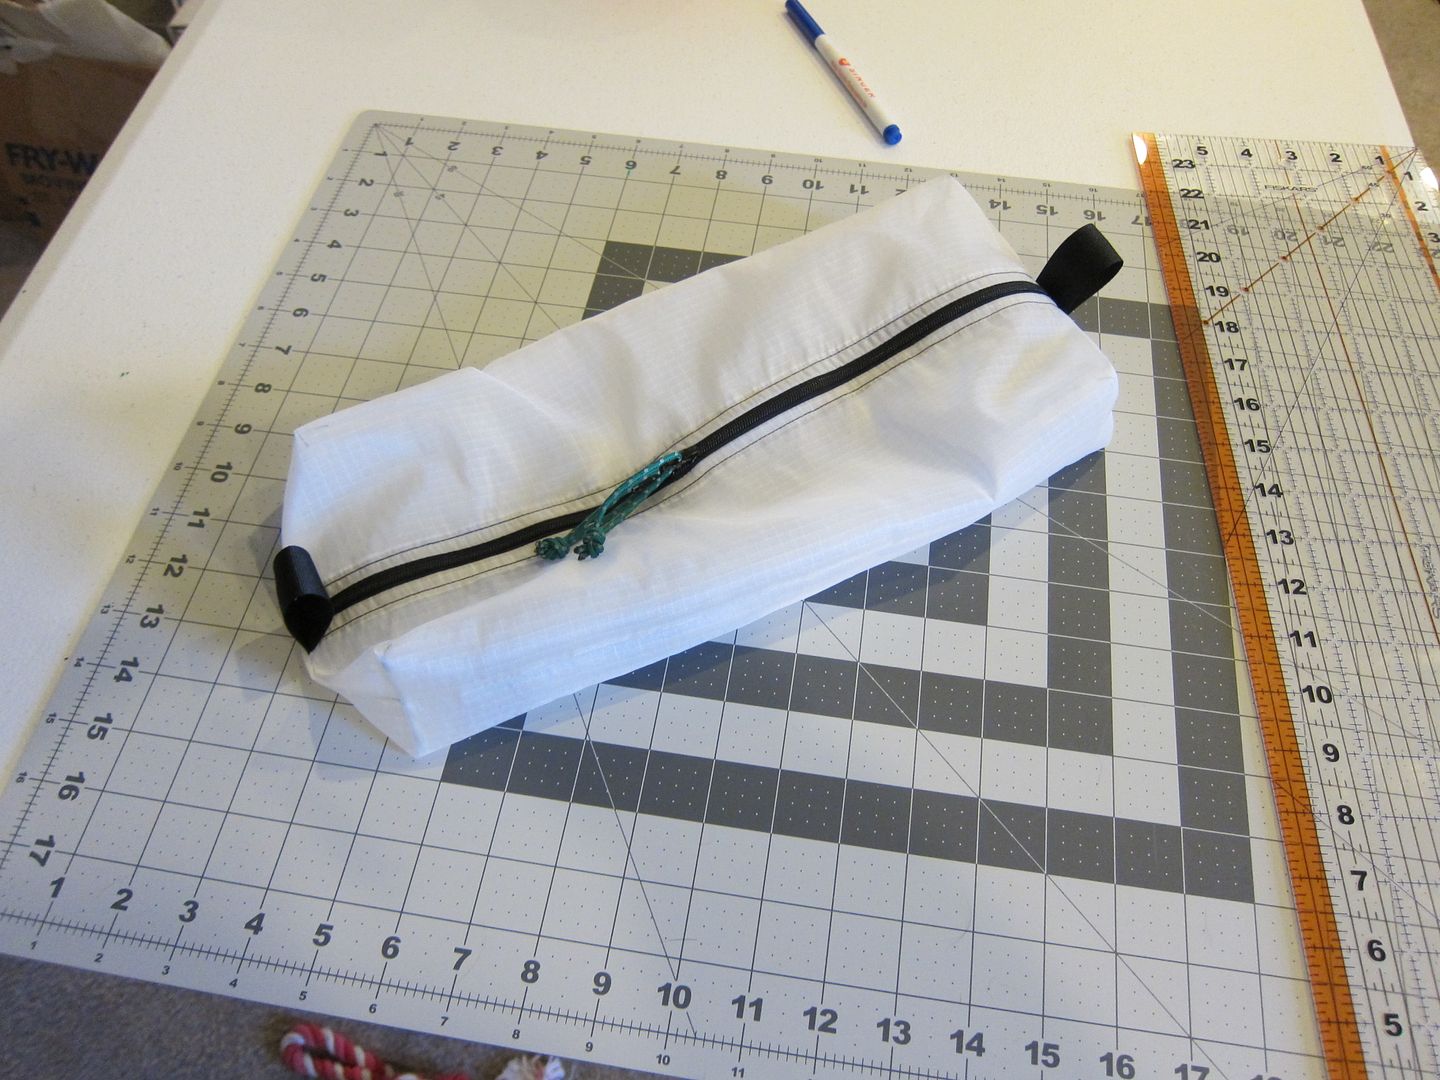
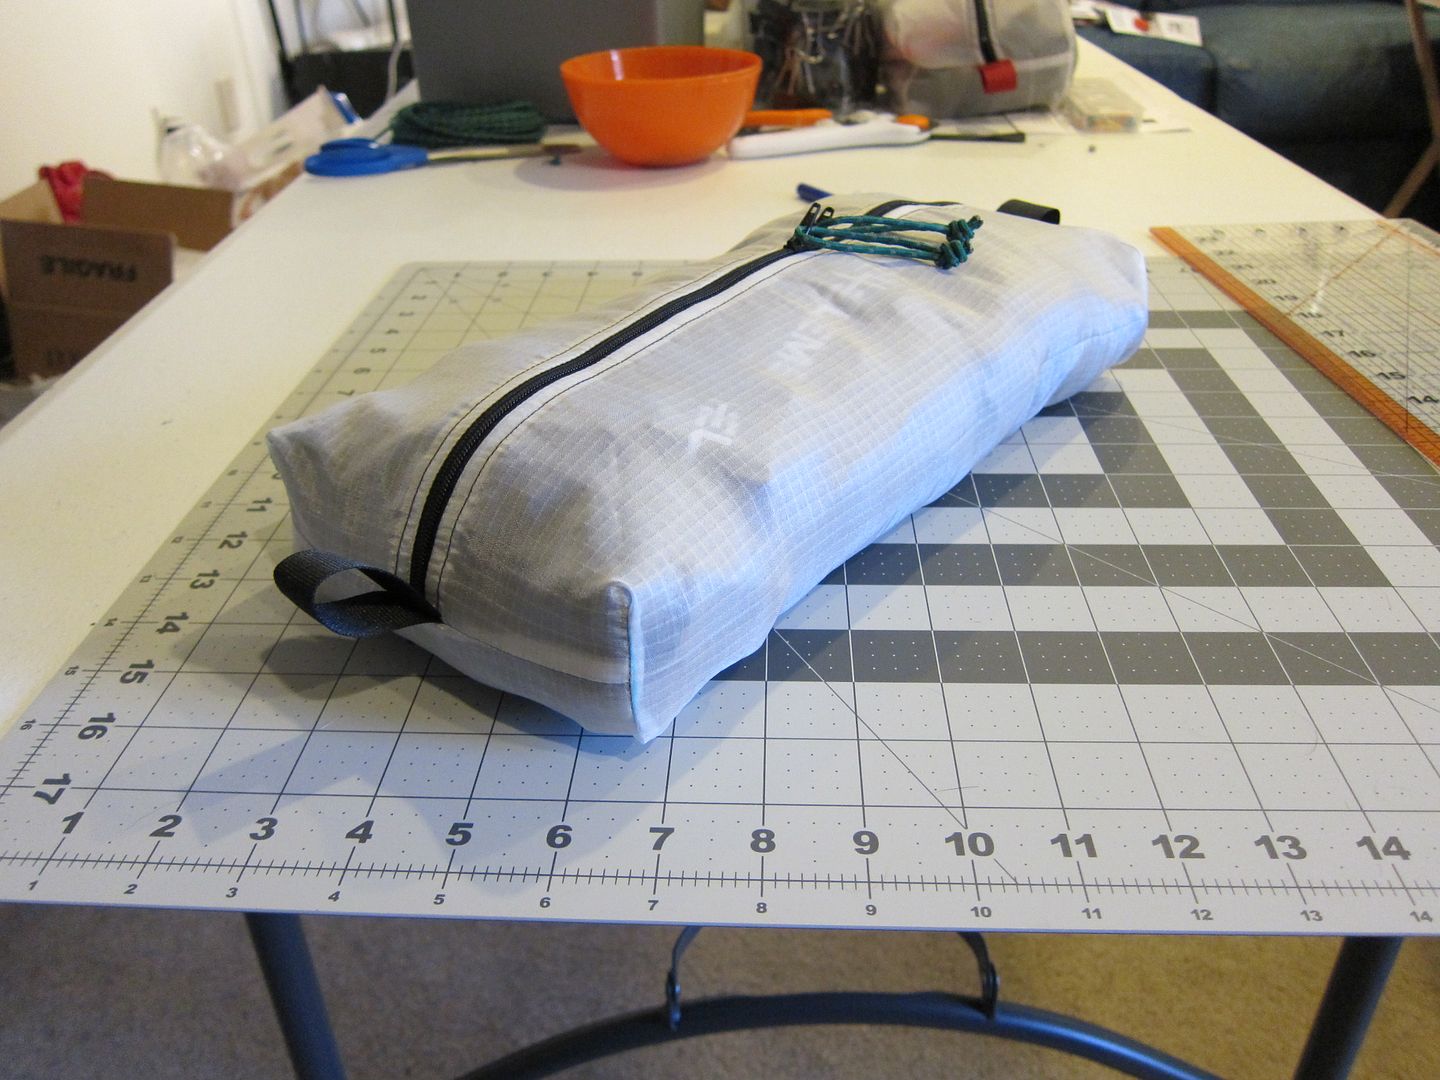
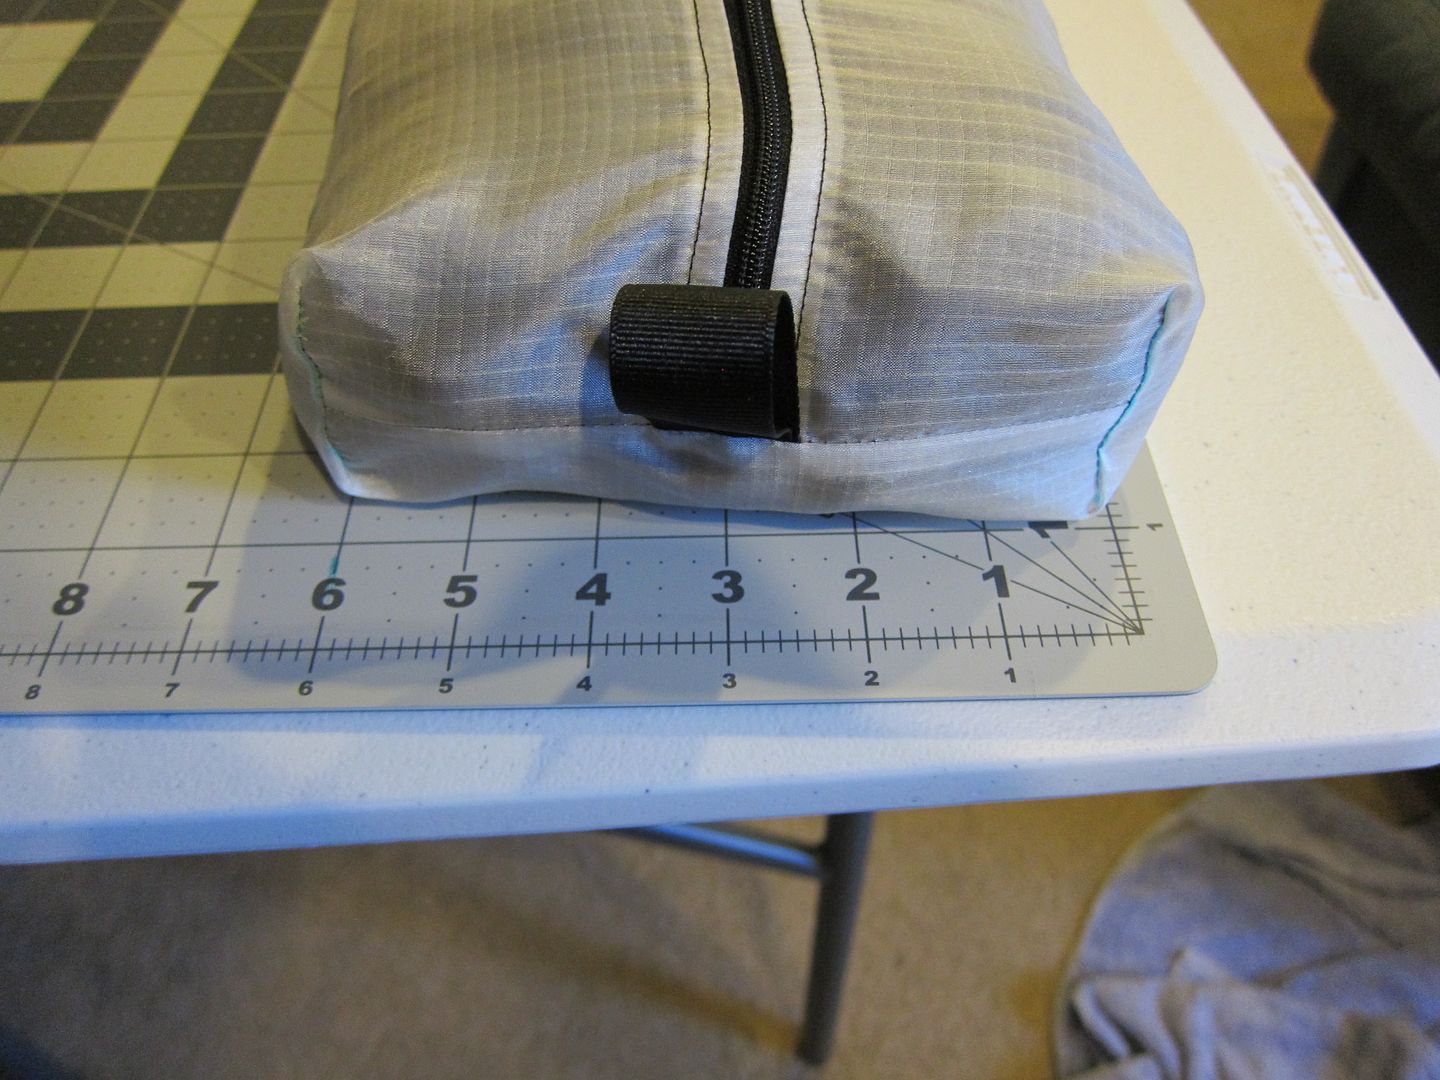
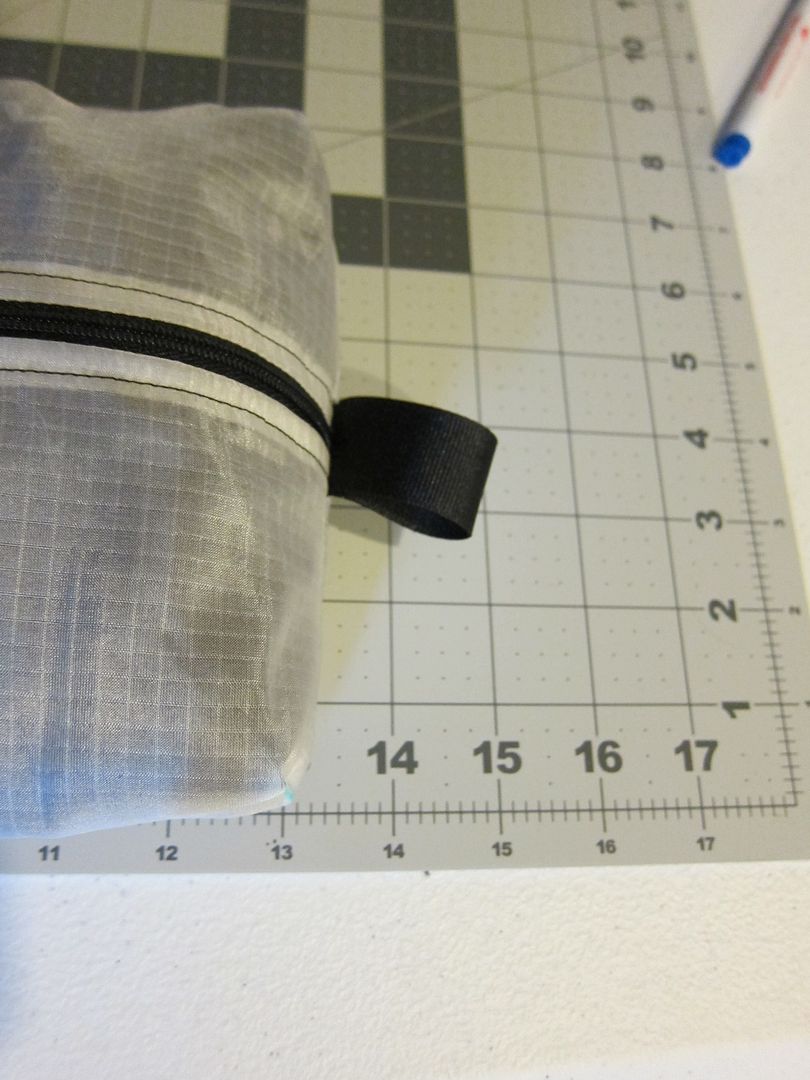
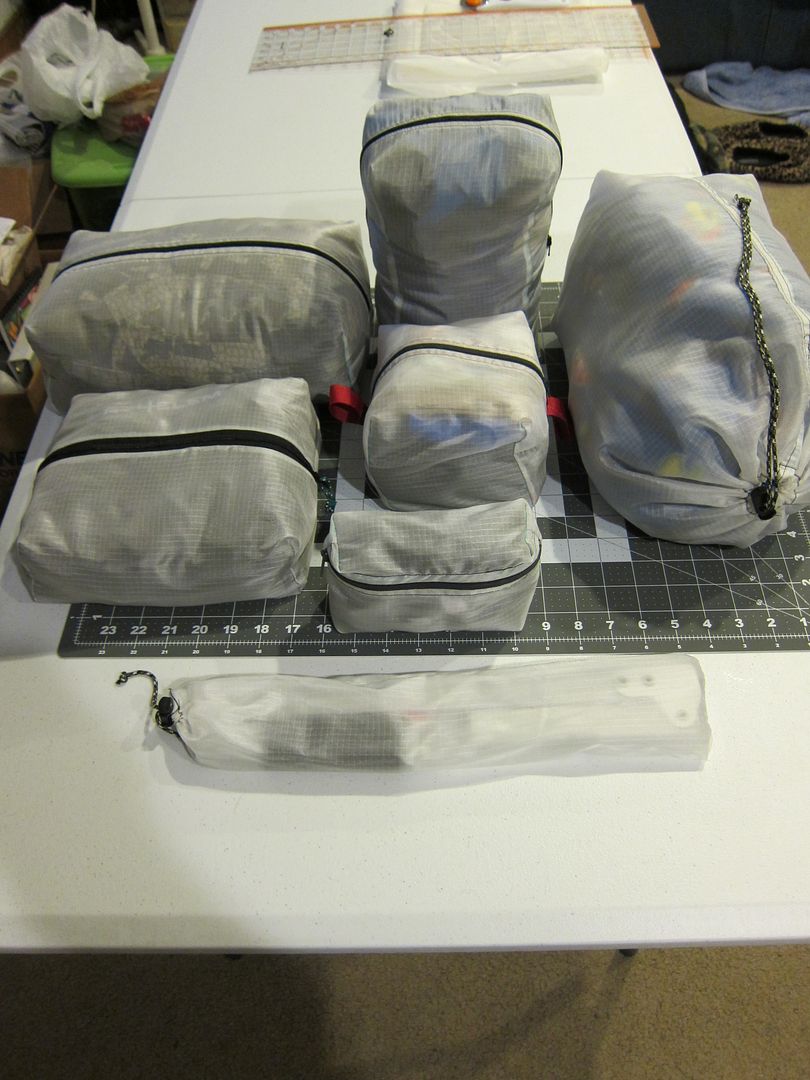
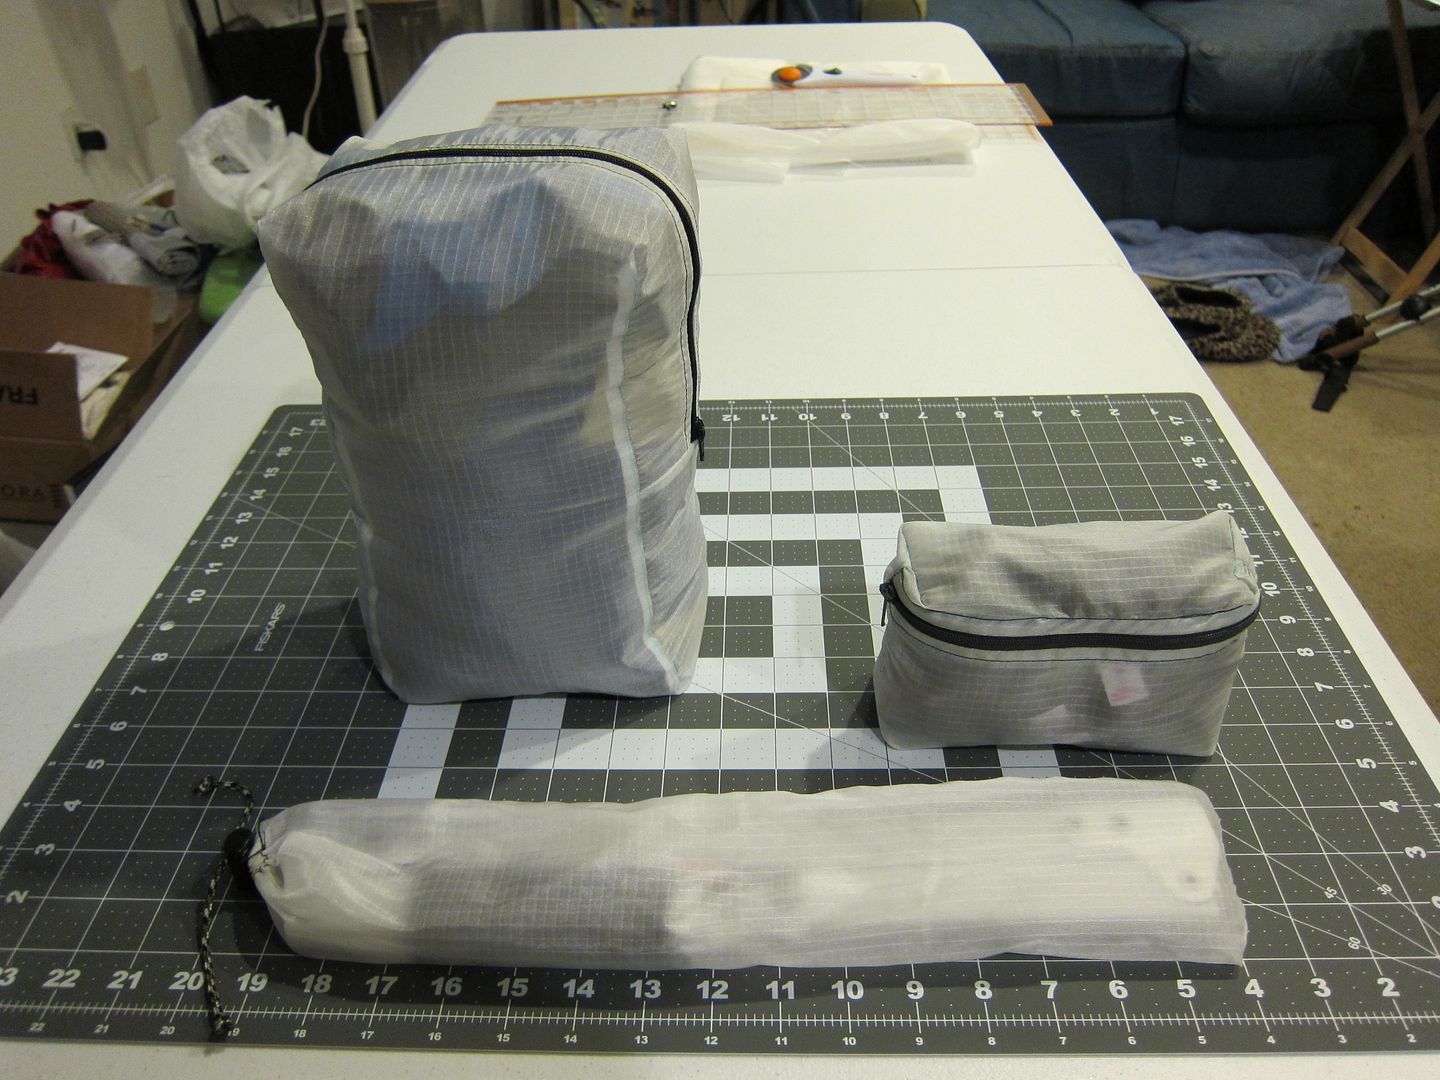
With that, here are some of that I have done so far. I have sewn everything with black thread even though the ripstop is white. Obviously you would want to match the thread to the fabric but I kind of like how it looks and it allows me to see my mistakes and learn from them. At the bottom is a little stuff pouch I made for my Sawvivor.
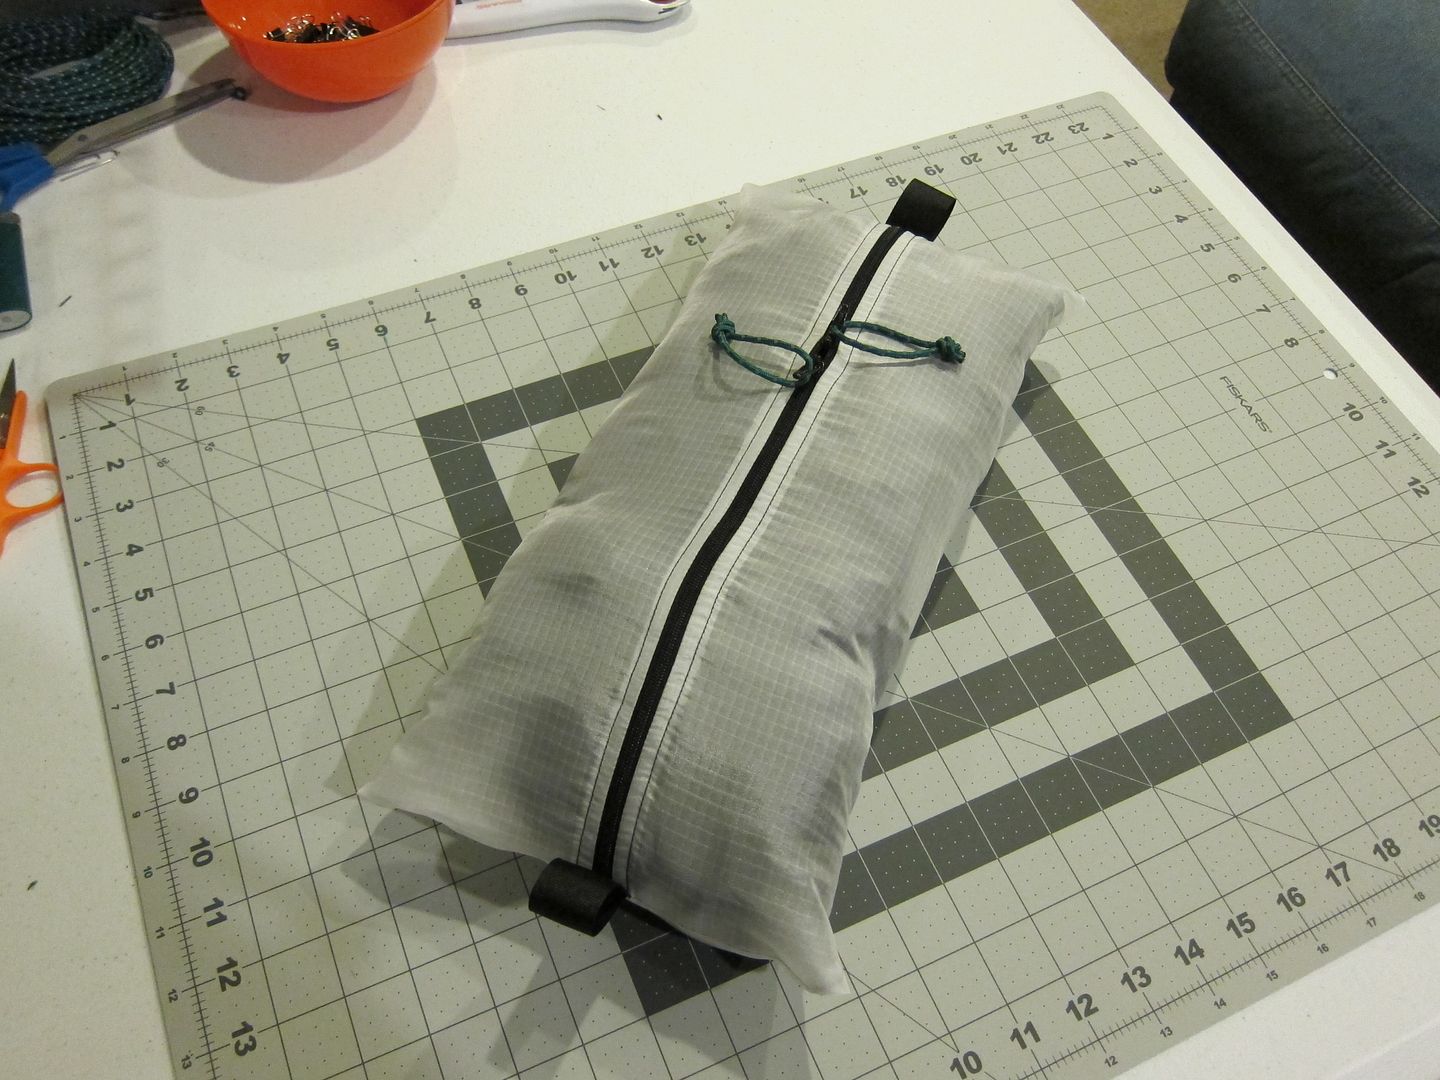
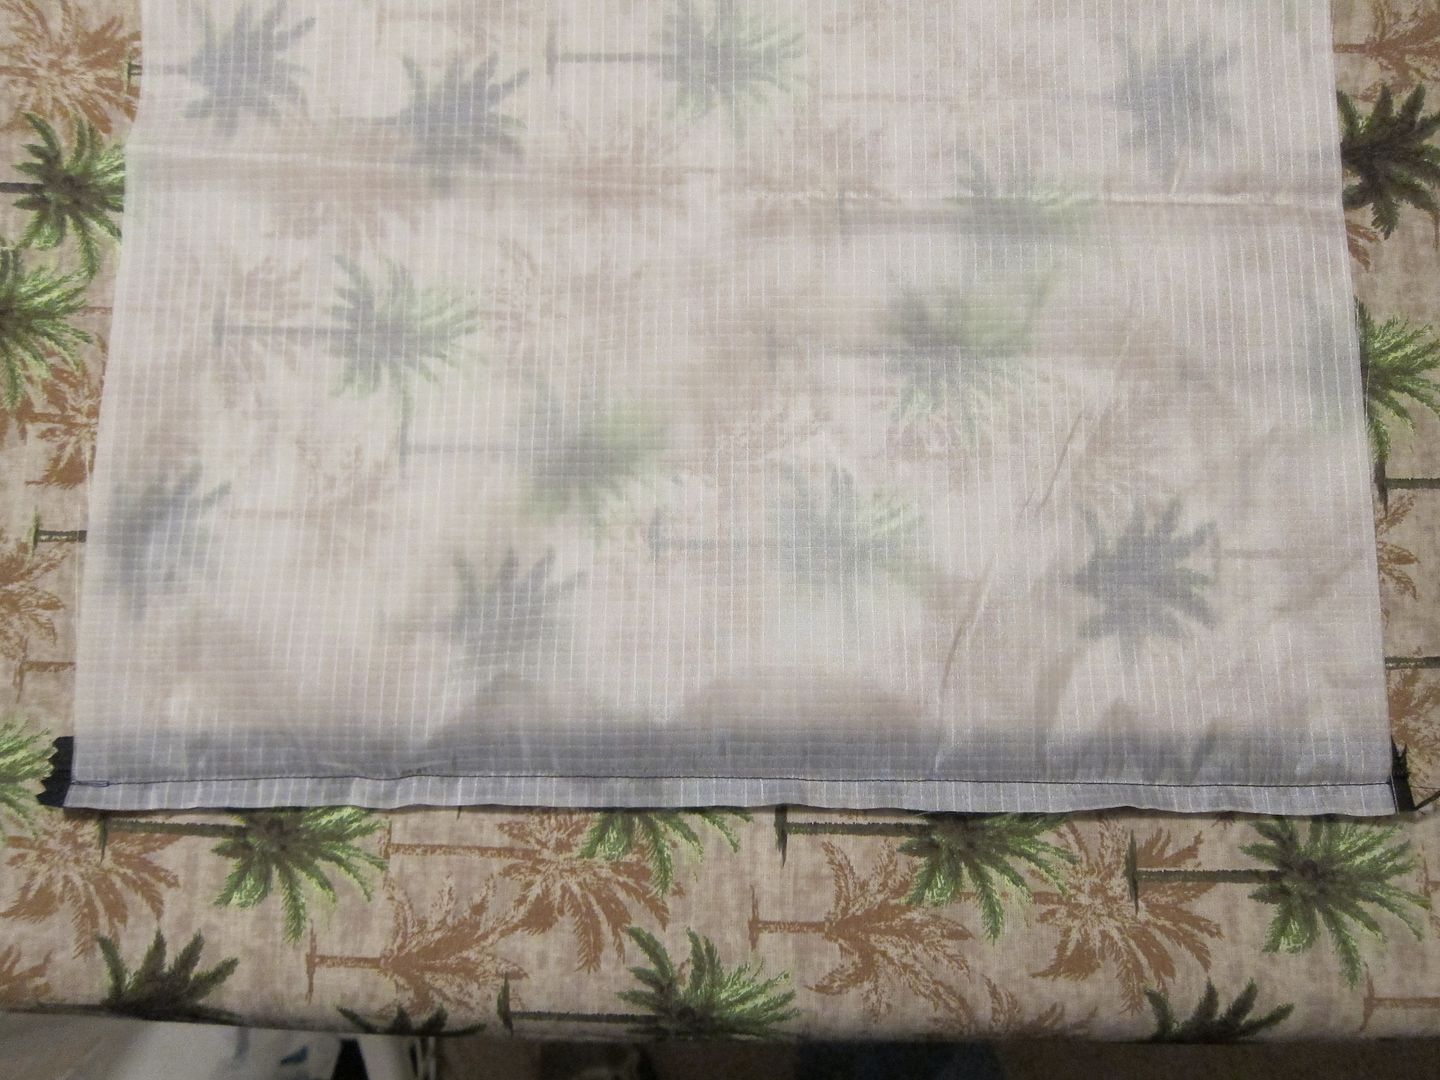
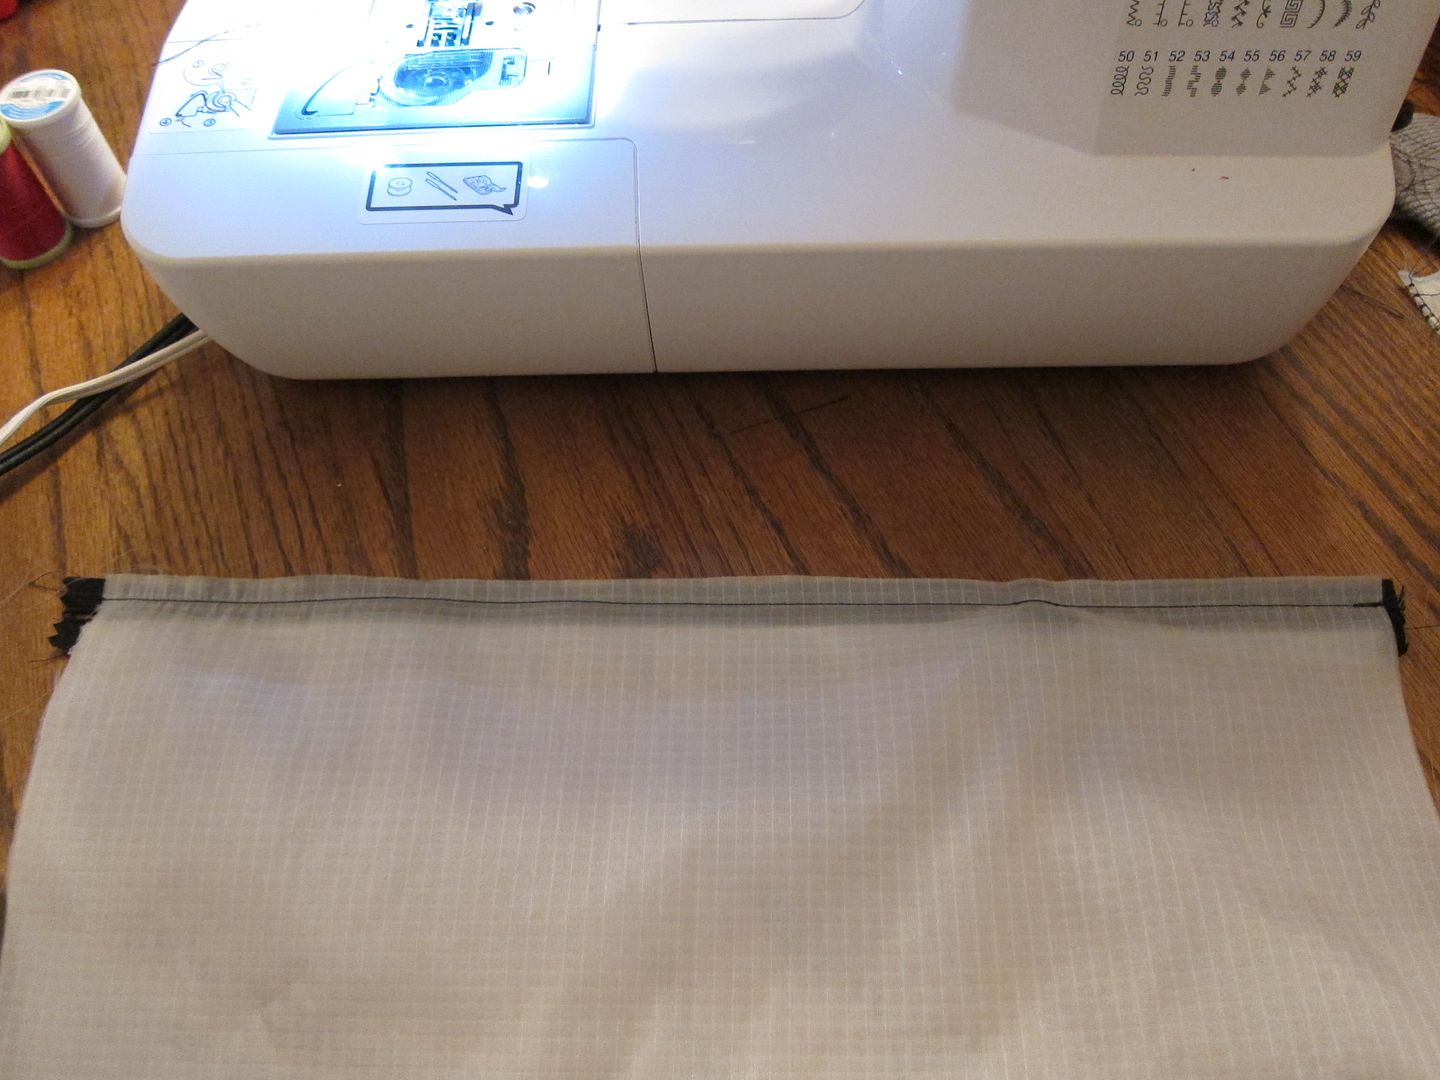
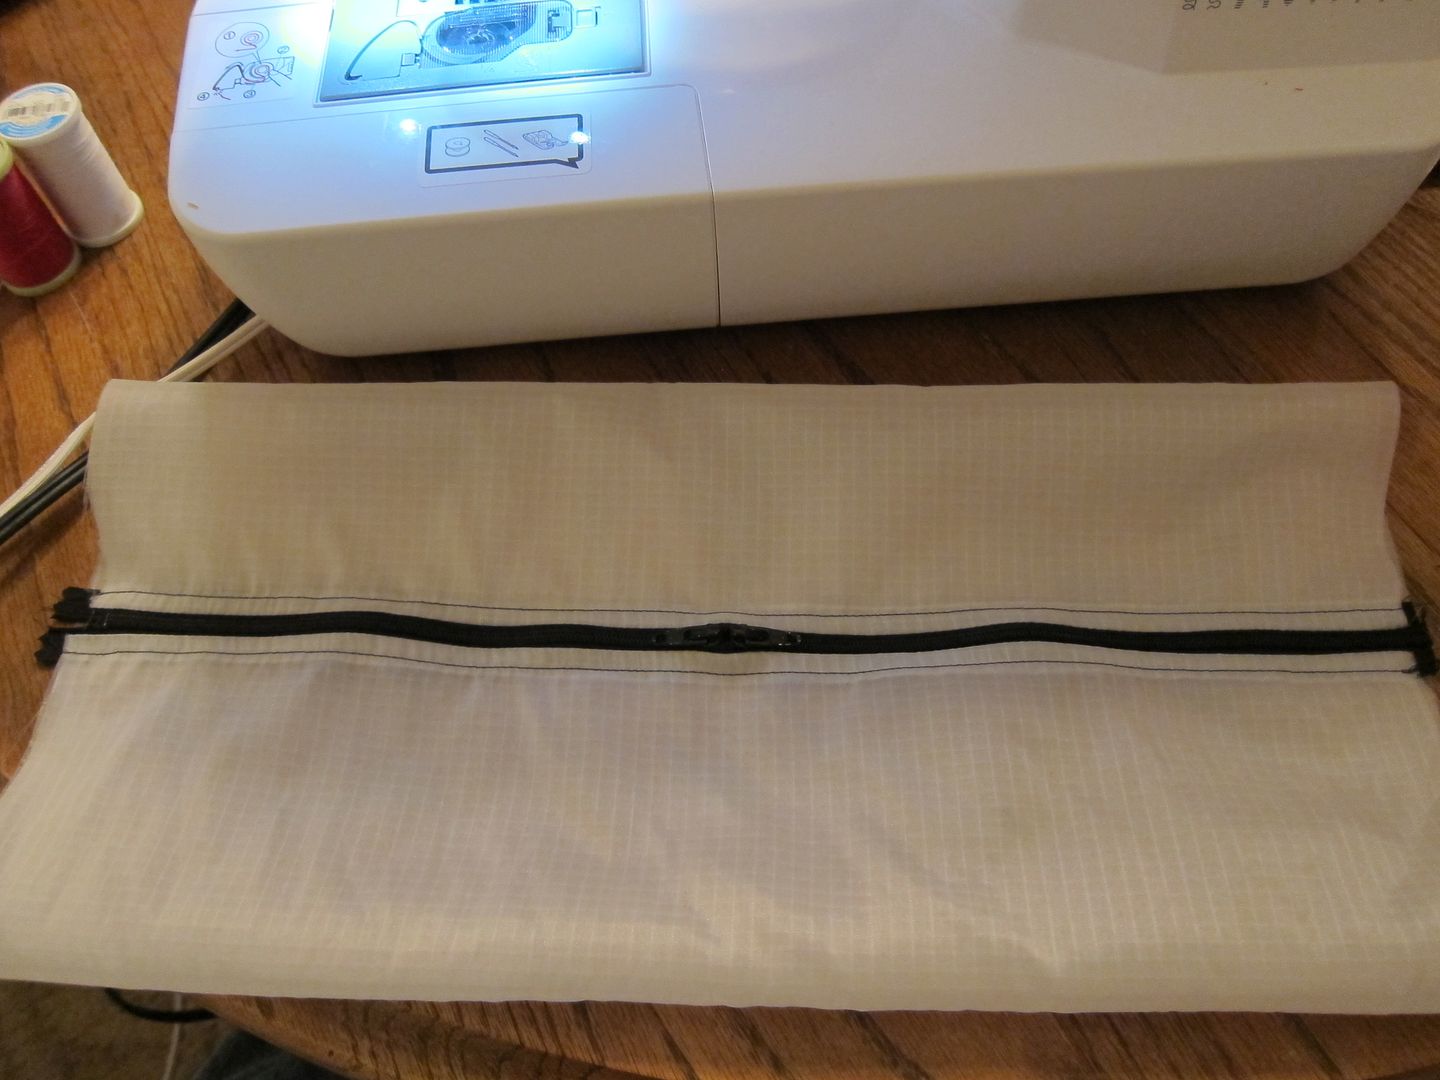
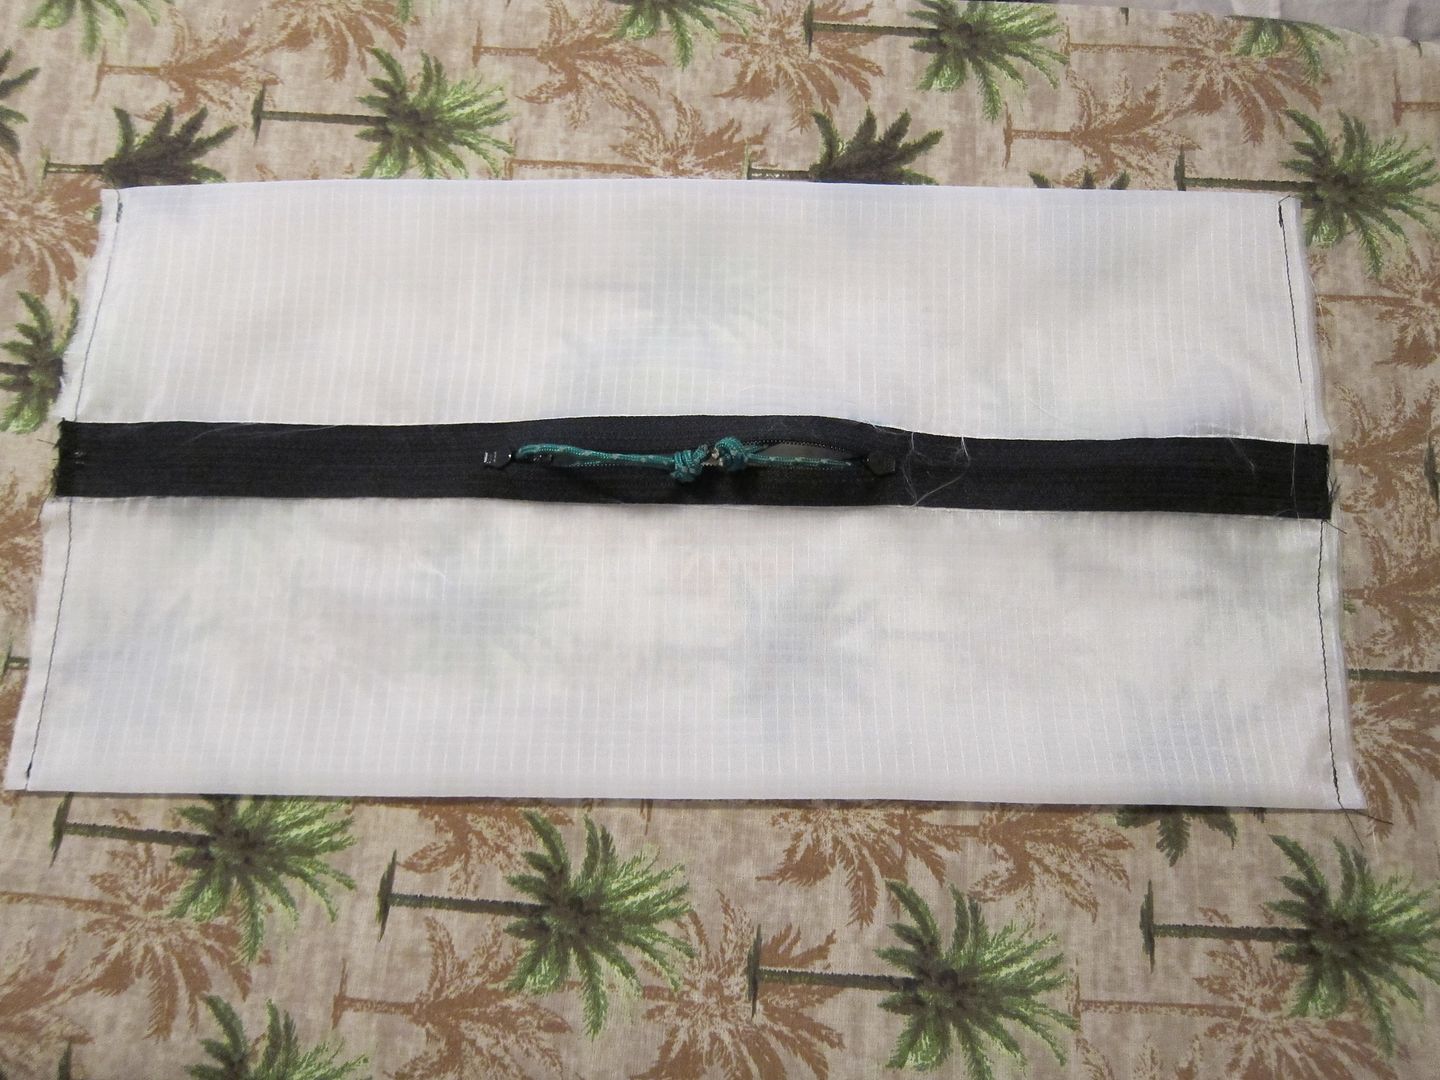
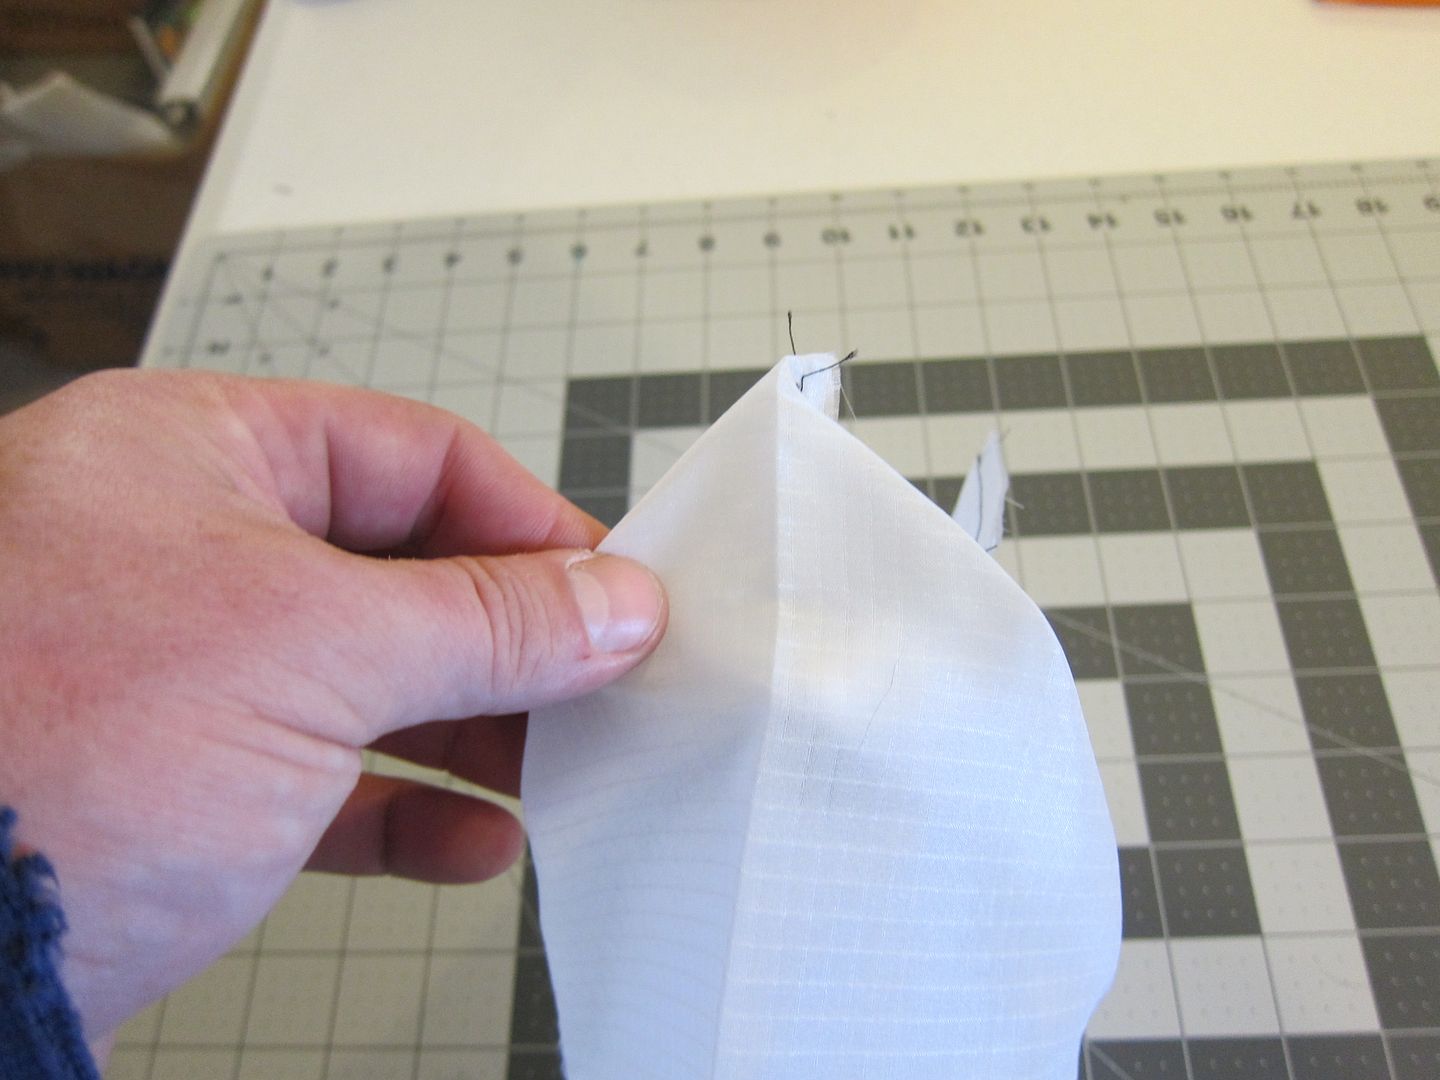
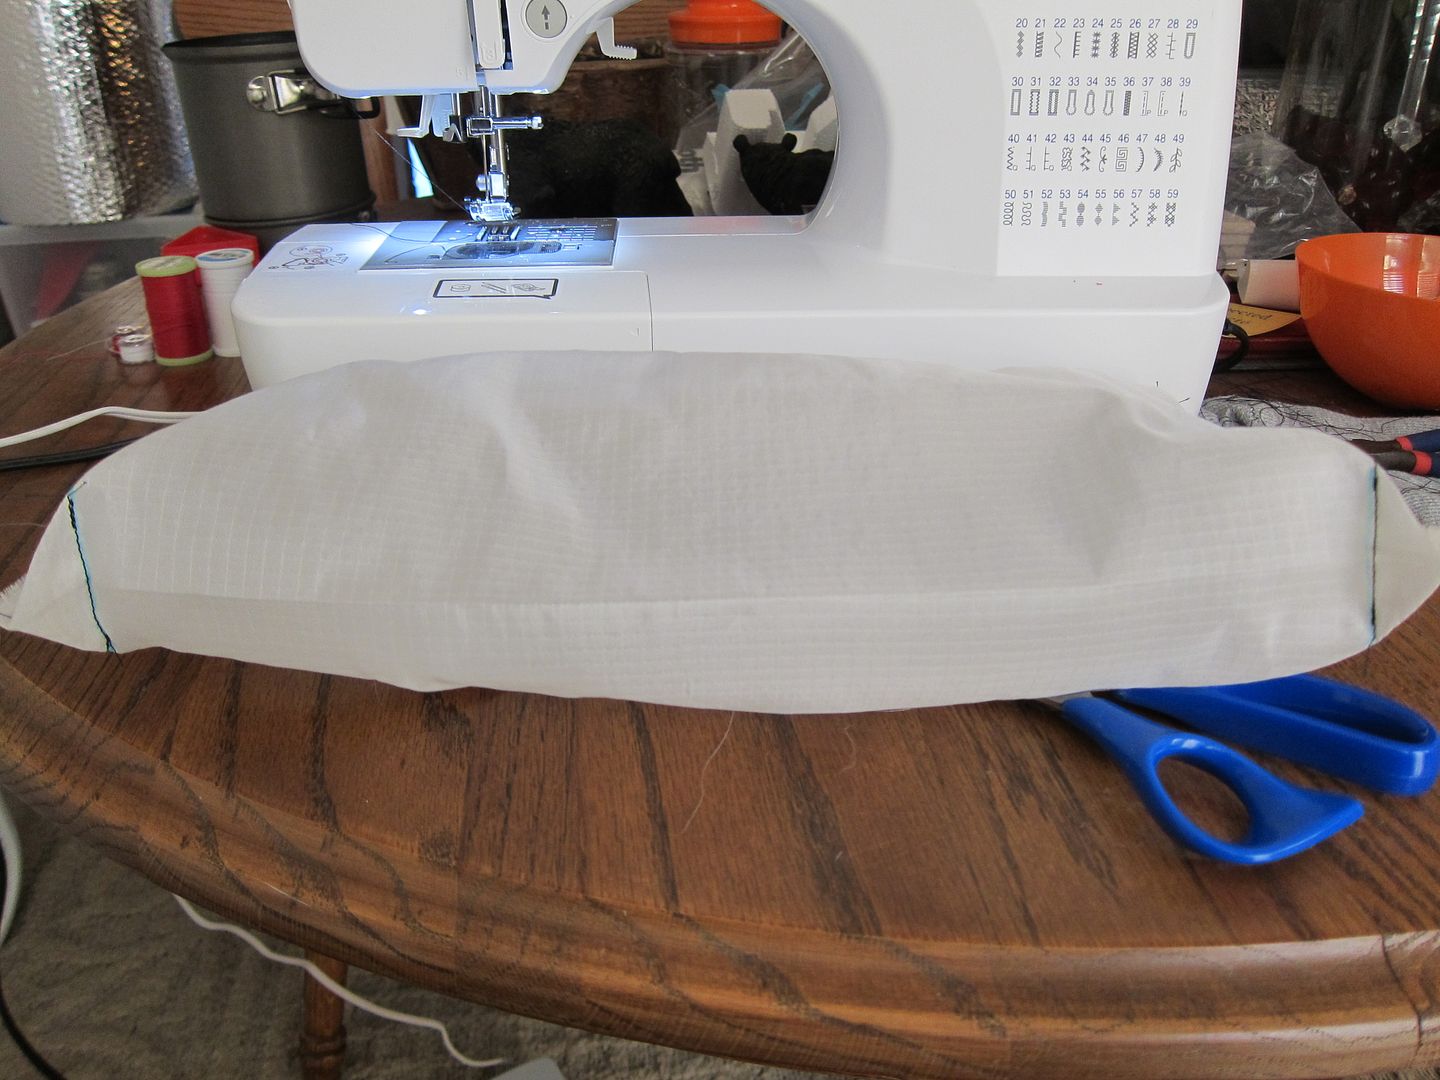
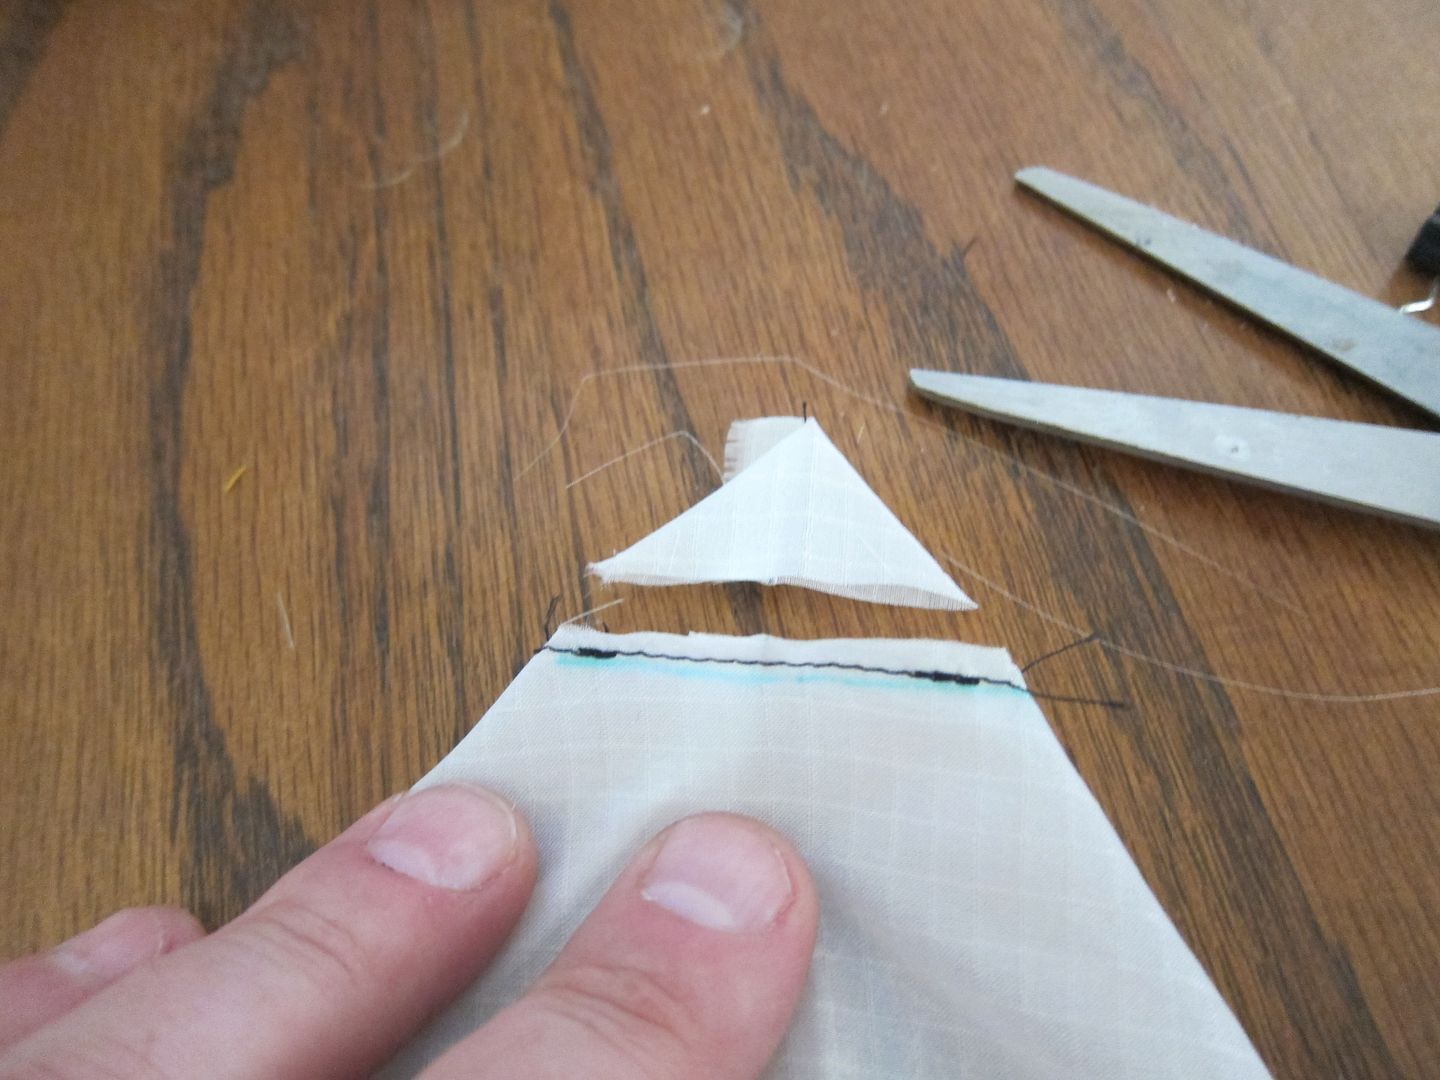
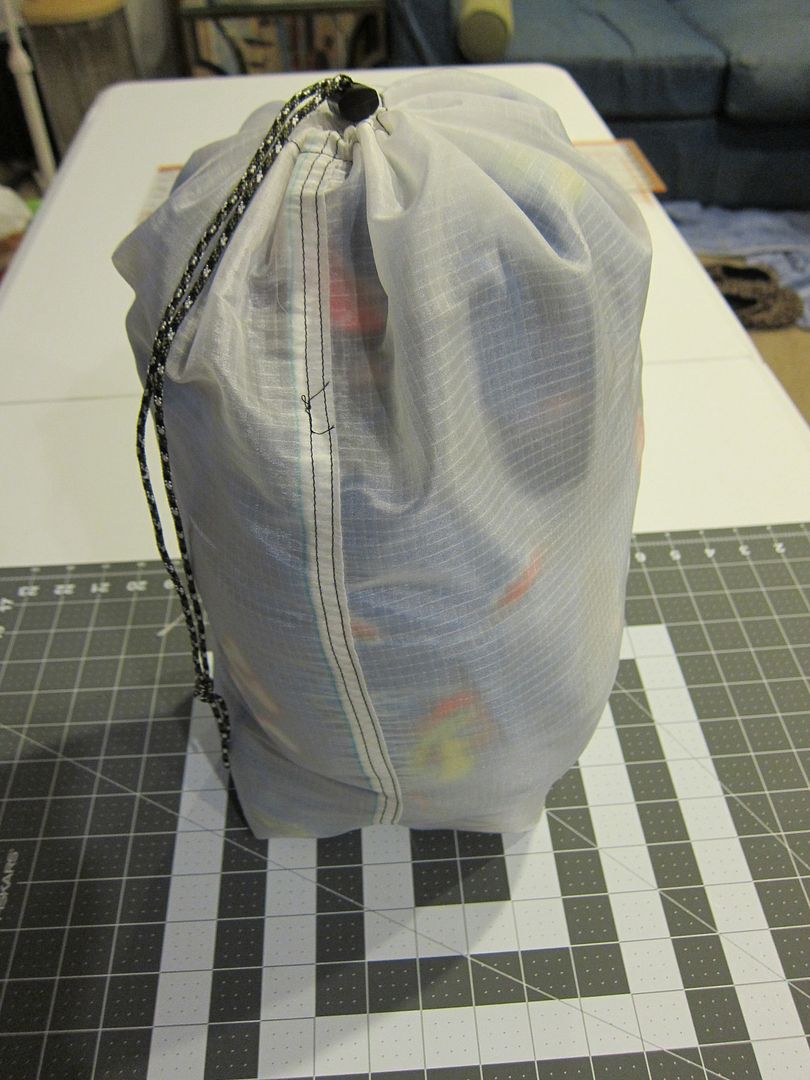
Here is the large stuff sack. You can see a little oops in the seam where I forgot to check the bobbin and ran out of thread. Stuff sacks like this are a great way to learn to do a flat felled seam which you might want to use if you wanted to make your own tarp where you need to join two large pieces of fabric. We will get to that later.
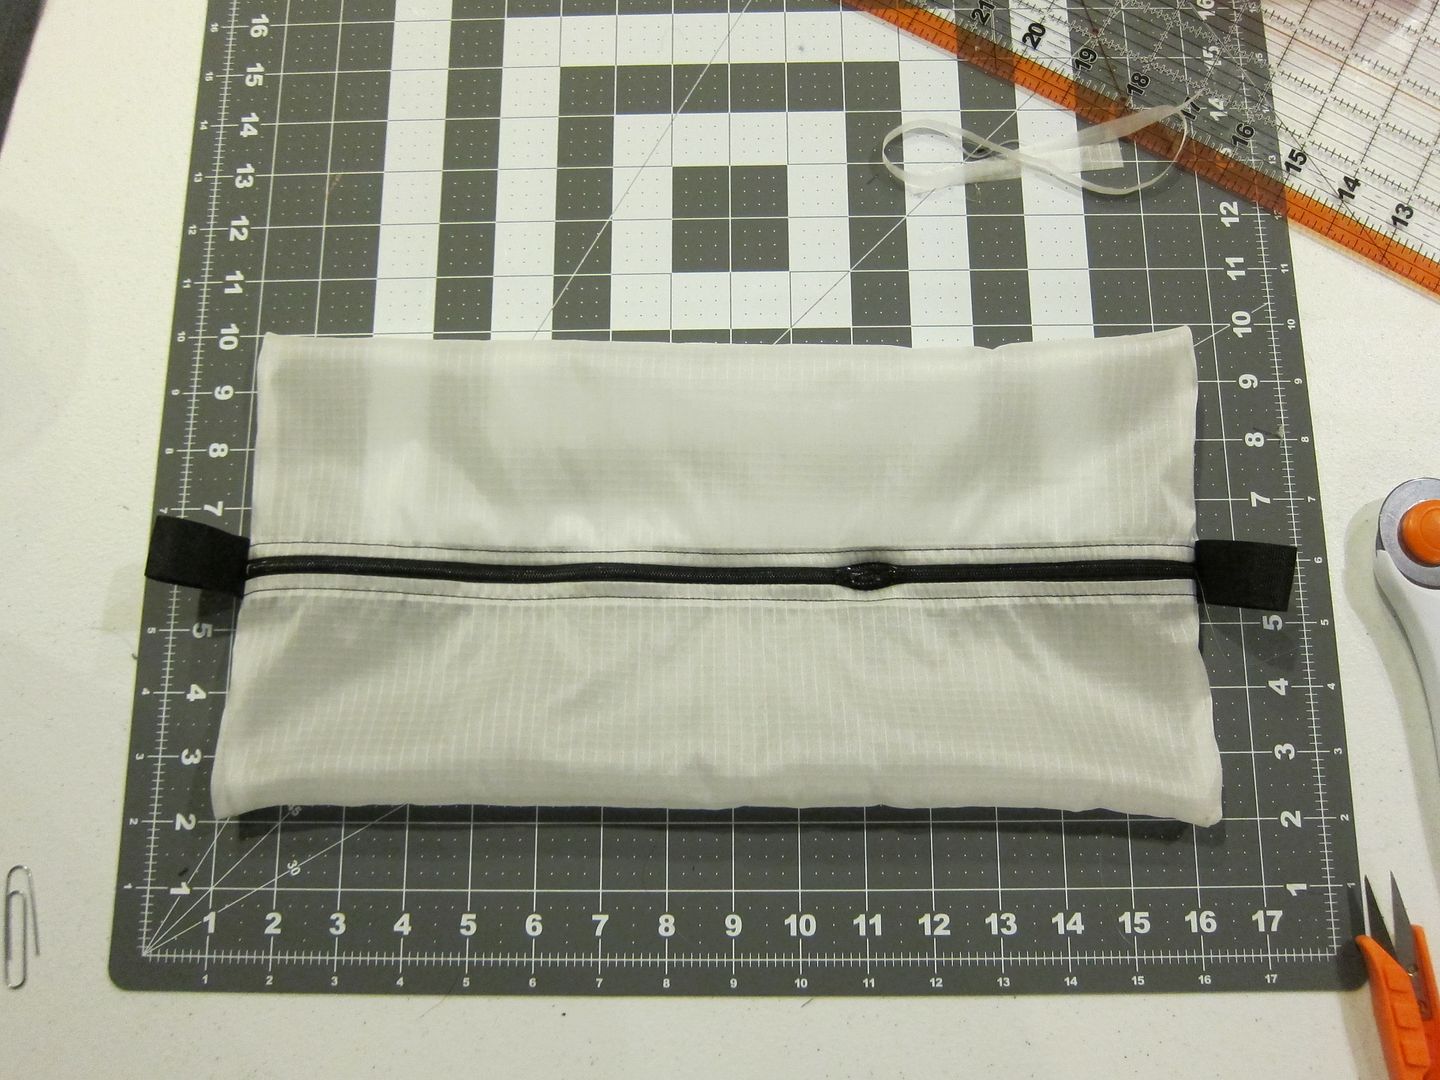
I made these today. The smaller one on the right could function similarly to a belt pouch I guess if you went further and added attachment points. The larger one is similar to a long pocket and could be cinched in or attached in a similar fashion if you chose.
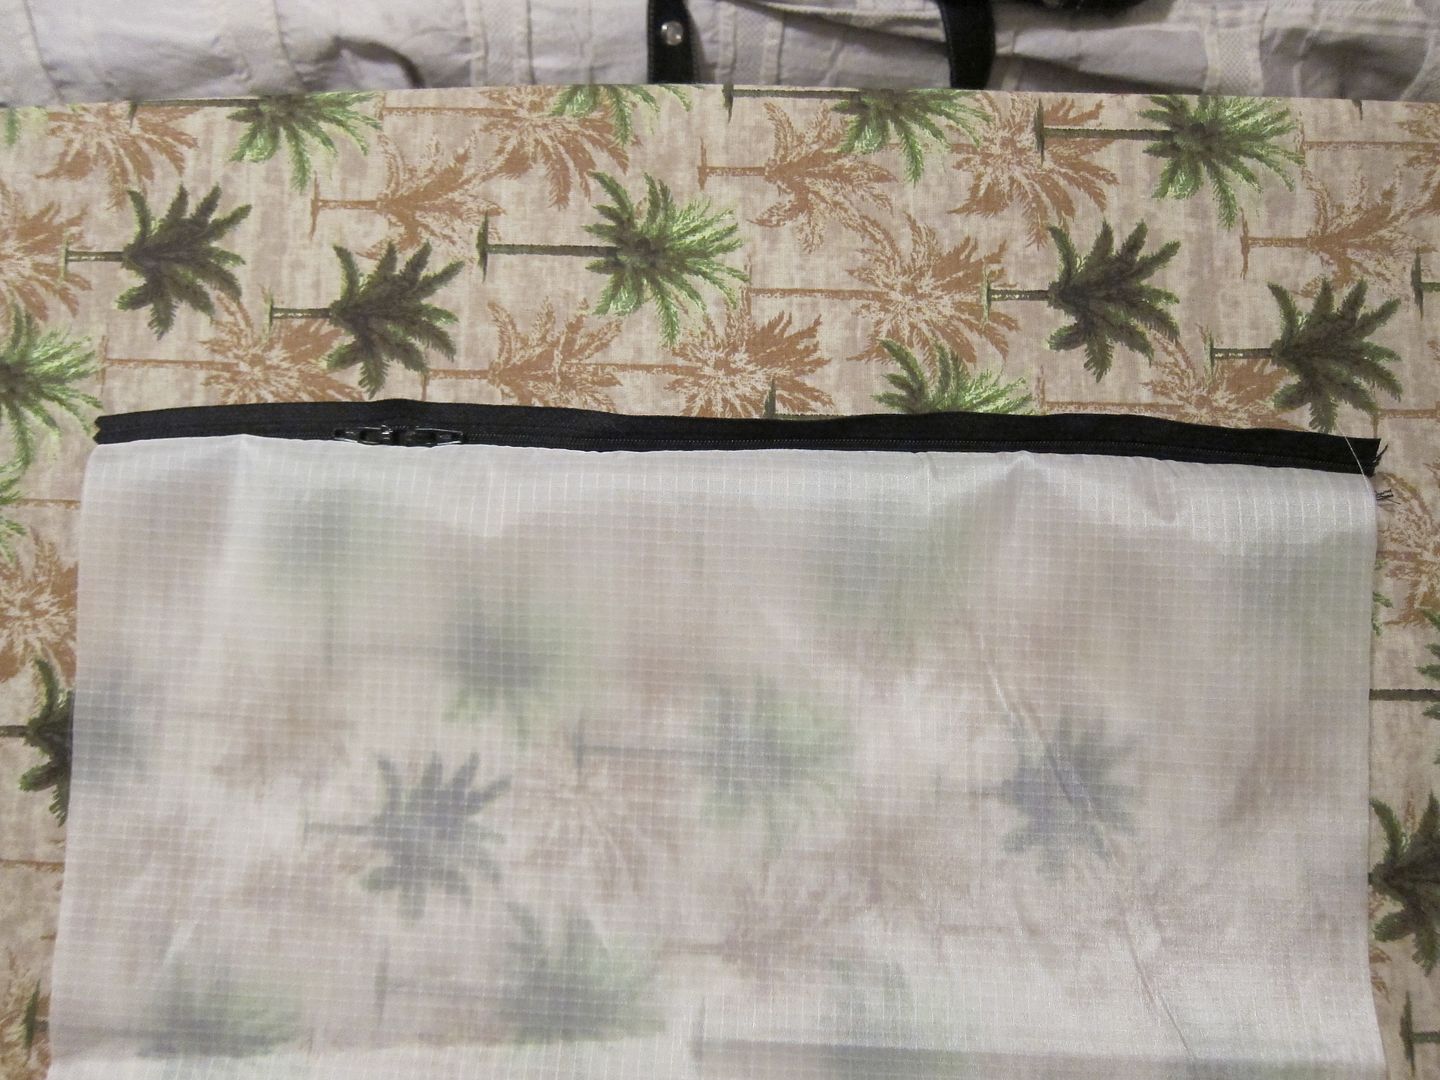
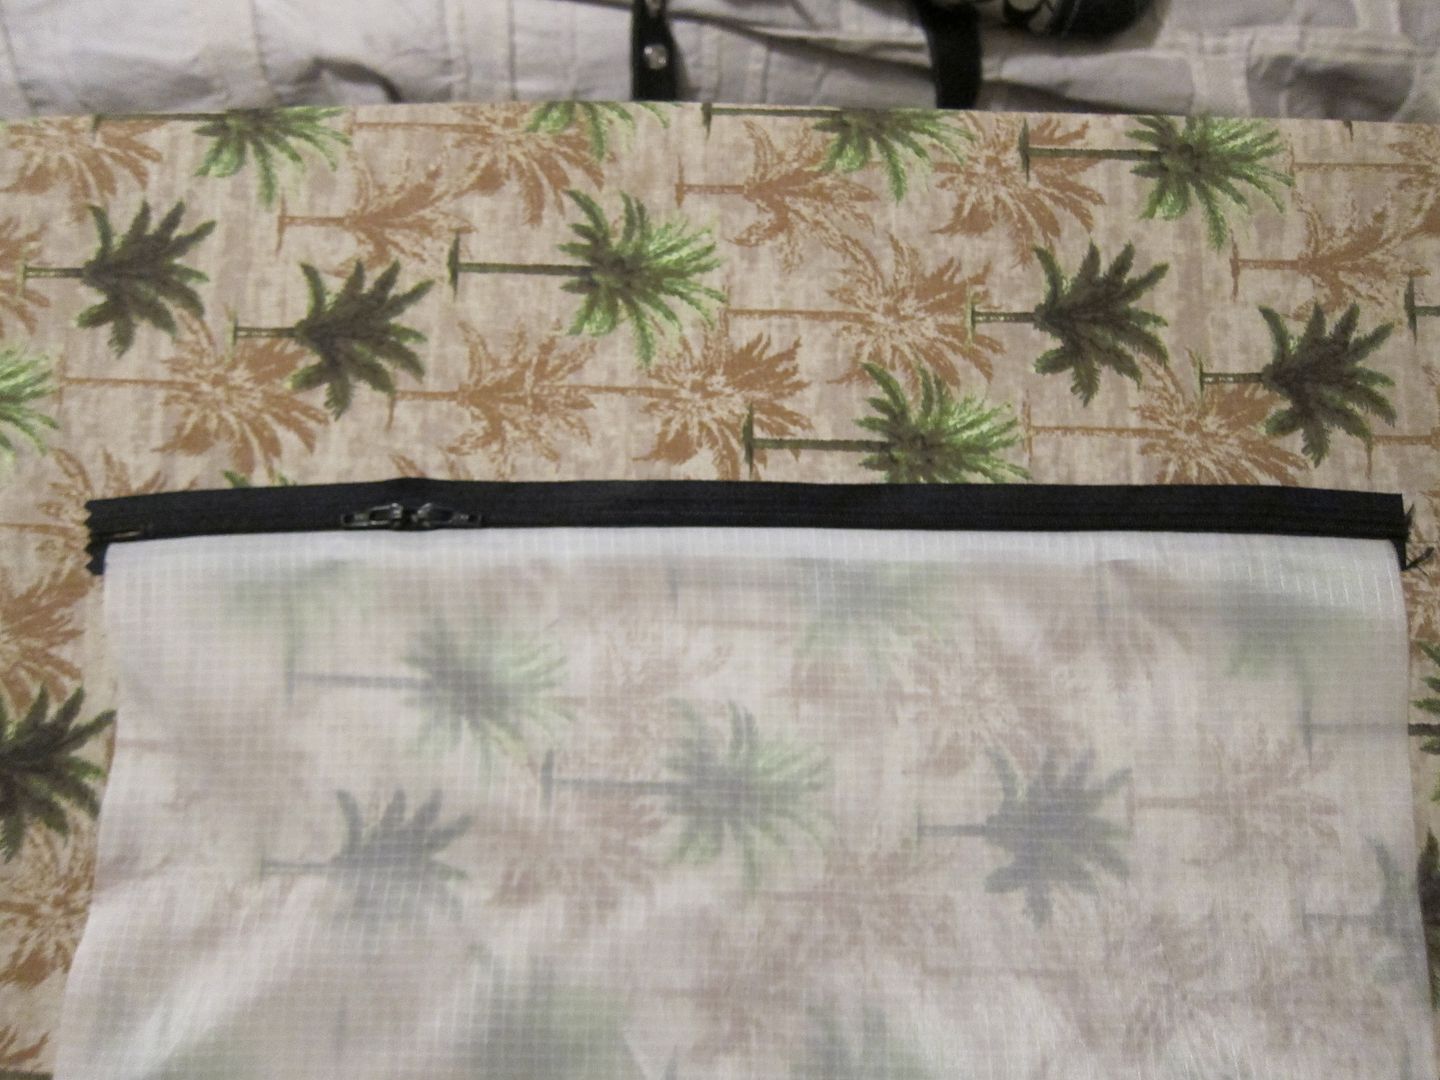
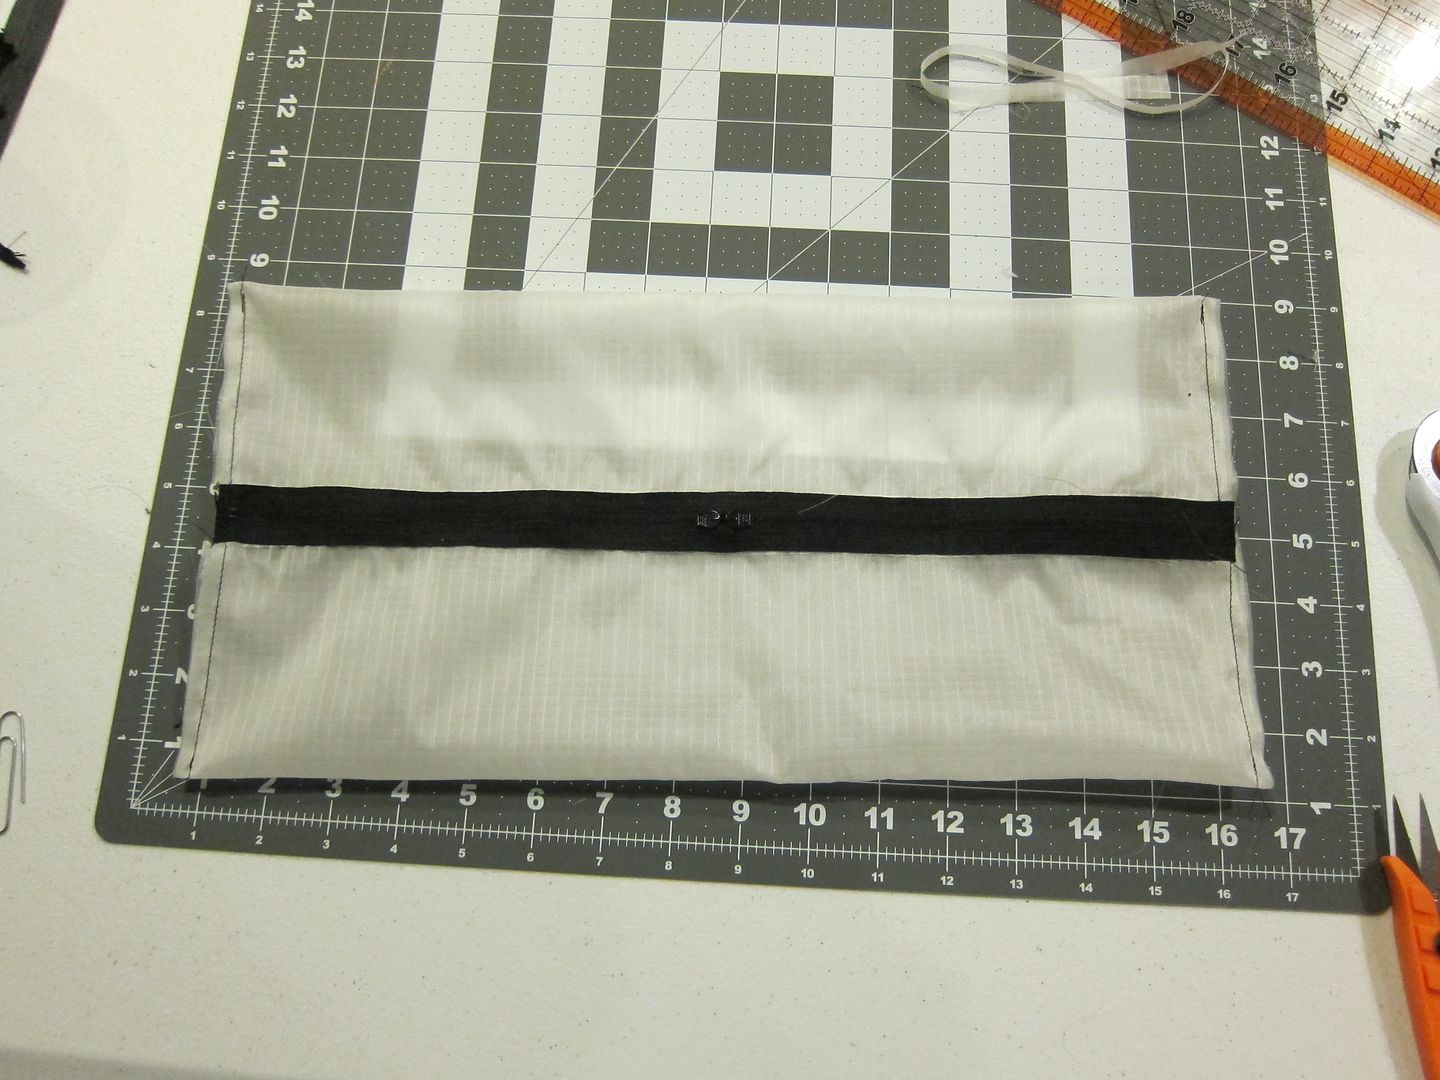
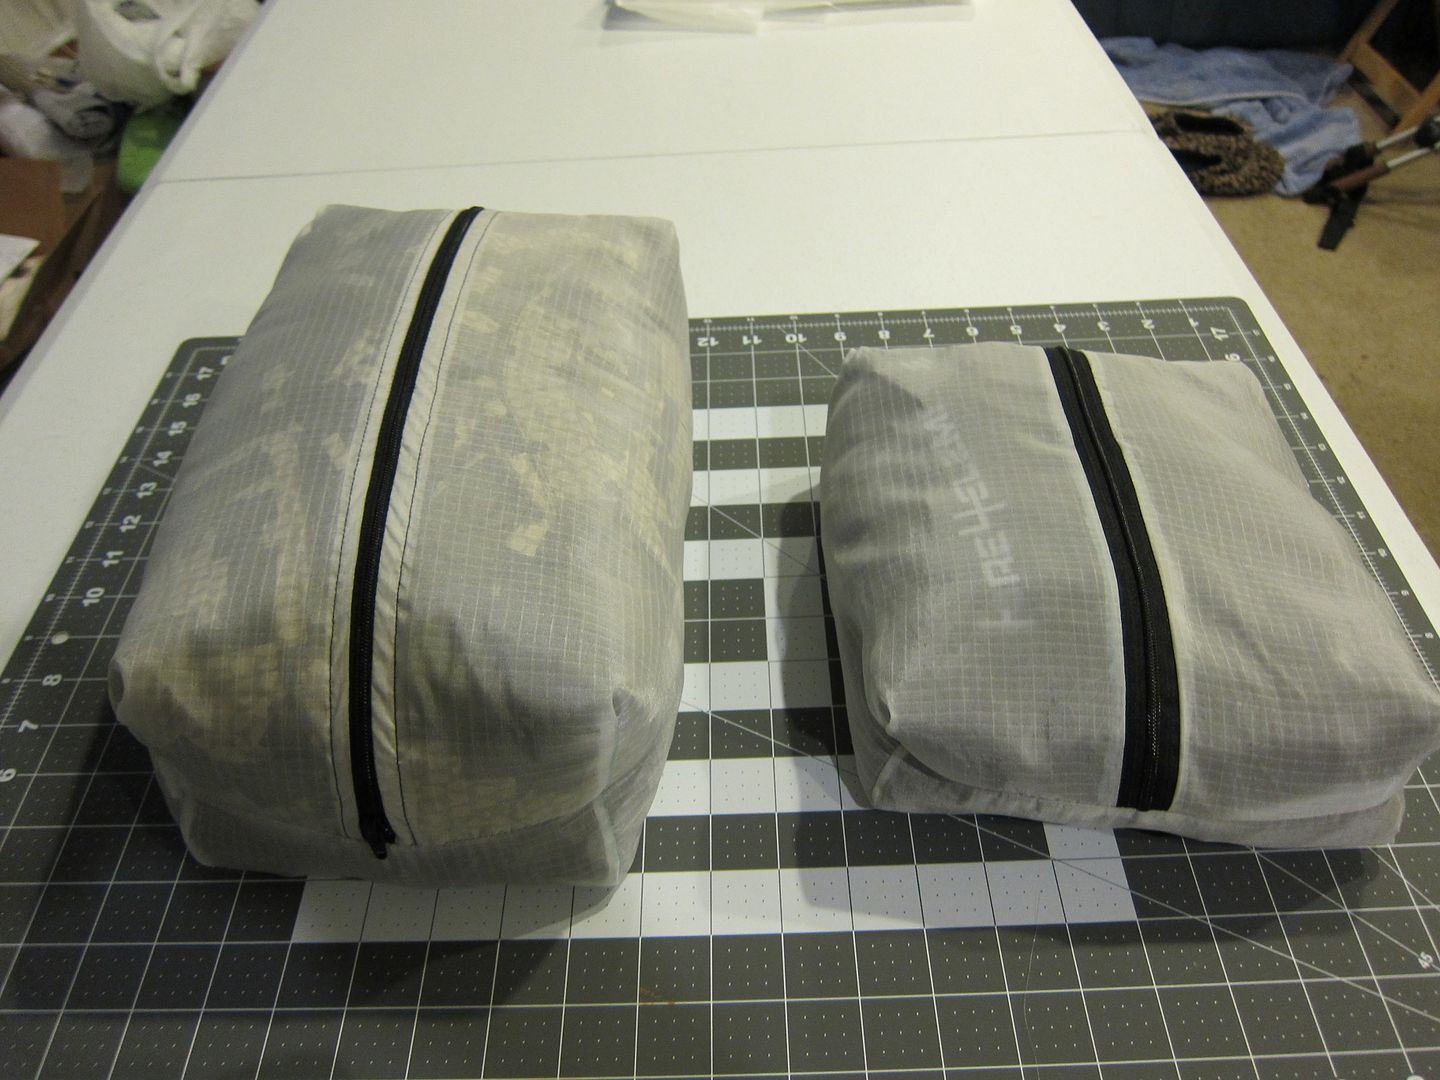
Here are two pullouts I have played with. The one on the right contains some C4E merino items including boxers, pants and at least one top. The bigger one on the left contains a SuperDown hooded jacket and some other clothes.
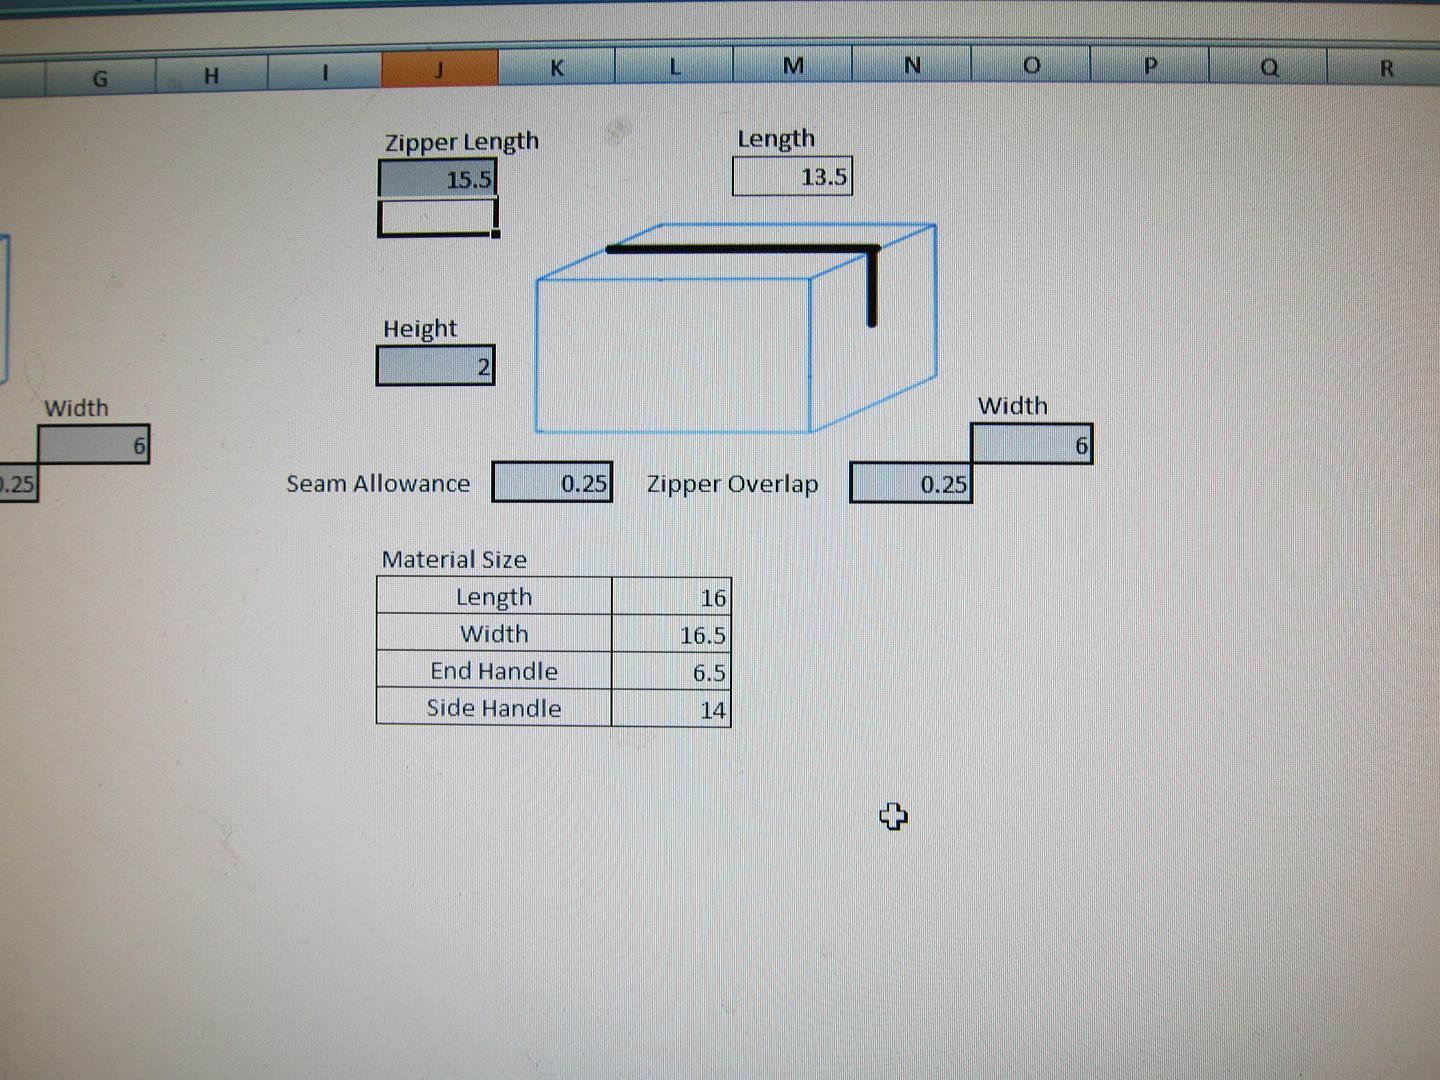
I have also made up a quick spreadsheet that will allow you to calculate sizes and material needs. The second one is handy if you are bound by the length of the zippers you have on hand. Just change the values in the gray boxes and it should provide the necessary info that you need. I will continue to update this with other items such as stuff sacks and whatever projects come up.
https://docs.google.com/spreadsheet/ccc?key=0AoZiodp_WekOdDNBYUh2SzhwNWtaa0xFTEQ1NGZkckE&usp=sharing
So there, it is started. My plan is to make some more items with the white ripstop and I will start documenting from the most simple pouch to the more complex "boxes". I have some silnylon 2nds on order so we will progress into the silnylon once there are a few lessons up with the ripstop which is easier to see. Trust me though, anyone out there can do this if you want.
So, bring on the comments and requests and I will do my best to get this moving in a timely fashion.
UPDATES
Below are links to posts in this thread with some updates that may be helpful.
http://www.rokslide.com/forums/show...es-and-pockets&p=235648&viewfull=1#post235648
First let me say that these are the first things I have ever sewn, ever. I tend to pick things up quickly and I am good at working with spacial concepts so that has helped but by no means am I an expert and the instructions I can provide will result in a serviceable product but in no way will they be close to retail products that you can get from many of the great supporters of this site. My biggest motivation for doing this was that I wanted the ability to have custom sizes and features that I just couldn't get from sellers out there.
So, winter is on it's way and I have a couple trips planned next year that I am starting to gear up for. Part of the plan is to get a new pack and I wanted a way to have pullouts that were measured to fit closely to the pack's dimensions to reduce wasted space. I know this isn't the biggest deal but I really like being organized and if I was going to go the route of pullouts, it only made sense.
Now let's start at the beginning. I recently purchased a sewing machine for my girlfriend because she wanted to learn to sew. Guys, with the holidays coming up, this is a great tactic to not only knock out a nice gift but also gain a tool you can use as well
Basic materials
To start off my adventure I started by hitting up local Walmarts. Doing some reading at hammock forums and DIY sites, it appears that Walmart at times carries what some claim is silnylon for dirt cheap, like $1.50/yd. I was not lucky enough to find any silnylon but I did find some ripstop in white for $1.50/yd so I picked up 3 yards. I am kicking myself for not buying it all because I went back for more and it was gone. I have not been able to find anymore yet in my area. Below is a link where you can enter your zip code and you will get a list of stores that carry fabric. From what I have read and seen, it is almost always in the Clearance section and the bolts do not actually say what the material is and just list it as generic fabric. It also seems that very few of the employees know what it is so calling around is usually pointless.
http://instoresnow.walmart.com/Event-Detail.aspx?txtEventId=1472
If you cannot find any at your walmarts then I would suggest at least trying to find a similar material that is cheap to practice with. If you want to actually work with silnylon or regular ripstop then I will update this thread with some fabric sources. Hopefully others can chime in as well with some of their sources so we can compile a solid list for people to use.
Next up would be some zippers. I purchased some via Amazon that came from ZipperStop. The bundle deal through Amazon was very cheap and they combined shipping so I ended up with 22 zippers (8" & 14" lengths) for like $10 shipped. The 14" is what I use the most for what I have done so far. You can always cut them down so I would suggest getting plenty of length. So far, everything I have done uses #3 YKK single-pull zippers which work fine. Below is a link to the 14" zippers I got. I would suggest buying quite a few as you will probably go through them quickly.
http://www.amazon.com/gp/product/B005MDYAQK/ref=oh_details_o02_s00_i00?ie=UTF8&psc=1
Once you have a sewing machine, fabric, zippers and thread, you are ready to go. For thread, I just picked up some 100% polyester thread from JoAnn Fabrics. It seems to work well and that is what was recommended on the DIY and hammock sites.
With that, here are some of that I have done so far. I have sewn everything with black thread even though the ripstop is white. Obviously you would want to match the thread to the fabric but I kind of like how it looks and it allows me to see my mistakes and learn from them. At the bottom is a little stuff pouch I made for my Sawvivor.

Here is the large stuff sack. You can see a little oops in the seam where I forgot to check the bobbin and ran out of thread. Stuff sacks like this are a great way to learn to do a flat felled seam which you might want to use if you wanted to make your own tarp where you need to join two large pieces of fabric. We will get to that later.

I made these today. The smaller one on the right could function similarly to a belt pouch I guess if you went further and added attachment points. The larger one is similar to a long pocket and could be cinched in or attached in a similar fashion if you chose.

Here are two pullouts I have played with. The one on the right contains some C4E merino items including boxers, pants and at least one top. The bigger one on the left contains a SuperDown hooded jacket and some other clothes.

I have also made up a quick spreadsheet that will allow you to calculate sizes and material needs. The second one is handy if you are bound by the length of the zippers you have on hand. Just change the values in the gray boxes and it should provide the necessary info that you need. I will continue to update this with other items such as stuff sacks and whatever projects come up.
https://docs.google.com/spreadsheet/ccc?key=0AoZiodp_WekOdDNBYUh2SzhwNWtaa0xFTEQ1NGZkckE&usp=sharing
So there, it is started. My plan is to make some more items with the white ripstop and I will start documenting from the most simple pouch to the more complex "boxes". I have some silnylon 2nds on order so we will progress into the silnylon once there are a few lessons up with the ripstop which is easier to see. Trust me though, anyone out there can do this if you want.
So, bring on the comments and requests and I will do my best to get this moving in a timely fashion.
UPDATES
Below are links to posts in this thread with some updates that may be helpful.
http://www.rokslide.com/forums/show...es-and-pockets&p=235648&viewfull=1#post235648
Last edited:

