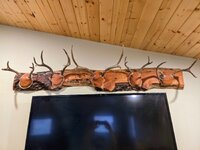
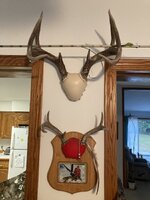
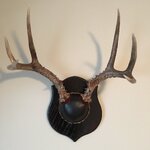
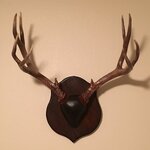
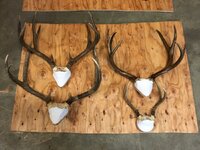
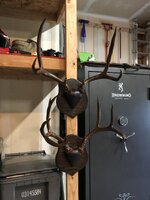
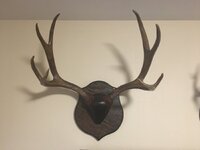
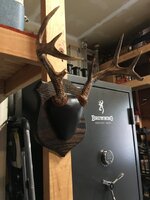
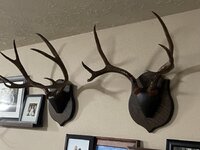
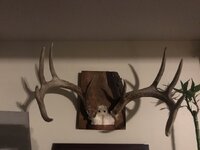
I've done a bunch of these throughout the years mainly for friends who would not have done anything for their trophies. I cut out the plaques on a scroll saw and then router the edges, sand, stain, and then seal them with polyurethane.
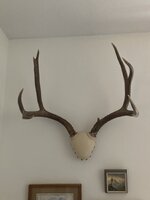
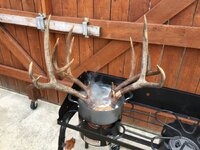
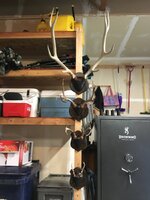
Cut the skull plate to best display the antlers and then boil them with Dawn. I then cut a 1" thick piece of wood to go under the antlers. Screw the antlers down and mold the skull with paper mache to the desired shape.
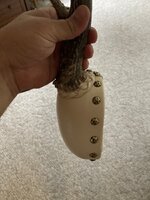
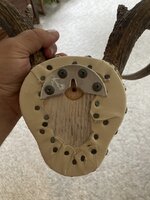
Then I stretch leather across the skull and carefully tuck it under the antler burr. I use contact cement to hold the leather in place and small staples on the underside. Then I use two screws on the backside of the plaque to hold it together.
The whole thing is time consuming but I'm happy with the outcome.
View attachment 607690View attachment 607691View attachment 607692View attachment 607694View attachment 607696View attachment 607697


![49238600627_45f9e26dcd_z[1].jpg](https://forumdata.rokslide.com/file/forumdata/data/attachments/579/579379-bd958641e1b56c45090b085f4661c3bc.jpg?hash=vZWGQeG1bE)