yet another DIY stove

Joined
Oct 15, 2012
Messages
321
Location
northwest montana
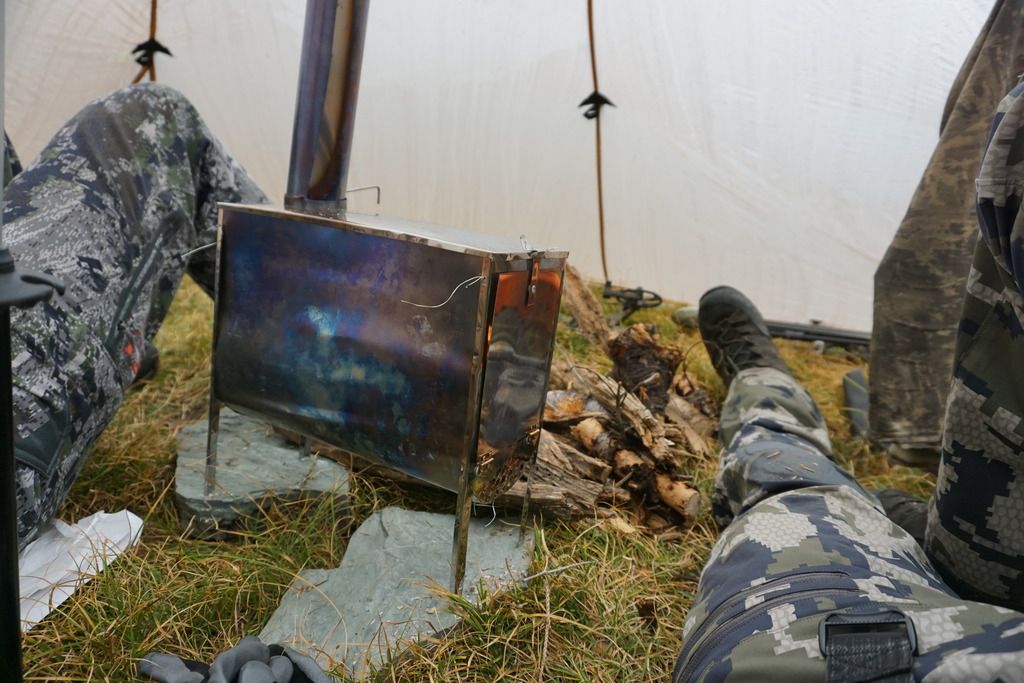
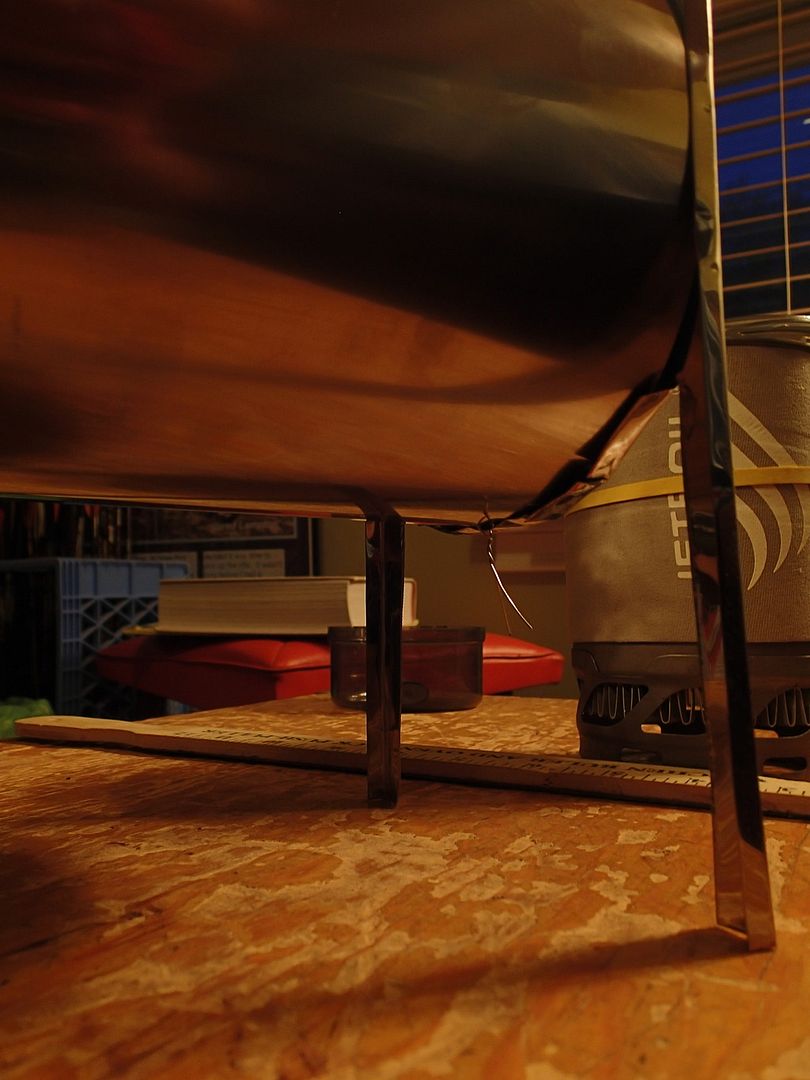
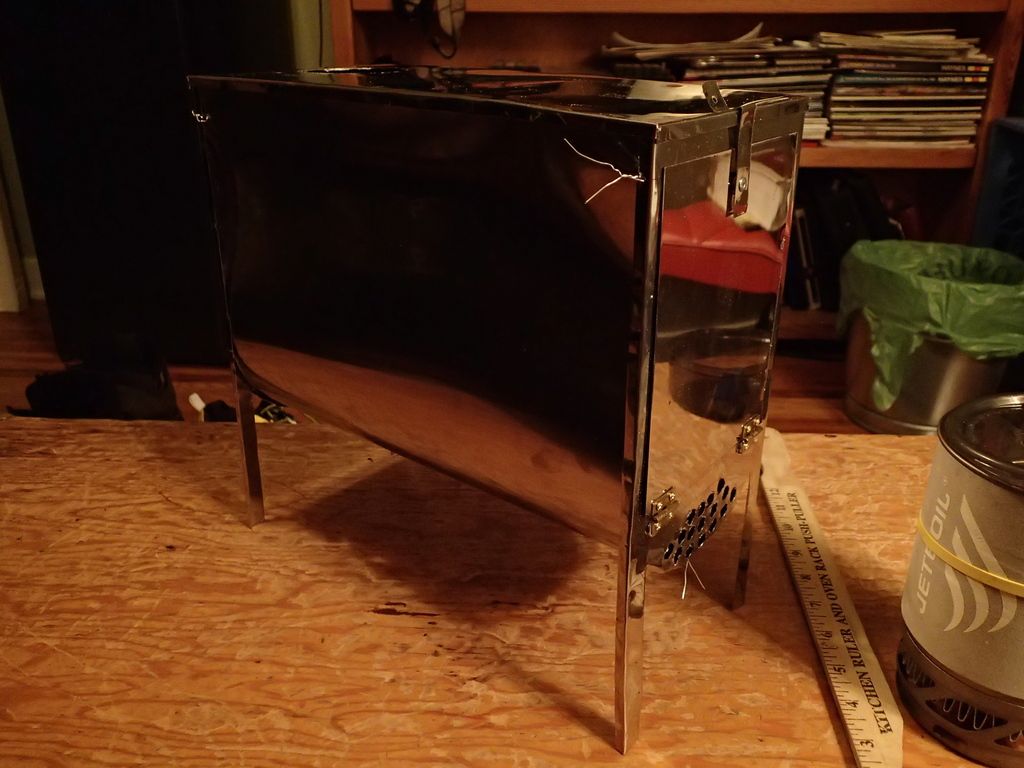
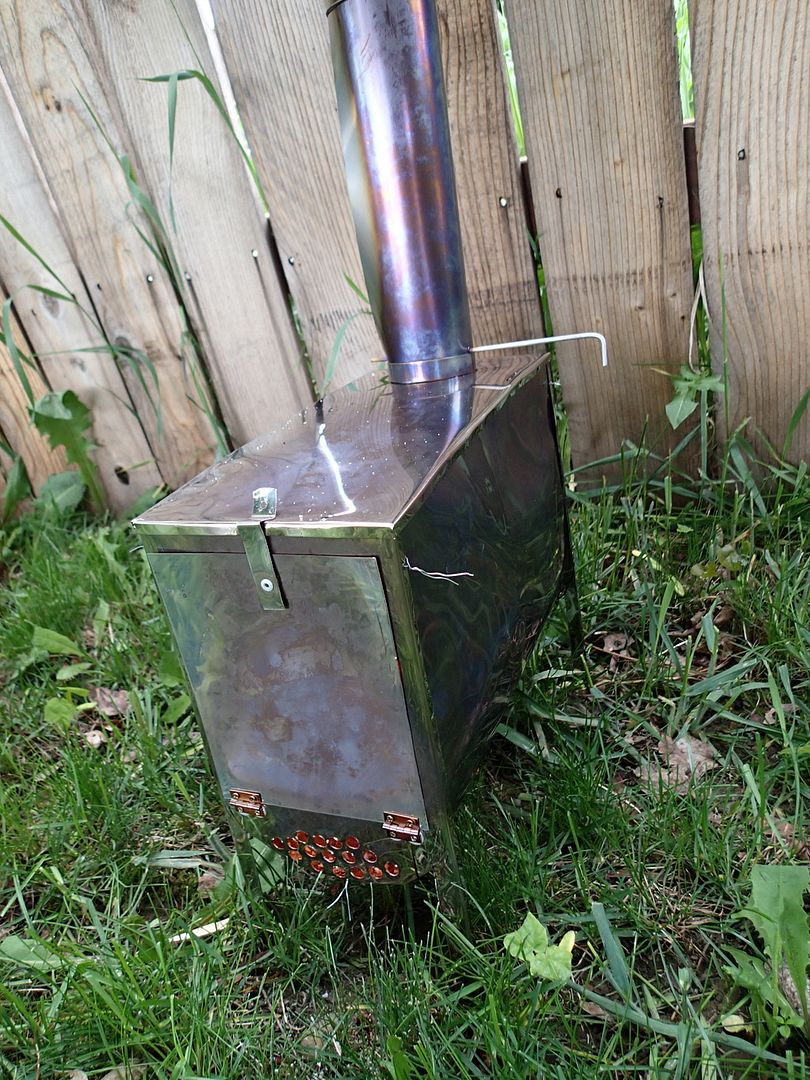
The other thread inspired me to build my own stove for my LBO but I didn't really want a cylinder or a box stove. I really liked the design of the HPG shepherd stove so I kind of copied that. I have zero experience using these lightweight stoves let alone building one but it seemed easy enough so I gave it a try. It's 11.5 inches long 8.5 inches deep and 5.5 inches wide. Weighs 1lb 9 oz including a 6 foot ti pipe. The stove body is a combination of titanium and SS. I've got about $200 into it. I can go more into the specifics if anyone is interested.


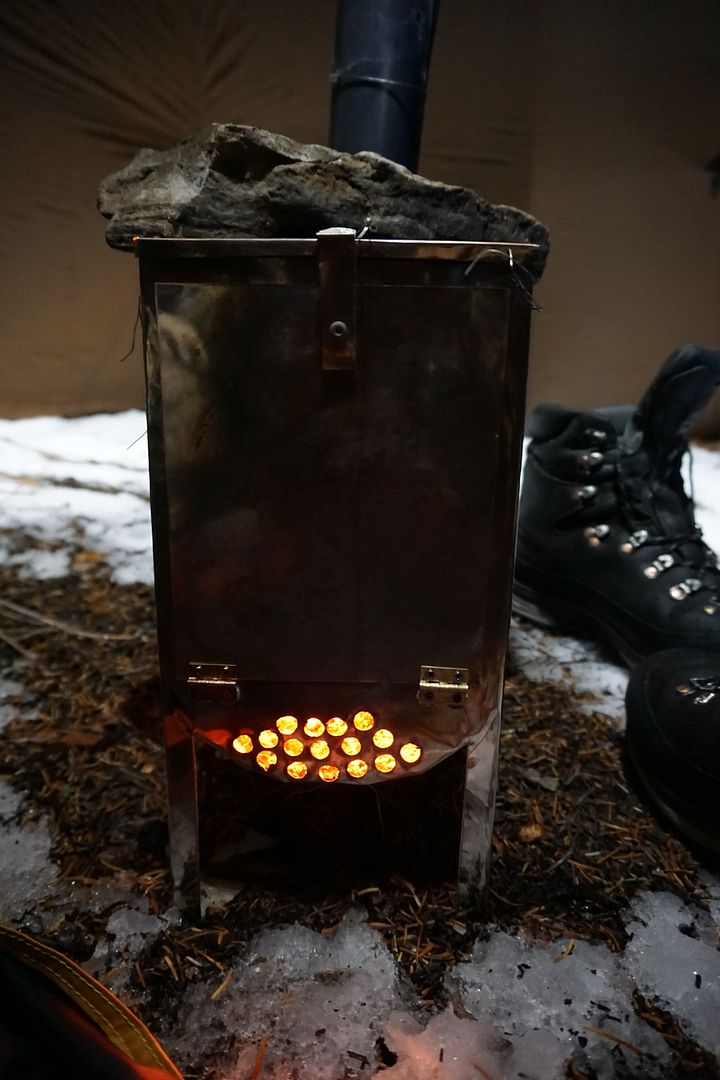
burn in


I've only burnt it once and it seemed to perform quite well. Definitely far from proven but it shows potential.
 

SHTF

WKR
Classified Approved
Joined
Feb 4, 2013
Messages
5,097
Location
Colorado
Great job man. looks like it will work really well. Id love to hear more about it. Including supply list and steps. Wouldn't mind trying one of these out myself.
 

Ironman8

WKR
Joined
Aug 15, 2013
Messages
928
Very nicely done! I'd also be interested in supply list and tools used to get the job done.

I built a wifi knockoff for my LBO that I took to Idaho in November of last year, and while it worked great, it's a little bigger and heavier than I really need.
 
OP
Jared Lampton
Joined
Oct 15, 2012
Messages
321
Location
northwest montana
Thanks guys.

I threw this together real quick so feel free to ask questions.

Materials:
Economy grade 430 stainless steel: 4, 0.012"x6"x12" sheets for the front, back and top
Ti Foil: 1, 12"X24" sheet (from Ti Goat)
6 foot, 2 3/8" pipe, rings, and damper (from Ti Goat)
1 pair of small brass hinges
stainless steel wire to hold the parts together

Tools:
sheet metal vice grips
sheet metal shears
dremel tool with a metal cutting disc
finish hammer
pliers
drill
1/16" , 3/8" drill bits
2 3/8" bi-metal hole saw
rivet punch and small steel rivets for the door latch
sharpie
ruler

Some Guidelines:
-After I decided what size I wanted it to be, the first thing I did was draw the front and back pieces to scale on paper, before drawing the cut and fold lines on the metal pieces themselves.
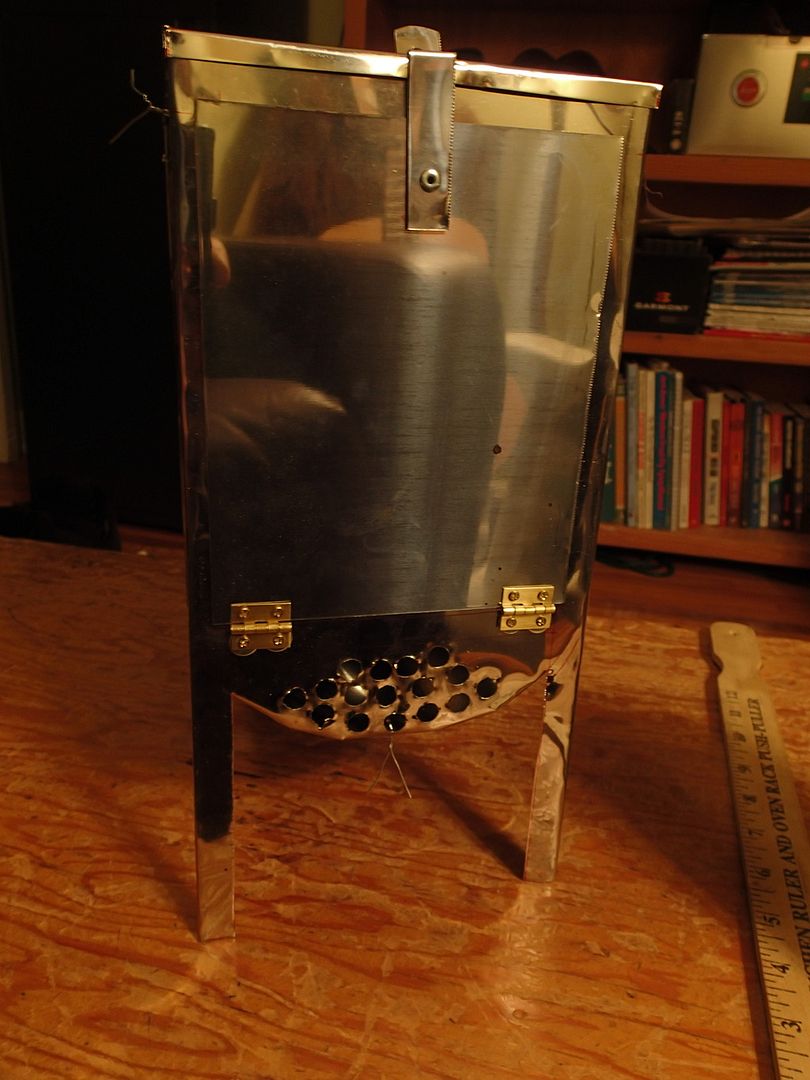
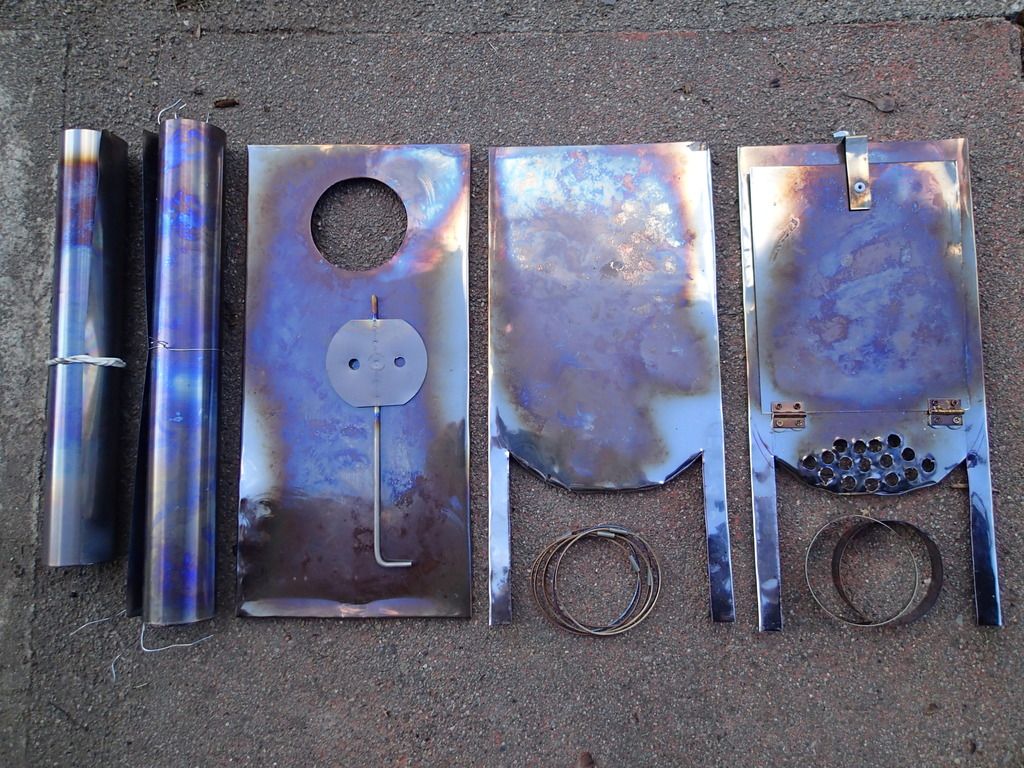
-As you can see from the pictures, the edges of the front and back pieces are folded 90 degrees on the sides and bottom to support the foil belly. That 90 degree bend also gives rigidity to the built in legs. Drawing, cutting (shears) and bending (pliers and vice grips) the end pieces is the most time consuming part of the job.
-I used a dremel to cut the hole for the door.
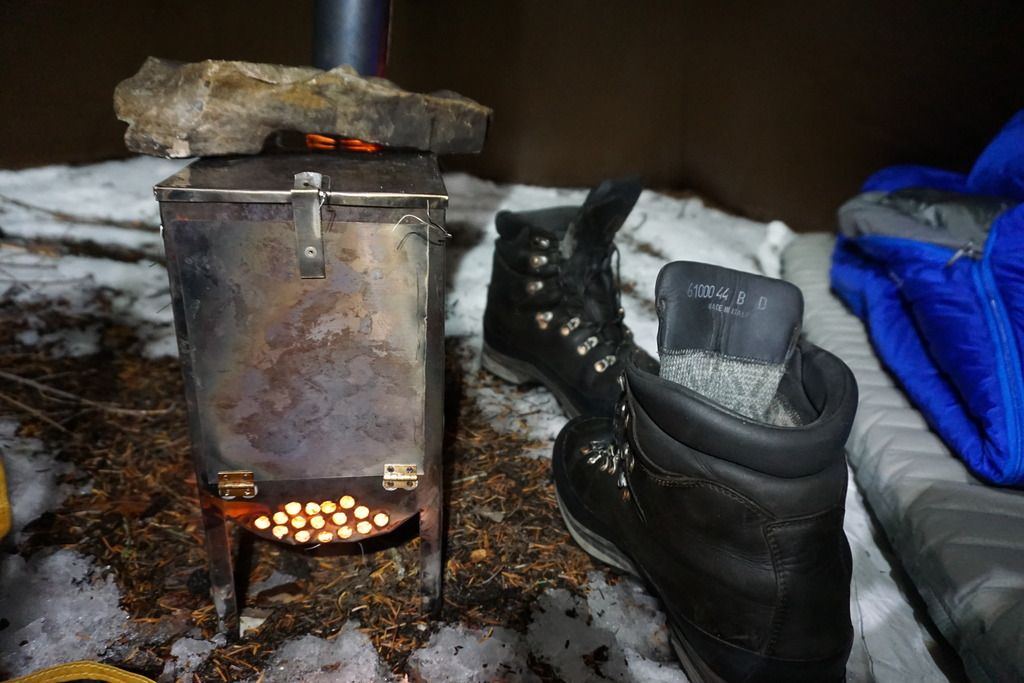
-The top piece is folded 90 degrees on all four sides and fits over the end pieces and the Ti belly. It is held down only by the door latch which is a scrap piece of SS shaped to tension fit over the top edge of the stove. I made an indention just inside the front edge of the top piece for the latch to fit over and hold.
-1/16" holes drilled in the edge of the belly and at corresponding points on the front and back pieces are for threading the SS wire which holds the stove together with just a twist or two. There's an attachment point at each end of the bottom of the belly and about an inch or so from the corners of the belly. 3 wire attachments on each end.
-Based on some internet advice, I used a bi-metal hole saw to cut the hole for the pipe. It worked like a charm, but I wish the hole were just a fuz smaller for a slightly tighter fitting pipe.
-a standard drill bit worked but was a little sloppy for cutting the vent holes and if I were to do it again I'd see if I could find a small bi-metal hole saw for this since it cut very clean.
-I found the SS to be real easy to work with and adjust to make it all fit
 
OP
Jared Lampton
Joined
Oct 15, 2012
Messages
321
Location
northwest montana
I've used the stove now for a couple nights in the backcountry. It's proven to be a little tedious to assemble but has burned and drafted very well. One problem I've had is that the pipe wants to lift out of the stove body- knocking the stove over sometimes, when the wind picks up. The temporary solution has been setting good sized flat rock on top of the stove and the end of the damper rod to hold the stove down to the ground and keep the pipe in place. It's worked really well. The size of the stove seems right for my LBO with the 3pc vestibule.
 

406

WKR
Joined
Nov 28, 2016
Messages
445
Old thread but great stuff

Sent from my XT1585 using Tapatalk
 
Top