txtransplant
WKR
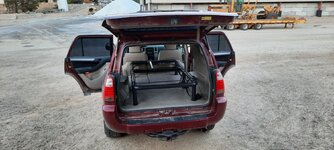
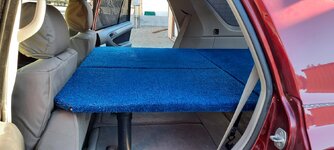
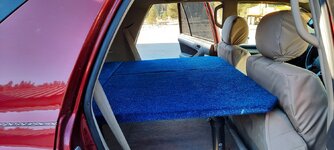
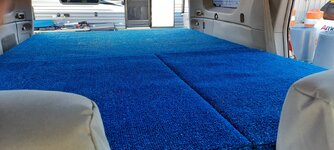
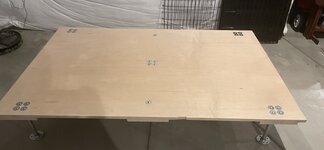
Somebody tell me I’m crazy. I’ve got a 1992 Toyota 4Runner and I want to build a sleeping platform for it.
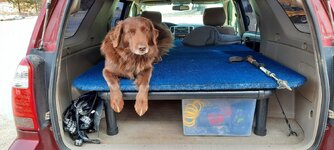
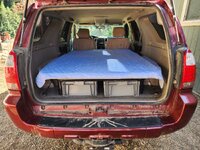
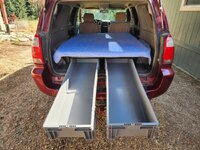
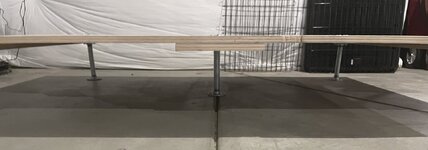
I’ve slept in the back while hunting before, but it’s pretty cramped trying to get all the gear and my sleeping setup in there. What I want to do is build a platform that I can slide gear and tote bins under - effectively giving me some storage space under the sleeping setup.
I am not handy. I have little more than a basic toolbox. I’m also not looking to spend much money on this - all prefabricated options are expensive, and it doesn’t make sense to pay a handyman to build this for me. I've seen some pretty nice DIY builds, but I don't have the skill for that level of effort, nor do I want to spend the money.
I really think this works, though. Anyone see any big challenges or problems with this design that I haven’t thought out?
DESIGN LIMITATIONS
PARTS
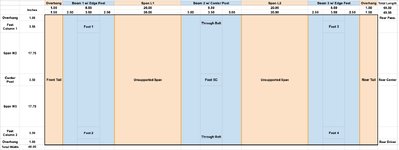
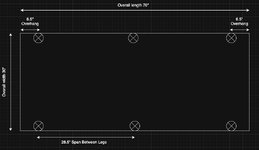
Here’s a drawing. Roast me.
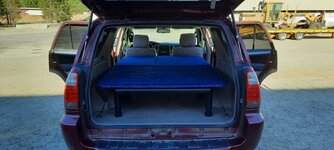
Random additional note: I might even get a 4" - 6" foam mattress custom fabricated by https://www.foambymail.com as well. My super plush Exped Megamat is like 78" long, so it wouldn't fit in the 4Runner. If anyone ever wants to have a foam mattress fit to a specific size, this looks like a good option.
I’ve slept in the back while hunting before, but it’s pretty cramped trying to get all the gear and my sleeping setup in there. What I want to do is build a platform that I can slide gear and tote bins under - effectively giving me some storage space under the sleeping setup.
I am not handy. I have little more than a basic toolbox. I’m also not looking to spend much money on this - all prefabricated options are expensive, and it doesn’t make sense to pay a handyman to build this for me. I've seen some pretty nice DIY builds, but I don't have the skill for that level of effort, nor do I want to spend the money.
I really think this works, though. Anyone see any big challenges or problems with this design that I haven’t thought out?
DESIGN LIMITATIONS
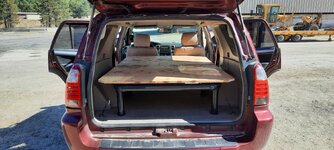
- The floor to ceiling height is 31”. Assuming the platform takes up 8” total, that leaves 23” of headroom for my sleeping pad and myself - seems like plenty.
- The maximum length for the platform is 70”. This is the distance from the front seat-backs to the inside edge of the back tailgate. This does include some overhang into the back seat footwell, though.
- I plan for a 30” width (although the maximum width could have been 35”).
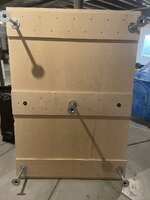
- The maximum footprint for the legs is 57” x 30”. At the front, the legs have to be pulled back from the footwell. At the back, there’s a small “cliff” at the edge, so I’ve pulled the legs back from that, too.
- This leaves an overhang of 6.5” from the head and foot of the plywood to the legs at those corners. The legs will be flush to the edge widthways, though.
- Longest span between legs is 30” along the width and 28.5” along the length.
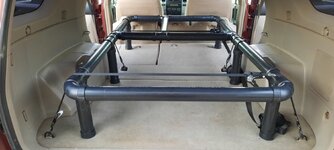
- I considered 4x4 legs (cheapest, but heavy), 2x4 legs (most expensive because of angle brackets), and PVC legs (mid-priced, but lightweight). I decided against 2x4s with angle brackets because of the cost and against 4x4s because of the weight, so I’m planning to use PVC pipe for legs.
PARTS
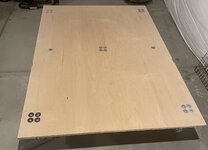
- Sandeply 18mm sanded plywood (3/4" x 4' x 8'), $66, cut to 70" x 30" to fit in the back hatch of the 4Runner. This is a smooth faced, interior plywood that is safe to sleep on once sealed.
- 180 grit sandpaper, $6, for sanding the plywood before sealant and the PVC legs before cementing. (No, I don’t even have sandpaper.)
- Varathane sealant, $26, sealing the plywood will reduce VOCs and protect against moisture.
- Charlotte 2" Schedule 40 PVC, $14, cut to 7” segments. I plan a minimum of 6 legs, but might go with 7 or 8.
- PVC table leg cap fittings, $20, to attach the PVC legs to the plywood and to act as feet at the bottom.
- PVC primer and cement, $11, to weld the PVC pipe to the leg cap fittings.
- Screws and washers, $10, to attach the leg cap fittings to the plywood deck.
Here’s a drawing. Roast me.

Random additional note: I might even get a 4" - 6" foam mattress custom fabricated by https://www.foambymail.com as well. My super plush Exped Megamat is like 78" long, so it wouldn't fit in the 4Runner. If anyone ever wants to have a foam mattress fit to a specific size, this looks like a good option.

