Hunt'nFish
WKR
Just thought I'd share this w/ my new Rokslide friends.
I'm NOT a saddle maker or anything, just a leather lover that couldn't find a holster design I wanted and didn't want to pay for custom made. (ie. a cheap tight ass.)
All that is needed is a drill or drill press and a belt sander and a few other hand tools.
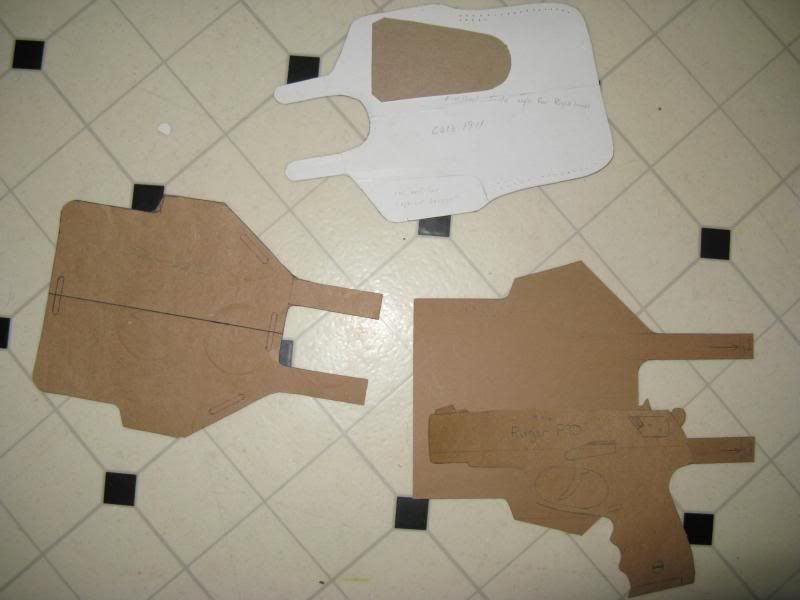
First I started sketching my design, then I scaled it up to full size in 1D form by tracing actual firearm and adding width/length to my "pattern" for seam/stitch allowences and to account for the width of the firearm and thickness of the leather. (Normally I'd add ~3/8-1/2" to the width.)
Once my pattern was done, I moved on to aquiring the leather. I just thumbed through the yellow pages and found a local leather shop and bought some tanned cow hide scraps ~3/16" thick. They also sold thread, leather glue, stain, hole punches and snap kits, so I picked up those there as well.
I traced my pattern onto the leather scraps, and cut out the peices. I left the edges rough cut and then glued the leather together and used a couple peices of 1x3 wood & two C-clamps to hold the peices in postion while the glue dried.
Then I marked my stitch holes using a ruler to maintain a 1/8th" stitch spacing.
Then I used a drill press and 1/32" bit to make the stitch holes.
I then used black waxed nylon saddle thread and 2 approp sized needles to perform a simple saddle stitch, making sure to double back to finish/lock my stitch.
After that I used the sander to clean up my edges and radius them.
I should mention, I cut/sanded/glued/stitched my belt loop on first, THEN I did the main holster portion.
Then I formed the holster with the pistol inside it using IPA alcohol to "wet" the leather.
This consisted of spraying it w/ IPA and forcing the pistol into it, working the pressure points on the holster to loosen up the retention pressure.
Note: To INCREASE retention pressure, slightly form the leather into recesses on the pistol like ejection ports and trigger guards. This creates mechanical locks, and by varying the degree to which you form it into these recess, you can control the degree of retention.
After forming is complete, I sandwiched the holster between 2pcs of cardboard and put it under my matress and slept on it for a week or until the IPA dried.
Then I stained the holster and applied glycerin based saddle wax/soap to seal it.
This is basically Neutrogena Transparent Facial Bar, which I use to clean & condition my holsters as needed. You can also use it to loosen up retention pressure points on the holster.
(Later, as I got better, I started staining my leather BEFORE glue & stitch work.)
I've made several holsters over the years for myself/family/friends and did buy a few extra tools along the way, like punches for cutting slots to for make belt slide designs. But honestly you can do a lot with a sharp exactol or utility knife and a std hole punch to radius the edge of your slot cuts.
Here are a few pics of some of the holsters I've made:
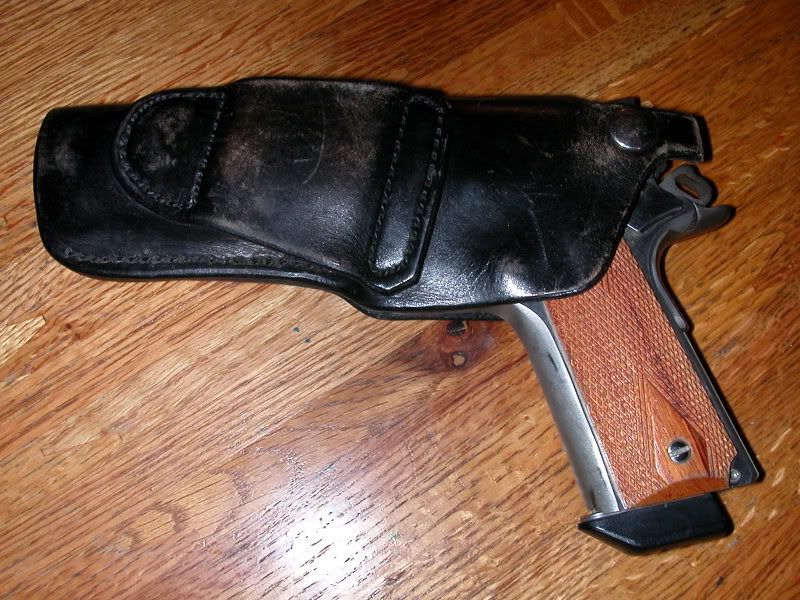
My first was a simple trail holster with thumb break for my 1911's
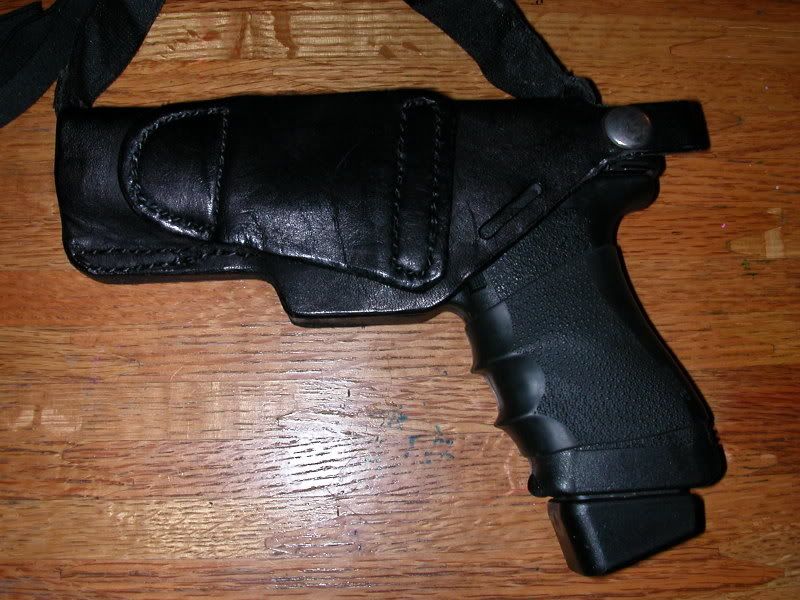
The next was a G20/G21 shoulder rig that could be oriented horz or vert, and I included a belt loop so it can be worn w/ or w/o the shoulder harness. I also included a thumb break as well.
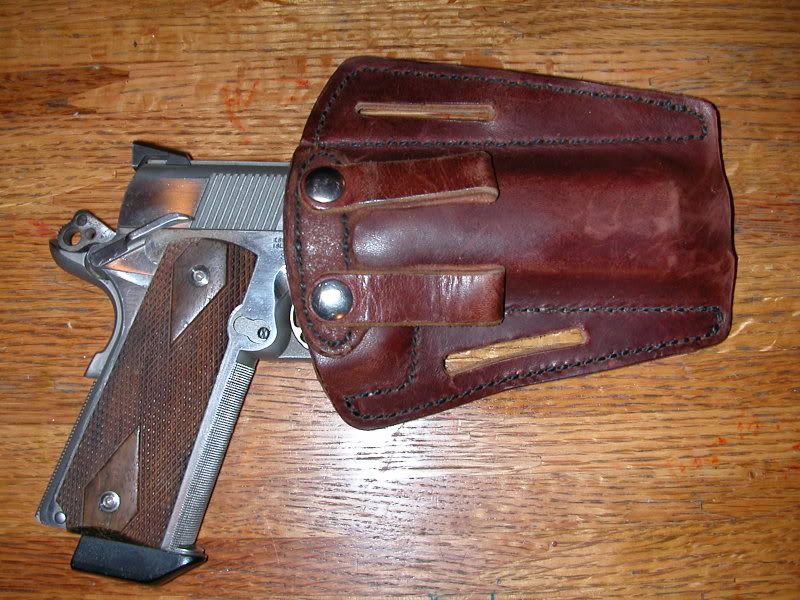
And I did my spin on a Milt Sparks IWB, but I wanted it to ride higher for faster grab. I also wanted to add a flap to protect my fat roll from the sharp edge of the top of the slide/sights (which you can't see because 1911 is blocking it from sight). AND I incorporated a belt slide design into it as well. When I did the IWB loops I used snaps instead of rivets, so that way I could unsnap it and remove it from my person and leave it in the truck while I did business at the Post Office or other places I didn't want it on me.
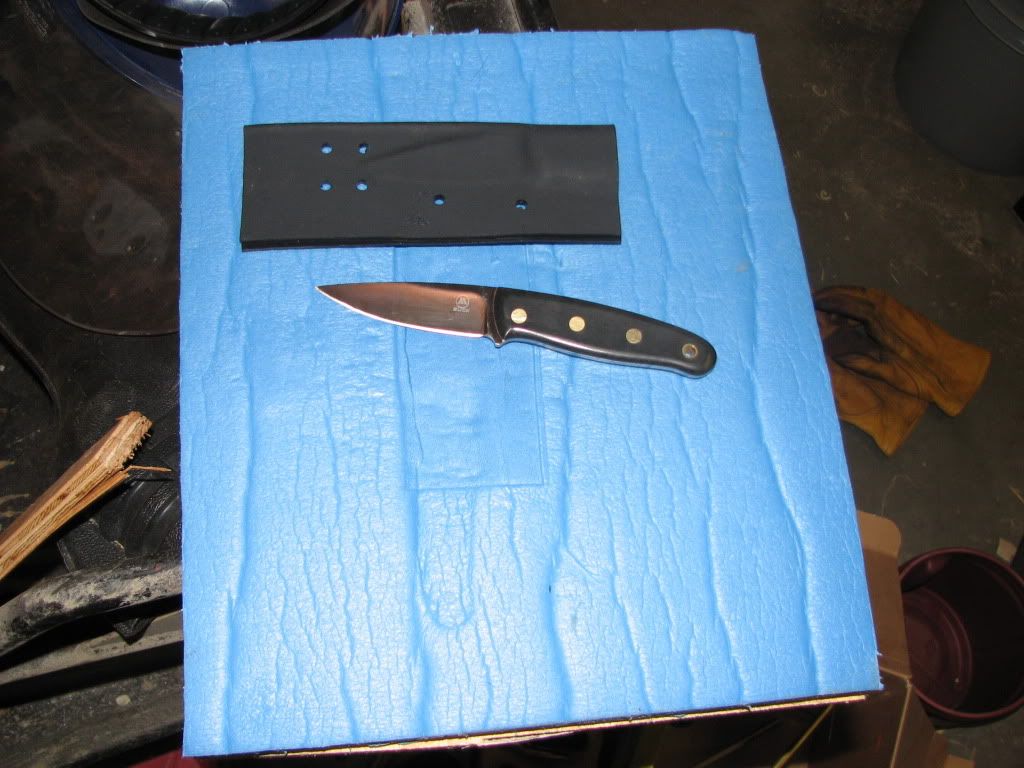
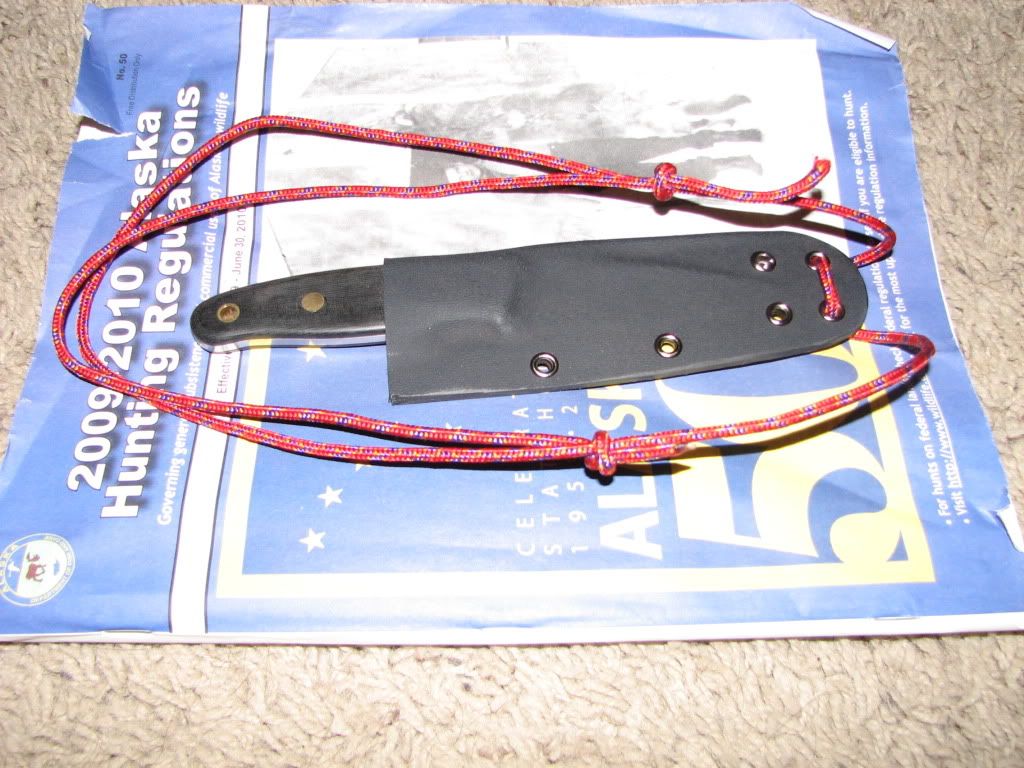
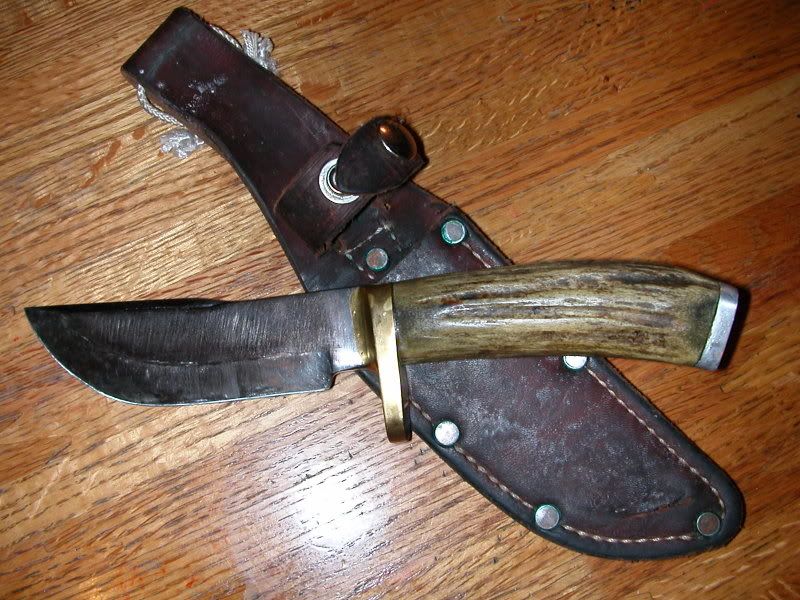
And I used the same process to make sheaths for custom knives I've made.
I'm NOT a saddle maker or anything, just a leather lover that couldn't find a holster design I wanted and didn't want to pay for custom made. (ie. a cheap tight ass.)
All that is needed is a drill or drill press and a belt sander and a few other hand tools.
First I started sketching my design, then I scaled it up to full size in 1D form by tracing actual firearm and adding width/length to my "pattern" for seam/stitch allowences and to account for the width of the firearm and thickness of the leather. (Normally I'd add ~3/8-1/2" to the width.)

Once my pattern was done, I moved on to aquiring the leather. I just thumbed through the yellow pages and found a local leather shop and bought some tanned cow hide scraps ~3/16" thick. They also sold thread, leather glue, stain, hole punches and snap kits, so I picked up those there as well.
I traced my pattern onto the leather scraps, and cut out the peices. I left the edges rough cut and then glued the leather together and used a couple peices of 1x3 wood & two C-clamps to hold the peices in postion while the glue dried.
Then I marked my stitch holes using a ruler to maintain a 1/8th" stitch spacing.
Then I used a drill press and 1/32" bit to make the stitch holes.
I then used black waxed nylon saddle thread and 2 approp sized needles to perform a simple saddle stitch, making sure to double back to finish/lock my stitch.
After that I used the sander to clean up my edges and radius them.
I should mention, I cut/sanded/glued/stitched my belt loop on first, THEN I did the main holster portion.
Then I formed the holster with the pistol inside it using IPA alcohol to "wet" the leather.
This consisted of spraying it w/ IPA and forcing the pistol into it, working the pressure points on the holster to loosen up the retention pressure.
Note: To INCREASE retention pressure, slightly form the leather into recesses on the pistol like ejection ports and trigger guards. This creates mechanical locks, and by varying the degree to which you form it into these recess, you can control the degree of retention.
After forming is complete, I sandwiched the holster between 2pcs of cardboard and put it under my matress and slept on it for a week or until the IPA dried.
Then I stained the holster and applied glycerin based saddle wax/soap to seal it.
This is basically Neutrogena Transparent Facial Bar, which I use to clean & condition my holsters as needed. You can also use it to loosen up retention pressure points on the holster.
(Later, as I got better, I started staining my leather BEFORE glue & stitch work.)
I've made several holsters over the years for myself/family/friends and did buy a few extra tools along the way, like punches for cutting slots to for make belt slide designs. But honestly you can do a lot with a sharp exactol or utility knife and a std hole punch to radius the edge of your slot cuts.
Here are a few pics of some of the holsters I've made:
My first was a simple trail holster with thumb break for my 1911's

The next was a G20/G21 shoulder rig that could be oriented horz or vert, and I included a belt loop so it can be worn w/ or w/o the shoulder harness. I also included a thumb break as well.

And I did my spin on a Milt Sparks IWB, but I wanted it to ride higher for faster grab. I also wanted to add a flap to protect my fat roll from the sharp edge of the top of the slide/sights (which you can't see because 1911 is blocking it from sight). AND I incorporated a belt slide design into it as well. When I did the IWB loops I used snaps instead of rivets, so that way I could unsnap it and remove it from my person and leave it in the truck while I did business at the Post Office or other places I didn't want it on me.

And I used the same process to make sheaths for custom knives I've made.

Last edited:

