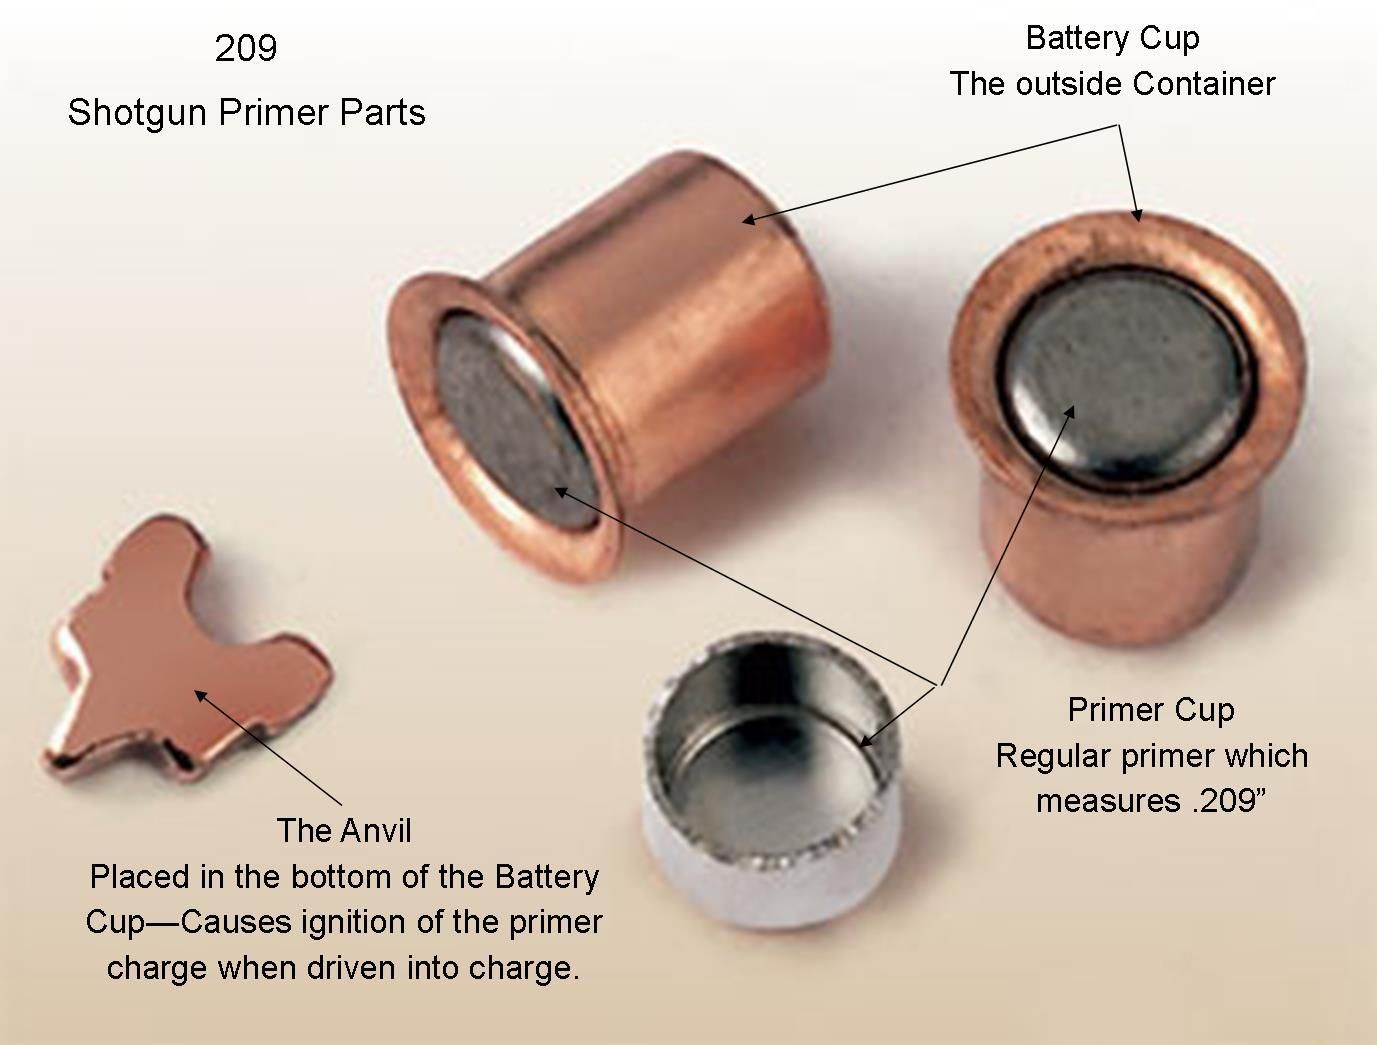
Knight ultralight primers sticking

FURMAN

WKR
Joined
Feb 29, 2012
Messages
1,819
Primers are getting stuck in the bolt. 90-120 grains of bh209 and 250-300 grain bullets it makes no difference. They are, in my opinion, harder to get out than they should be even unfired. Using Federal primers will try Winchester but that's just a band aid.


Sent from my iPhone using Tapatalk
 
Joined
Nov 30, 2012
Messages
1,267
Location
Northern Idaho
Primers are getting stuck in the bolt. 90-120 grains of bh209 and 250-300 grain bullets it makes no difference. They are, in my opinion, harder to get out than they should be even unfired. Using Federal primers will try Winchester but that's just a band aid.


Sent from my iPhone using Tapatalk
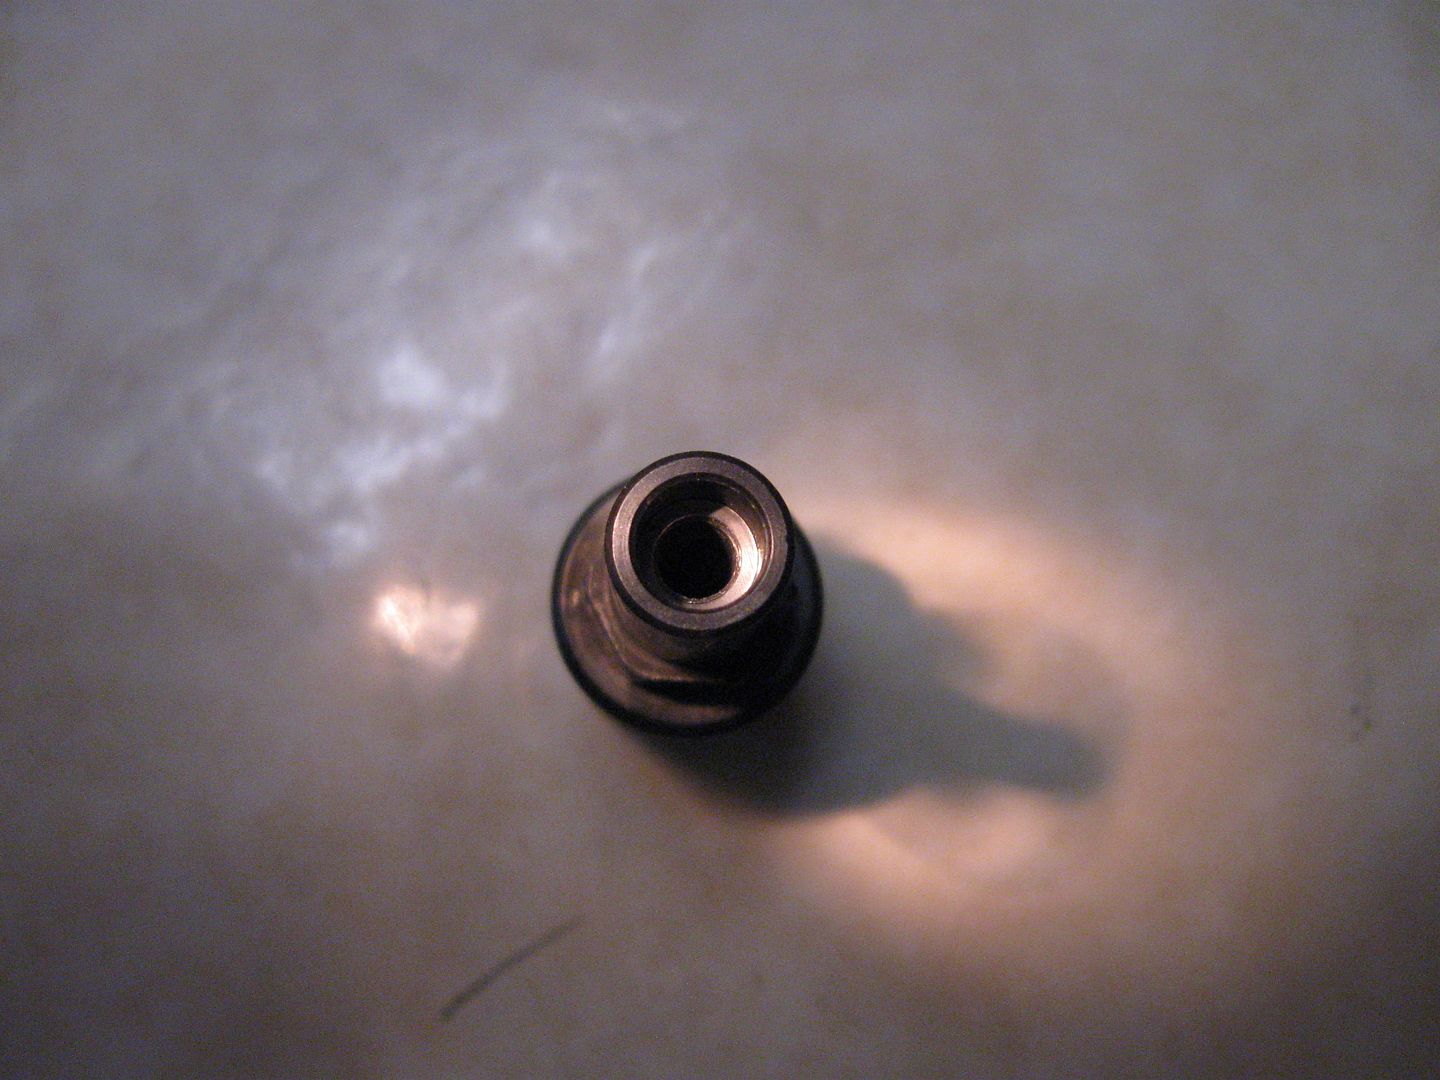
First thing to try is to remove the breech plug. Clean the primer port of any blow-back residue. Then insert the primer in the pocket. Push it down and in very tight. Then pick up the plug and turn it upside down. The primer should fall out of the BP. There are times when the BP goes through heat treatment the diameter of the pocket will shrink more than it is suppose to.

If the primer is sticking in the rails of the bolt that is another problem.

But from your post I am reading they are somewhat stuck even when un-shot to extract from the BP - correct?

Do you have any W209's? try them in the same test as above - they are slightly smaller in diameter than the Feds.

I would also suggest to you - you do not need Mag primers with a Lehigh/Knight breech plug.

mike
 
OP
FURMAN

FURMAN

WKR
Joined
Feb 29, 2012
Messages
1,819
They are sticking in the bolt rails. No problems with the extraction from the plug. I do not have W209s but will look. Even unfired primers will not fall from bolt like in my Savage. It only gets worse when fired. Even primers fired with no powder or bullets are hard to get out of the bolt.


Sent from my iPhone using Tapatalk
 
OP
FURMAN

FURMAN

WKR
Joined
Feb 29, 2012
Messages
1,819
Got some w209s. They will not crush either but fired primers fall out of the bolt when opened. It's time to hunt and I don't have time to test these primers with a load so it'll have to wait for now.


Sent from my iPhone using Tapatalk
 
Joined
Nov 30, 2012
Messages
1,267
Location
Northern Idaho
Got some w209s. They will not crush either but fired primers fall out of the bolt when opened. It's time to hunt and I don't have time to test these primers with a load so it'll have to wait for now.


Sent from my iPhone using Tapatalk

So then as you have shown - the headspace is not tight. This allows the primer & battery cup to be pushed back against the bolt face and at the same time the actual primer cup often moves back into the face also. Often if you re-cock the bolt then pull the trigger the hammer will force the primer back into the battery cup and then it normally can be tipped out of the bolt face.


When you get time you can fix the problem by inserting a shim(s) in the bottom of the primer pocket...
 
OP
FURMAN

FURMAN

WKR
Joined
Feb 29, 2012
Messages
1,819
I may try shims. I've already emailed Knight. Unfortunately firing again does not help me. Thanks for the help.


Sent from my iPhone using Tapatalk
 

robby denning

Administrator
Staff member
Joined
Feb 25, 2012
Messages
15,788
Location
SE Idaho
I'll add that my Knight 45 Mountaineer experiences this problem when dirty, which could come after even 5 shots if I didn't start with a perfectly clean primer pocket. So, if you had not vigorously cleaned your primer pocket from previous sessions, it could just be fouled to start with. Now if this is a new gun, never fired, ignore what I said. I keep a pick and small screwdriver at the range and clean my pocket every few shots.

Sabotloader, I'd never mentioned this to you as I just chalked it up to muzzleloaders are dirtier than firearms. Am I wrong?
 
Joined
Nov 30, 2012
Messages
1,267
Location
Northern Idaho
I'll add that my Knight 45 Mountaineer experiences this problem when dirty, which could come after even 5 shots if I didn't start with a perfectly clean primer pocket. So, if you had not vigorously cleaned your primer pocket from previous sessions, it could just be fouled to start with. Now if this is a new gun, never fired, ignore what I said. I keep a pick and small screwdriver at the range and clean my pocket every few shots.

Sabotloader, I'd never mentioned this to you as I just chalked it up to muzzleloaders are dirtier than firearms. Am I wrong?

Robby with a Knight and proper head spacing with the primer and the BP there is really no reason it should have a dirty breech or experience blow back.

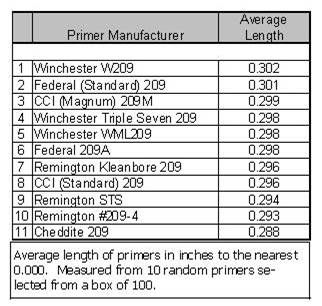
You wanna check your rifle... remove the hammer assembly from the bolt.... put the bolt back in the rifle - next close the bolt - the bolt will probably just drop to the bottom of the cycle. Next insert a primer. Close the bolt slowly - at or near the end of its cycle you should feel pressure to close the bolt as the bolt face is beginning to slightly crush the primer. I am not sure which primer you are using but just to let you know - the Winchester W209 is the longest of the primer - from there get shorter.

If you decide to correct the problem by inserting shims - the rifle will become primer specific or nearly so...

This chart shows the variations in primer length... but different primer lots by the same manufacture can vary a very small amount also...


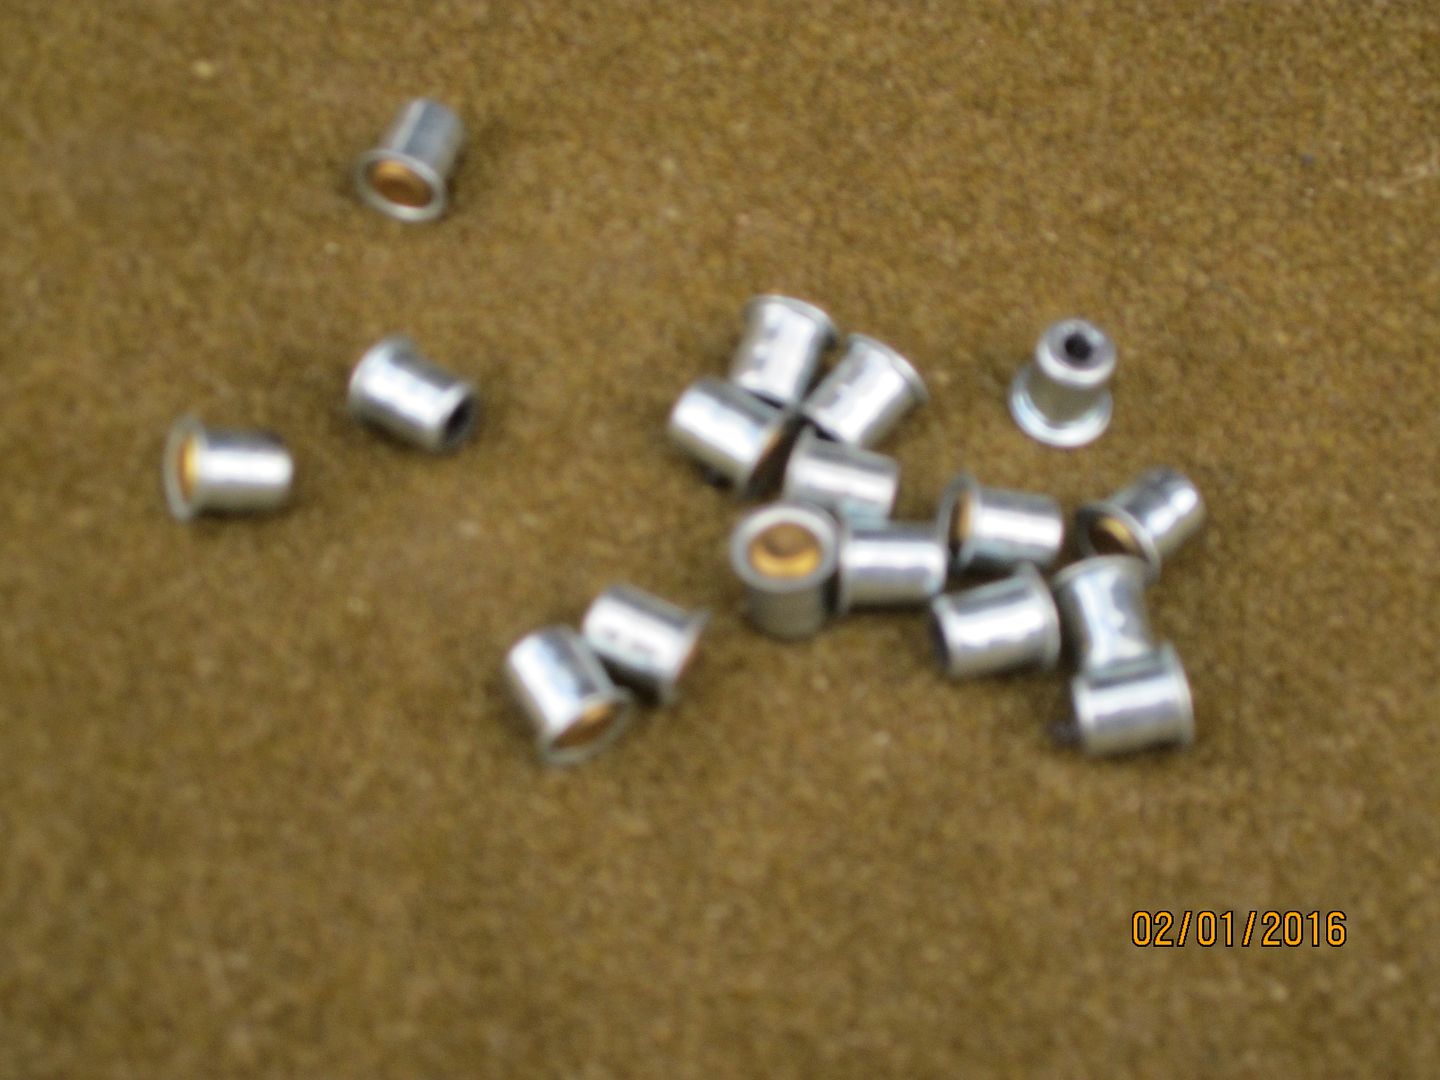
Spent primers should/can come out looking like this... with the correct head space.


This shows a shim inserted and ready to driven down and in place on the primer shelf.


These are one of the different shims


And you are correct if the primer rails get dirty they will not let the primer drop out.
 
Joined
Nov 30, 2012
Messages
1,267
Location
Northern Idaho
Shimming a Knight 209 bare primer BP

Thought I had posted this on here before but can not find it all... so here is a copy

OK finally getting time to get to this.

I am not the best writer in the world so I am hoping this makes sense to most.

Headspace or the lack of can be one of the biggest reasons that a primer from the battery cup is forced up into the hammer hole in the face of the bolt.

If you look carefully at this picture of a Knight NFPJ Breech Plug you can see the SS shim installed in the bottom of the primer pocket to achieve a 'primer crush' and 0 headspace with a given primer. And in my case it is modified to accept W209 primers.

InstalledShim.jpg


Most new rifles in the Mountaineer series and possibly the new Extreme series have a much tighter 'tolerance' on the depth of the breech plug pocket in the barrel. On the other hand older rifles like the Original DISC the tolerance level was much lower. In those days no-one thought about a clean breech. I have two Original DISC's that the breech plug need to be shimmed to 0.025" to achieve 0 headspace. Even older DISC Extremes/Elites can vary by as much as 10-15 thou.

It seems to me the new Mountaineer series can vary but 0.005" and some will require shimming. Not all of this is dependent on the depth of the BP hole. If the bolt length is off just a little it will greatly effect the head space. Even the rear of the bolt and how it closes can effect headspace. So it really does not have to be one thing.

It really helps if you determine the measurement of what shims you might need to fix your problem before you start shimming. The shims for this process come in 3 thicknesses and 2 OD sizes that you can use.

OD sizes.... there are a group of shims with an OD of 0.241" that will drop right into the primer pocket. With these shims you can just keep adding shims until you feel the primer crush. Then add up the number of shims you have installed and you will know what you might need. The 0.241" will then fall out or can be easily pulled out to empty the primer pocket.

The second OD size shim is a 0.248" shim and will/can pressed into the primer pocket. This shim will stick and stay in the primer pocket - you will not be able to remove it. So before installing these shims make sure you know the size you need to use.

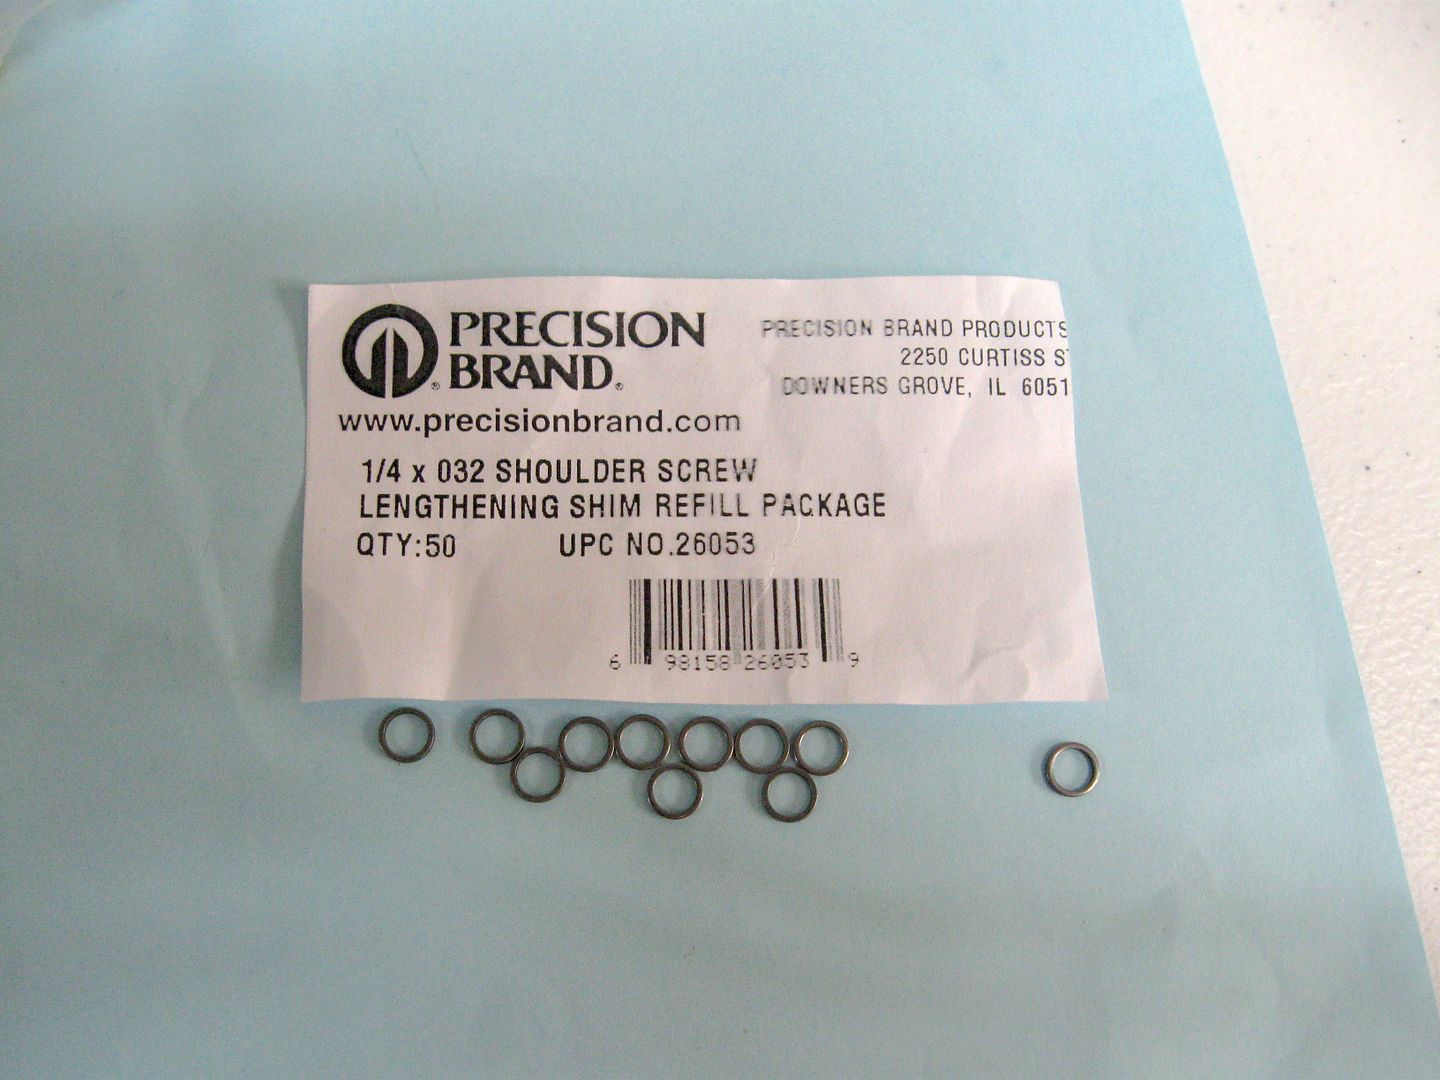
This is a package of 0.0248" x 0.032" shims -probably a size you will never need but they are available.

0.032%20Shim.jpg


This picture shows a 0.0248" x 0.005" shim inserted in the top of a BP ready to be driven down with a spent 209 primer and a plastic mallet.

PP%20Shim%20Close.jpg


This link should carry you to the McMaster-Carr catalog page for the correct shims

McMaster-Carr

This is a second link to the press fit shims…

Amazon.com: 0.171" I.D. x 0.248" O.D. x 0.005" Shoulder Screw (Stripper Bolt) Lengthening Shim (Pack of 50): Industrial & Scientific

For the 0.241 OD shim look in the group of shims labeled -> 18-8 Stainless Steel. Three sizes 5 - 16 - 30 thou thickness. I see no reason to get any 0.030 shims, followed only a few would ever need 0.016 shims. The 0.005 is probably the best all around for testing to achieve the correct fit.

For the 0.248" OD shim look in the -> Spring Steel section -> for shim thicknesses of 5 - 15 - 32 thou. These shims can be pressed in for a permanent fit.

An easy way out of all of this is to use high pressure rubber "0" rings... they normally last about 50 shots.

Achieving 0 to near 0 headspace is a real desirable in my mind.

Shimming Continued

This is the method that I use to get to correct amount of shimming in place.

With the breech plug installed snuggly in the rifle
1. Remove the bolt assembly from the rifle.
2. Remove the hammer/firing pin assembly from the bolt
3. Reinstall the bolt housing in the rifle.
a. When you push the bolt forward and release the handle it should just fall down into the closed position – ne resistance at all.
b. Next install a primer in the nose of the bolt and repeat the test.
i. If the bolt handle falls to the bottom again then you need to into install shims in the primer pocket to get the correct headspace.
ii. If the handle does not fall to the bottom and you encounter some resistance the head space is probably near correct. It should take some effort to push the bolt handle down.
If the handle falls to the bottom with no resistance with a primer installed you will now need to find out how many shims you are going to need to install. For this operation I use the .214 x .005 OD shims. Also during this process the breech plug should be very clean and DRY, so the .241 shims can be easily removed.

1. Remove the breech plug and drop 1 of the shims into the primer pocket. Use a spent primer to make sure the shim is pushed all the way down and sitting on the primer shelf.
2. Install the breech plug in the rifle and repeat the steps above. Make sure the .241 shim does not fall out of the BP while doing all of this.
3. If you still do not get any ‘primer crush’ install a second shim and repeat the process.
4. When you do get ‘primer crush’ them pick out 4 new primers and repeat the test on each primer to see if all 4 feel as they are ‘crushing’.
5. Remove the breech plug and get all of the .241 shims out of the primer pocket. Count the shims to make sure you have them all out.

With this information you now know how many .248x.005 shims you need to install to achieve ‘primer crush’ and 0 head space.

When installing the .248 shims – place the breech plug on a smooth flat surface.
1. Place a .248 shim in the top of the BP primer pocket.
2. With a pair of needle nose pliers grip a spent primer place it on top of the .248 shim and with a small mallet tap the primer and shim down into the primer pocket.
3. Make sure it bottoms out and is sitting on the primer shelf.
4. Install the BP and bolt housing and test for ‘primer crush’
5. Repeat this process until you have achieved 0 head space.

If you do not want to purchase the extra .241 shims you can use the .248 process one shim at a time to shim your BP. Just remember once they are installed – they are not in most cases ever coming back out.

So be careful and go one shim at a time.
 

robby denning

Administrator
Staff member
Joined
Feb 25, 2012
Messages
15,788
Location
SE Idaho
Wow, very helpful Mike. I'll check this when I've got my gun next to me. My spent primers are NOT that shiny, I can tell you that right now. Using Federals by the way with the BH209 I shot in the video.

Thanks
 
OP
FURMAN

FURMAN

WKR
Joined
Feb 29, 2012
Messages
1,819
Winchester primers made no difference. It's going back to Justin. This is a brand new western ultralight with the 209 bare conversion. I appreciate your help but this needs fixed by Knight. If it were old or a used rifle I might try fixing with shims.


Sent from my iPhone using Tapatalk
 

CoHiCntry

WKR
Joined
Feb 15, 2013
Messages
1,024
Location
Colorado
Winchester primers made no difference. It's going back to Justin. This is a brand new western ultralight with the 209 bare conversion. I appreciate your help but this needs fixed by Knight. If it were old or a used rifle I might try fixing with shims.


Sent from my iPhone using Tapatalk

Glad Knight is gonna fix it for you. I had a similar problem and called more than once about it but non one ever called me back. I ended up having an aftermarket plug sized and installed which cost me. Knight is great when their trying to sell you a rifle, but after that, not so much...
 
Joined
Nov 30, 2012
Messages
1,267
Location
Northern Idaho
Winchester primers made no difference. It's going back to Justin. This is a brand new western ultralight with the 209 bare conversion. I appreciate your help but this needs fixed by Knight. If it were old or a used rifle I might try fixing with shims.


Sent from my iPhone using Tapatalk

I am positive that Knight will get this fixed.... When you consider the very very small difference between clean and dirty (.003") anyone of several parts in the mechanism could be the cause of the problem. Knight will find mix and match until the correct combination is found.
 
Joined
Nov 30, 2012
Messages
1,267
Location
Northern Idaho
How do you remove the hammer/firing pin assembly from the bolt?

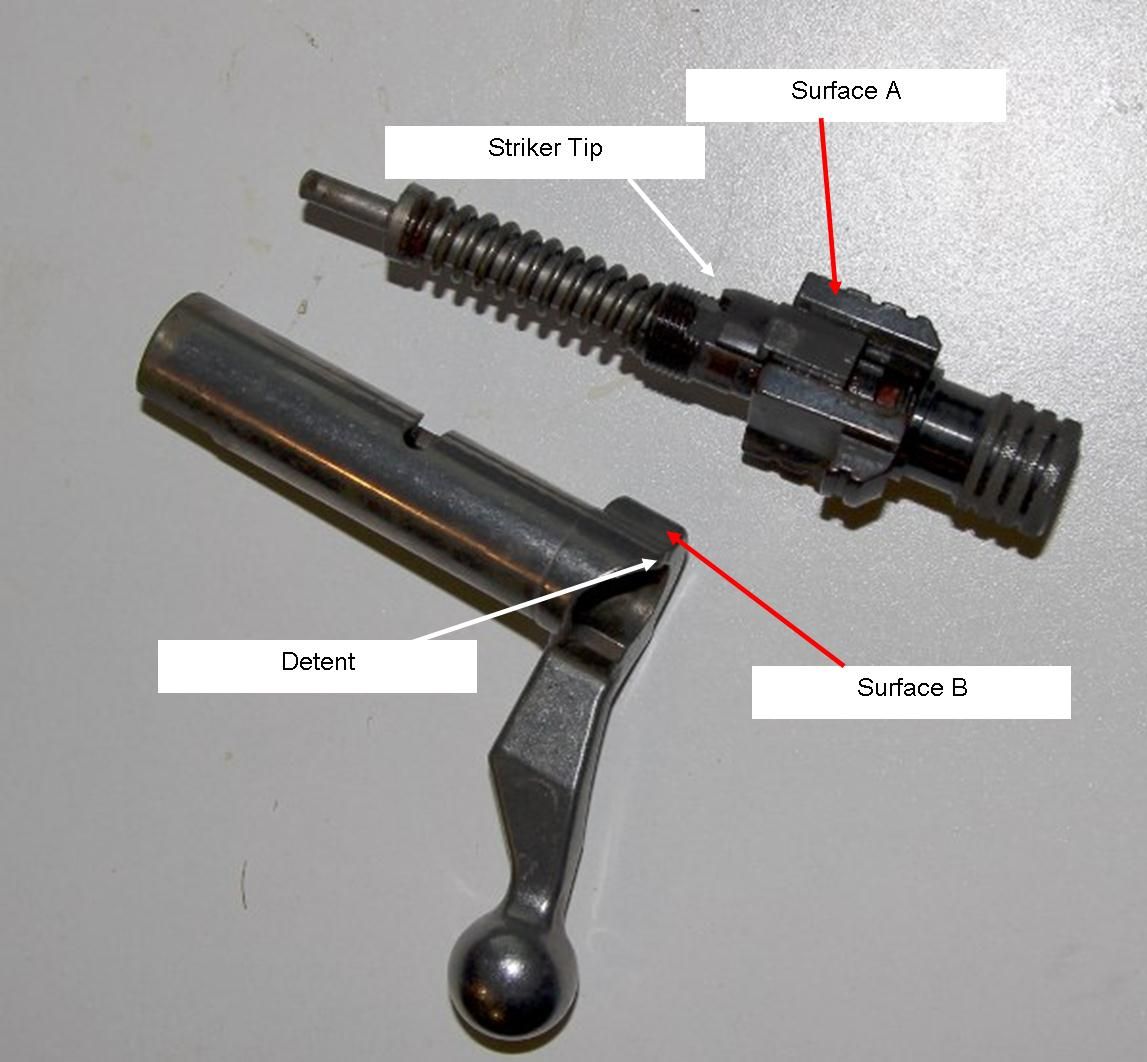
Turn the secondary safety in as far as it will go... then turn the hammer assembly out.

It is really easy but there can be a problem putting it back in the correct spot.

I would suggest you screw the secondary safety ALL the way in TIGHT... Then turn the hammer assembly clockwise until it stops. Take notice how far you turn the assembly so you can do the same thing when you put it back together...

Now turn it counter clockwise until the assembly come out of the bolt handle assembly....

To put it back together turn the assembly back into the bolt housing until it stops - now rotate the hammer assembly counter clockwise back the same number of turns or place it was originally then turn the secondary safety back out...


Match up surface A to surface B. The striker tip needs to be resting in the detent of the bolt assembly...

Hope this makes some sense to you... I am not the best writer in the world...
 
OP
FURMAN

FURMAN

WKR
Joined
Feb 29, 2012
Messages
1,819
Just a follow up. Knight requested I send the rifle back. I received the rifle, after they worked on it, and fired a primer and the issue seems to be fixed but I have not had a chance to get out and fire a bullet due to work. I will report back when I do.
 

n816kc

Lil-Rokslider
Joined
Mar 14, 2012
Messages
167
Location
Winter Haven, FL
Bringing an oldie back to say thanks.

I shimmed my breech plug and am amazed at the improvement. Primers come right out, no blow by or dirty action anymore. Cheap and easy mod to do, makes shooting the UltraLite a pleasure instead of aggravation.

Thanks Mike!!
 
Top