After my “Fundamentals Class” last year at the Snowy Mountain Long Range Academy, I happily reunited with the Snowy Mountain staff for the follow up “Development Class” in the Sapphire Mountains of Western Montana.
Snowy Mountain Long Range Academy Development Class
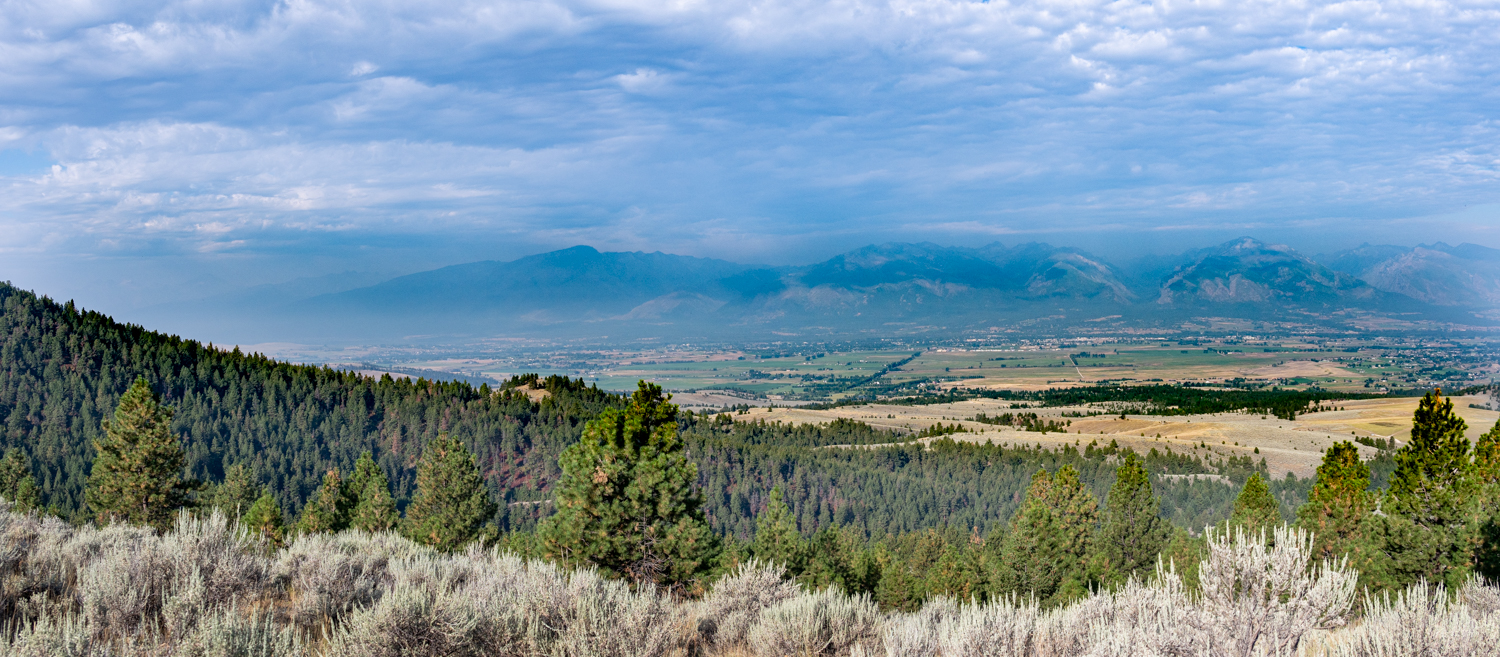
The Development Class takes place on the same private ranch as the Fundamental Class with expansive views of Montana’s Bitterroot Valley. The bonus for the Development Class is a whole new section of the ranch has been opened up for the more advanced course’s practical exercises.
Who teaches the class?
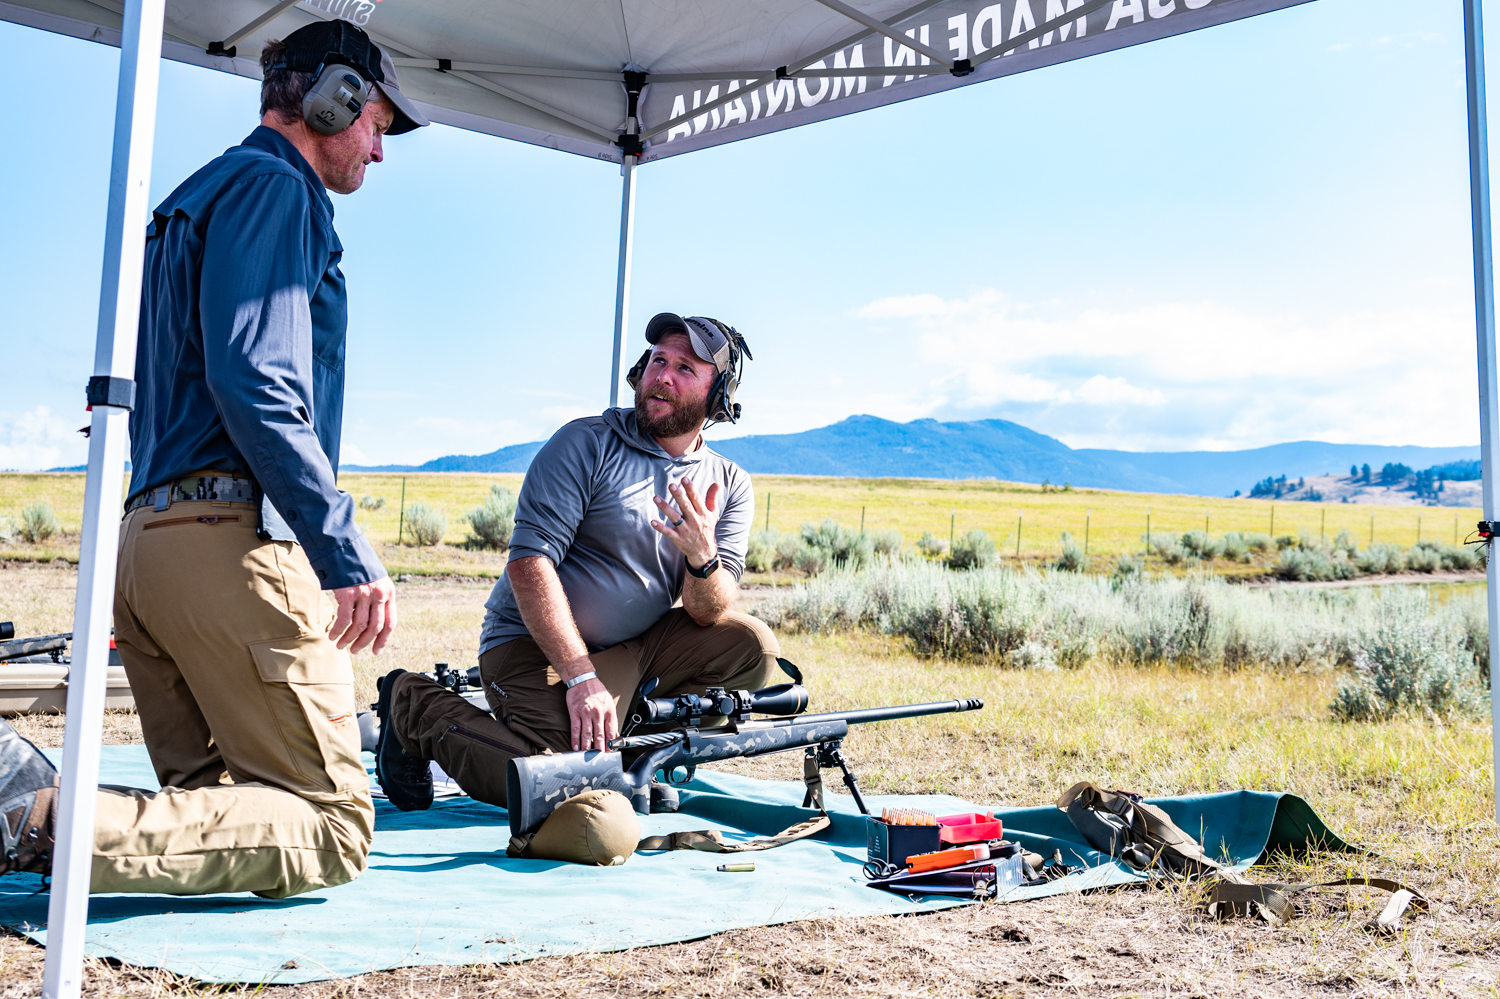
Instructors for my Development Class included instructor Logan Summers from my Fundamentals Class the year before and Justin Myers, an active duty Army ROTC instructor on an internship with Snowy Mountain. Like the Fundamentals Class, Snowy Mountain has a pool of similarly qualified instructors with demonstrable skill in shooting long range.
Development Class Overview
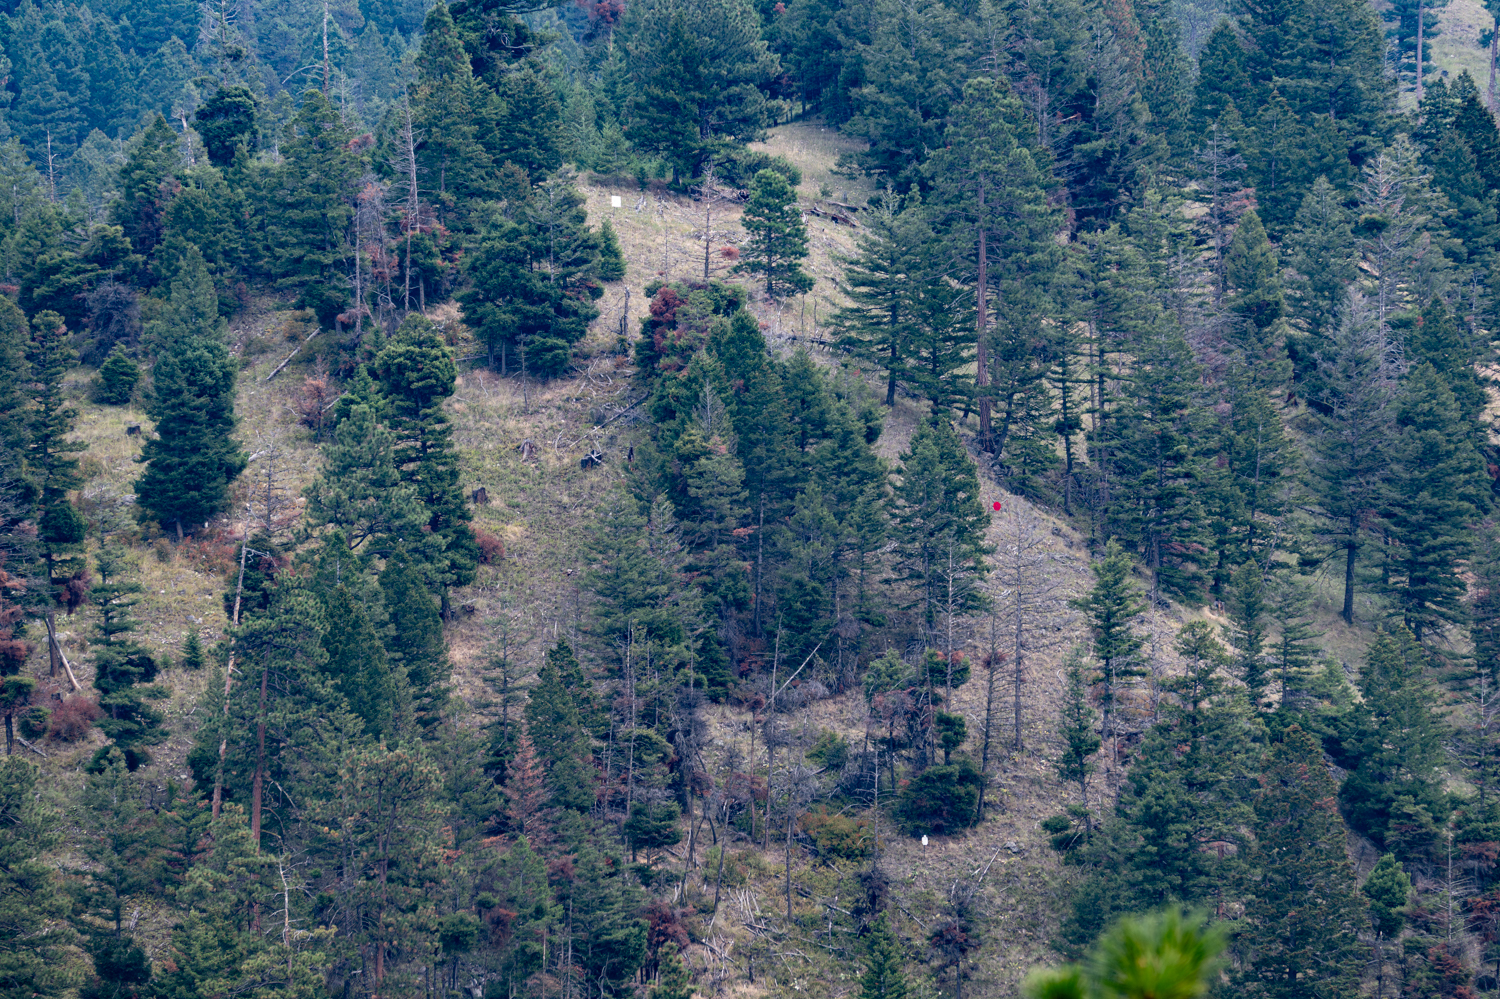
The Development Class is a three day consecutive course. Some Development Classes are scheduled Friday to Sunday, so shooters working a standard work week can more easily fit it in their schedule. Daily classes start in the cool early morning and generally ending in the mid afternoon, giving students the opportunity to spend afternoons and evenings checking out the Bitterroot Valley, getting a nice dinner, and staying out of the heat. The class spends less time of the concepts and more time working on hunting scenarios. The Snowy Mountain Staff will tell you … this is not a “feel good” class like some of the other long range schools with targets that are 3, 4, or 5 MOA and “hits” are easy. The Development Class targets are round, square, or diamond steel targets averaging 2 MOA with a few sub-MOA targets for challenge and a few larger targets to help instructors with evaluating corrections. I noticed targets in the diamond orientation are pretty unforgiving on wind calls. Shooters will need to have a good shooting position, good ballistic information, and good shooting technique to get their hits. The good news is that students in our class were making a lot of good hits.
Day-by-Day:
Day One:
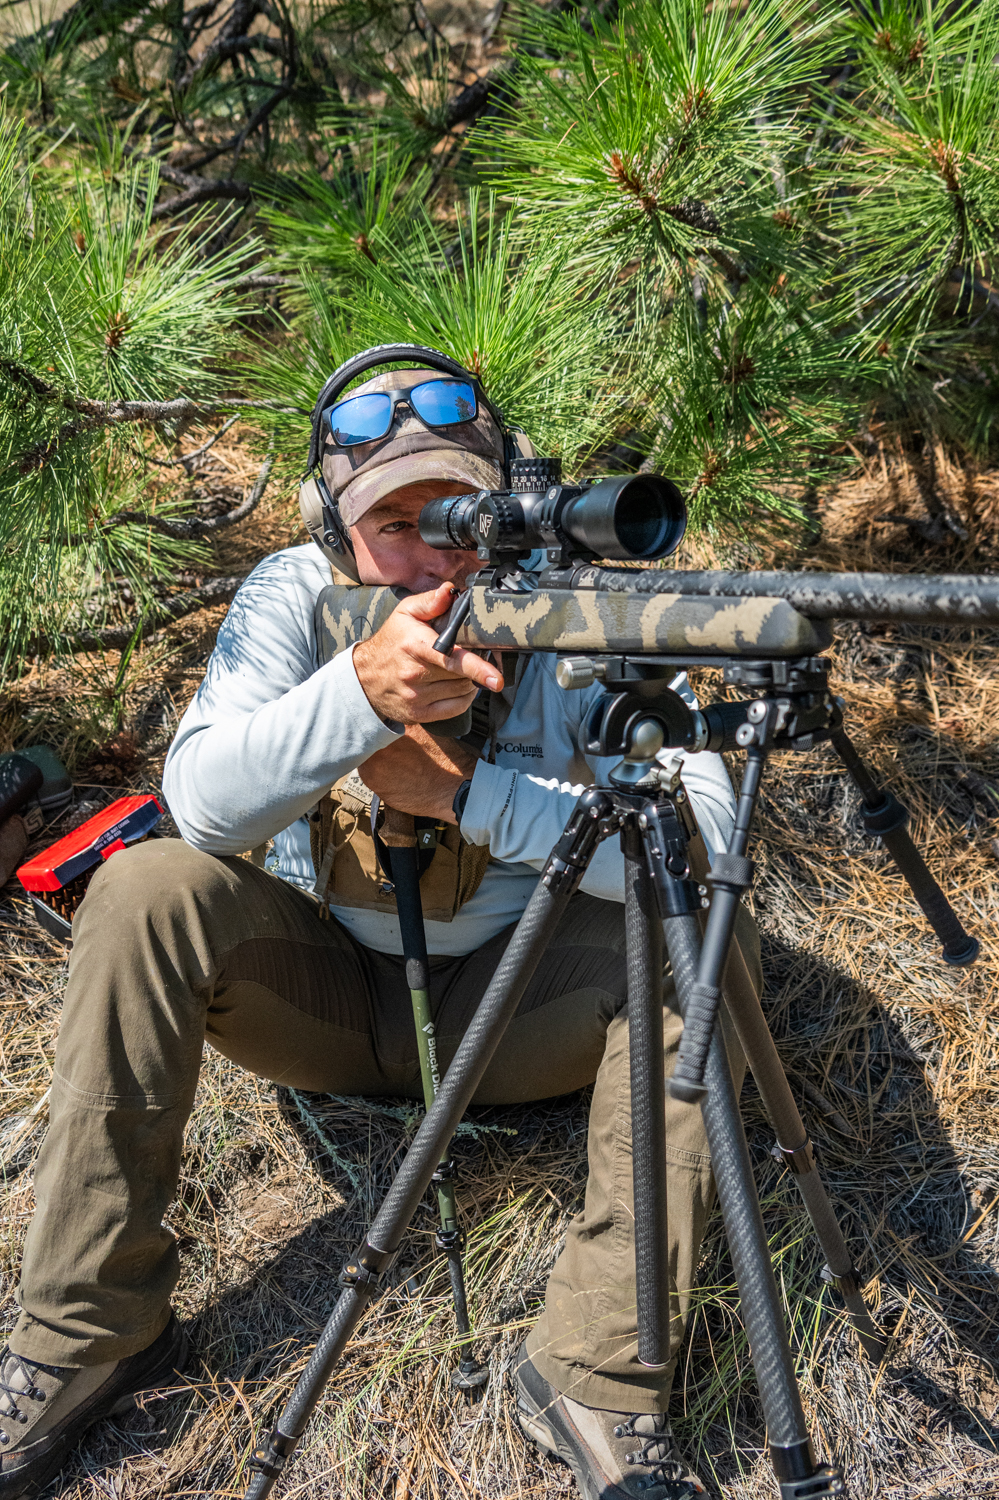
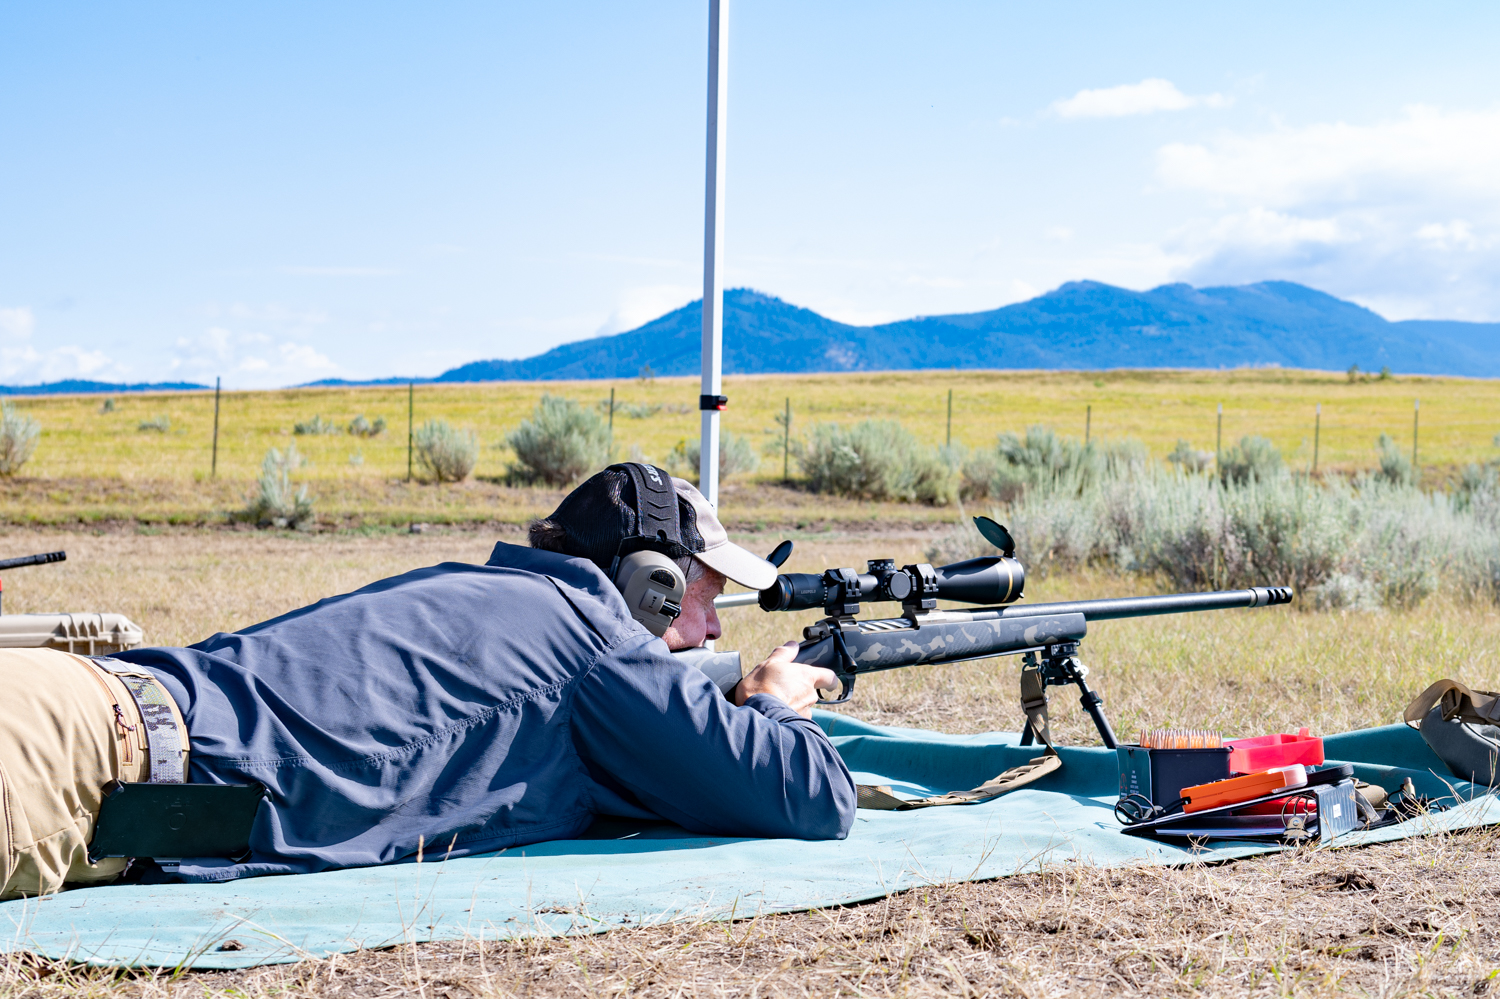
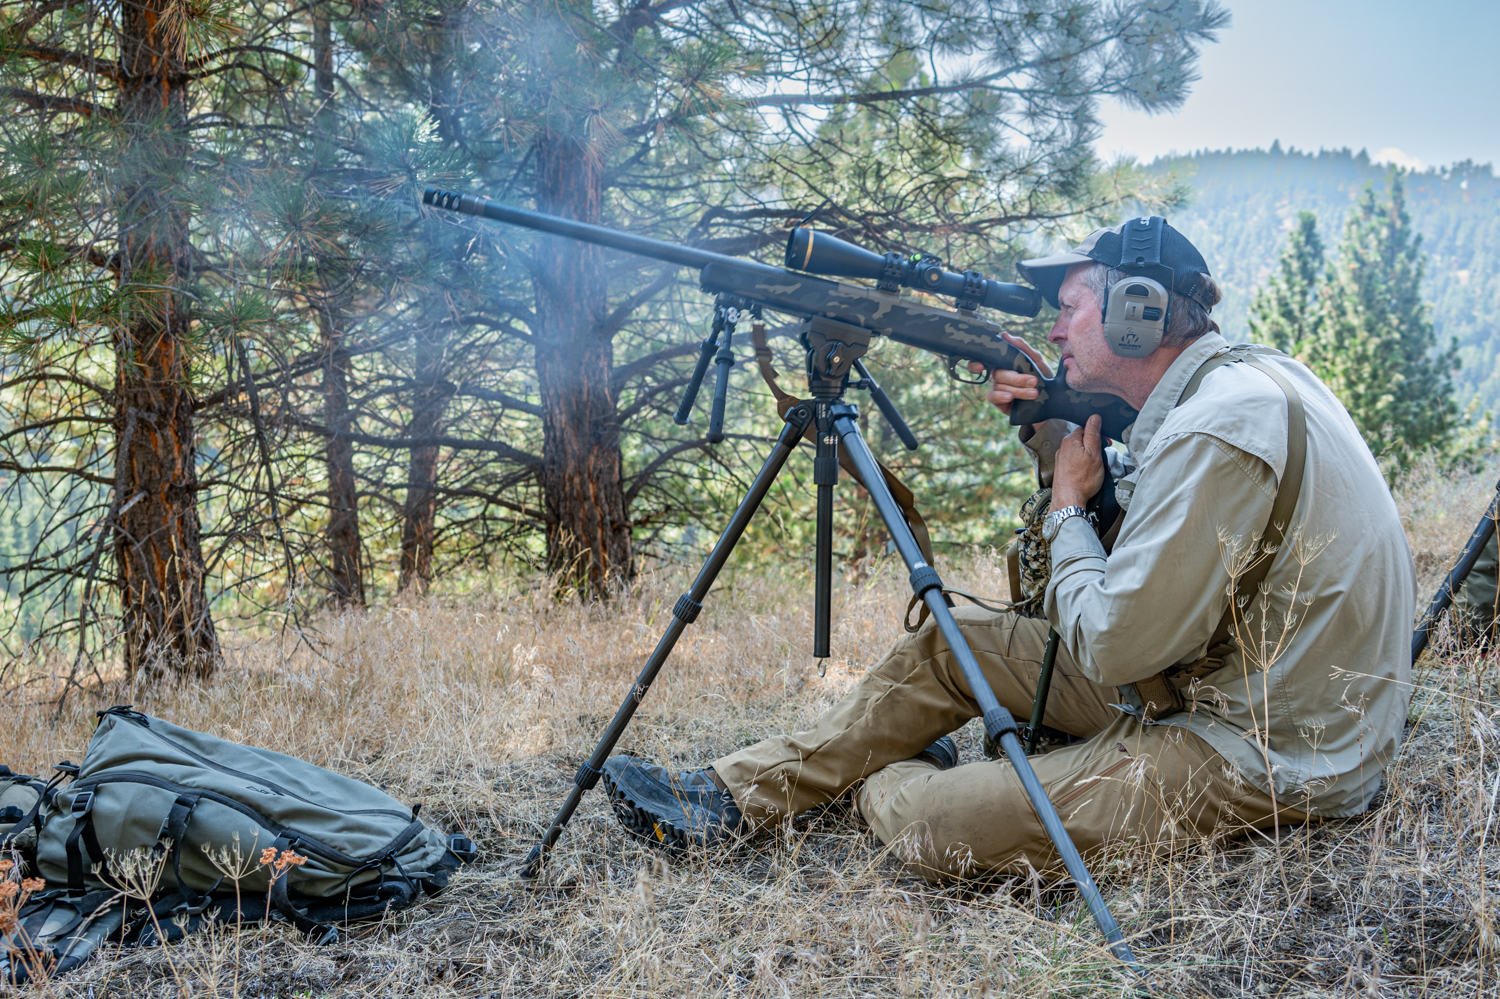
Day one starts with students heading out to the same steel target range from the Fundamentals Class. Students verify their zero and instructors help with a prone technique refresher. Students then go straight to the tripod portion where the instructors refine technique and offer some good tips and tricks for additional stability on the tripod. After trying a number of positions, I settled on sitting with a trekking pole for rear support as my favorite tripod shooting technique.
Day Two:
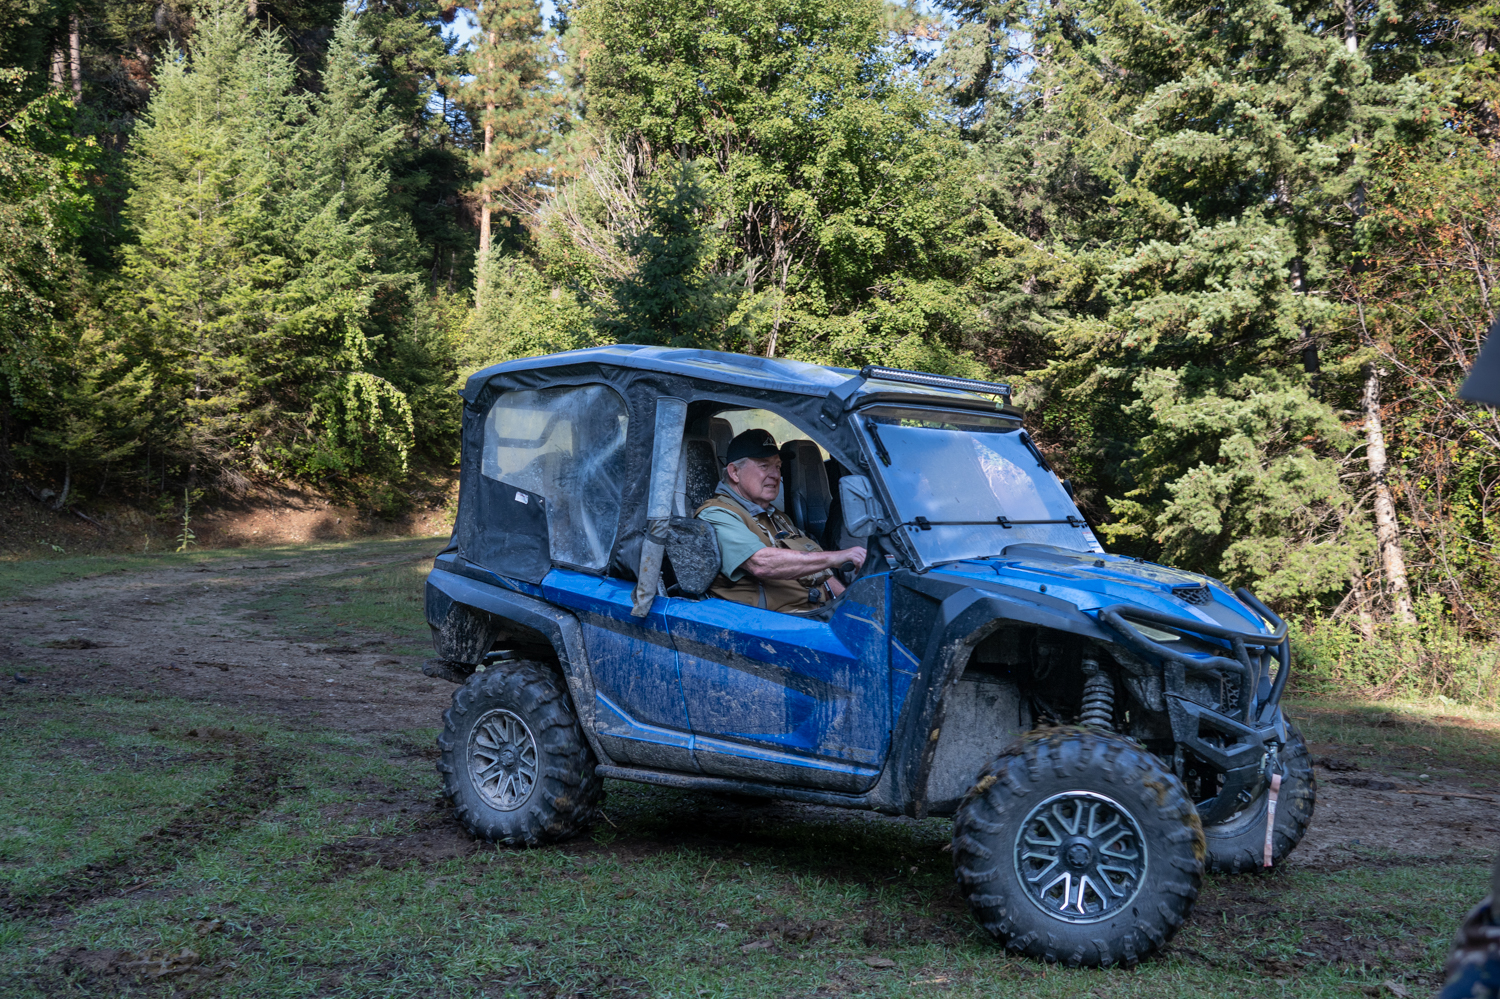
Day two of the Development Class saw us move off the standard steel range and into the timbered mountains. A quick (but steep!) trip from the parking area via side-by-side got us to the starting area for our shooting scenarios. This is where we got to the meat and potatoes of the class. Instructors identified steel targets on opposing hillsides at various positions. There weren’t identified shooting areas. By design, the class simulated hunting situations. Students had to find the target, select a shooting location, build a shooting position, figure out their corrections, and make a good shot. Day 2 had a lot of instruction and feedback from the instructors. Logan’s competition shooting experience provided great insight into building a shooting position.
Day Three:
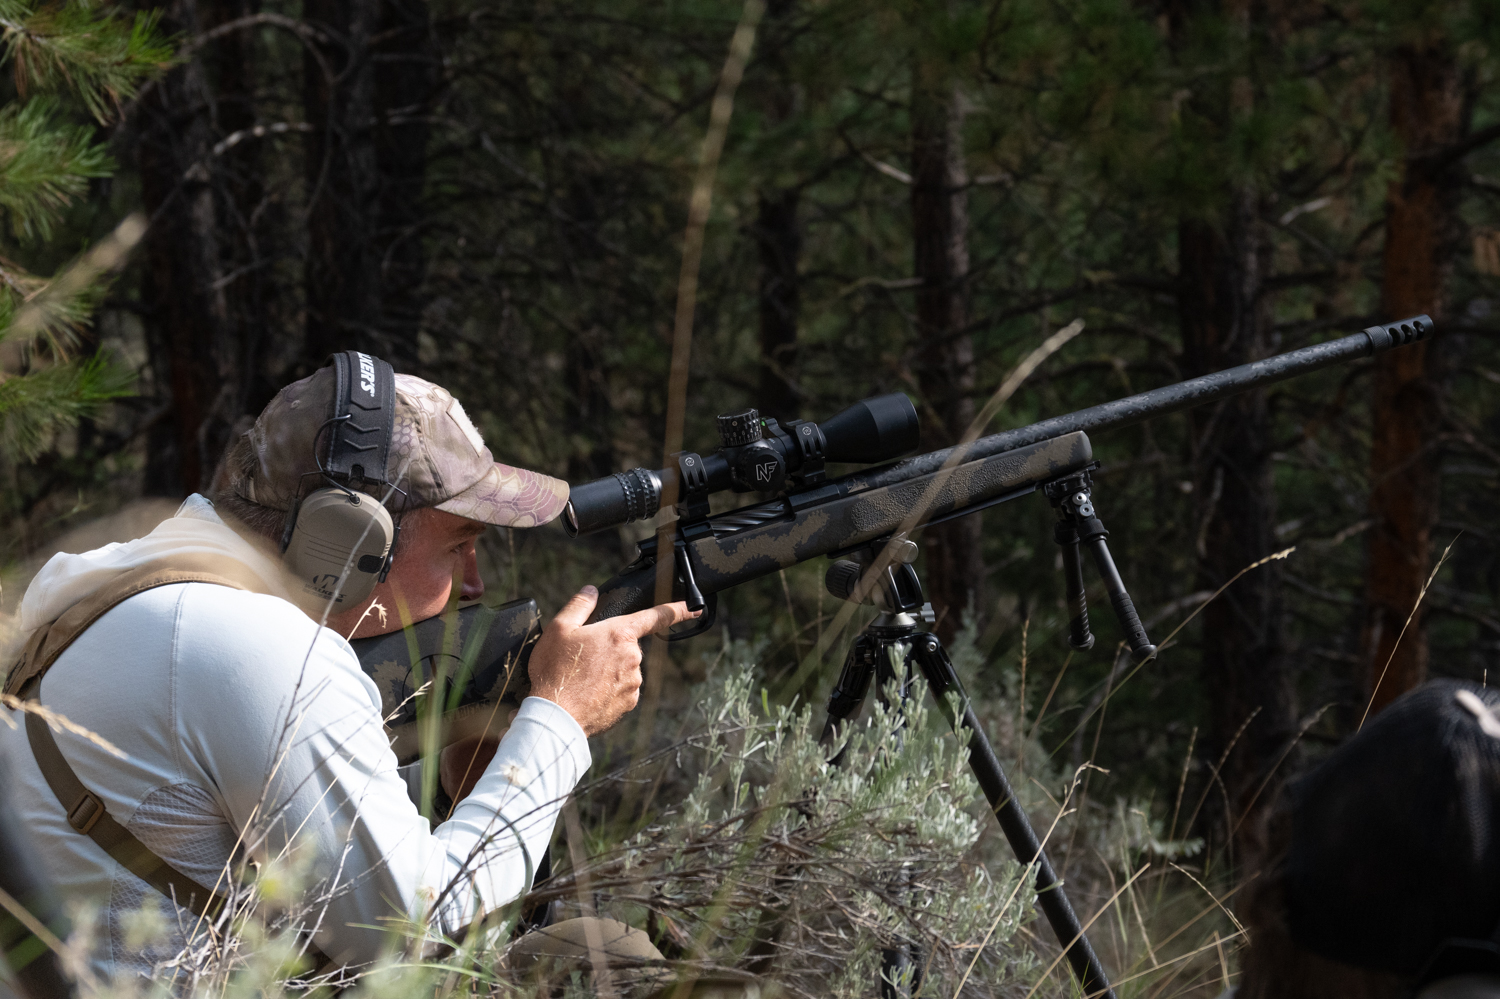
The final day really did feel like a hunt. I paired up with another student, John Nichols, and we “team hunted” targets from the starting area. Logan gave us a description of the target, and pointed us in a safe direction away from other students. We then worked our way across the slope and glassed up the intended target. After glassing up the target, we went to finding the best shooting position we could. Sometimes we could get prone, but often the terrain dictated a tripod shooting position. We used our rangefinders and Kestrels to get the range and elevation correction. We evaluated the wind to get our best call. Then we each took our time and executed a shot while the other spotted for the shooter. There were plenty of smiles and high-fives when the sound of ringing steel made it back to our shooting position. Afterwords we would debrief with Logan and move on to the next target. One interesting scenario involved shooting two targets in succession, but the second target required building a new shooting position.
How far does the class shoot?
Most of our targets were in the 600-900 yard range, but we did shoot as close as 400 yards and as far as 1200 yards. Ringing a 2 MOA steel target at 1200 yards is a real confidence booster. The target I had the most trouble with was a 4 inch target at 522 yards. After a couple shots “so close” right off the edge I managed a few consecutive hits.

What Ballistic Devices are used?
The class is really built around the Kestrel 5700 Elite. Students will use the Kestrels extensively to develop their ballistic solutions for each target. Logan’s competition experience with the Kestrel was incredibly helpful to me. I was pretty familiar with the device from previous experience, but his knowledge really pushed my understanding to a new level.
The Snowy Mountain staff didn’t stop there, however. Logan also helped students John Nichols and Mike Nichols true the data in their Zeiss RF ballistic binoculars so that solutions from the Kestrel, RF, and bullets on steel were all in sync. Logan said they can help with just about any ballistic device students bring, but again the course relies heavily on the Kestrel 5700.
What is provided?
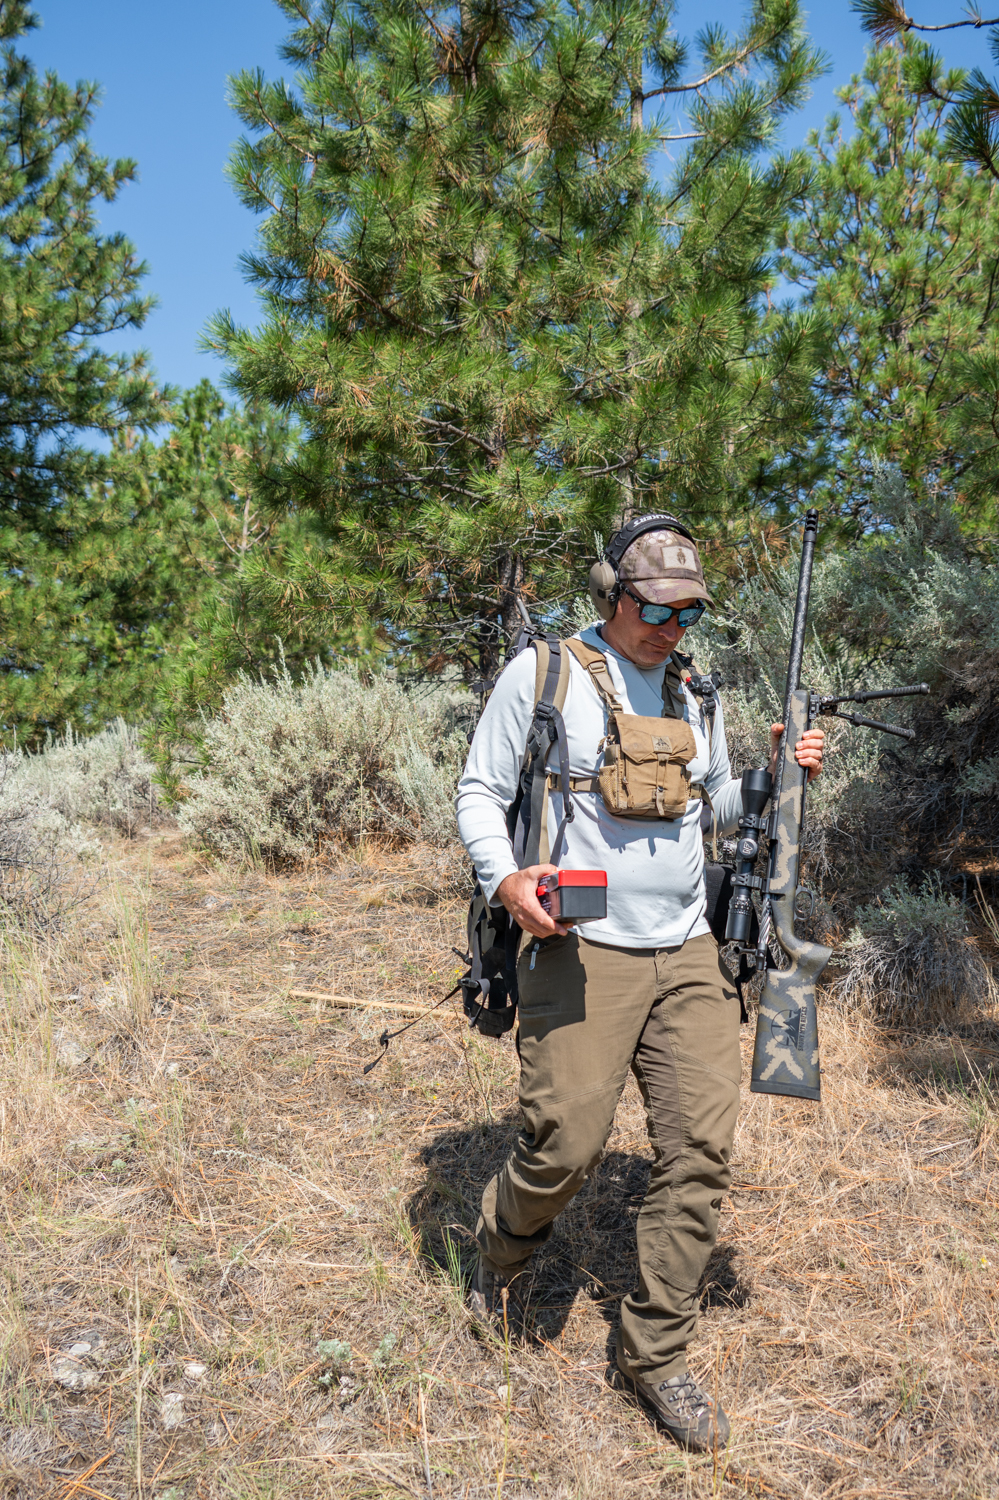
Students can use their own Snowy Mountain Rifle if they have one, but if they don’t, its not a problem. Snowy Mountain provides school rifles, scopes, rings, levels, cases, ammo, Kestrel 5700 elite, bipods, tripods, shooting supports, and bags.
This is especially nice for students with an overbore chambering in their personal rifle that don’t want to unnecessarily wear out the throat, but still get plenty of rounds downrange through a school rifle.
Instructors brought a cooler with cold water and sports drinks each day.
What should students bring?
Snowy Mountain recommends students bring the regular hunting gear and clothing they would bring on a rifle hunt. That includes backpack, binoculars, rangefinders, clothing, boots, etc. Be prepared for the widely variable weather Montana offers.
Students should pack a lunch like they were on an all-day hunt. We stopped at the local grocery store to get a few items each morning on the way out to the ranch as well.
Students are responsible for their own meals, transportation, and lodging. Snowy Mountain can refer students on where to go locally.
How much does it cost?
The Snowy Mountain Long Range Academy requires some investment at $2500. A $500 deposit is necessary to reserve your spot for the class dates posted on the Snowy Mountain Rifles Website.

If students buy a Snowy Mountain Rifle, they get 10% off the course fee. Shooting school students also get a 10% discount on any rifle, accessories, and other items purchased at Snowy Mountain.
Conclusion

The Development Course is the natural follow-up to the Fundamentals Class. Safety considerations were clearly defined. The hunting scenarios are directly applicable to the long-range proficiency of the rifle hunter. The instructors are excellent teachers as well as shooters. The other students were ready to learn and a blast to be around. After John Nichols hit his third target in a row at over 800 yards, he hollered out … “This is so FUN!” I think that says a lot about the school. John liked the class enough that he intends to retake the Development Class in 2024. I certainly came out a more competent and confident shooter than I went in.
Comment or ask Matt questions here.
Read Matt’s review of the Snowy Mountain Long Range Academy here.
Don’t forget to check out these Snowy Mountain Rifle reviews as well.
Snowy Mountain Rifles Alpine Hunter reviews by Tony Trietch and Matt Cashell.


