Measure twice, cut once?
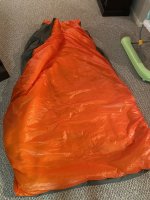
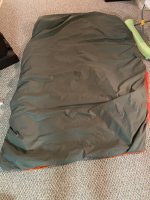
Hard to see details from your pics but it looks fine and I'm sure it will keep someone warm.
Not sure how you ended up that short. I just made my first one and found that the two fabrics varied in width by a bit. Sewed them together using straight stitch, 10 per inch, 90 needle, then sewed the 5 oz. Apex to the two. Sewing insulation down worked fine on my machine, though it seemed to work best insulation down with a strip of newspaper under the insulation. Crease the newspaper along the stitch and it comes off quickly and cleanly. The big advantage to sewing fabric side up was that I could see my original stitch and I could sew the insulation very close to the "outside" of the original stitch (when turned, this puts the insulation stitch "inside" the two fabric stitch. After all was sewn, I trimmed everything up and turned it inside out.
The fabrics are very slippery and if you don't go slow, use enough pins/clips or tape and watch the guide then you will end up with the pieces not square to each other. I found it best to sew a long edge, smooth the whole thing down on the floor, then pin a side, then 3/4 of a long edge, then the bottom. I used many sandbags to hold the fabric down on the floor as I pinned the next edge to be sewn.