DIY TIkka Barrel Swap
This article aims to debunk some of the myths around swapping barrels on a Tikka T3/T3X rifle and to serve as a how-to guide for the average, reasonably handy person with mostly commonly available tools.

Pre-fit or Gunsmith Installed Barrels
There are quite a few options for pre-fit barrels available today. Most will provide the barrel and have a list of options, but some companies, like Unknown Munitions, will allow you to provide a barrel and build it to your spec.
If you plan on going the gunsmith route, you need to be aware of some unique features of Tikka barrels. Tikka barrel shanks are 1.15” in diameter vs the more standard 1.25”. This is less of an issue on a steel barrel where your smith can turn down the shank of the barrel to match the action diameter. The problem occurs on carbon barrel blanks where you are not able to reduce the diameter of the shank to match the action. For those using steel blanks, you will want to consider having your smith remove extra length from the shank before chambering. When the shank is turned down to 1.15”, the distance from the back of the barrel to where the taper begins will increase in length and may look odd. You can also shave a bit more weight vs. taking length from the end of the barrel to arrive at your desired length.
Barrel Flute Considerations
If you’re considering having your barrel fluted with straight flutes, you will either need to send your action with the barrel to have the flutes timed during chambering (Totally defeats the purpose of a pre-fit) or have them fluted after you have installed the barrel to your action. Tikka actions do not have timed threads, so there is no way for the smith to know where to align the flutes. This also applies to engraving the caliber on the side of the barrel.
The options that I think make more sense are to either have the barrel spiral fluted, which would negate the awkward aesthetic of improperly timed flutes, or have the barrel turned to a lighter profile and have it flared at the muzzle end to whatever size you need to accommodate your preferred muzzle device. That would allow for the lightest possible barrel without sacrificing the ability to use the more common 5/8×24-threaded muzzle devices.

Rifle Action
Once you’ve decided on a barrel, it’s important to pick the right donor action or be aware of what you’ll need to change to make yours work. Both the Tikka T3 and T3x can work with pre-fit barrels. The reputation for incredibly tight, nearly impossible-to-remove barrels comes from the original T3 actions. From personal experience and the accounts of multiple smiths, the T3x is much easier when it comes to removing the factory barrel.
Tikka T3 and T3x Actions
Aside from that, the T3x will have a slightly larger ejection port, which is nice if you plan on using a magnum caliber. T3 actions share the same action body dimensions. The only difference between long and short action calibers is an interchangeable bolt stop, which doubles as the bolt release lever. This is reasonably cheap and very easy to change out.
Tikka Bolt Face Sizes
Additionally, they have three different bolt face sizes to accommodate .223-based cartridges, standard, and magnum. The bolt face diameters are .384″, .470″, and .540″, respectively. I have no experience with this, but I do know that some smiths have opened the bolt face from .470″ to .540″ for people looking to go up from standard to magnum. You can interchange bolts from one action to another, but I recommend checking head space whenever you change a bolt or barrel. (This is easy, and I’ll explain later.)
Removing The Old Barrel
There is more than one right tool to do the job! The obvious option is to buy a barrel vise and action wrench. I went with a Viper barrel vise and a Wheeler outside action wrench. I plan on doing this more than once and could easily justify the cost.
It’s important to clamp the barrel as close to the action as possible while still getting a secure grip on the straighter section of the barrel. I found that it helps if I clamp the barrel inside a toilet paper tube. This added friction keeps the barrel from spinning and helps protect the finish. When you go to remove the barrel, you want to do so with a fast hit. Shock load seems to help get the barrel off.
Some Barrels Are Stubborn
For stubbornly tight barrels, it may be necessary to heat the action where the barrel threads in. A small propane torch is adequate, but be careful not to overheat it. It’s easy to discolor your action.
If you have access to a hydraulic press, you can grip the barrel tight enough by using v-blocks and clamping the barrel inside a phone book. The phone book protects the barrel finish and grips it well. I know people who’ve done this with success.
Another option for those looking to spend the least who don’t have access to a press. You can grind two flats into the old barrel to grip it with a crescent or open-ended wrench. You can also grip the action with a large crescent wrench, but will stand a higher chance of damaging the finish.
Extreme Cases
If you end up with a barrel so tight that you can’t get it off, you will have to make a relief cut into the old barrel. You want to cut a ring just in front of the action, taking material away from just behind the shoulder of the barrel. This will relieve some of the tension holding it on and make removal easier. This may be required no matter which barrel clamping method you choose.
Protect Your Action
Regardless of the clamping method, I recommend using a heavy piece of paper around your action to protect the finish. Flash cards work well, but you could also use a toilet paper tube or heavy card stock.

Installing New Barrel
Installing is functionally the reverse of taking the old barrel off. Clamp the new barrel with whatever method you used to remove the old one. For those trying to use the least number of new tools or don’t have access to a barrel vise/hydraulic press, you can even order barrels from some suppliers with a flat machined into the barrel, allowing you to install a standard open end wrench.
Torquing Barrel To Action
There is some debate on what torque value people think is best. You will see everything from hand-tight to 150 ft-lbs. recommended. There does seem to be consensus somewhere between 60-80 ft lbs. Given the extreme range of suggestions, I opted to make it tight by feel. I worked at a tire shop for years and feel I can guesstimate somewhere in that torque range by feel. This lets me avoid buying an inside action wrench, which would be necessary if you want to achieve an exact torque value. If you want to switch barrels regularly, buying and using an inside action wrench to get an exact torque would be a good idea.
Check Your Headspace
Now that you have your new barrel installed, there are a few ways to check headspace. You can buy a set of go/no-go gauges. Or potentially even rent some. I opted to use a factory-loaded cartridge as my go gauge and added clear packing tape to the back in layers till the bolt wouldn’t close. For less than the cost of go/no-go gauges, you can buy a headspace gauge set and measure the round you plan to use as a surrogate. This way, you know what the cartridge measures and can find the actual depth of your chamber as you add tape to it.
You can then compare it to the chamber spec dimensions from SAAMI, ensuring it’s inside the published allowable range. SAAMI publishes chamber specs, and the information is free. As a side note, in researching this, I found that many no-go gauges are less than what SAAMI considers allowable, typically 4-6 thousandths over minimum spec, where ten thousandths may be deemed allowable for some cartridges. If your chamber is on the bigger end, you may want to consider getting custom shell holders so you don’t overwork your brass when re-sizing.


**Caution**
This is all advice from someone who is NOT a professional gunsmith. Please use caution and good sense when working on guns. If you choose to modify your rifle, you are doing so at your own risk.

Complete Parts List
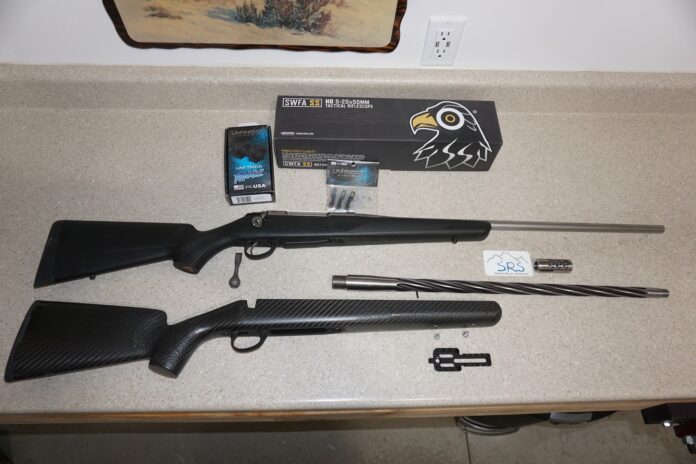
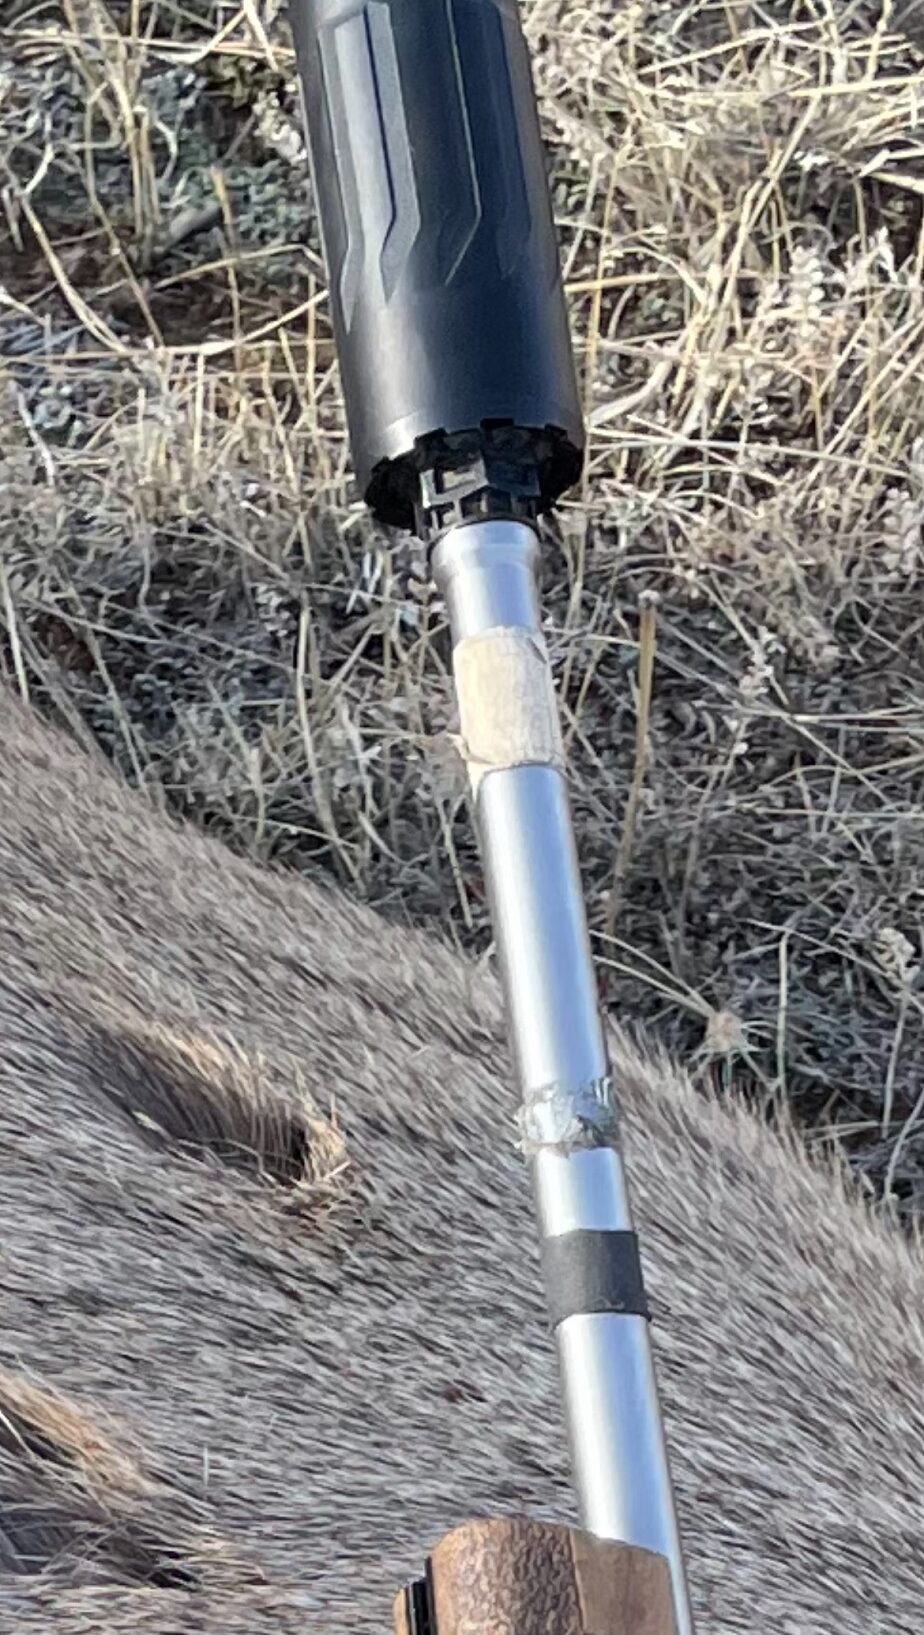
For those of you wanting to know, my rifle is a 7 PRC with a Bartlein 3b barrel that I had spiral fluted at Kampfield customs. It’s mounted in an Alterra Arms carbon fiber Tikka stock using the factory bottom metal. I had it inletted for a factory Tikka lite barrel and opened it up using sandpaper and a wooden dowel. I mounted a Salmon River Solutions Arca + PIC Rail to the stock. The muzzle brake is a Ti Pro 3 from Salmon River Solutions, and I’m using the new Unknown Munitions Tikka rings. The scope is a SWFA 5-20 HD, and I added a MTN Gear titanium bolt handle to finish it off.
Comment or ask Dioni questions here.


