Why DIY backpacking meals? For years I’ve gritted my way through mealtime in the field. Every August when the fall hunting kicks off in Alaska, the transition from eating wild game and fresh fish all summer, to the abrupt change to freeze-dried mush and brick-hard bars makes my GI tract come to a screeching halt. I switched it up and dabbled in the world of premium backpacking food. The taste was on point, the morning constitutional was quite pleasant, but after 35 nights of hunting between August and September, I was looking at a 2nd mortgage on the house to finance my new menu.
Being inherently stubborn, I figured–via trial and error–I could produce a palatable and pack-worthy meal to fuel my all of my hunts. Alas, after subjecting my family to enough of my creations, I landed on some tasty grub that I look forward to eating and at a fraction of the cost.
The Juice is Worth the Squeeze
Making your own backcountry meals is not as convenient as buying commercially produced, just add water and food, however, when you look at it through the same lens as dialing in your rifle, breaking in your boots, or obsessing over your pack weight, food preparation should fall under the same scrutiny. I like to crank out 20-30 meals of each variety, during the dark and cold of the Alaskan winters. In between ice fishing and my attempts to trap fur, I like to use the off-season to get ahead on my hunting season food cache, before the mad dash of an Alaskan summer kicks off.
Needed Equipment
The good news is the meals I’ll outline below need nothing more than a budget dehydrator and if you want to save a little extra space, a vacuum sealer. At the minimum, we are talking about a $50 investment in a piece of kitchen equipment that will pay for itself in one season.
Making your own backcountry meals provides three major advantages over buying off the shelf.
- Cost – Depending on what brand you buy, you can expect to pay $5 – $14 per meal. On the low end of the spectrum, some DIY meals are the same cost as buying in bulk, however, your menu is limited to what the store offers.
- Custom – You pick the ingredients and the menu, build meals to suit your taste. See ya later Beef Stew and enough salt to dry a capped-out moose. Add in the ability to alter the calories of a given meal, you can adjust the calories up or down depending on your needs.
- Easy on the Stomach – I’m sure some of you share my burden, freeze-dried food just doesn’t sit well in my gut. Either things get backed up or I turn into a one-man band! You may not relate, but if these symptoms sound familiar, making my own food has eliminated these annoyances altogether.
A Note on Meat
When you choose which meat to add to these meals, you need to keep two things in mind. Choose lean meat as fat does not dehydrate well, makes a mess, and just doesn’t work in these sorts of meals. Secondly, I use meat that has either been pressure canned at home or commercially. The canning process creates very tender meat that easily dehydrates and most importantly rehydrates quickly. The best commercial meat option I have found is Kirkland canned chicken. I’d much prefer to use a cleaner meat source but I figure it’s no worse than any “meat products” found in most freeze-dried meals.
Packaging
Don’t be cheap! I’m always looking to cut a few dollars here and there so I have more cash to put towards better optics, packs, and boots. When I first started making my own meals I packed them away in no-name plastic bags. It worked great the first few mornings, but then I had an itch for a hot breakfast. Well, I pour in a little hot water, turn to take a leak, and returned to find my breakfast had melted through the bag and filtered through the tundra.
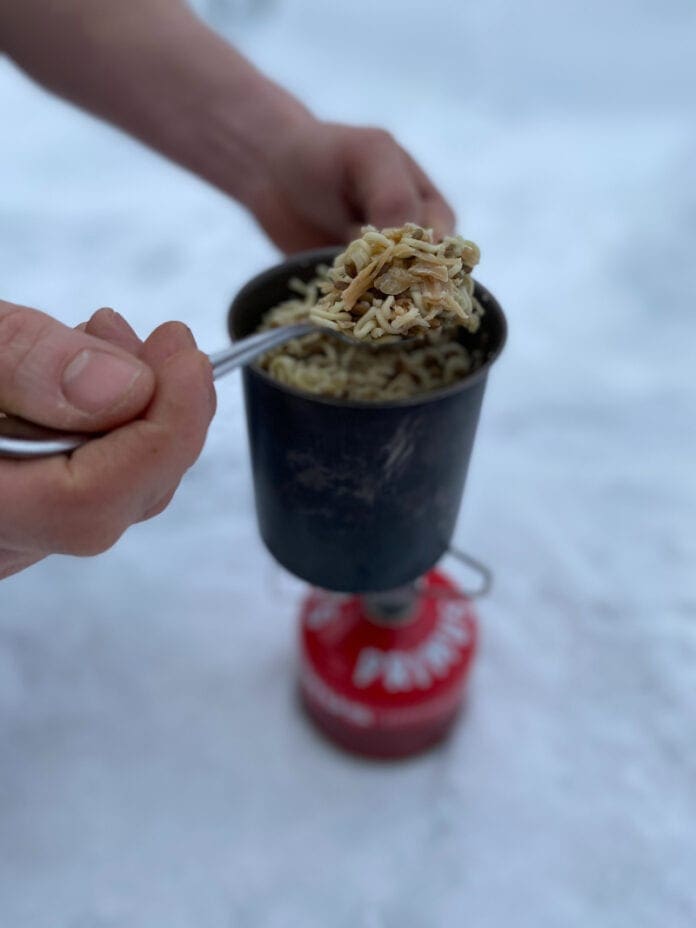
Buy freezer-grade brand name Ziploc bags or vac-pack your meals. They hold much better in your pack and you can pour boiling water right into them and they won’t leak. However, I’ve ditched eating out of a bag altogether. My go-to meal consumption vehicle is eating right out of the cooking pot. I found it’s easier to stir, easier to eat, and makes trash cleaner because I’m not stuffing dirty, slimy bags into my pack.
Breakfast
Hands down this is my favorite meal to pull out of my pack. I’ve been playing around with the ingredients for several seasons and this latest rendition is on point. If you’re just dipping your toes into the water of DIY backpacking food, this is the best place to start. No dehydrator or special equipment needed, just throw them in a bag, pack into the woods, add water…chow!
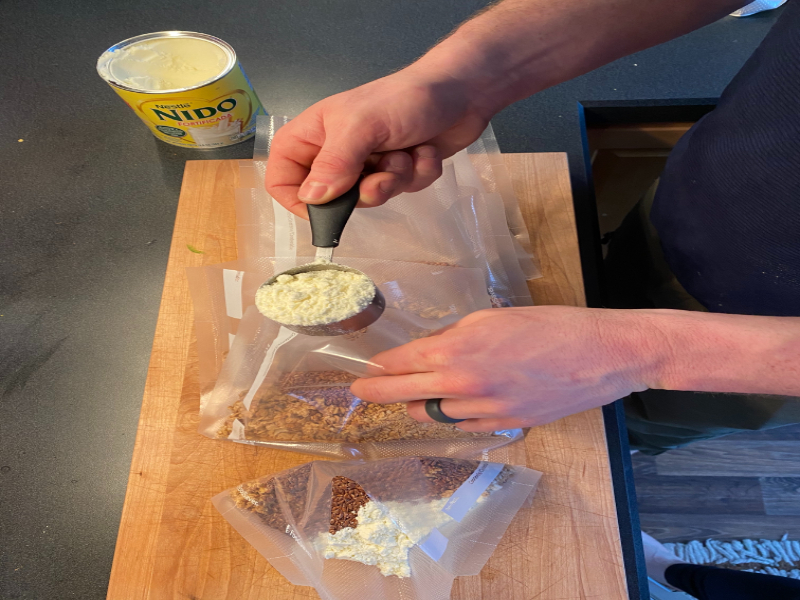
Ingredients
- Honey Almond granola – 1 cup
- Flax Seeds – 3 tbsp.
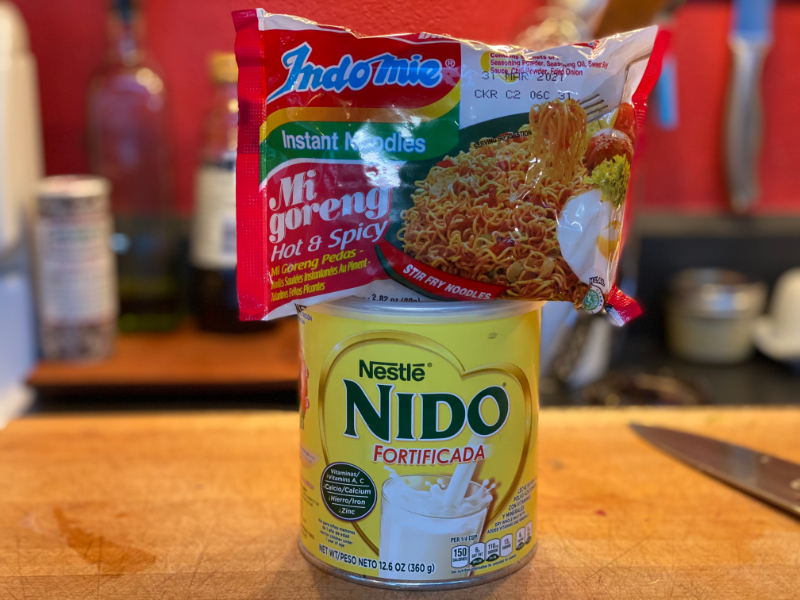
- Nido Powdered Milk – ¼ cup
- Coconut Oil – 1 tbsp.
When it comes time to make this, I just lay out how many bags I need and scoop each ingredient into the bag. I like to vac-pack these meals because I make big batches and store them in the freezer. A very simple meal and that ends up costing me $2.52 per meal and a whopping 750 calories.
I choose honey-almond granola because it was the highest calorie granola I could find in the bulk food aisle. Flax seeds are optional, but I like the added grit and boost of calories. The Nido Powdered Milk is non-negotiable. This isn’t that milk toast variety that tastes like watered-down milk, this stuff is full fat, creamy, and is the foundation of this meal. I find it in the ethnic/Latin food section of my grocery store. I started adding in a small amount of coconut oil because I wanted just a few extra calories to start my day.
Dinner
Of all my dinner creations, this one is my favorite and easiest to make. You may call it Asian Fusion but I just call it CLAIR. I don’t have a habit of giving my food pet names but rather it’s an acronym for the ingredients that make up this meal. Chicken, Lentil, and Asian Instant Ramen; put them all together and you get a fusion meal that is nutritionally well rounded and calorie-packed. For this one, you need a dehydrator for the chicken and lentils, plus a packet of Indomie Instant noodles.
Indomie Instant Noodles
I use Indomie Instant noodles because, in addition to ramen noodles and a seasoning pack, it comes with a prepackaged tube of oil, chili sauce, and soy sauce. This brand has a great taste, better than the old college stand-by ramen and one packet has 390 calories. Look for it in the Asian aisle, we have it at pretty much every major supermarket in Alaska.
Ingredients
- Kirkland Chicken Breast – 1 can
- Lentils – ½ cup
- Indomie Instant Noodles – 1 packet
Making this meal is quite simple
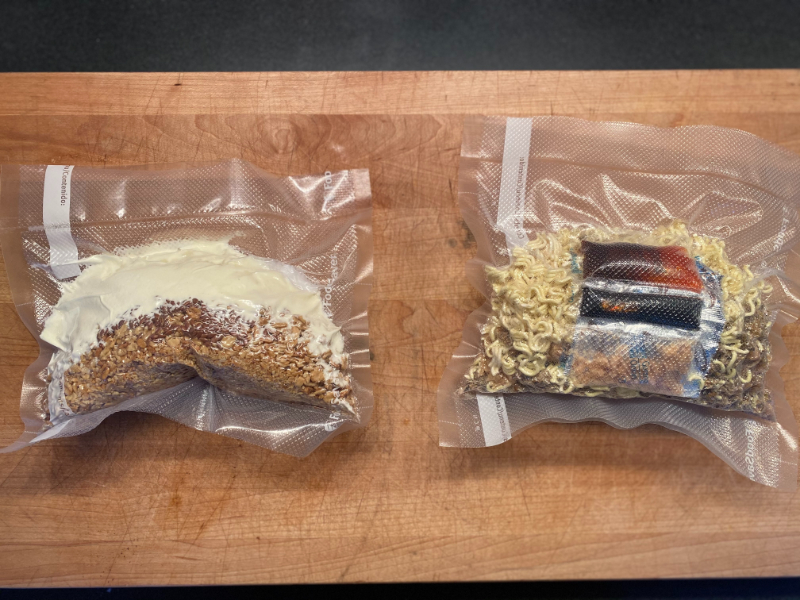
Dehydrate the chicken, dehydrate the cooked lentils, then place the right amount into a vac-pac bag or Ziploc, add the instant noodles and seasoning packets, vacuum seal and you’re done. When it’s all said and done I can make this meal for $3.88 per packet containing 820 calories and 61 grams of protein.
There are a few nuances that need addressing
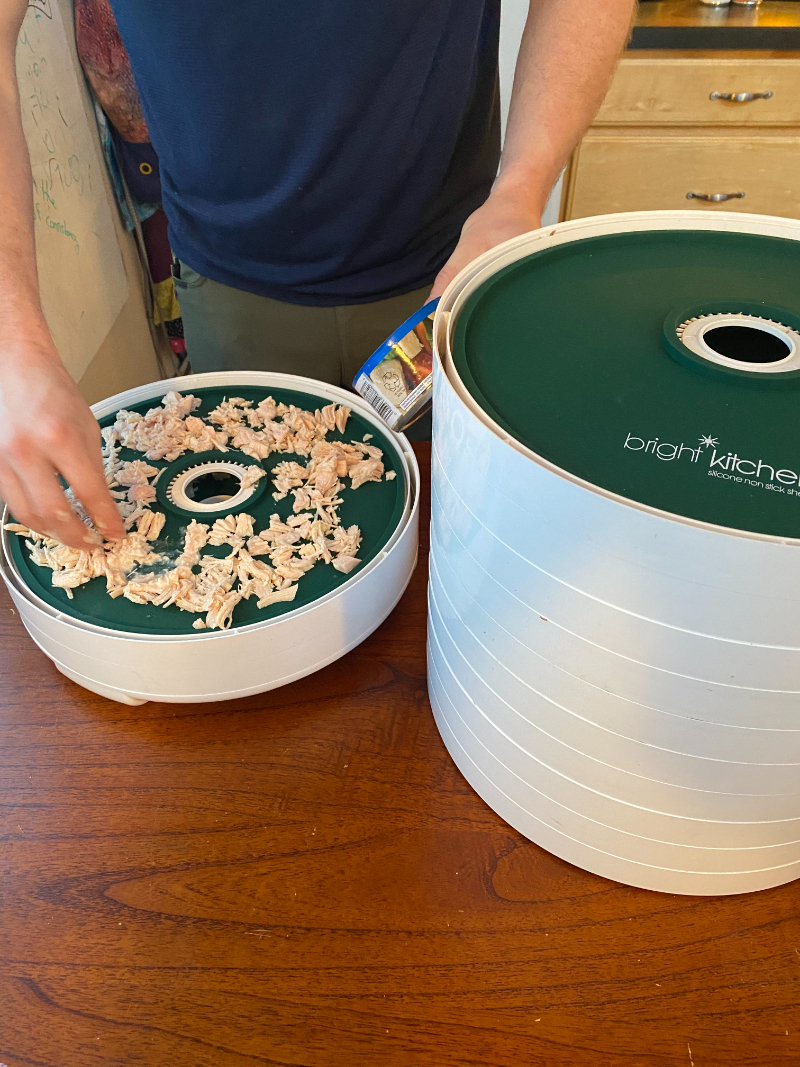
To make the metering of food easy during the packaging phase, I put one entire can of chicken on a single dehydrator tray. That way after it’s bone dry I transfer one tray into one bag and I know I have the right amount of chicken in each meal.
When it comes to lentils, take your pick between red or green (I use both,) it just depends on which one is cheaper at the time. Also, the lentils need to be cooked first then dehydrated. It seems counterproductive to cook a dry good and then dry it out again, but you would use all your fuel if you tried to cook raw lentils in the field. Dehydrating the cooked lentils makes them a breeze to rehydrate in just 10-15 minutes.
The last note worth mentioning is to make sure you crush up the ramen before you put it in the vac-pac bag. The brick shape that ramen is notorious for, takes up too much room. Don’t forget to throw the seasoning packets from the Indomie package into your new meal. Those are the secret ingredients for this whole meal.
Give DIY Backpacking Meals A Shot
Homemade backpacking meals are not that difficult and allow you to dramatically slash your food budget. I still rely on a lot of bars like Bobo’s and Pro-Bars to get me through a 10-day sheep hunt, but I really like the idea of eating a little healthier and saving some money along the way. The way I look at it, making your own food is a lot like spending your weekends on training hikes, hitting the gym at 5 am, or whipping out rep after rep with your bow. It’s a level of commitment that the most die-hard hunters exude in their pursuit of game!
You can ask Jake questions or comment on this article here.
Don’t forget to check out this forum thread about freezer bag meals as well.


