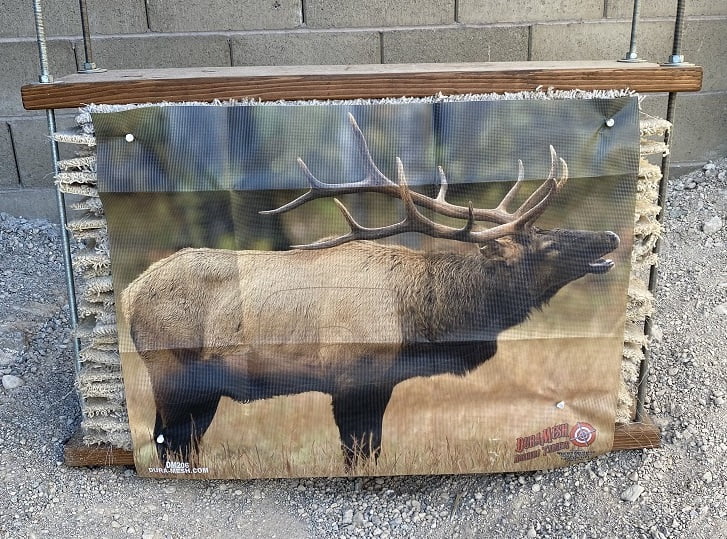
Do you get tired of buying archery targets? Whether it’s a self-healing foam or a multi-layered bail target, they just don’t seem to hold up to heavy abuse. If you are like me and you get a little tired of spending money on targets all the time, I just might have the solution. A DIY archery target you can build at home.
With just a few tools and a few materials, you can build yourself an archery target that will last many years. In this step-by-step tutorial, you’ll see just how easy and inexpensive it is. Just know that before you begin this target isn’t for broadhead use.
Here is a list of tools you will need:
- Power drill
- Power miter saw or a crosscut handsaw
- Open-end or closed-end wrench (I use a closed-end ratchet wrench)
- ⅜” drill bit
- Tape measure
- Sandpaper and/or file
- Utility knife
- Marker
- Pencil
Here is the list of materials
(all from Home Depot or Lowe’s)
- 2” x 12” x 8’ douglas fir lumber
- 4 pieces of 48” x ⅜” all-thread
- 8 – ⅜” washers
- 8 – ⅜” nuts
- Stain or some type of weatherproofing sealant
- A bunch of leftover low shag carpet from construction or remodel.
*I have never had to pay for my carpet–call your local flooring company. They are always throwing out carpet. You will need approximately 24 yards.
Building A DIY Archery Target
First, you will need to cut the lumber to the correct length. Since the target for this build will be 36” x 36”, cut the 2” x 12” lumber to two 36” lengths. With the top and bottom boards cut to size, you can now drill some holes so that the all-thread will slide through. You will want to measure 1-½” in from each corner and mark it. I like to have the holes in far enough so that the lumber is still structurally sound.

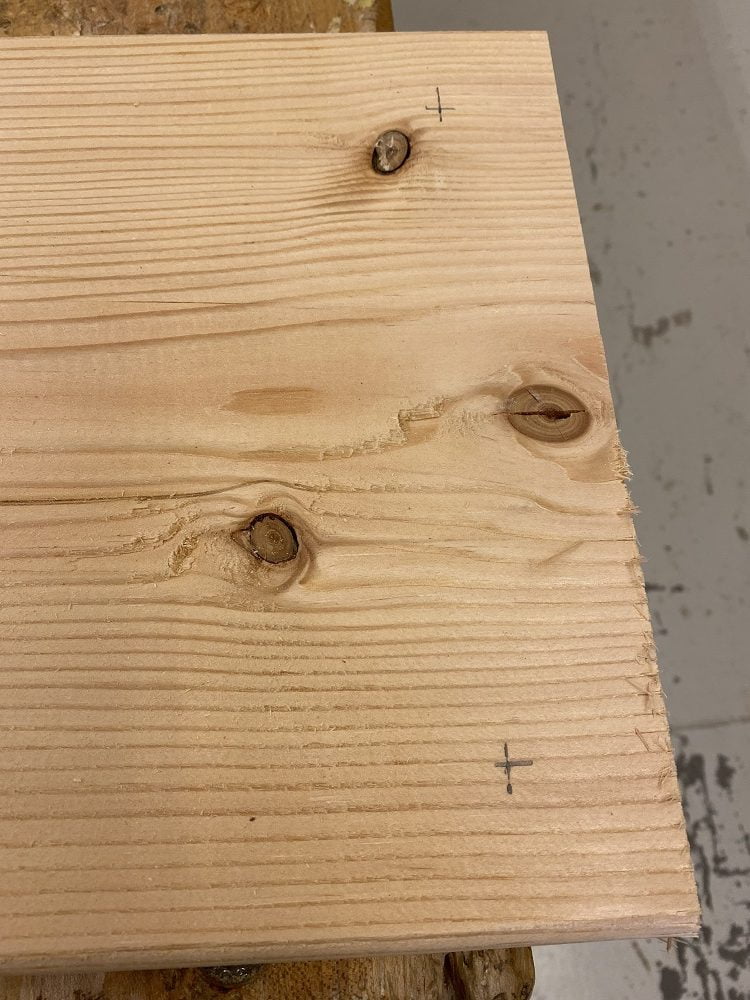
After all corners are marked you will need your power drill with the ⅜” drill bit attached.
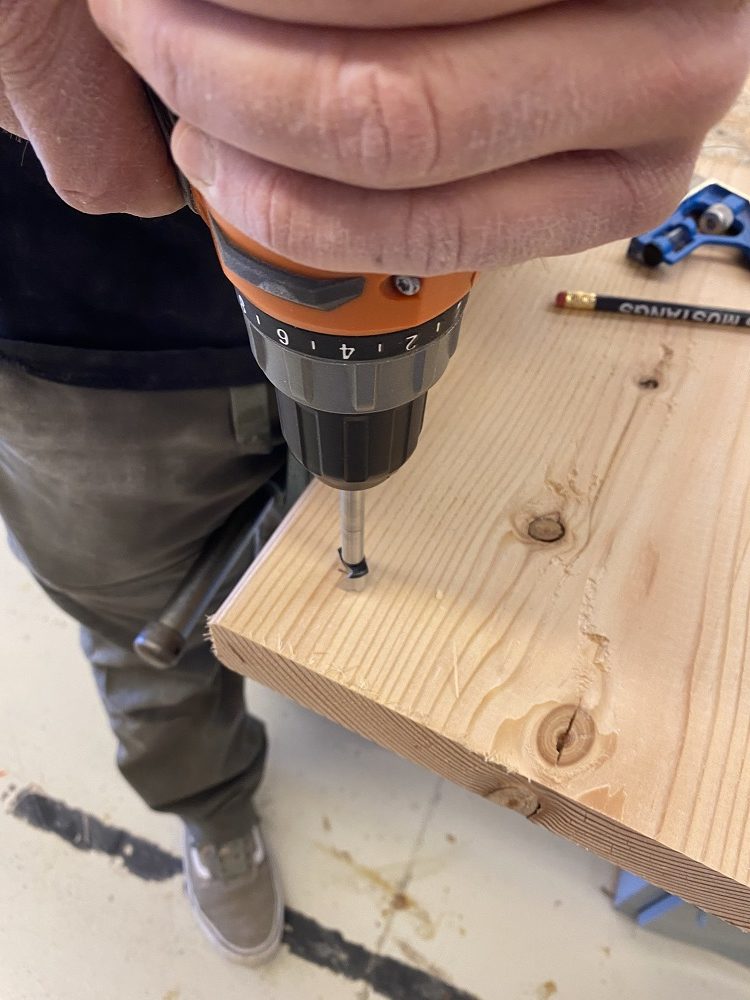
Drill each corner all the way through. Once all holes are drilled you should sand and/or file all edges and corners. This is so that you won’t have splintering.

There is one last thing to do for the lumber to protect it from the weather–put a finish on it. I chose a stain for mine but you can use a variety of different waterproofing sealants.
Cutting The Carpet
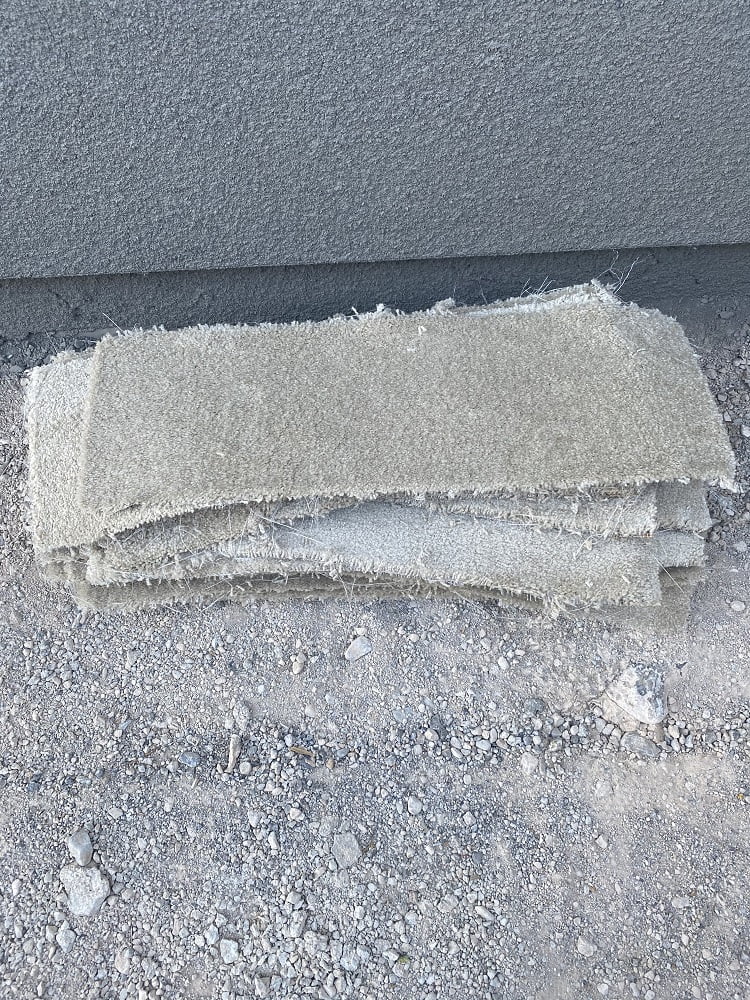
Next, make a template out of cardboard, a thin piece of wood, or just measure your first cut out of your carpet and use that as your template. Measurement for the template should be 11” x 32”

With all of the carpet that you acquired, (approximately 24 yards) you will want to lay it out with your template and mark with the marker. Then cut each piece with your utility knife. For this target, we will need approximately 70 pieces depending on the thickness of the shag.
Assembling The Archery Target
After all the pieces are cut, we are ready for assembly. Take the all-thread and screw on a nut and washer on one end of each 48” piece. Now put each all-thread through one of the four holes in the bottom board of the soon-to-be target. With the board on the ground and the nut and washers underneath on the bottom side, you should have all four of the all-threads sticking vertically upright.
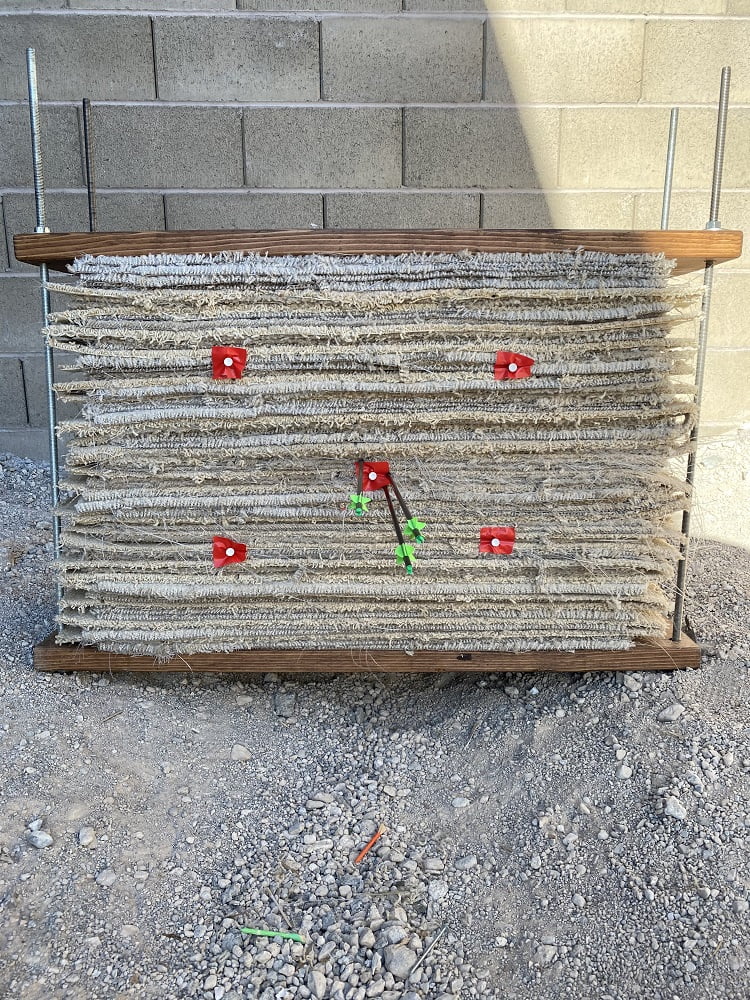
Next, we will stack the cut pieces of carpet evenly on top of the bottom board until just shy of the top of the all-thread. This will be close to 4’ tall but we will be putting the top board over the carpet and sliding the all-thread through the four pre-drilled holes. This is so that we can begin sandwiching the carpet between the top and bottom boards. This is made possible by screwing on the remaining ⅜” nuts and washers onto the tops of each of the all-threads.
Once all the parts are assembled, we need to tighten each nut down tight evenly. Do this by using your open or closed-end wrench.
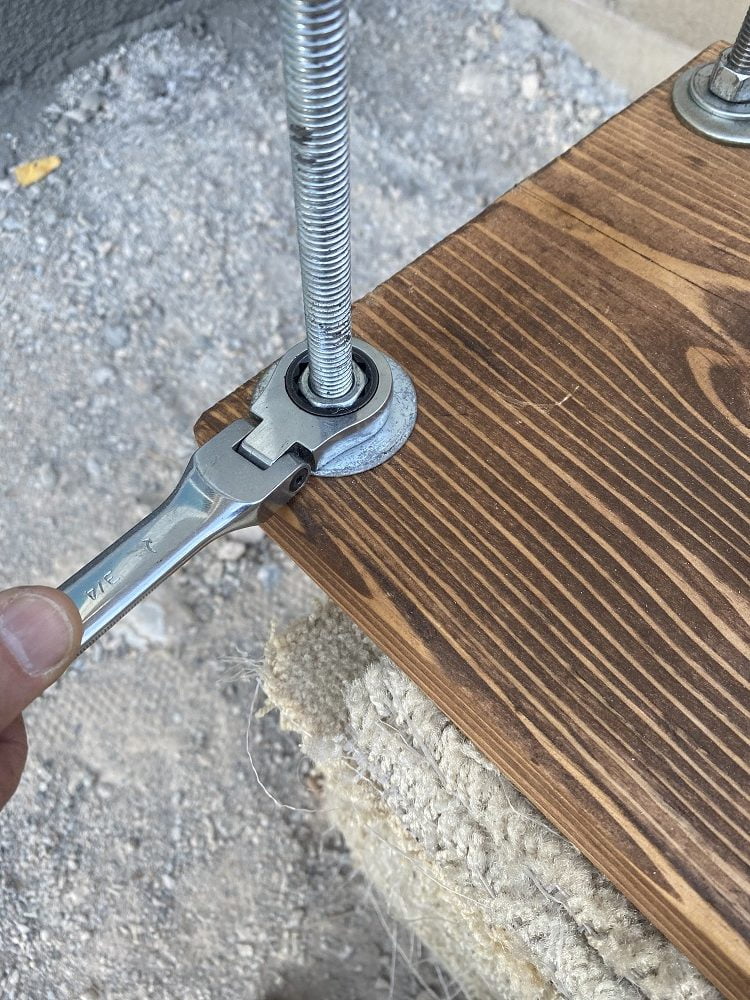
When tightening down the nuts evenly, do so by screwing 10 full turns on each nut in an X pattern to secure and sandwich the carpet evenly (10 is an easy number to remember.) After the target is tightened to about 32”-36” tall, you can try shooting an arrow into it.
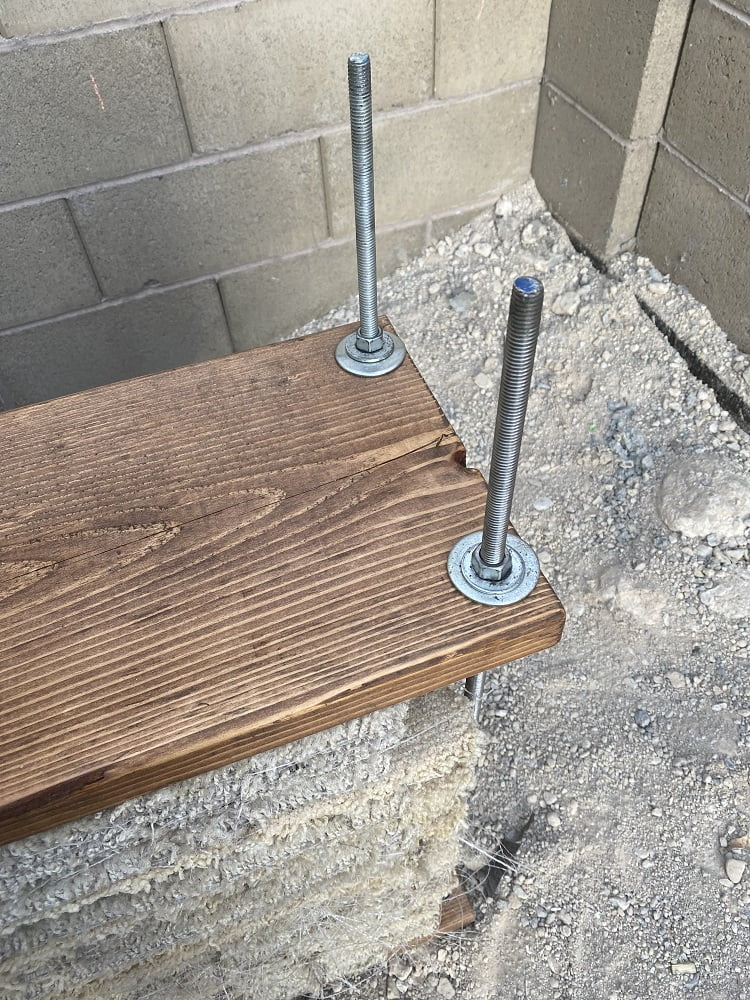
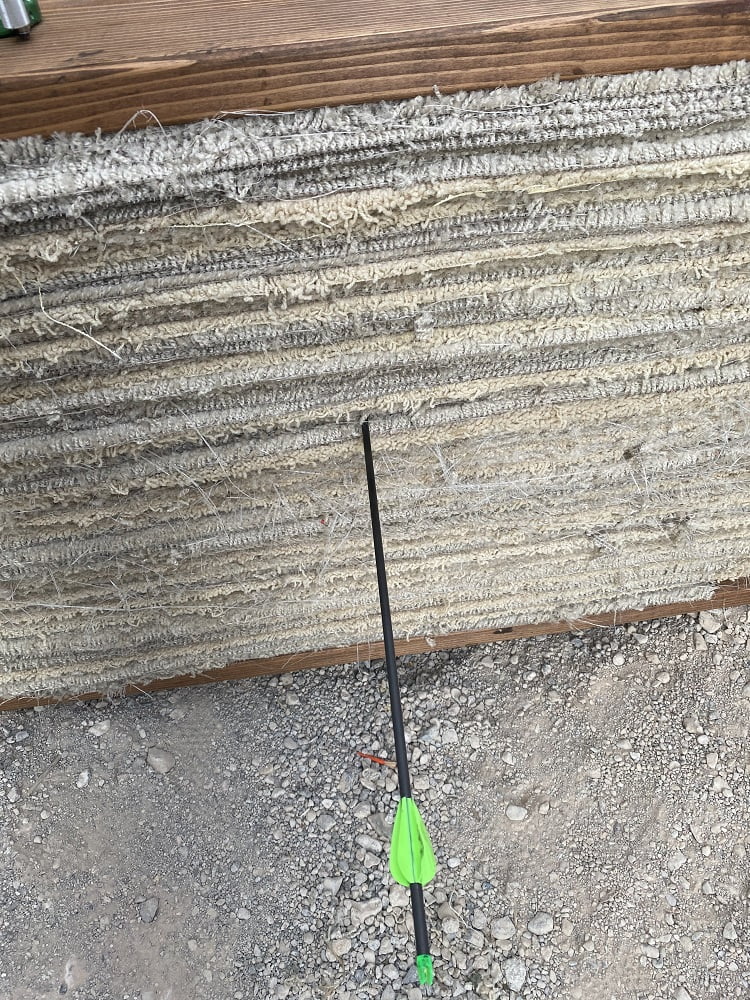
If the arrow is burying in too deep, then repeat the tightening process and check again. Once it is where you like it, you can start shooting!
Time to shoot!
Another thing that I like to do is tighten it up one more time the next day after settling and one more time a week later. Your DIY backyard target is now complete! Just add any type of target face that you’d like with the help of some golf tees to pin it down and you are good to go!
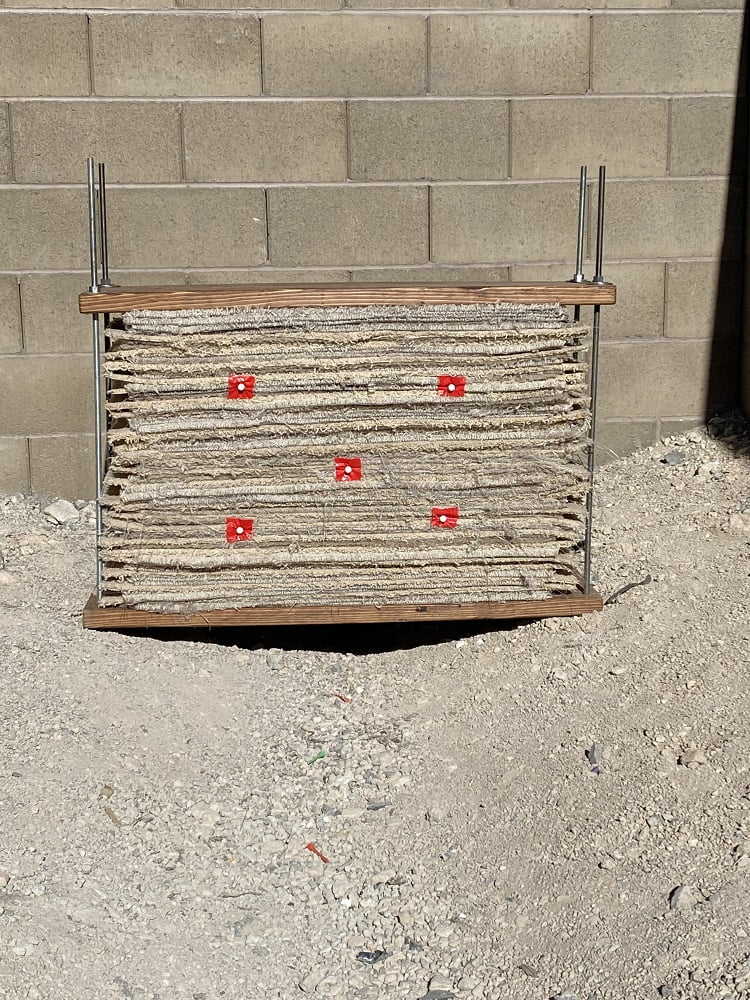
Final Notes
As you can see, this DIY archery target is very simple and cheap to build. You can even make it larger if you like! You will just have to use larger pieces of all the materials. Be careful not to make it too large though because it can be very heavy.
After a year or two (depending on how much you shoot) you can just unbolt it and replace the center pieces of carpet and it is as good as new!
So next time you are thinking about buying a target go ahead and give this a try. It is a lot more fun and gratifying knowing that you built it, and that it will last much longer than store-bought targets. Now go out and have fun getting your daily reps in your own backyard!
You can comment on this article or ask Jimmy questions here.


