In Parts One, Two and Three, I covered gun/caliber, energy requirements, powder, and loading procedure/development using a Vortex Razor HD LH 1.5-8×32 scope on a Knight Mountaineer. Besides load development, I showed the potential of that set-up out to 300 yards, plenty of range and energy for killing big mule deer. See Part III for that demonstration.
For this last post in the series, let’s install the XS peep from Part II and shoot the gun to 200 yards. This system will be legal in all the western states and for that matter, virtually all the U.S. where open sights are required.
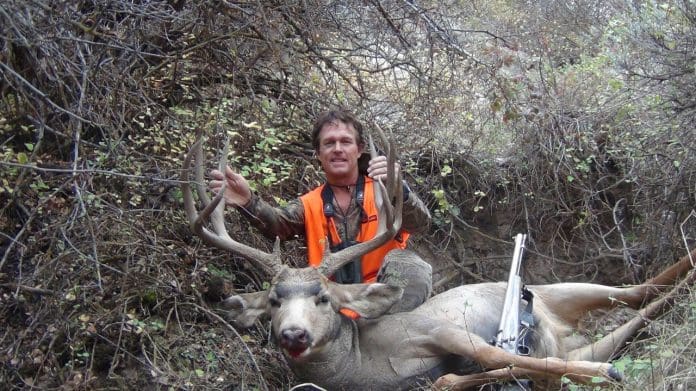
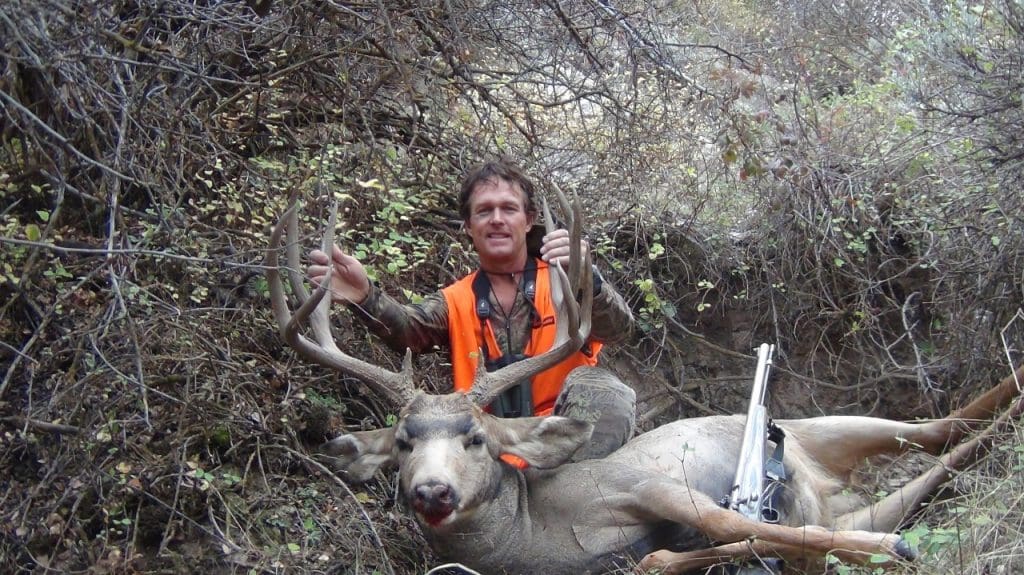
The load I developed for this project was using sabots as both states I drew tags in, Nevada and Utah, allow them. I settled on 100 grains of Blackhorn 209 behind a 240 grain Precision Rifle Dead Center Conical that clocked in at an average of 2125 fps, and printed 1.25″ groups at 100 yards. If you’re hunting a state like Idaho, Colorado, or Washington that requires conicals, no sweat. I covered that load way back in 2014 here (the lead photo shows a buck I took with that load, that hunt was posted live here). I also developed a very accurate .50 caliber conical load I used to take this 191″ buck in 2013.
You can see that hunt unfold here.
Besides the projectile, the loading procedure for conicals is the same but you’re going to have to add a bullet starter to get a conical started down the barrel. Also to note, I’ve got my best accuracy with conicals using Triple 7. So far, not many muzz guys are finding Blackhorn 209 accurate with conicals, and neither did I.
Sub-MOA groups are possible with a good muzzleloader using the components and procedures detailed in this series
Installing an XS Ghost Ring Sight system
I wrote extensively in Part II on why I think the XS system is a great choice for killing big mule deer in states that require open sights. I’ve used them for over 15 years and found them accurate, durable, and pretty user-friendly. I’ve also found the tech support at XS is top notch.
Once you’ve developed your load with a good scope, you can simply pull it off the Weaver base system I recommended in Part II and install the XS.
Call XS and tell them that you’d like to install the XS Ghost Ring with the threaded aperture to accept the Brownells long shank apertures described in Part II (tell them Rokslide sent you.) They will have questions about your gun, velocity, trajectory and more, so be sure and have your gun and shooting journal with you. XS can then make a recommendation on rear sight height and front base height. They will send the rear base ready to install and the front base with a test post.
The XS Ghost Ring’s segmented front test post.
This is to ensure you’re within the elevation adjustments of the rear sight. Once confirmed, they will send you a permanent front sight post that is pretty easy to install using a flat file and red Loctite. The instructions provided with the XS show all you need to know.
Once your base and test post are installed, head to the range and make your final adjustments. This is where you’ll be so glad you did all your load development with a scope as you can simply bore-sight at 25 or 50 yards, move to 100 yards (depending on your load, I recommend 2″ to 4″ high at 100) then check your trajectory at 150 and 200 yards.
The Ghost Ring Aperture without long shank peep installed
The Ghost Ring with long shank aperture installed. I’ve found the .093″ is the best all-around size for hunting
Here’s a quick video on how I bore-sight. This step will save you money and time, so be sure and do it!
Here’s a quick video on adjusting the rear aperture:
Within just a few shots, I had my gun sighted and shooting good groups to 200 yards. Here’s a quick video showing my final results with the Knight Mountaineer .45 caliber shooting Precision Rifle’s Dead Center 240 grain sabot out to 200 yards with the XS Ghost Ring Peep Sight. Considering the amount of wind I shot in, I’m pretty happy with this load. I know it can kill big mule deer to 200 yards.
All that’s left is finding a good Nevada buck. I’m scouting now and hoping to find a buck worthy of spending all the points I did. Once that hunts over and I move to Utah where scopes are legal, I’ll pull the XS and install the Vortex scope detailed in Part III. If you’d like to follow those hunts, be sure and subscribe at the top of the blog.
To learn about the gear and tactics I use, check out my book, Hunting Big Mule Deer


