Telling Your Story, Part I: Camera Selection
By Aron Snyder
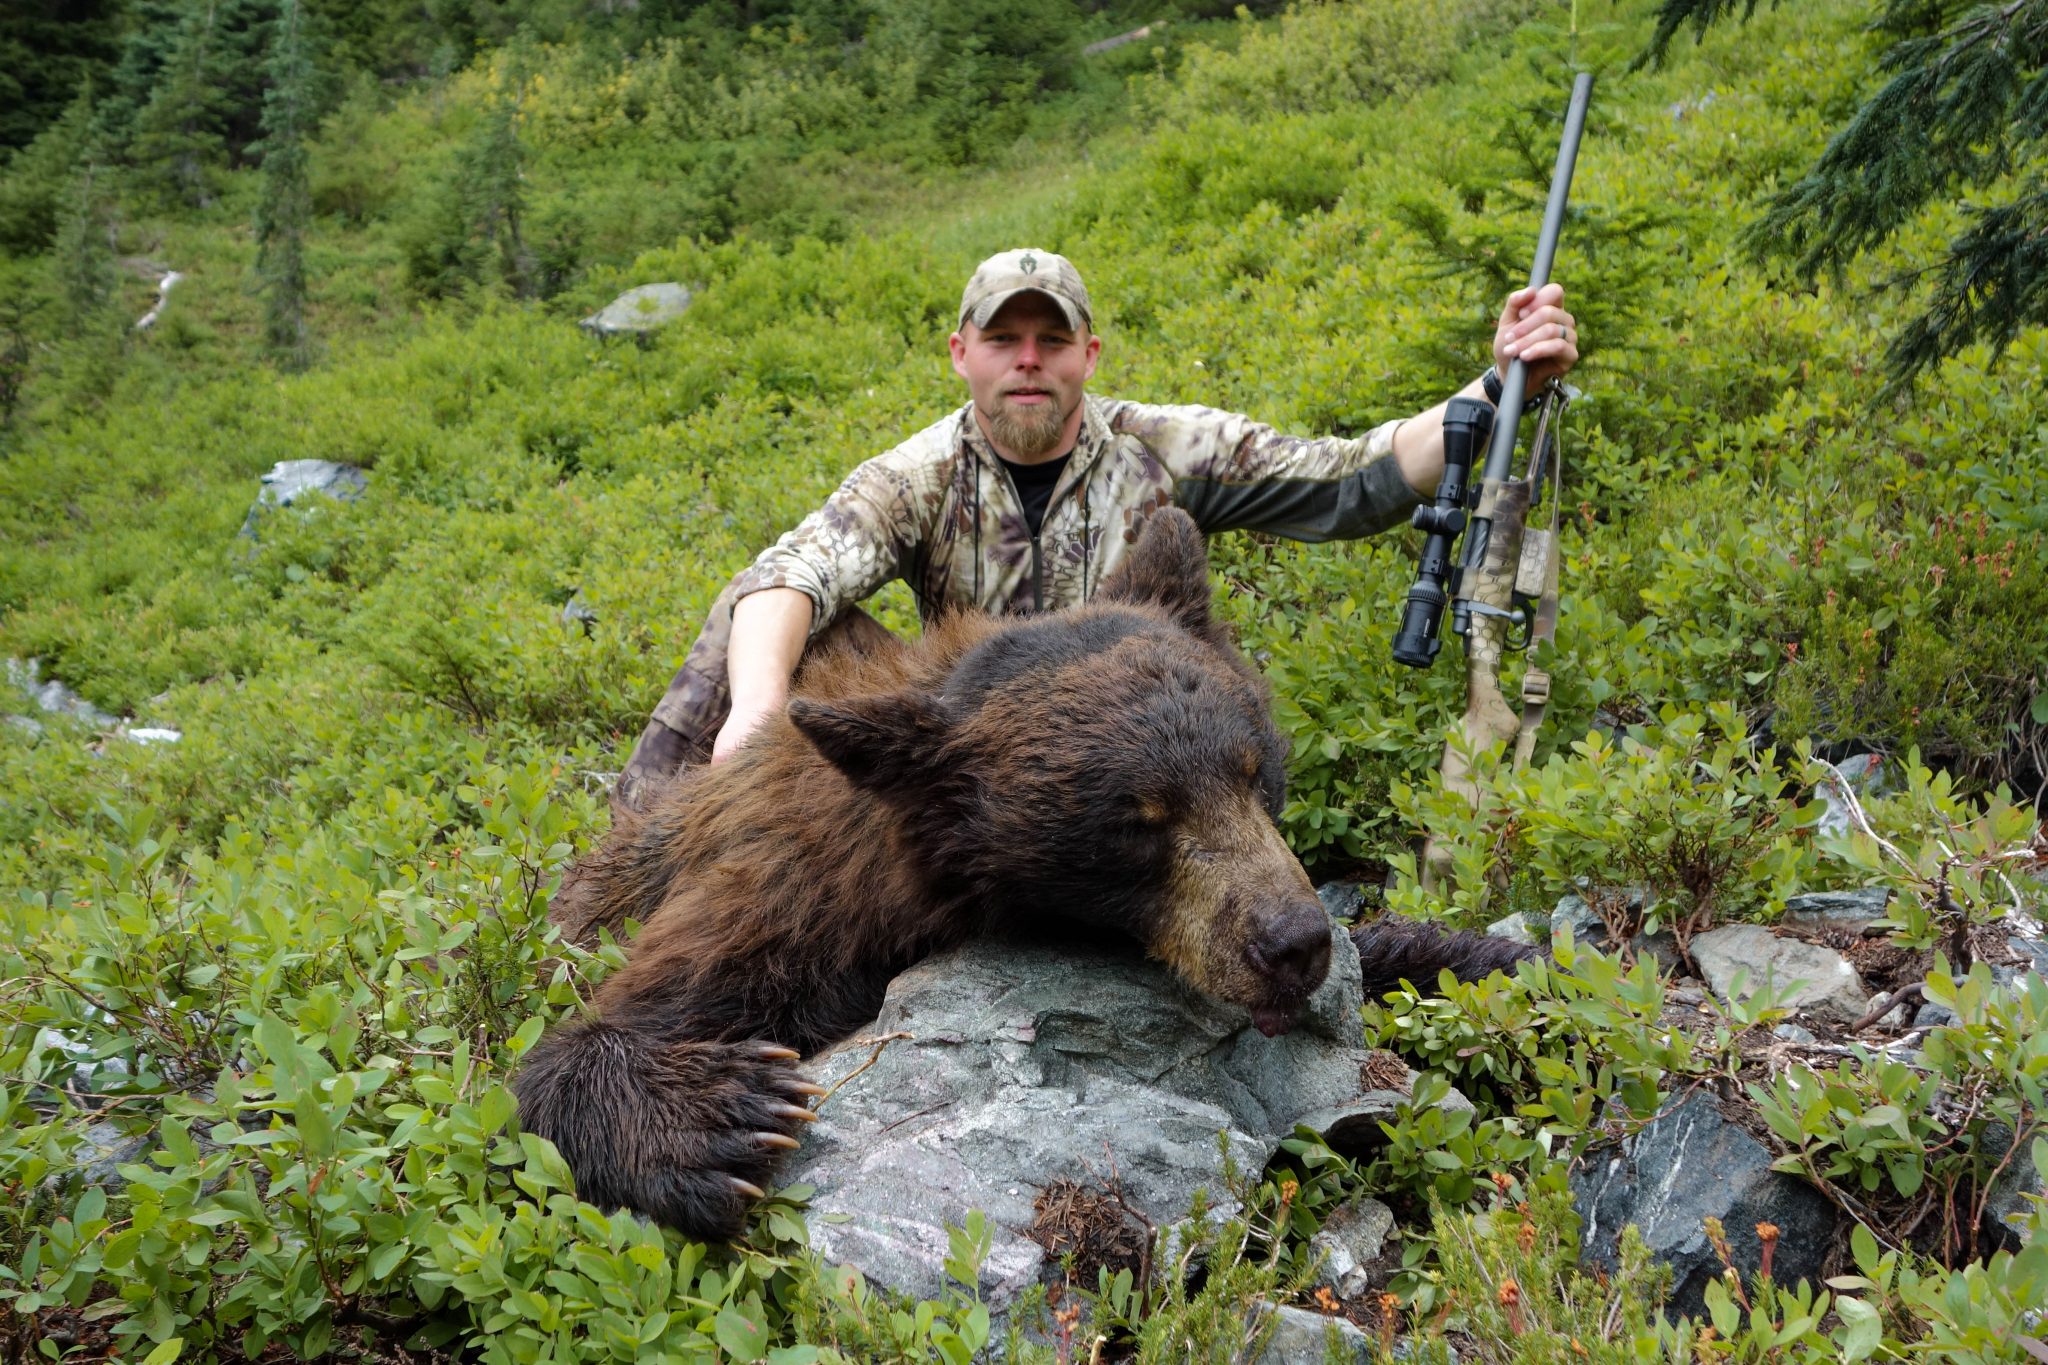
It was everything I could do to stay upright on the scree slope. We had spotted a bear ten minutes earlier at the bottom of the hellish hole, and he looked to be a shooter. After some quick planning, we gathered our gear and began an unforgettable stalk…the kind that will be talked about around the camp fire for years!

The ground itself was almost as if the good Lord designed it for His own pleasure while watching from above. It was a mixture of scree, 12-inch tall berry bushes, and when you were lucky, a small flat spot to stand and rest your legs. To add to the excitement, we had a small rain storm blow through about 30 minutes earlier, so the 12 inch tall bushes acted more like a slip-and-slide than anything resembling a foot-hold. So after several falls, a few veggie belays, and a couple full-on ass slides, I thought it was time to break out the camera.
As I pulled out the camera, it was almost on cue when Cody did a full-fledged “Peter Pan” off a granite wall. When he landed, he looked back in hope that I somehow missed that epic nose dive.
“Dude, put that freaking camera away, we’re hunting!”
I could dig what he was shoveling, but the camera wasn’t going anywhere. I wanted to remember this for years to come!
So why am I telling you this story? It’s not just because we took a great bear at the end of it! It’s to make an important point: The path that leads you to the animal is often what makes a hunt so memorable and rewarding. Be sure to pause and capture those epic moments with your camera.
Over the last few years, photography has become somewhat of an addiction for me, but the learning curve has been nothing less than a PITA! I first started taking photos about five years ago. That sucks because I missed 25 years before that. There are so many hunts, scouting trips, adventure races, and family outings that I can remember, but all I have to show for them is words (and I talk too much anyway!) Don’t make my same mistake; start building your photo library now.
So where do YOU begin?
First, I would buy the best point-and-shoot (P&S) or micro-4/3, mirrorless camera you can afford. The market is filled with these types of cameras, but from what I’ve seen, there’s a few that stand out. Too bad that I learned this the hard way, as I now have several files that are filled with low-quality/low-resolution photos.
The one thing I do know about a high quality P&S is that it will never go unused. Even if you have a full frame professional grade camera at your disposal, the P&S will still be used every day. This isn’t because it takes better photos, but more its size, weight, and availability. You’re not going to be jamming a Nikon D3X into your cargo pocket before a stalk, so the P&S is what you’ll be taking along for the ride. For that reason, I feel that these types of cameras best fill the niche for the backpack hunter that wants to document their hunt.
I could easily write an entire article on the technical aspects and options for these cameras, but to keep things simple, I will just cover my favorite models.
Sony RX100 (P&S)
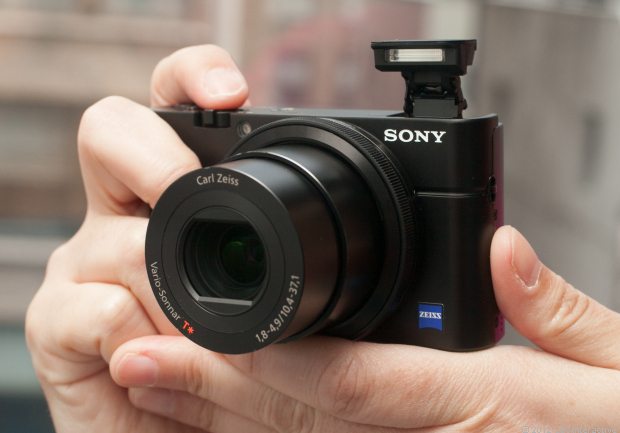
The Sony RX100 is easily at the top of the list! It will rival just about any low to mid-range SLR, but is a fraction of the size and weight. At first, I was worried about the durability of the RX, but it has proven to be a warrior in the field.
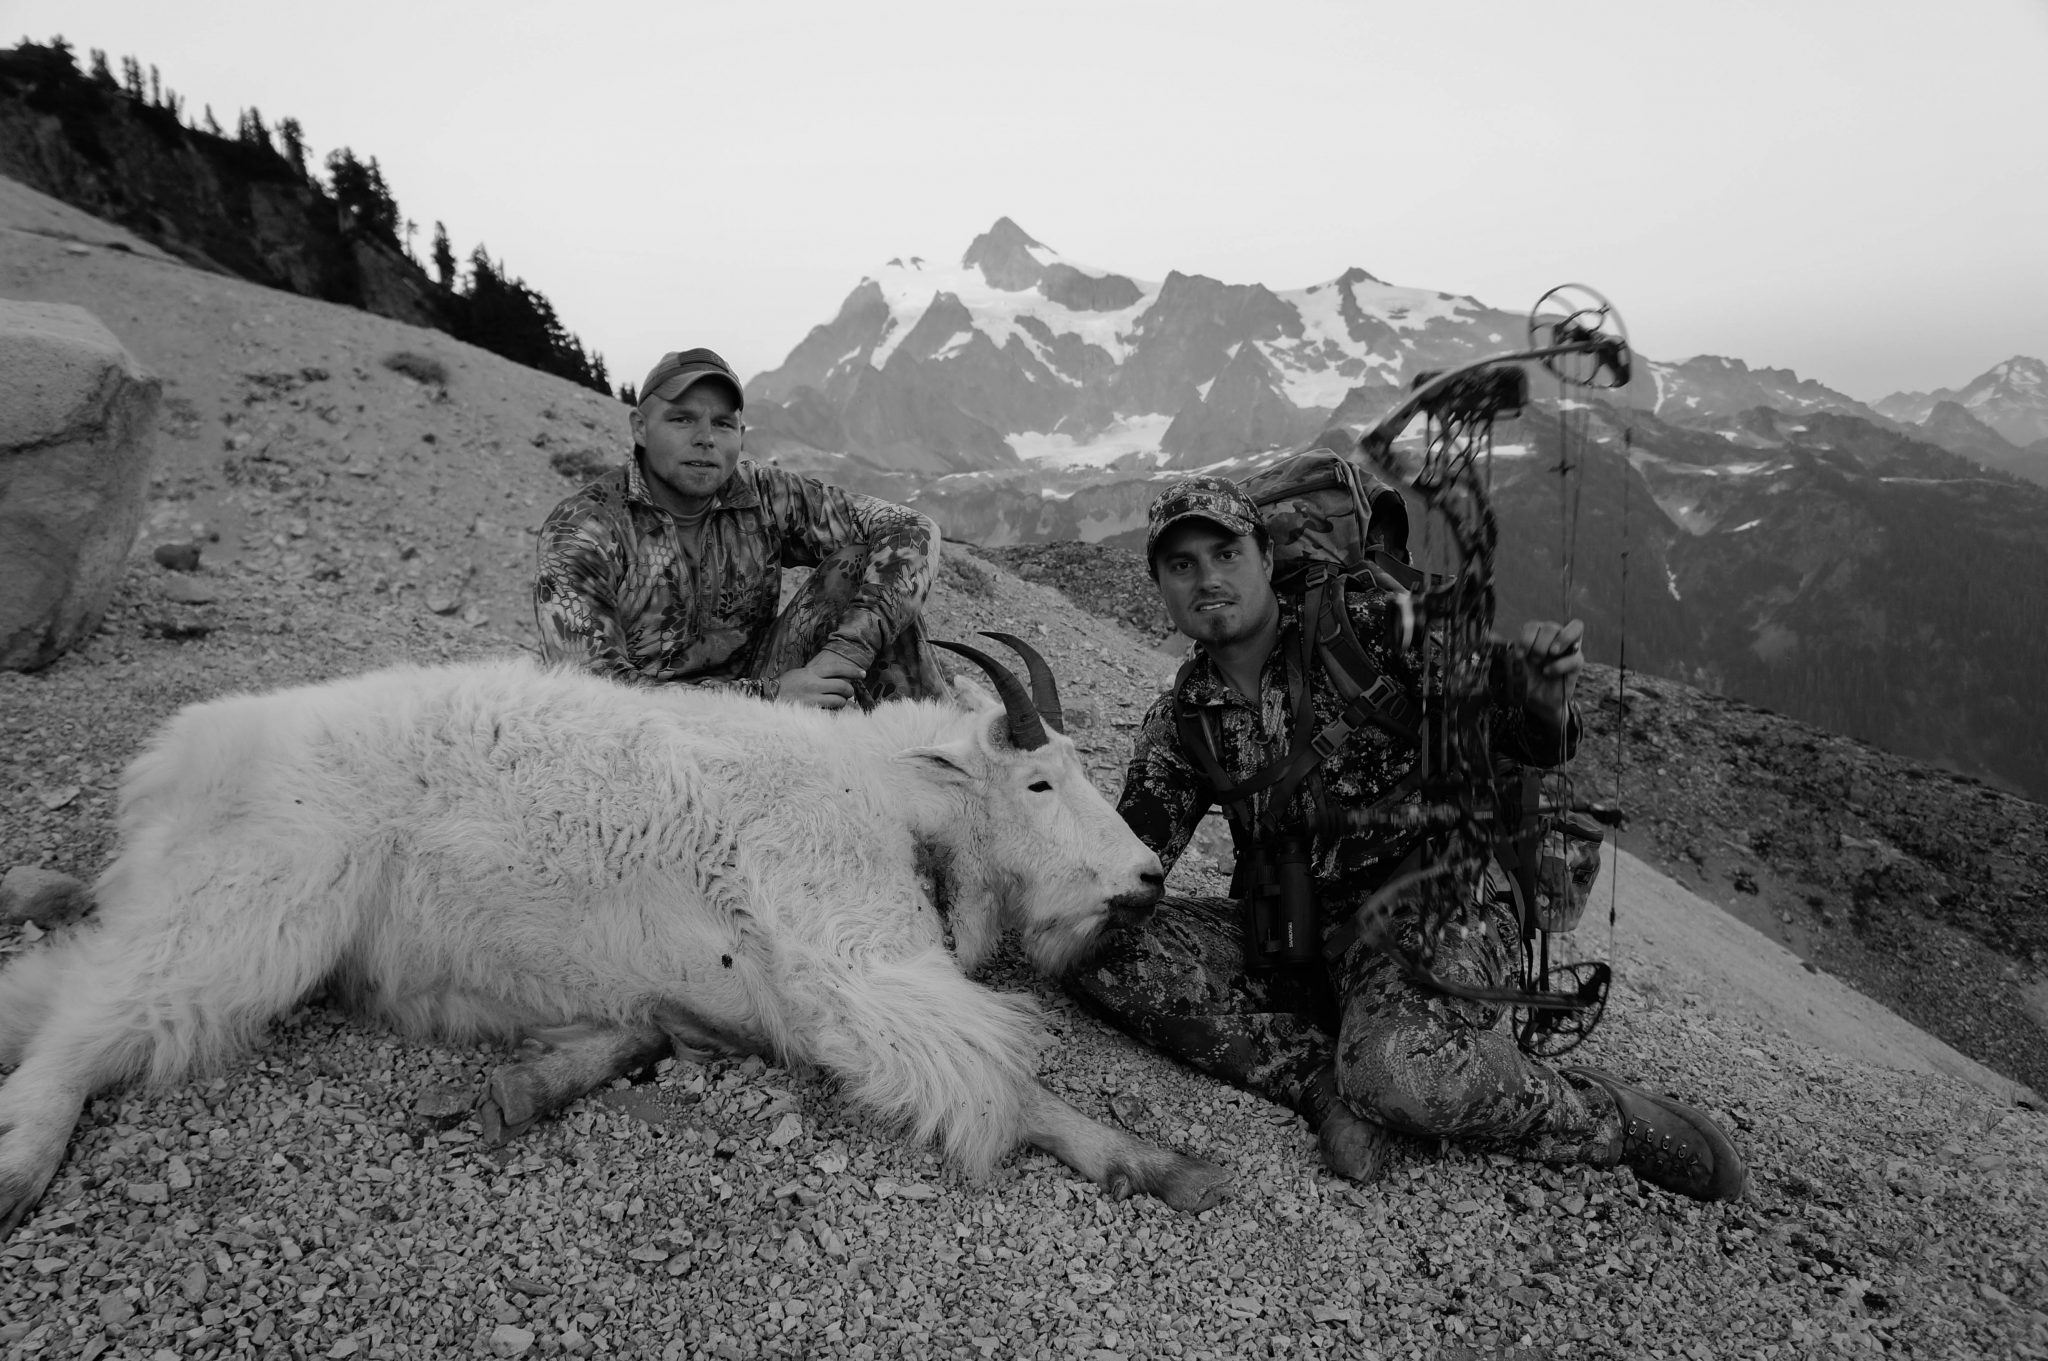
On a recent mountain goat hunt, my pack (with the mountain goat inside of it) slid down a mountain for about 300 feet. I wasn’t worried about the pack, so the first thing I said was “grab my camera that was awesome!” Then I remembered that my RX was in my belt pouch! We quickly slid down the mountainside to check the damage. All it had was a couple whisky dents on the top and side, and to this day is still taking great photos.
I just about soiled myself when I saw the price tag on this bad boy, but I can tell you honestly, it has been money well spent! The RX is smaller than most cell phones, can shoot in RAW and takes HD video as well. So when you add all of that together, you have one bad-ass backcountry camera!
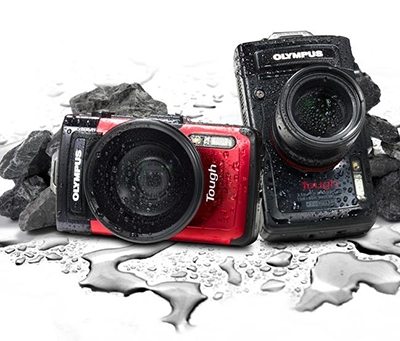
Olympus TG2 (P&S)
This P&S camera is not going to have the same quality of photos that the RX delivers, but it does offer some incredible durability! The TG2 is the type of camera that can be misused and abused in any type of conditions, but still keeps on taking photos. So if you’re hard on your gear, this camera may be a great option.
Moving on from the P&S, I’ve been fortunate enough to test out several of the micro 4/3, mirrorless cameras. These cameras benefit from a much larger sensor than most compact digital P&S cameras and the mirrorless design allows for reduced size of body and lens over their DLSR big brothers. Here are my choices in this category. 4/3 (four-thirds) refers to the 4:3 aspect ratio of the sensor and resulting photos. DSLRs typically shoot with a 3:2 aspect ratio.
Sony NEX SERIES (Micro-4/3 Mirrorless)
Until the Sony RX100 came out, I was packing a micro-4/3 mirorless camera in my belt pouch for the last few years. The photo quality and options of these cameras are hard to beat and the Sony NEX was my choice for a while. The 4/3 mirrorless cameras are a bit bigger than the P&S models, but you have a lot more options with these, as the lenses can be swapped. For me, the photo quality was much better, too.
Although the NEX cameras have some downfalls, they have served me well these last few years. One issue with the NEX is the fact that they are not weatherproof. Having said that, I beat the piss out of mine and never had an issue. Be that as it may, if you sent in one with water damage, you would probably have to pay for it. The NEX series also suffers from lack of lens options and price. Last I looked, the best lens for this camera is going to run you about $900, and that is about the only high-end lens for the NEX.
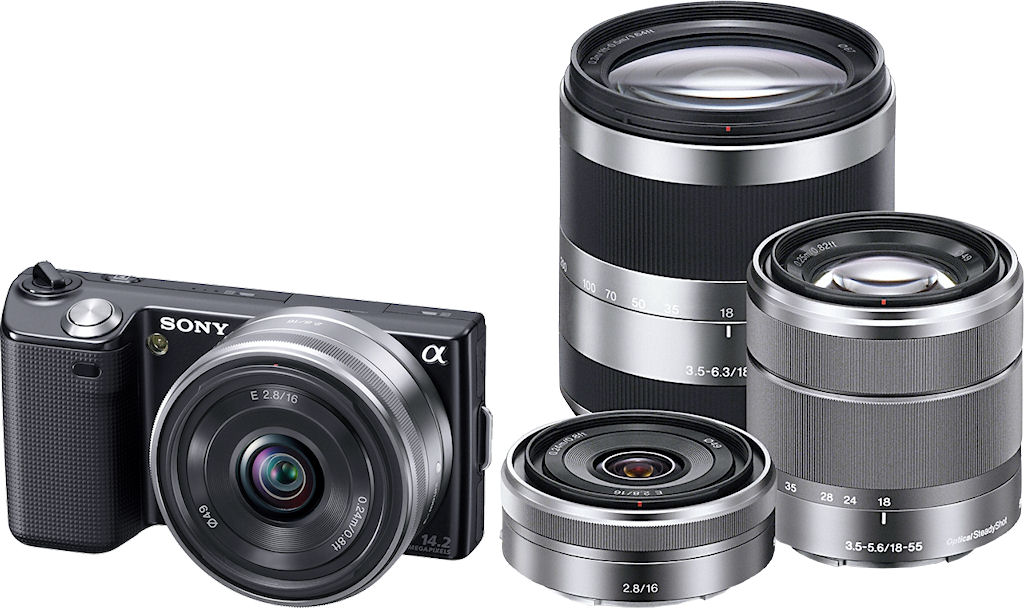
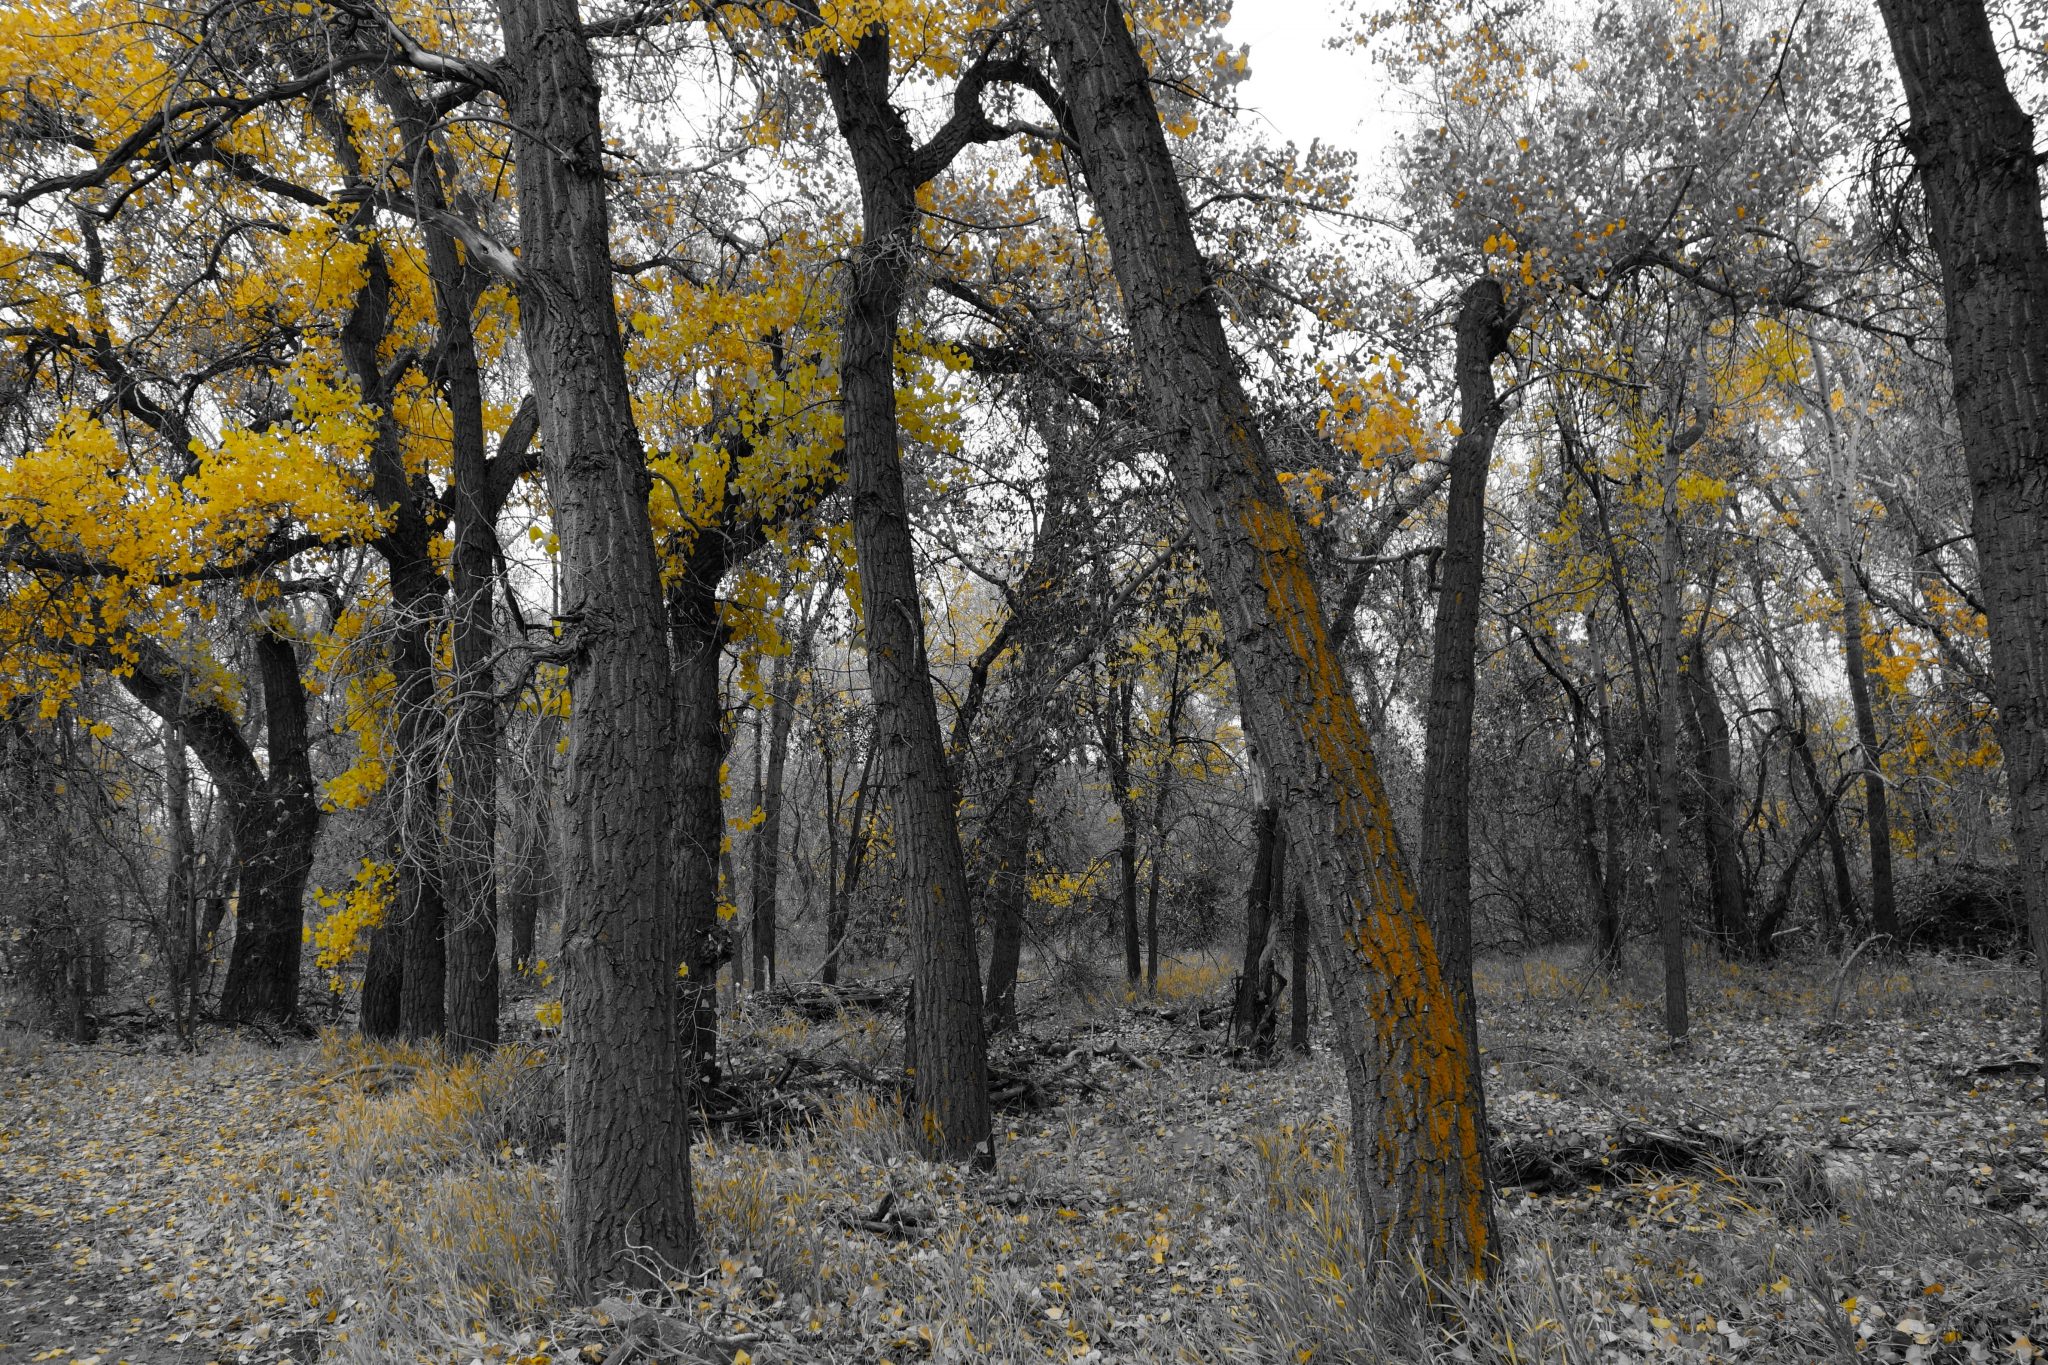
What I liked most about this camera was the way you can adjust the color options (see photo below). You can get the same options in the Sony RX100 in a smaller package (why I sold the NEX and bought the RX). The downside is that you can’t swap lenses with the RX. If that is something you’re looking for, then the NEX is your best choice.
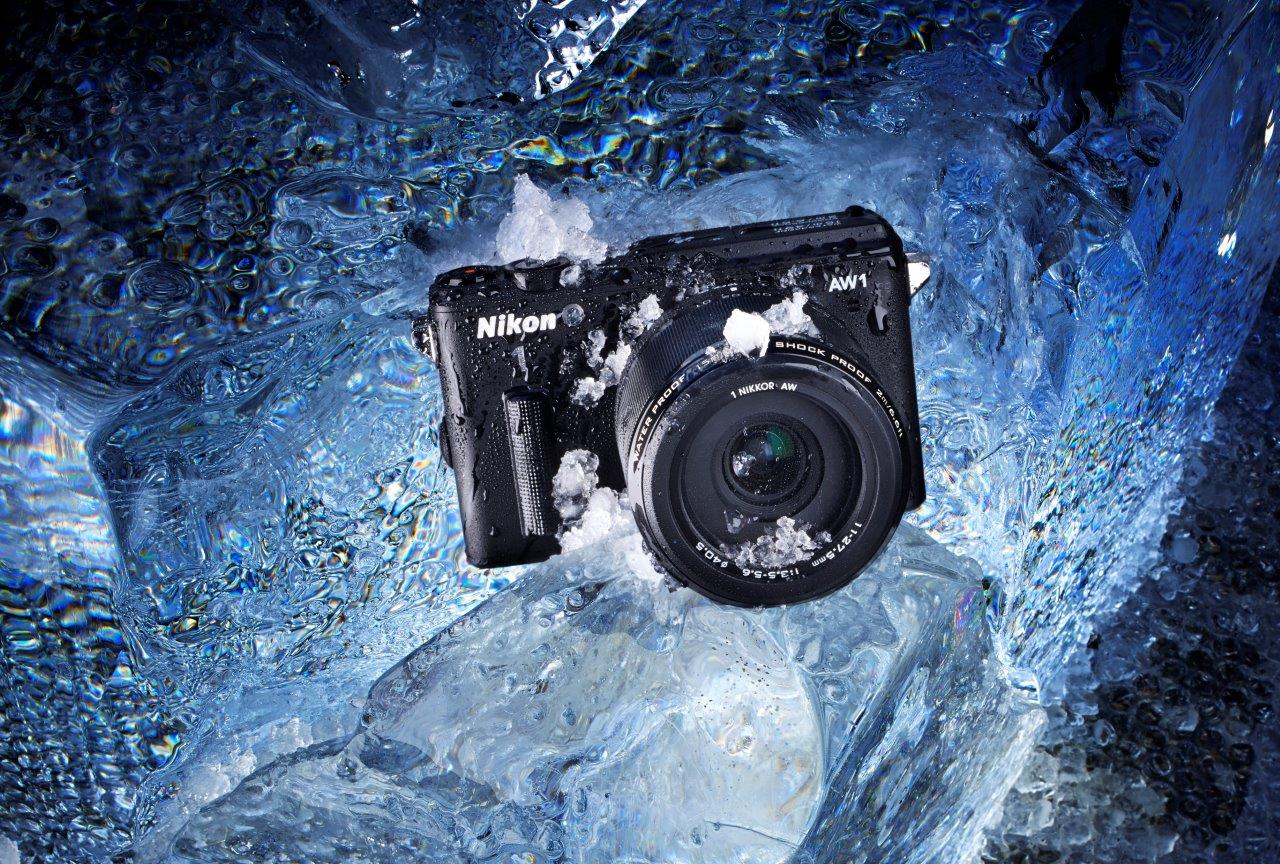
Nikon1 AW1 Mirrorless
I don’t have a ton of time behind this camera, but photographers I trust have spoken highly of it. This is mostly due to its water proof/shock proof/freeze proof construction. So if you were shopping something like the Olympus TG2 P&S, but wanted the option to swap lenses, the AW1 is a no-brainer.
Olympus OM-D E-M5 and M1 (Micro-4/3, Mirrorless)
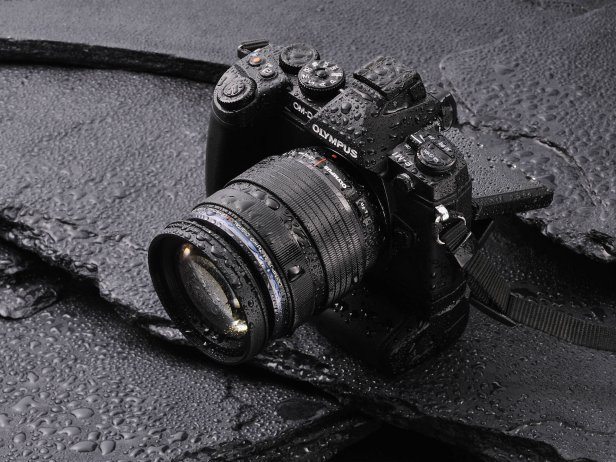
Personally, these are my favorites. The M1 just hit the market, but the M5 has been getting great reviews for a while. Both the M1 and M5 are splash proof/dust proof/freeze proof, so they can take a good beating in the backcountry. I’ve tested this out already. My M5 skated through several North Idaho snow and rain storms this season.
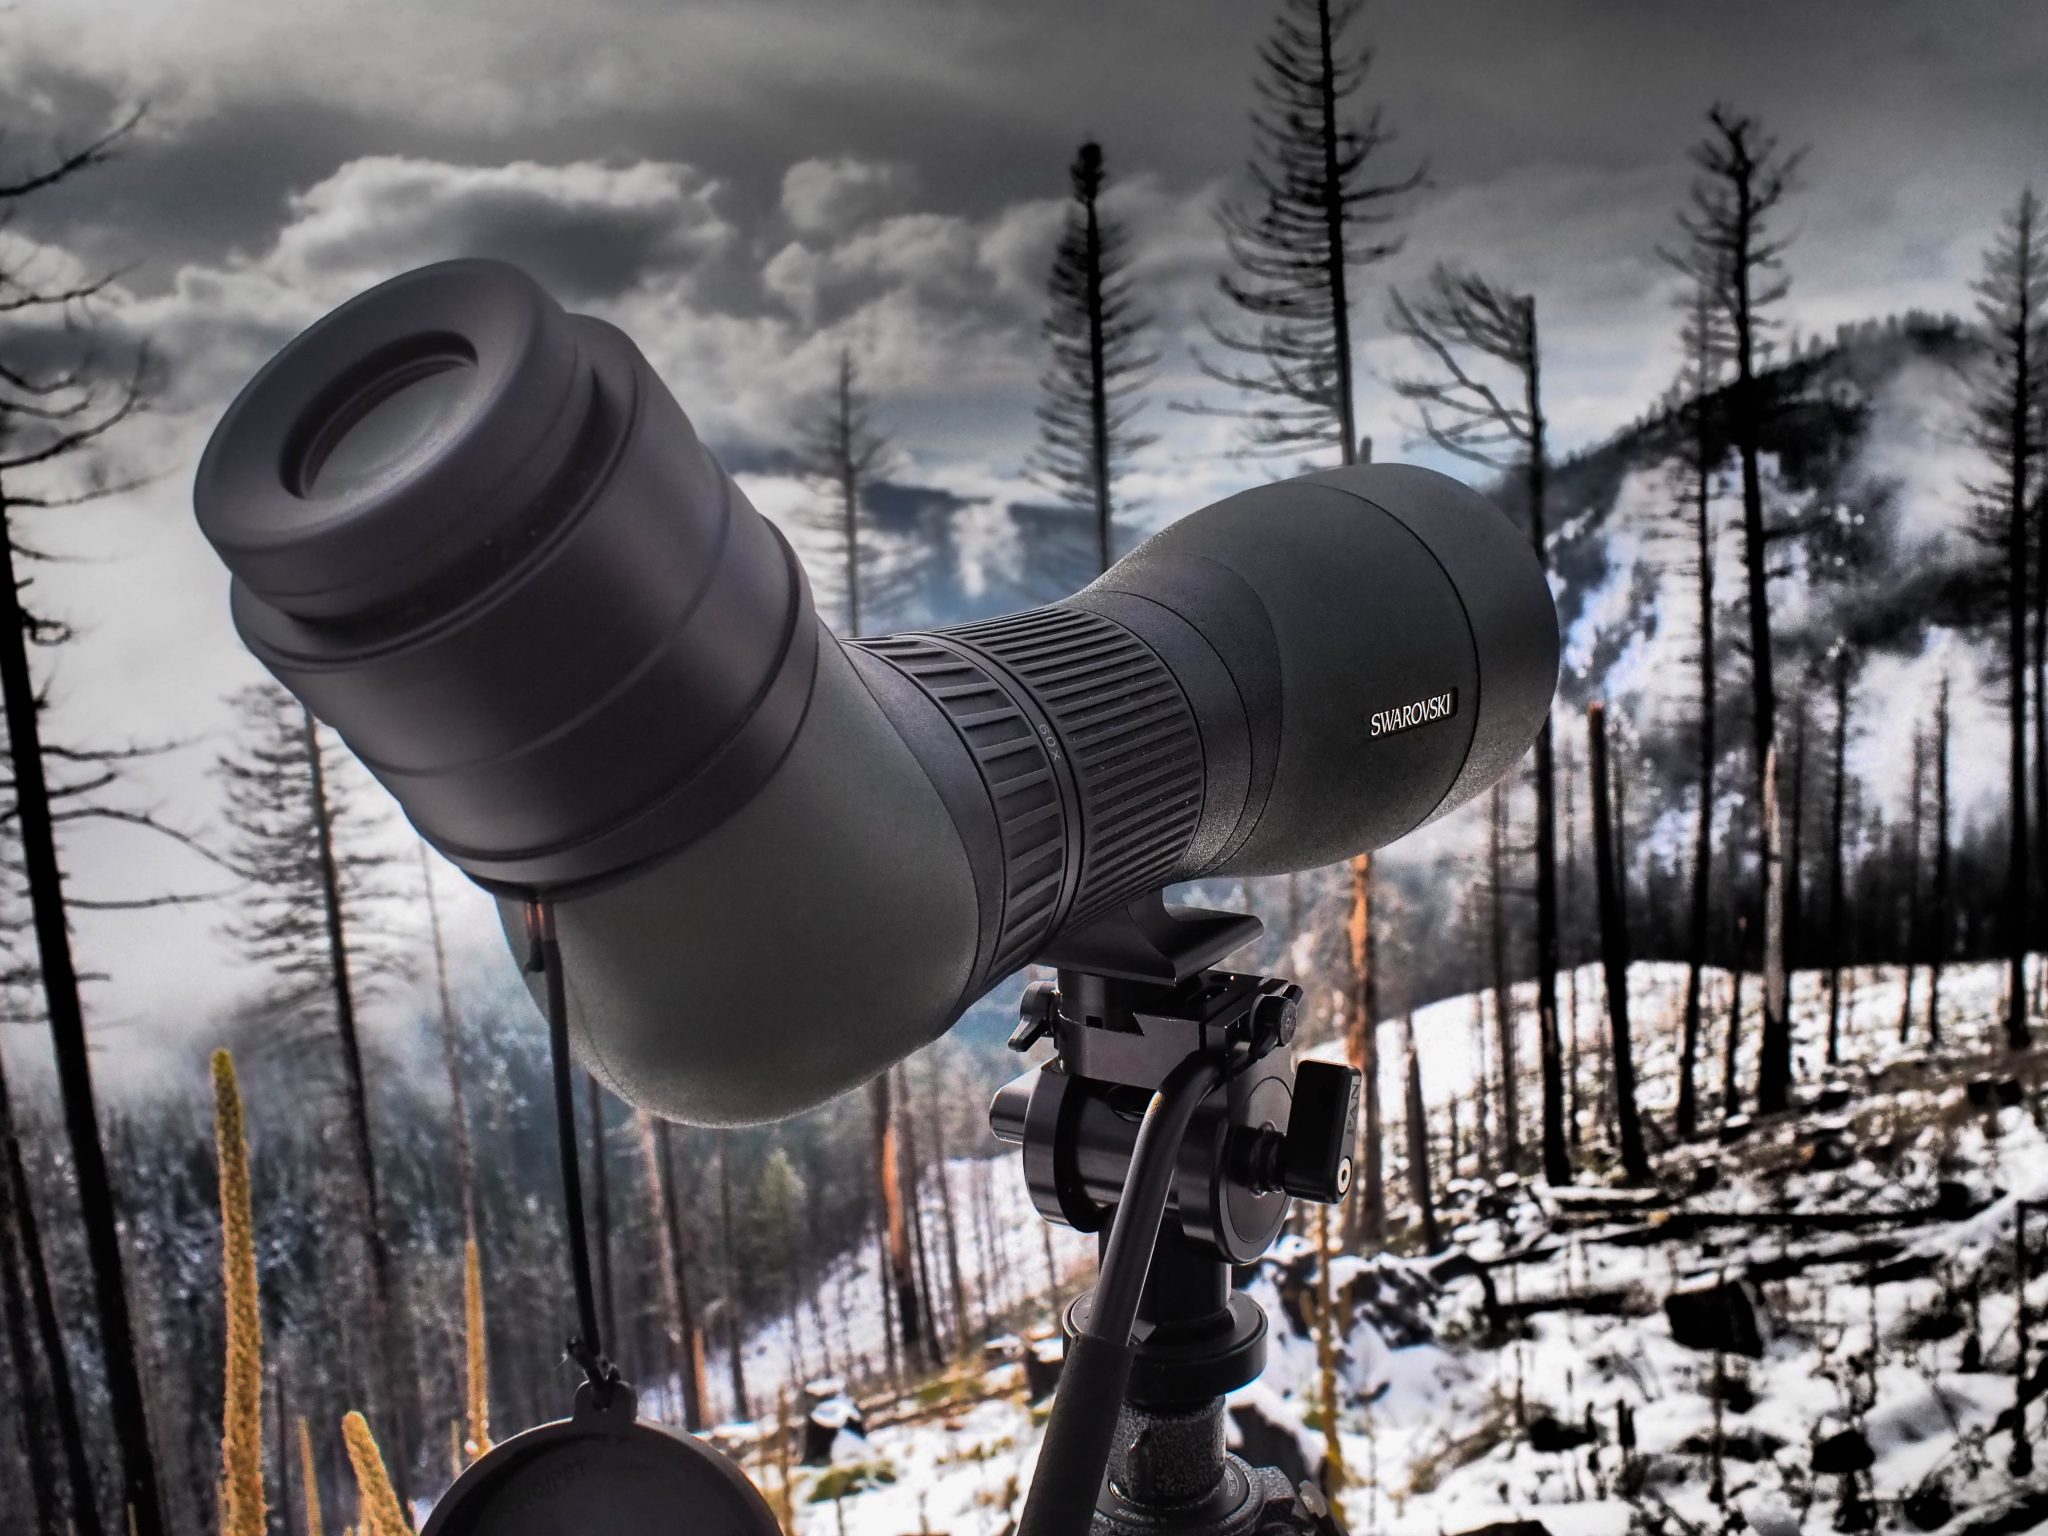
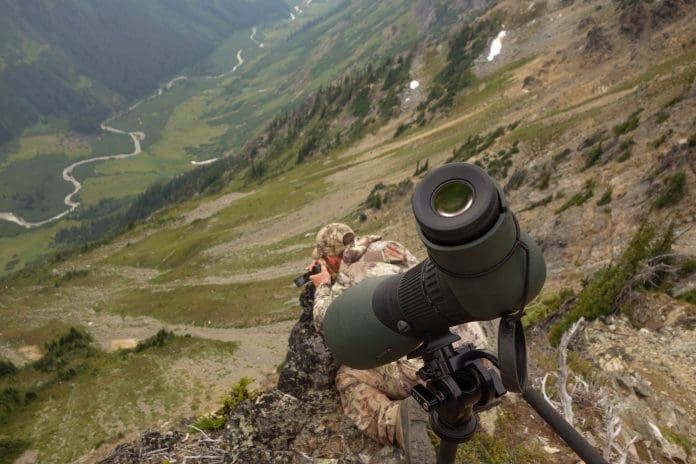
One of the things that I like best about the M-series is that they have internal image stabilization. Most cameras offer the image stabilization in the lens. For the way I use the camera (digi-scoping with Swarovski APO adapter), I often take the lens off, rendering the internal image stabilization as the only way to go. Another great thing about these cameras is the lens options…they’re endless! I’m not sure how many there are, but I counted 26 total lenses when researching this article. The downside is that this is more of a compact DSLR form factor so it’s not as convenient for backpacking.
Learn your camera equipment like it’s your weapon
This subject gets overlooked more often than not. The “auto” setting won’t always produce the best image your camera is capable of – especially when lighting conditions are challenging. That said, most auto settings are pretty good so shoot a few photos in auto, check the results, and then see if you can improve the photos through manually controlling the camera. The mode settings and menus on most high-end cameras are a bit daunting at first glance, but after a couple weeks you’ll have a good handle on it. Even if you don’t have a complete understanding of each feature you will at least know where to find them so you can experiment with them in the field.
I always start off by practicing in the living room, getting to know the buttons/dials and their functions. Hi–resolution photos are key, so the larger the better. Make sure your camera is in the highest resolution setting available with the least file compression. Resolution may be shown as pixels (4000 X 3000 for example), or as small, medium, large. The compression setting is typically basic, normal, and fine or high. Always use the fine or high setting.
The ability to shoot in RAW format provides the most latitude for post processing adjustment in your photo editing software so you may want to use this setting for your most important photos if your camera can shoot RAW. Use a large memory card because the uncompressed RAW files will typically match the resolution of your camera sensor. If you have a 16 MP camera, your RAW images will be about 16 megabytes each! If you don’t have photo editing software or don’t want to deal with additional steps to edit and convert your files on the computer, stick to the .jpg/.jpeg – fine setting.
Much like anything with photography, you could write a book on setting/adjustments. Just remember, your camera is like any other vital instrument in daily life and should be an extension of your body if you want to capture that perfect image that may only last for a moment.
Now that I’ve covered camera selection, Part II of “Telling Your Story, From the Field to Your Desktop” is next. Subscribe to this thread so you’ll get immediate notification when I post that article in the next few weeks.
Check out Rokslide Sponsor, Cameraland for all of your camera/optic needs here

